
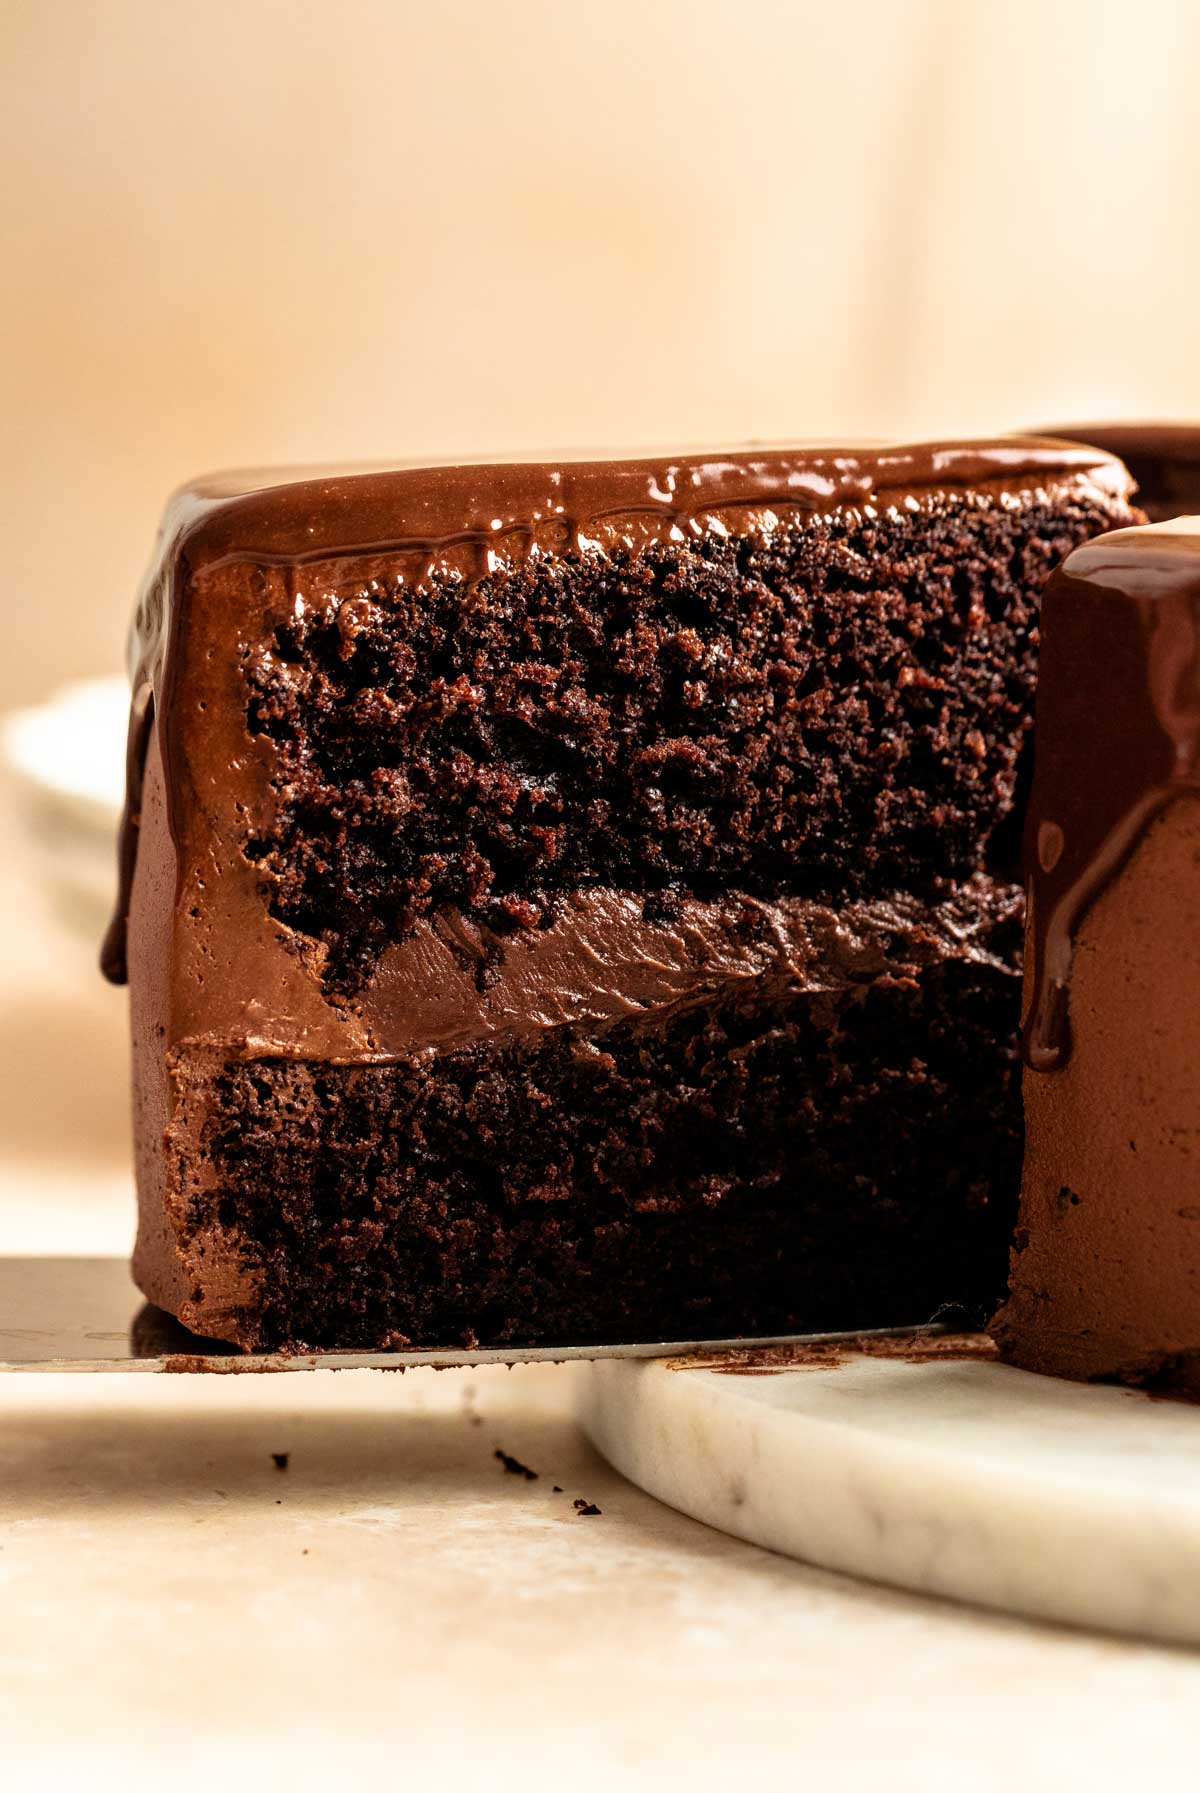
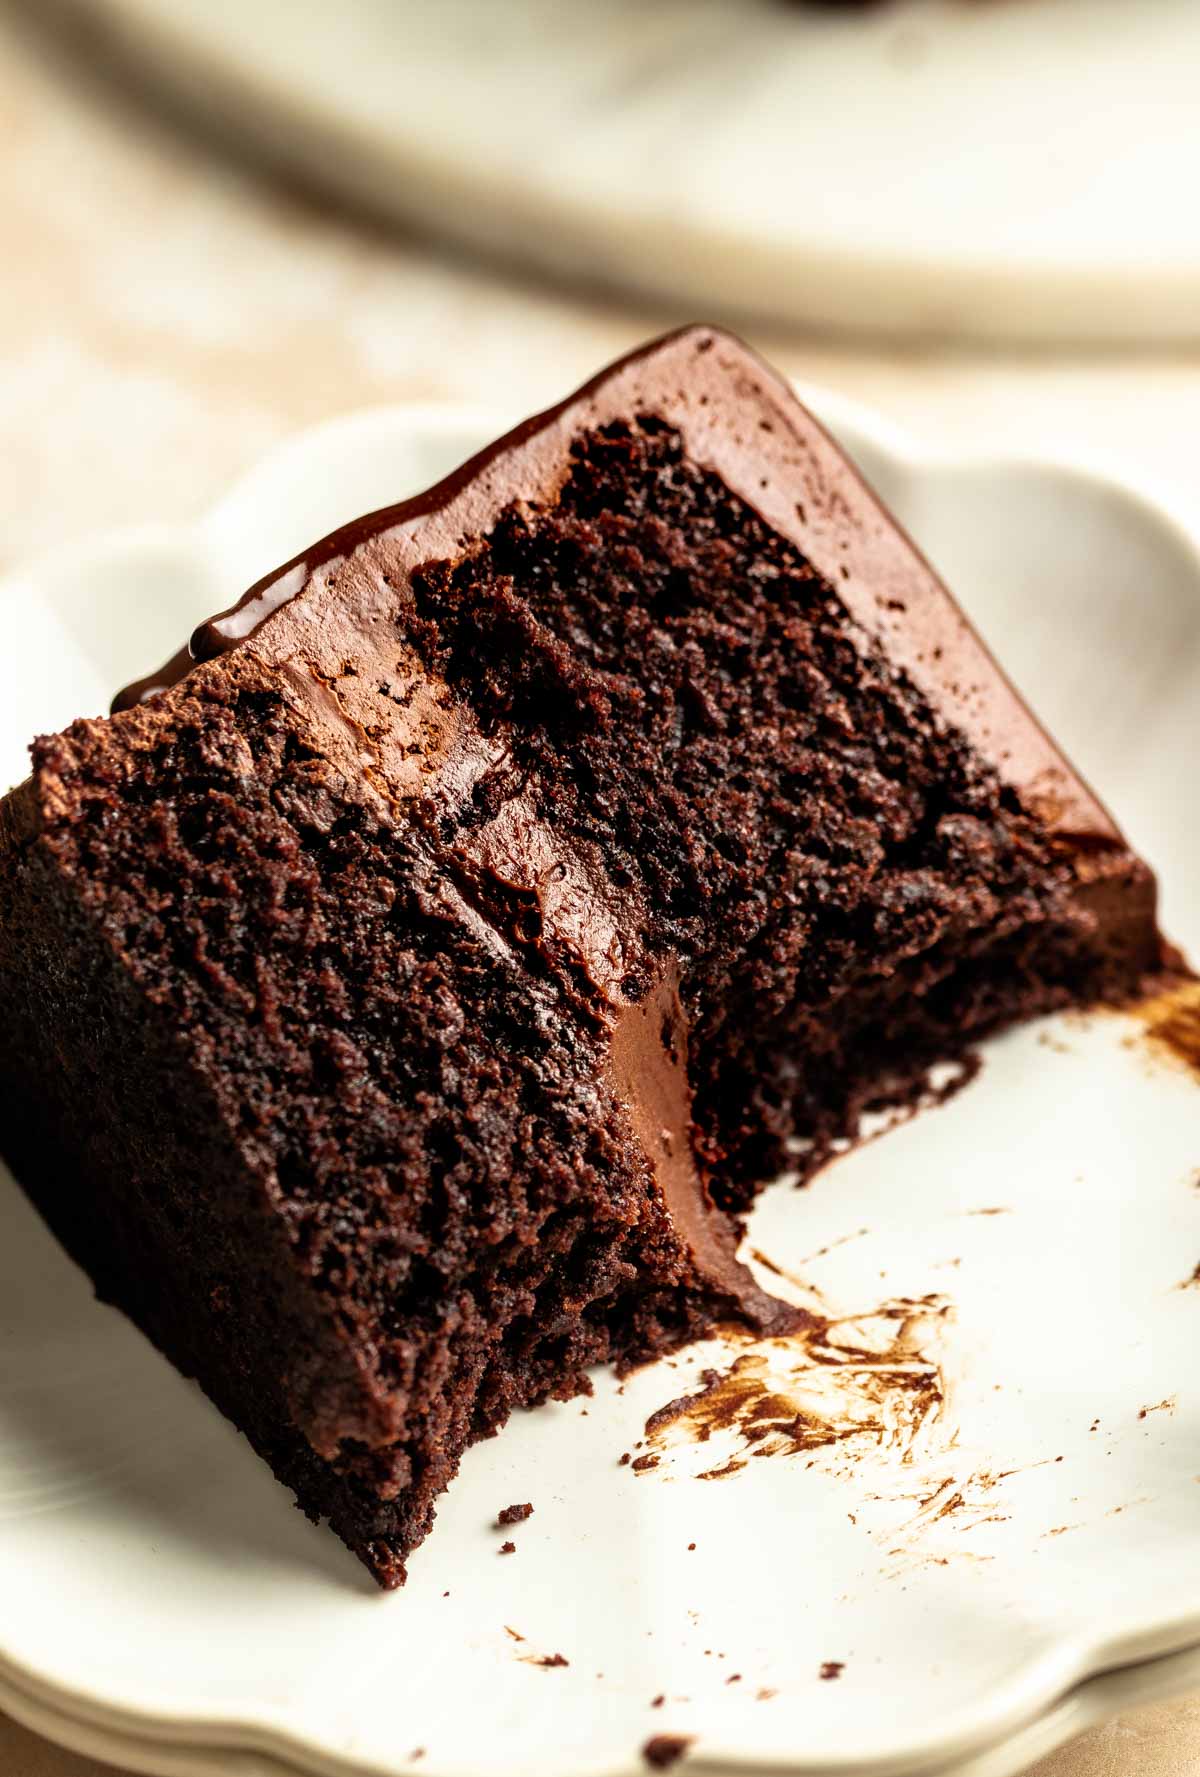
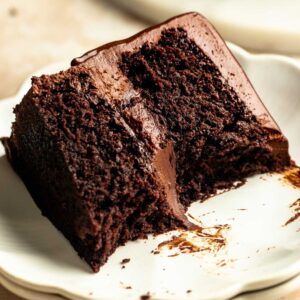
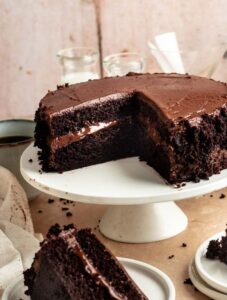
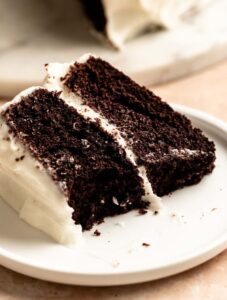
This chocolate ganache cake has tender chocolate cake layers, is filled with chocolate ganache, and is topped with a ganache drip.
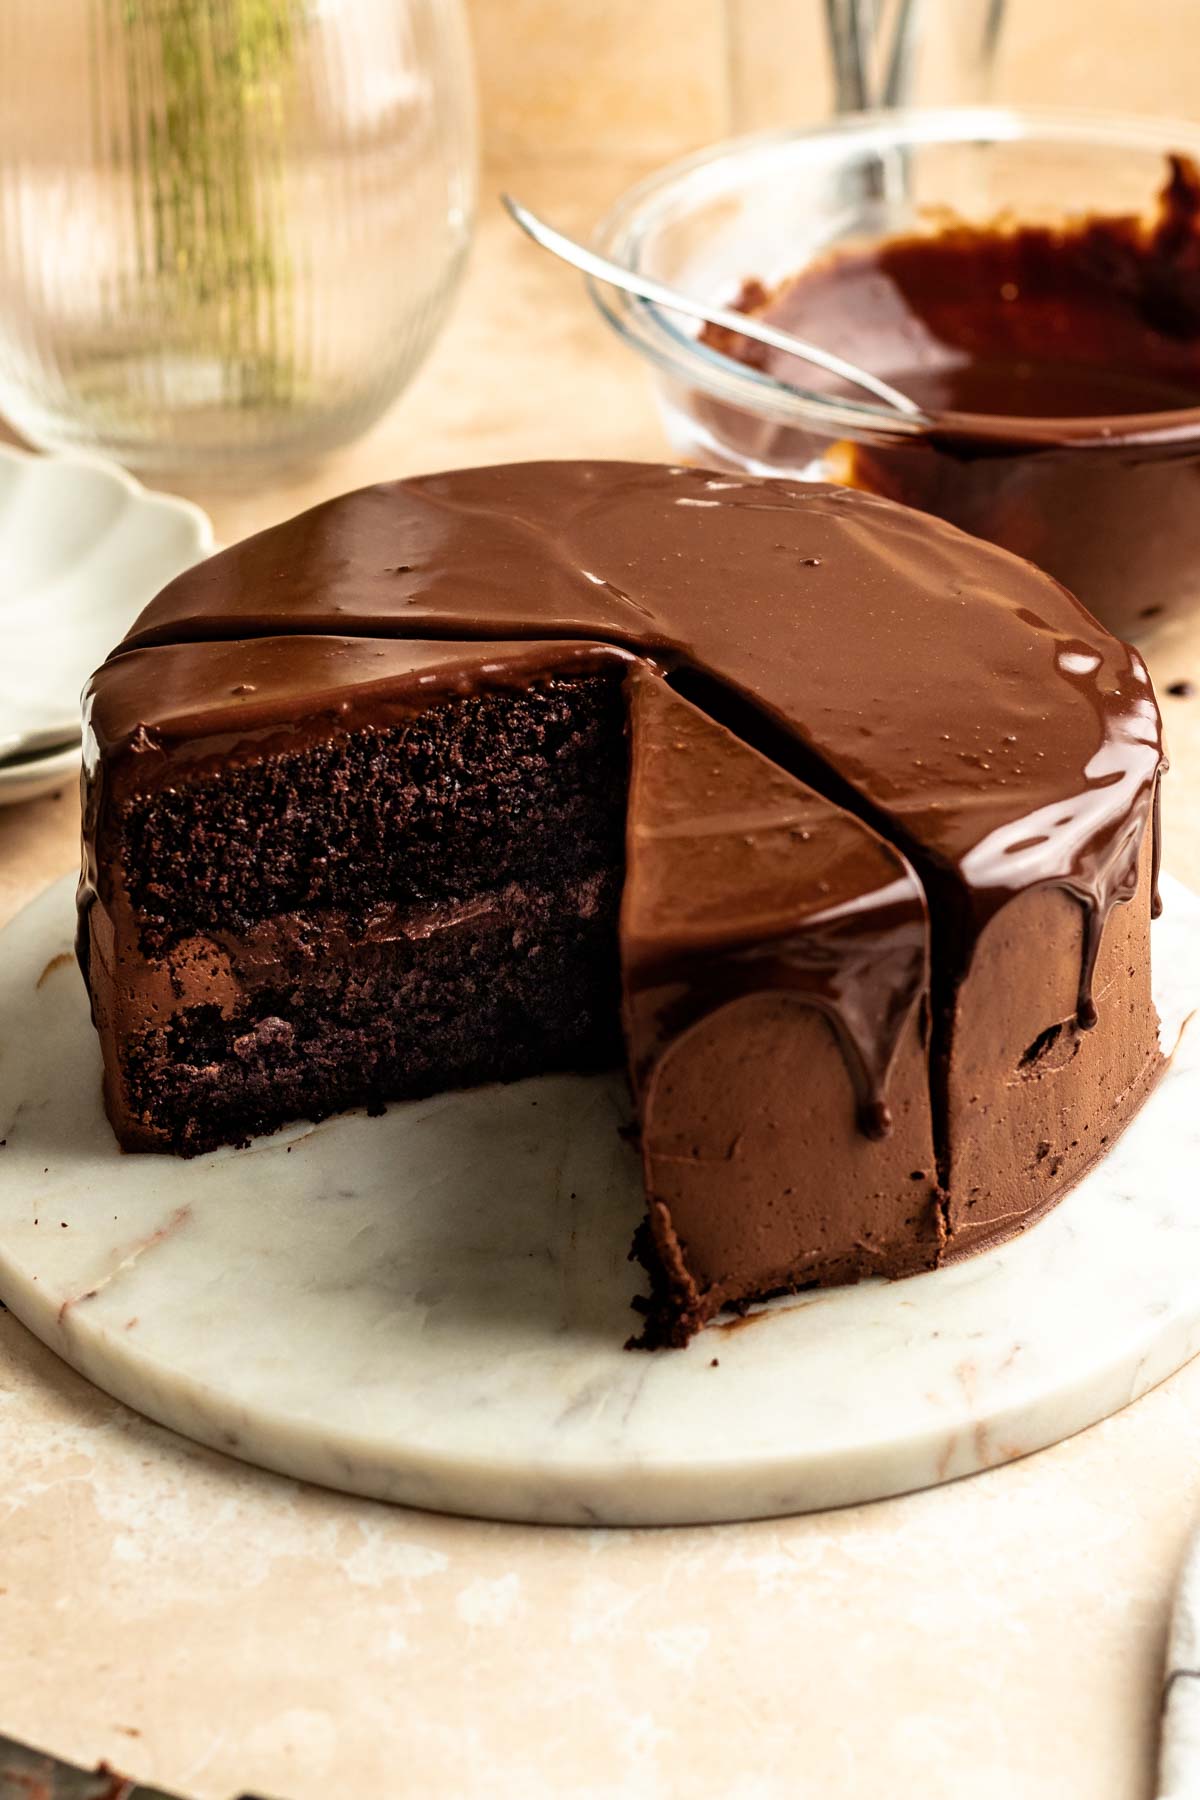
If you want an intense chocolate cake without an overly sweet powdered sugar buttercream, this is the recipe for you.
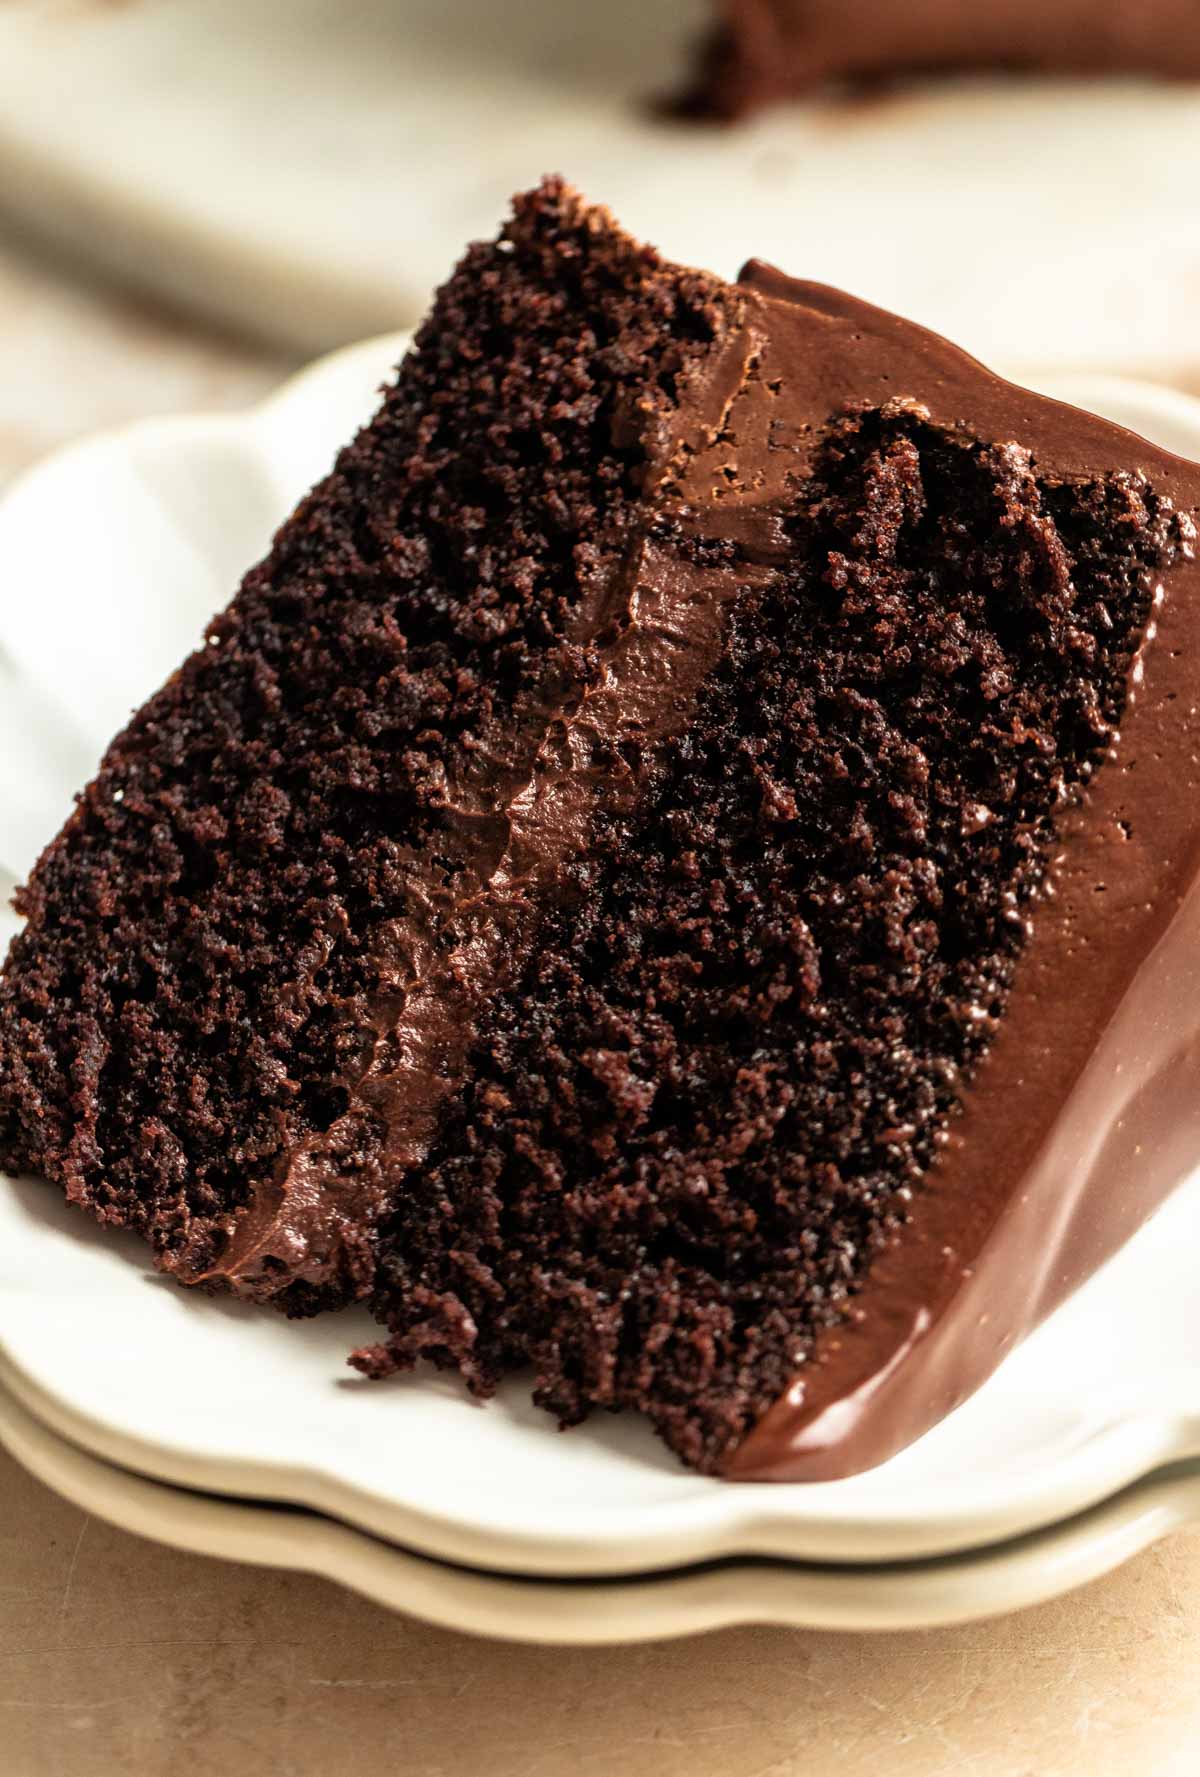
I use a 1:1 chocolate ganache to create three different textures just by altering the temperature. The result tastes exactly like a soft, melt-in-your-mouth chocolate truffle.
The oil-based cake layers stay incredibly plush and moist, balancing the dense center filling and the airy, whipped ganache frosting.
Because it relies on real heavy cream and dark chocolate bars, the flavor is deeply rich rather than overly sweet. It is my go-to cake for birthdays, holidays, or any crowd of chocolate lovers.
One reader, Debby, commented: “I made this recipe for my husbands Birthday, it was a huge hit. The entire cake was consumed by guests who all loved it! ★★★★★”
One reader, Gianna, commented: “This was awesome! I made this cake today for my family for Grandma’s 92nd birthday! I didn’t expect it to be gone in less than 20 minutes! ★★★★★”
One reader, Angela S., commented: “The cake is amazing! I have been looking for one similar to one my Grandmother use to make and this is very close! ★★★★★”
For more chocolate cakes, check out my chocolate cake with chocolate cream cheese frosting, chocolate sour cream pound cake, small chocolate cake, dark chocolate sheet cake, and Ferrero Rocher cake.
Why this recipe works
- Fudgy Filling: Leaving the ganache at room temperature gives you a thick, spreadable layer that holds the cake together perfectly.
- Whipped Frosting: Chilling it down and whipping it for a minute turns that exact same ganache into a light, airy frosting that's perfect for piping.
- Shiny Drip: Warming up the last bit creates a smooth, fluid glaze that runs beautifully down the sides of the cake.
- The Perfect Crumb: I use a mix of Dutch-process cocoa and hot coffee to bloom the chocolate, giving the sponge a gorgeous dark color and a smooth flavor with zero bitterness.
Ingredients
Before starting, measure and prepare your ingredients so the baking process goes smoothly. You can find the exact measurements in the recipe card at the bottom of this post.
For the Chocolate Cake
All-Purpose Flour: Provides the core structure for the cake layers. You can also use cake flour for an even tenderer crumb.
Granulated Sugar: Sweetens the cake and retains moisture for a soft crumb.
Dutch-Process Cocoa Powder: I prefer Dutch-process cocoa powder for my chocolate cakes because it gives them a deep, intense chocolate flavor and dark color. Unsweetened natural cocoa powder works too.
Baking Soda & Baking Powder: The leavening agents that react with the buttermilk to help the cake rise.
Fine Sea Salt: Enhances the cocoa flavor and balances the sweetness.
Eggs: Large and at room temperature so they emulsify smoothly into the batter.
Sour Cream or Greek Yogurt: Adds moisture and slight acidity to react with the baking powder for a soft lift.
Buttermilk: Gives the cake extra moisture and tenderness. If you don't have buttermilk on hand, you can easily make your own: simply mix 1 cup of whole milk with 1 tablespoon of lemon juice or white vinegar and let it sit for 10 minutes before using.
Vegetable Oil: Keeps the cake layers perfectly moist and soft, even when stored in the fridge. Canola oil and sunflower oil works perfectly too.
Vanilla Extract: Deepens and enhances the natural chocolate flavor.
Hot Coffee: Bloom the cocoa powder to maximize the chocolate flavor without leaving a coffee taste. You can use strong brewed coffee or instant espresso.
For the 1:1 Ganache
Heavy Cream (36% Fat): Full-fat heavy cream is required to let the ganache thicken, whip, and set properly. This cannot be substituted with milk.
Dark Chocolate (65% Cocoa): High-quality chopped chocolate bars. Avoid chocolate chips, which contain stabilizers that prevent a silky-smooth melt.
Instructions
1. Prep: Preheat your oven to 180°C (350°F). Grease two 8-inch cake pans and line the bottoms with parchment paper.
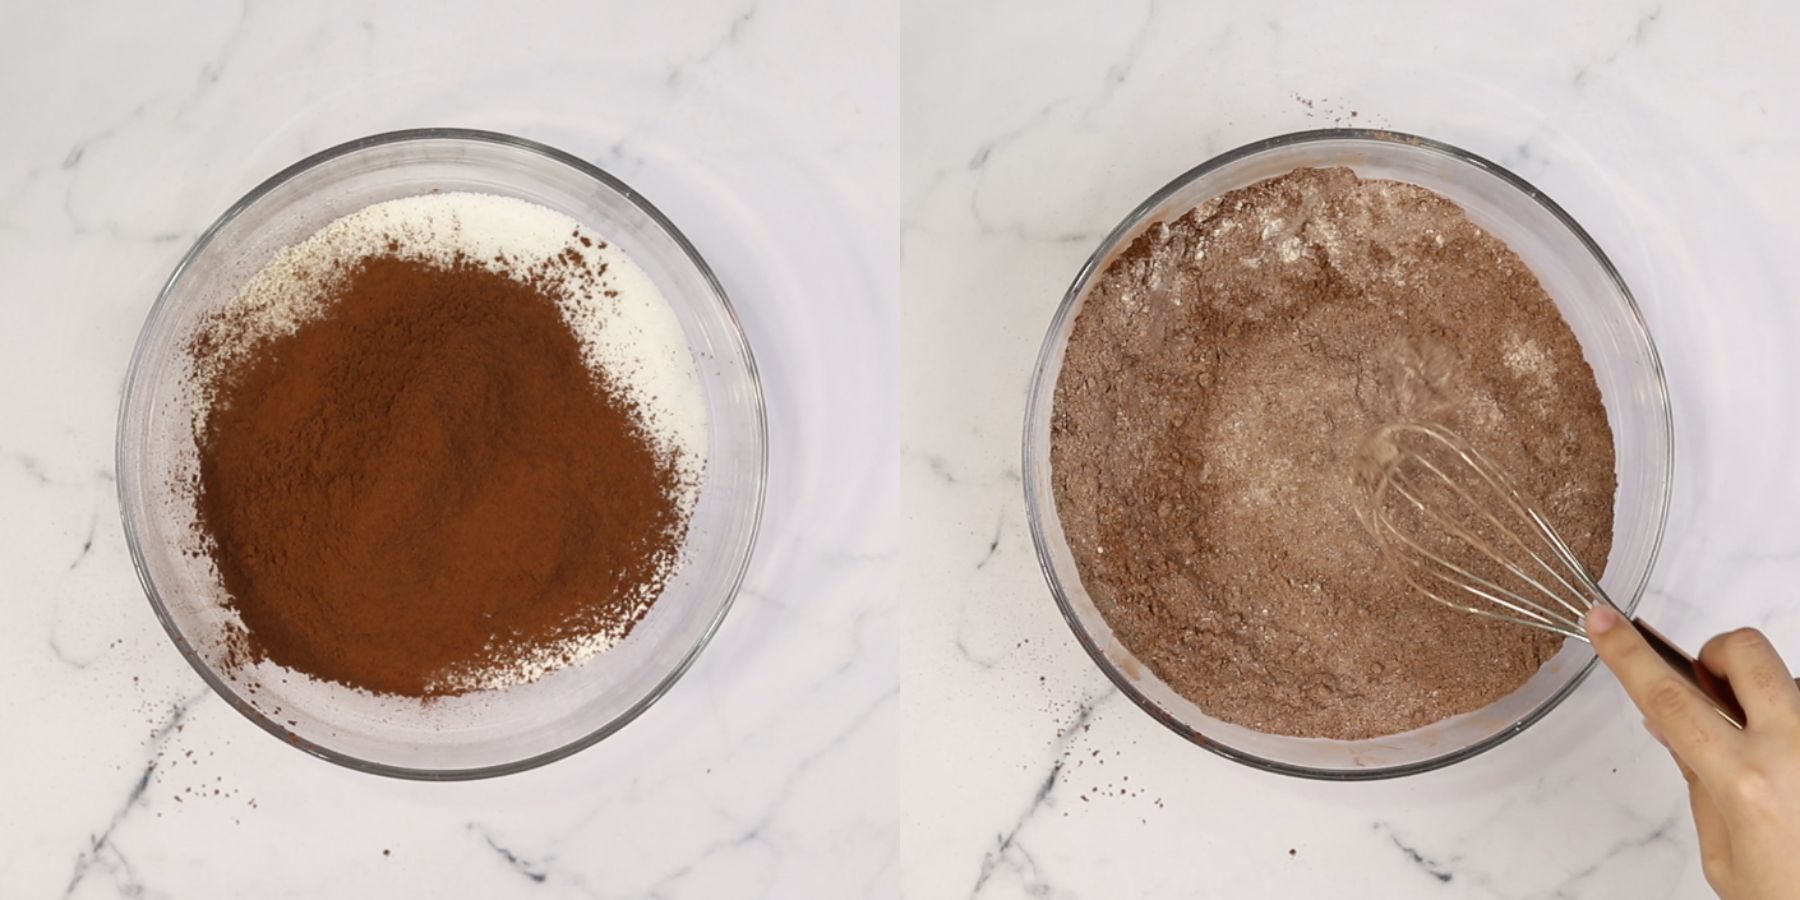
2. Dry Ingredients: In a large bowl, sift together the flour, sugar, cocoa powder, baking soda, baking powder, and salt to prevent lumps.
3. Wet Ingredients: Whisk in the eggs, buttermilk, sour cream vegetable oil, and vanilla extract until just combined.
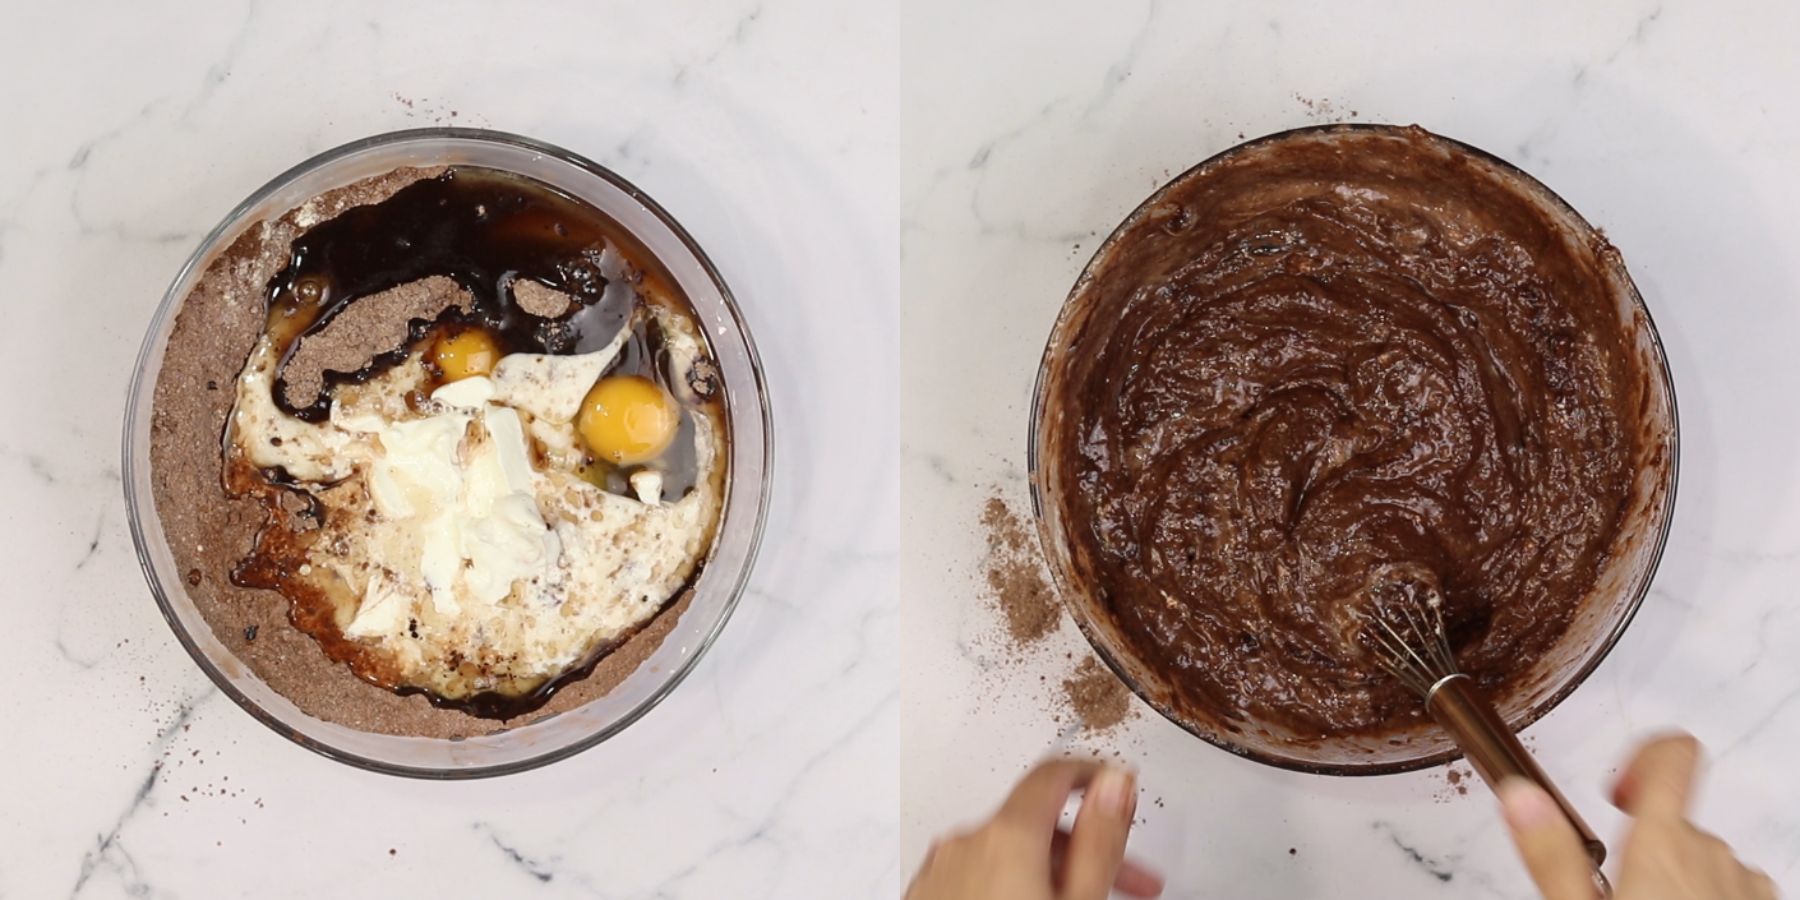
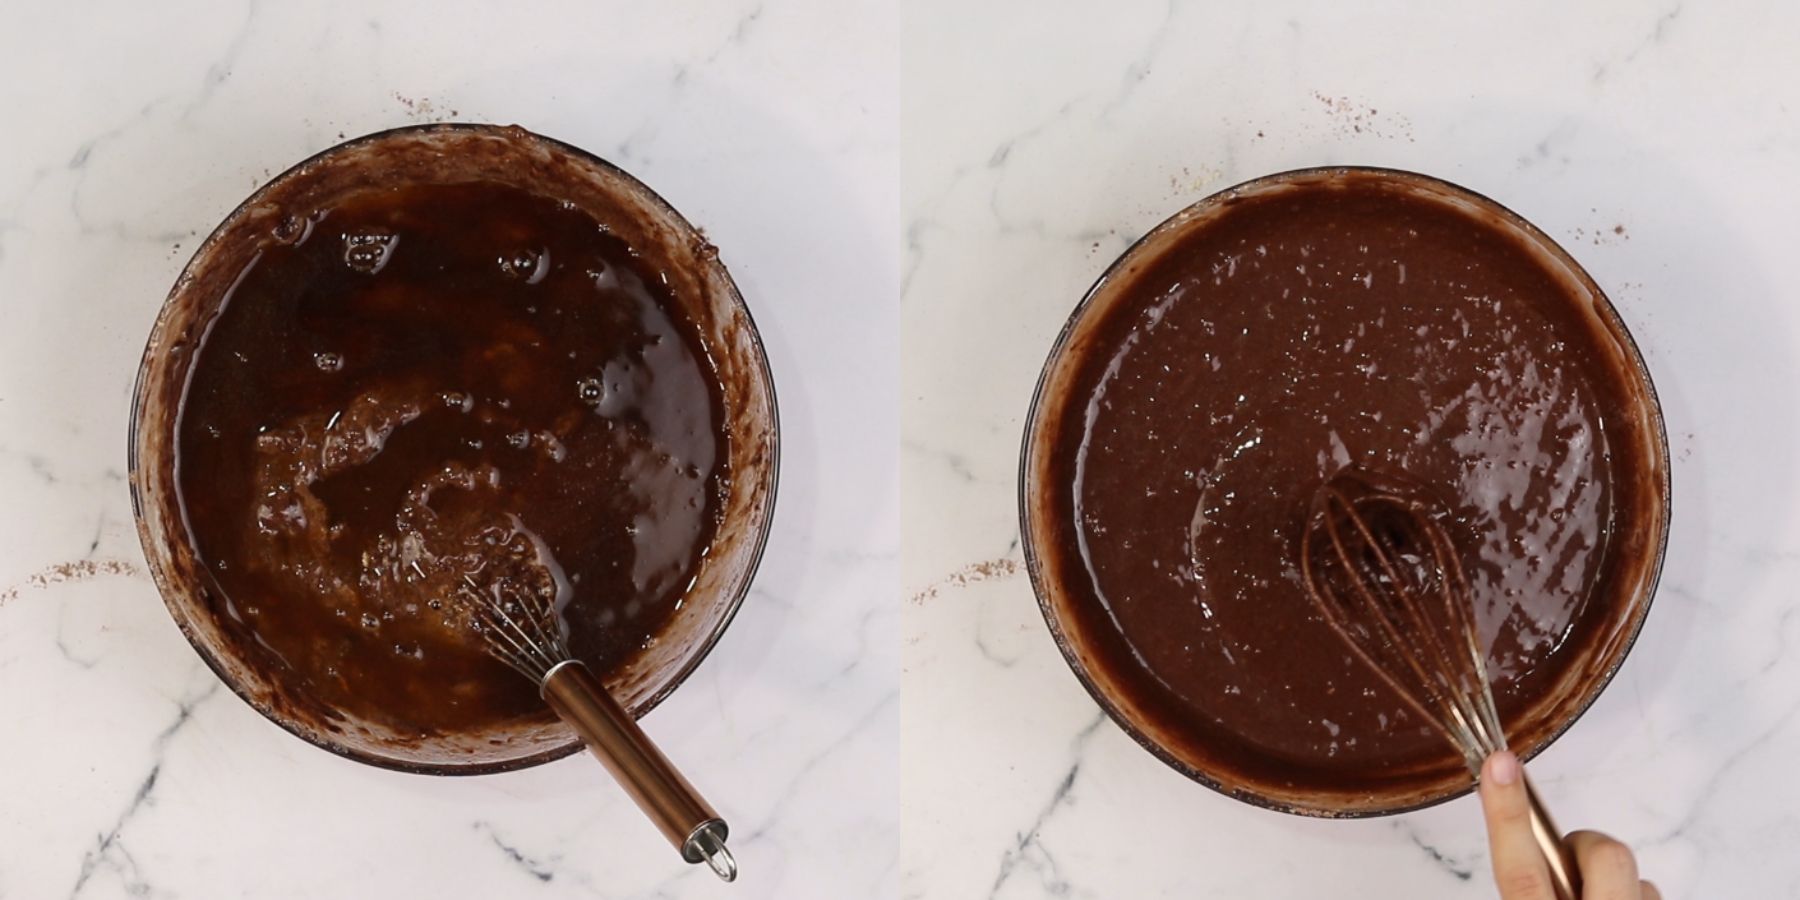
4. Bloom: Pour the hot coffee directly into the batter. Whisk gently until smooth. Note: The batter will be very thin and liquid.
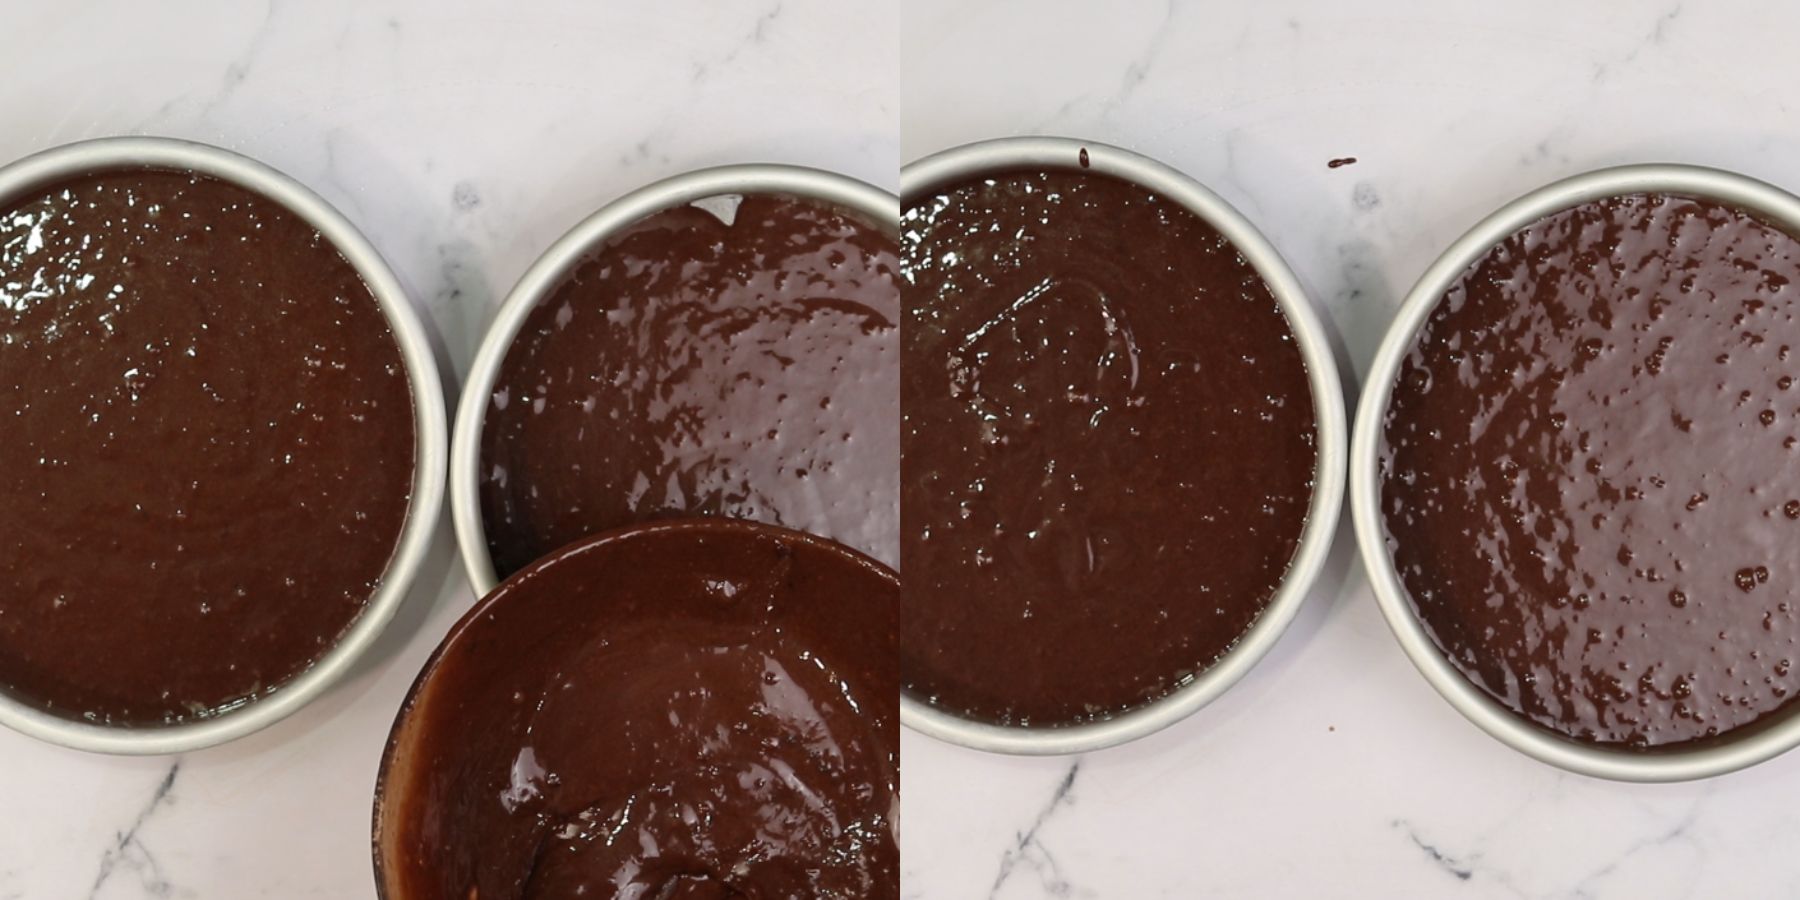
5. Bake: Divide the batter evenly between the pans. Bake for 30–35 minutes until a toothpick inserted into the center comes out with a few moist crumbs. Cool completely.
6. Make the Ganache: Place chopped chocolate in a heat-proof bowl. Heat the heavy cream in a saucepan until it simmers, then pour it over the chocolate. Let sit for 5 minutes, then whisk from the center outward until smooth and glossy.
7. Divide the Ganache: Separate the batch into three portions:
- Filling: Leave at room temperature until it reaches a spreadable, peanut-butter consistency.
- Frosting: Chill in the fridge, stirring every 10 minutes, until cold and firm.
- Drip: Cover and keep at room temperature for the final assembly step.
8. Whip: Beat the chilled frosting portion with an electric hand mixer on medium speed for 1–2 minutes until lightened in color with stiff peaks. Do not over-whip.
Assembly
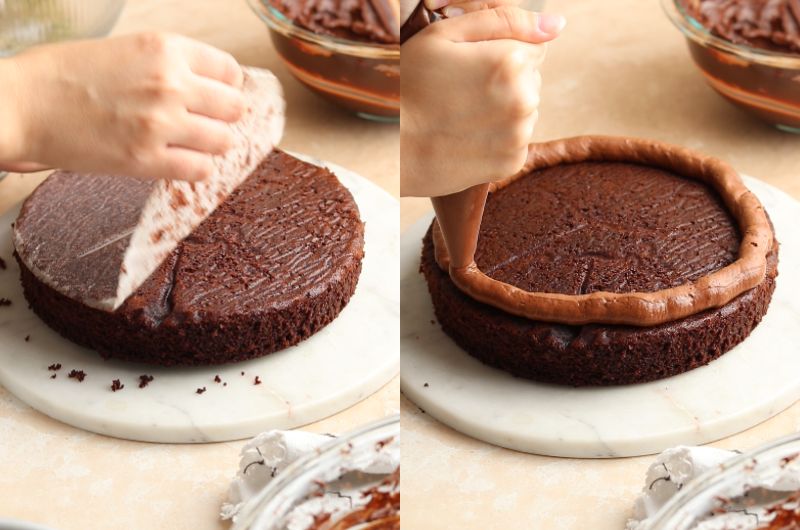
1. Place the first leveled cake layer on a turntable. Pipe a thick border of whipped ganache around the top edge to create a secure dam.
2. Fill the center of the dam with your thick room-temperature filling ganache, smoothing it with an offset spatula.
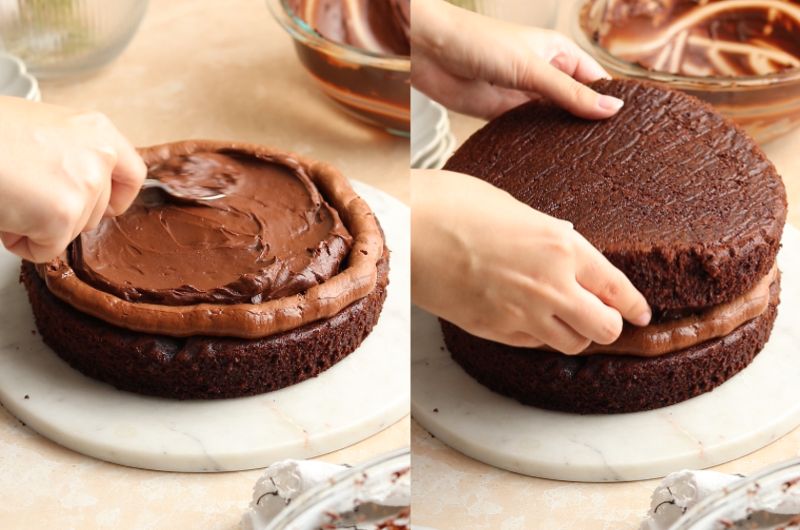
3. Top with the second cake layer. Spread a thin crumb coat of whipped ganache over the top and sides, then chill the cake for 20 minutes.
4. Frost the cake smoothly with the remaining whipped ganache using a bench scraper for clean edges.
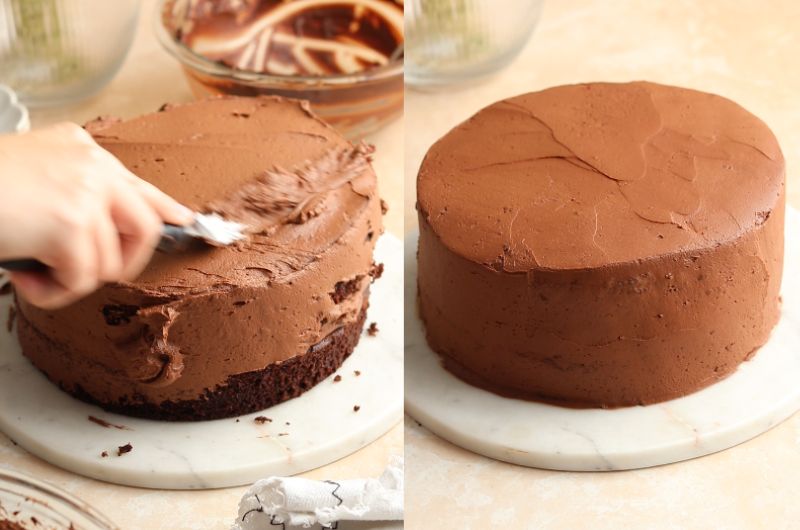
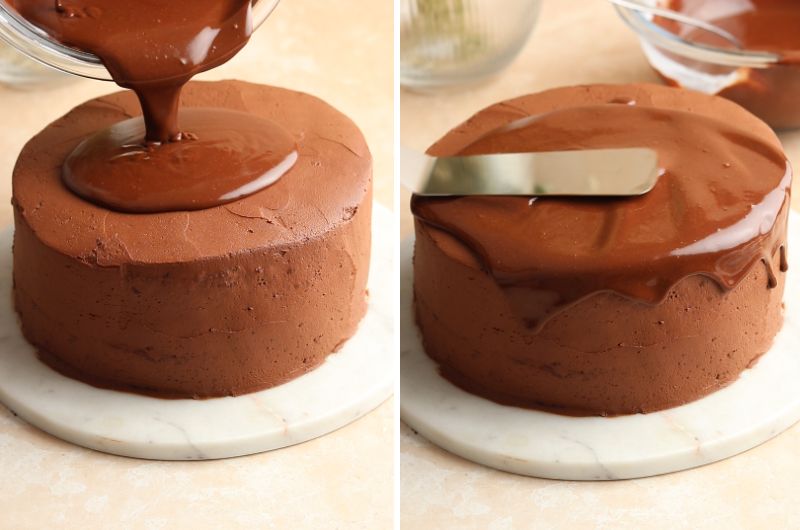
5. Ensure your drip ganache is lukewarm (around 30°C / 86°F). Pour it over the edges of the chilled cake. The cold surface will catch the drips cleanly.
Expert Tips
- Bloom the Cocoa: Always use hot coffee or boiling water. The heat dissolves the cocoa solids instantly, releasing their full flavor potential.
- Use a Kitchen Scale: Weighing dry ingredients like flour and cocoa powder is the only way to ensure a consistent, moist cake texture instead of a dense or dry crumb.
- The Double Sift: Sift your dry ingredients thoroughly. Cocoa powder is highly prone to stubborn clumps that leave bitter spots in your baked sponge.
- Watch the Mixer: Stop whipping your ganache the moment it hits stiff peaks. Over-whipped ganache turns grainy and loses its beautiful shine instantly.
- Chill Before Drip: Always chill the frosted cake before applying the drip. If the cake is warm, the lukewarm ganache will run straight down onto your cake board.
Troubleshooting
Why did my cake sink in the middle?
The oven door was likely opened too early, or your baking soda is expired. Ensure your leavening agents are under 6 months old for the best rise.
Why is my ganache grainy?
The cream was too hot when poured, causing the cocoa butter to separate. Whisk in a tablespoon of cold heavy cream gently to restore the smooth emulsion.
Why is my filling leaking out the sides?
Your frosting dam wasn't stiff or high enough. Ensure the whipped ganache holds firm peaks before piping the outer border on your cake layer.
FAQS
Not at all. The coffee simply deepens and intensifies the natural flavor volatiles of the cocoa powder without leaving a trace of coffee taste behind.
Oil remains completely liquid at room temperature and when chilled. This keeps the cake layers incredibly soft and moist even after refrigeration.
The ganache drip should be between 30°C–32°C (86°F–90°F) and applied to a thoroughly chilled cake so it flows smoothly without melting the whipped frosting.
Storing
Because this frosting and filling are made entirely with fresh heavy cream, this cake must be kept in the refrigerator. Store it in an airtight container or a covered cake dome for up to 4 days.
Freezing
You can freeze the assembled cake (or individual slices) in an airtight container for up to 3 months.
If freezing individual slices, wrap them tightly in plastic wrap before placing them in a freezer bag. Thaw in the fridge overnight before serving.
Make It Ahead Of Time
Bake the Cake Layers Early:
Save time by baking the chocolate layers up to 2 days in advance. Once they are completely cool, wrap them tightly in plastic wrap and store them at room temperature (or freeze them for up to 3 months).
Prep the Ganache in Advance:
You can make the entire batch of 1:1 ganache 1 day ahead and keep it covered at room temperature. When you are ready to assemble the cake, simply chill the portion needed for the whipped frosting and warm up the portion needed for the chocolate drip.
Substitutions
Gluten-Free: Swap the all-purpose flour for a high-quality 1:1 gluten-free baking flour blend that contains xanthan gum.
Dairy-Free Cake: Substitute the buttermilk with 1 cup of unsweetened almond milk mixed with 1 tablespoon of apple cider vinegar, and use a light vegetable oil.
Dairy-Free Ganache: Use dairy-free dark chocolate bars and swap the heavy cream for full-fat canned coconut milk (do not use carton coconut milk).
Egg-Free: Replace the eggs with flax eggs (mix 2 tablespoons of ground flaxseed with 6 tablespoons of water and let it sit for 10 minutes to thicken).
Variations
Salted Caramel: Pour a layer of salted caramel sauce right over the room-temperature ganache filling before stacking the next layer.
Chocolate Raspberry: Spread a thin layer of tart raspberry jam underneath the center ganache filling to cut through the richness.
Mocha: Mix 1 teaspoon of instant espresso powder directly into the heavy cream while you heat it up for the ganache.
Crunchy: Throw some texture between the layers by sprinkling toasted chopped hazelnuts, crushed crêpe cookies, or cocoa nibs over the filling.
Peanut Butter: Skip the room-temperature ganache center entirely and fill the inside of your whipped frosting dam with smooth peanut butter.
How to Scale This Recipe for Different Pans
To adjust your ingredients, multiply every single ingredient in the recipe by the percentage listed below for your chosen pan setup:
- Two 6-Inch Pans: Multiply the entire recipe by 60% (or 0.6). Use 2 whole eggs. Bake at 175°C (350°F) for 28 to 32 minutes.
- Three 6-Inch Pans: Keep the ingredients exactly the same (100% of the recipe). Divide the batter evenly between three pans. Bake at 175°C (350°F) for 22 to 26 minutes.
- Two 9-Inch Pans: Multiply the entire recipe by 130% (or 1.3). Use 4 whole eggs. Bake at 175°C (350°F) for 30 to 35 minutes.
- 9x13 Inch Sheet Pan: Keep the ingredients exactly the same (100% of the recipe). Bake at 175°C (350°F) for 35 to 40 minutes.
Equipment
- Two 8 inch cake pans
- Parchment paper rounds
- Large mixing bowl and whisk
- Fine-mesh sieve
- Heat-proof mixing bowl
- Electric hand mixer
- Offset spatula and bench scraper
- Cake turntable
- Squeeze bottle (for the drips)
More Chocolate Recipes
- Banana Brownies: Fudgy one-bowl brownies packed with ripe bananas and a classic crackly top.
- Chocolate Tiramisu: Coffee-soaked ladyfingers layered with a silky chocolate mascarpone cream.
- Dubai Strawberry Cups: Fresh strawberries loaded with pistachio cream, crispy kataifi, and a chocolate shell.
Connect With Us
Review: Leave a rating and comment below if you enjoyed this recipe. Socials: Follow on Facebook, Instagram, and Pinterest. Save: Pin this recipe to Pinterest for later.
📖 Recipe
The BEST Chocolate Ganache Cake
Ingredients
For the chocolate cake
- 2 cups Flour plain flour, AP
- 1 ¾ cups Granulated sugar
- 2 teaspoon Baking powder
- ½ teaspoon Baking soda
- ⅔ cup Cocoa powder
- ½ teaspoon Kosher salt
- ¾ cup Buttermilk
- ½ cup Sour cream
- ⅔ cup Vegetable oil
- 2 teaspoon Vanilla extract
- 3 Eggs
- ¾ cup Coffee hot
For the chocolate ganache
- 18 oz Dark chocolate
- 18 oz Heavy cream
For the chocolate drip
- 3 oz Dark chocolate
- 3 oz Heavy cream
Instructions
- Prep: Preheat your oven to 180°C (350°F). Grease two 8-inch cake pans and line the bottoms with parchment paper.
- Dry Ingredients: In a large bowl, sift together the flour, sugar, cocoa powder, baking soda, baking powder, and salt to prevent lumps.
- Wet Ingredients: Whisk in the eggs, buttermilk, sour cream, vegetable oil, and vanilla extract until just combined.
- Bloom: Pour the hot coffee directly into the batter. Whisk gently until smooth. Note: The batter will be very thin and liquid.
- Bake: Divide the batter evenly between the pans. Bake for 30–35 minutes until a toothpick inserted into the center comes out with a few moist crumbs. Cool completely.
- Divide the Ganache: Separate the batch into three portions. Filling: Leave at room temperature until it reaches a spreadable, peanut-butter consistency. Frosting: Chill in the fridge, stirring every 10 minutes, until cold and firm.Drip: Cover and keep at room temperature for the final assembly step.
- Whip: Beat the chilled frosting portion with an electric hand mixer on medium speed for 1–2 minutes until lightened in color with stiff peaks. Do not over-whip.
Assembly
- Place the first leveled cake layer on a turntable. Pipe a thick border of whipped ganache around the top edge to create a secure dam.
- Fill the center of the dam with your thick room-temperature filling ganache, smoothing it with an offset spatula.
- Top with the second cake layer. Spread a thin crumb coat of whipped ganache over the top and sides, then chill the cake for 20 minutes.
- Frost the cake smoothly with the remaining whipped ganache using a bench scraper for clean edges.
- Ensure your drip ganache is lukewarm (around 30°C / 86°F). Pour it over the edges of the chilled cake. The cold surface will catch the drips cleanly.
Notes
- Bloom the Cocoa: Always use hot coffee or boiling water. The heat dissolves the cocoa solids and releases their full flavor potential.
- Use a Kitchen Scale: Weighing dry ingredients like flour and cocoa powder is the only way to ensure a consistent, moist cake texture instead of a dense or dry crumb.
- The Double Sift: Sift your dry ingredients thoroughly. Cocoa powder is prone to stubborn clumps that leave bitter spots in the baked sponge.
- Watch the Mixer: Stop whipping your ganache the moment it hits stiff peaks. Over-whipped ganache turns grainy and loses its shine instantly.
- Chill Before Drip: Always chill the frosted cake before applying the drip. If the cake is warm, the lukewarm ganache will run straight down into the cake board.
Kristel says
Great, however I noticed it was missing the addition of the sour cream in the step by step instructions.
Ravina says
Would this recipe work for two 6 inch round tins or should I divide the mix by three?
Rich and Delish says
Hi! Yes it will work 🙂
Murongyi says
Getting ready to make it a second time. Made it for my daughter-in-law's birthday back in January. At that time my daughter requested it for her birthday. A few days ago she reminded me. So here goes.
Debby says
I made this recipe for my husbands Birthday, it was a huge hit. The entire cake was consumed by guests who all loved it!
Alexa says
Can I use Greek yogurt instead of the sour cream for the cake
RichandDelish says
Hi! Yes, the results will be the same 🙂
Bajan Baker says
I would like to try making this cake but my child seems to have a problem with sour cream and buttermilk. Can I substitute the sour cream with Greek yogurt? I see in the substitution section I can substitute the buttermilk for almond milk so I'll try that
RichandDelish says
Yes. Let me know how it turned out!
Gianna says
This was awesome! I made this cake today for my family for Grandma's 92nd birthday! I didn't expect it to be gone in less than 20 minutes! I will say I had some issues getting the ganache to thicken up but I just used extra chocolate and it turned out good!
Megan says
my ganache didn’t want to whip into frosting like texture. Any ideas why?
RichandDelish says
Hi Megan, it was probably not cold enough. The ganache needs to cool in the fridge to whip well.
Shenanigans says
Fabulous!
Angela S. says
The cake is amazing! I have been looking for one similar to one my Grandmother use to make and this is very close! The drip coat didn't work turn out as I had hoped but I think I needed to warm it up a bit to get it to "run" a bit more. It still turned out very good though and I will most definitely be using the cake as my new standard chocolate cake recipe! Thank you for sharing.
Fatima says
Pela terceira vez que faço para aniversario e volta novamente a ser um sucesso. É realmente o melhor bolo de chocolate que encontrei. Obrigada.
Abby says
Not sure why there was sour cream in the recipe if we never had to use it?? Otherwise good recipe that was easy to follow
Maureen says
The sour cream was added in the 3rd step. Might not have been there when you made it and they corrected it, but , it is there now.
Surayya says
I absolutely love this cake, i made it, made a square cake though but the taste was Devine. Mine didnt look as pretty as yours but my family loved it. Thank you.