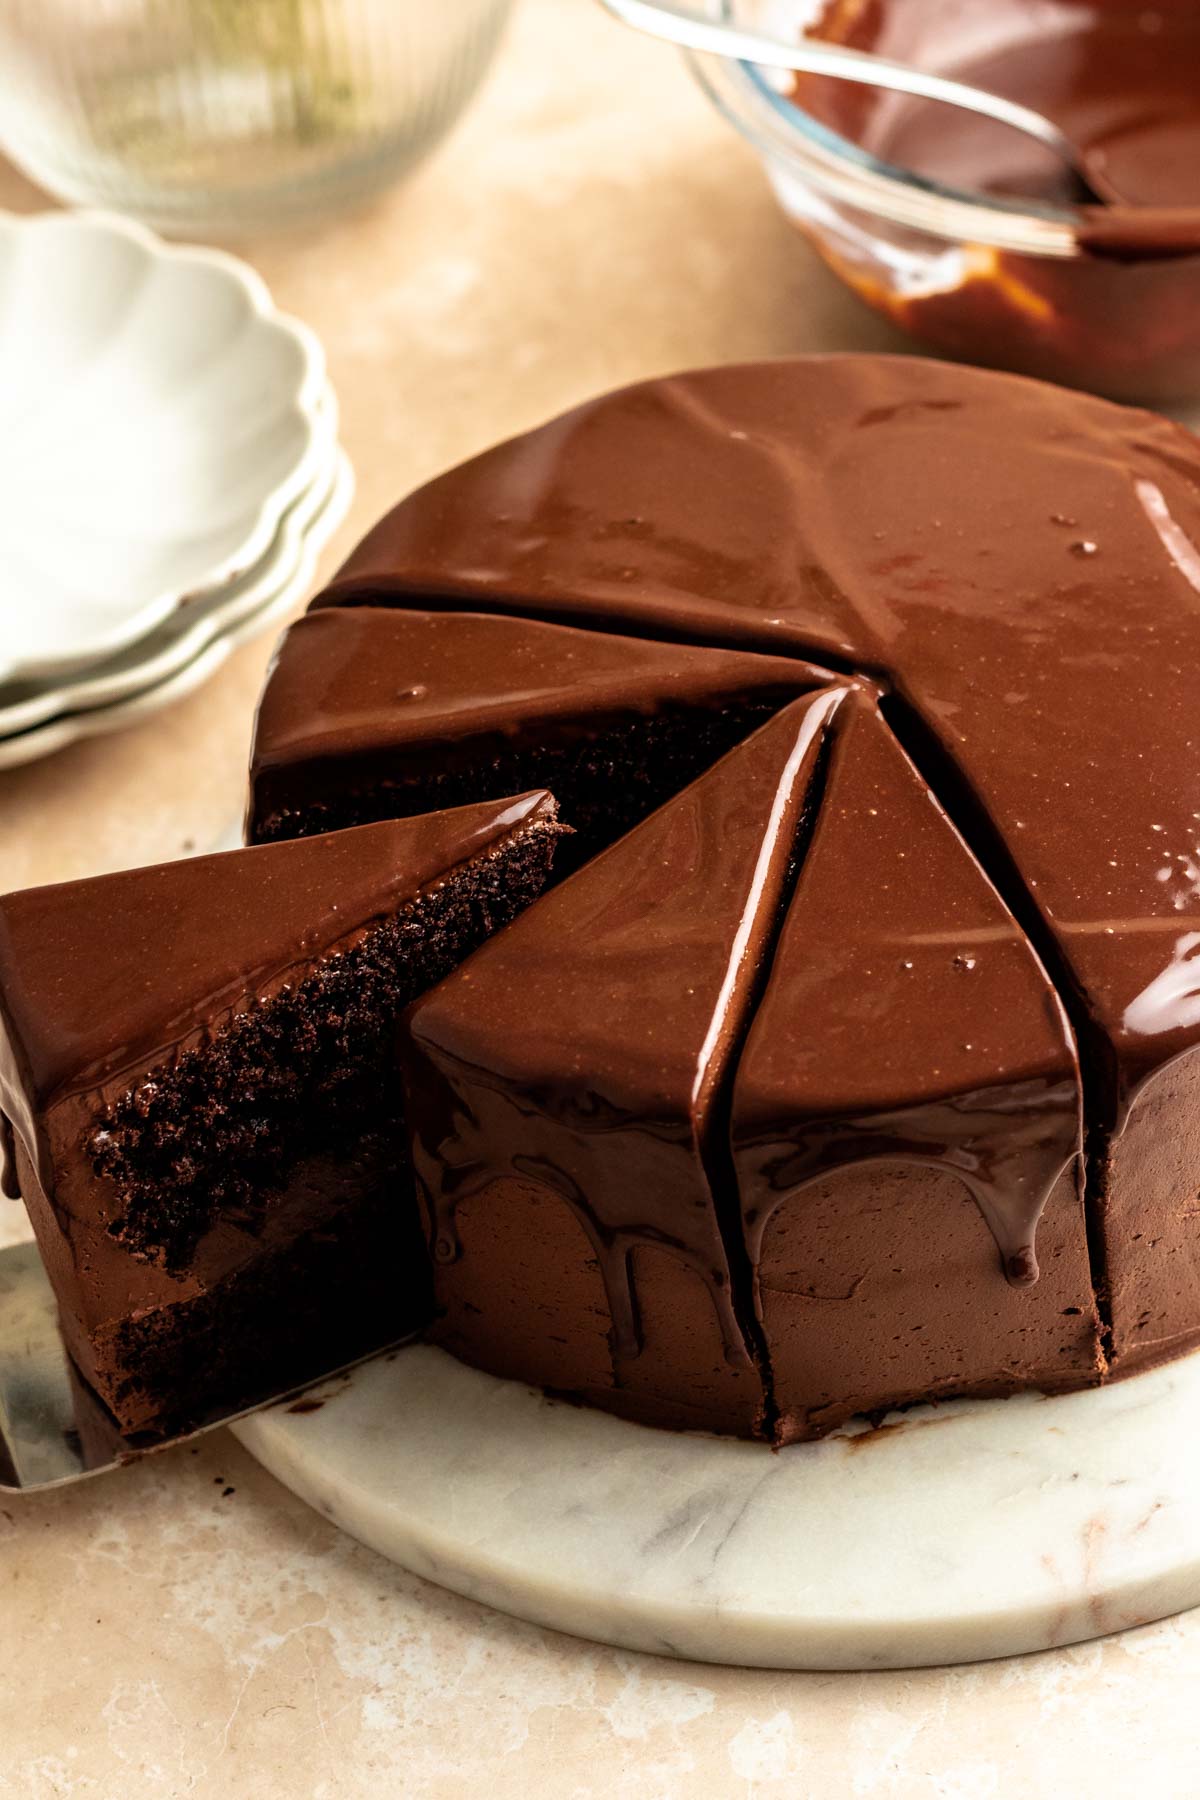
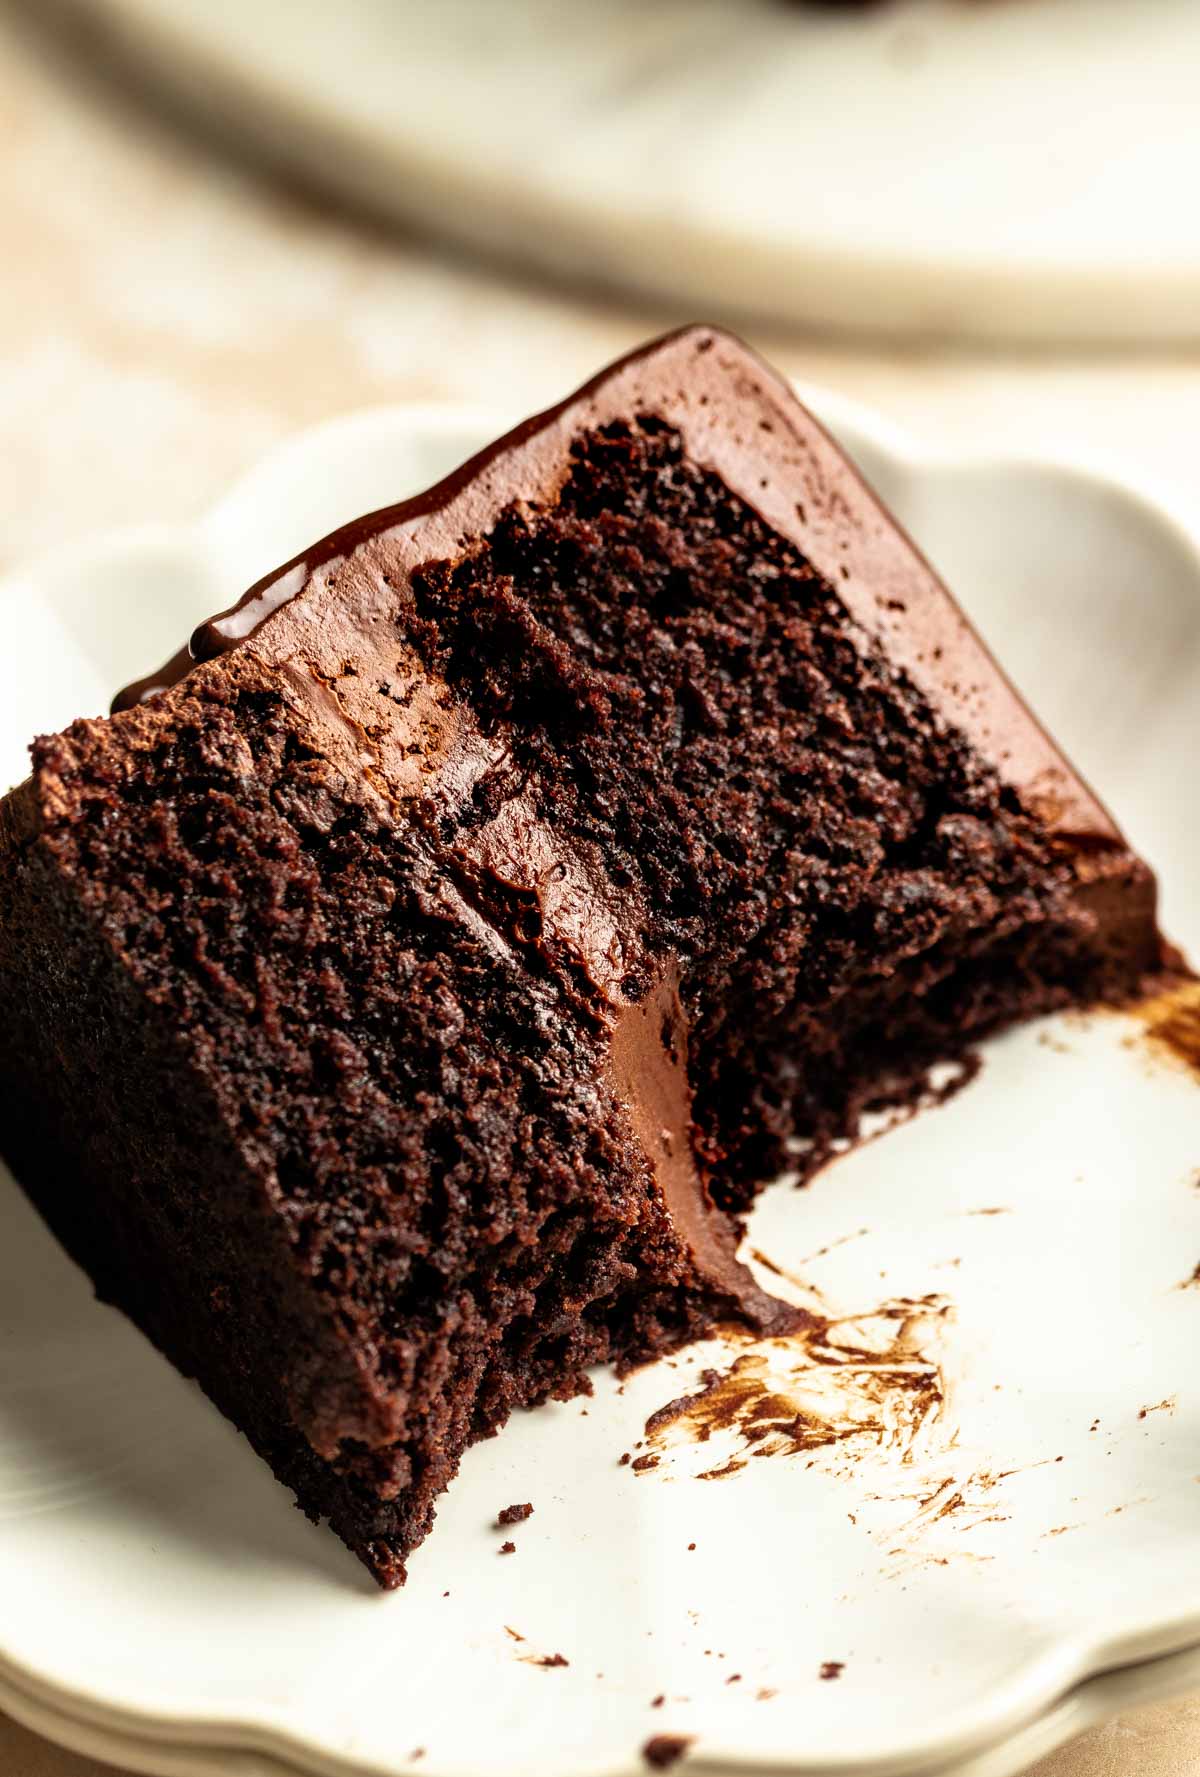
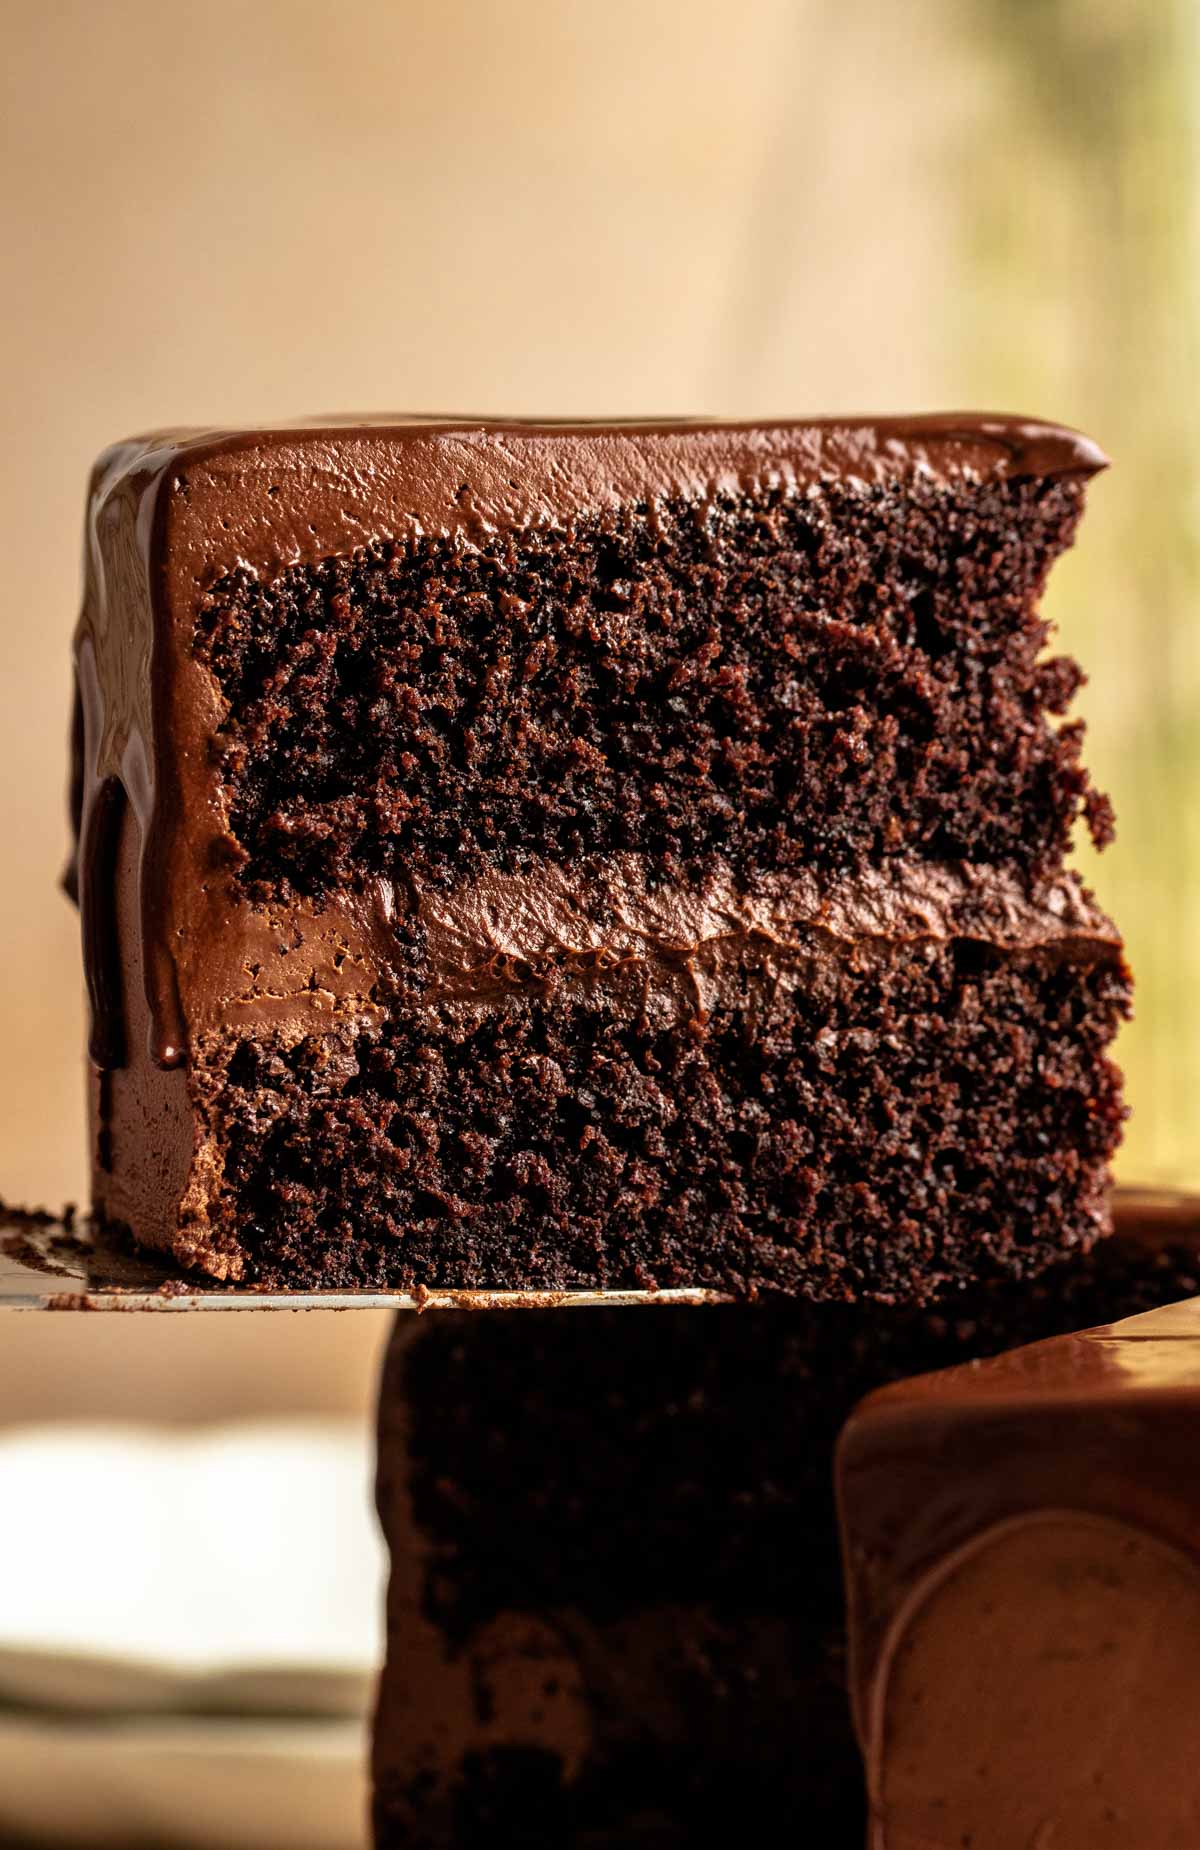
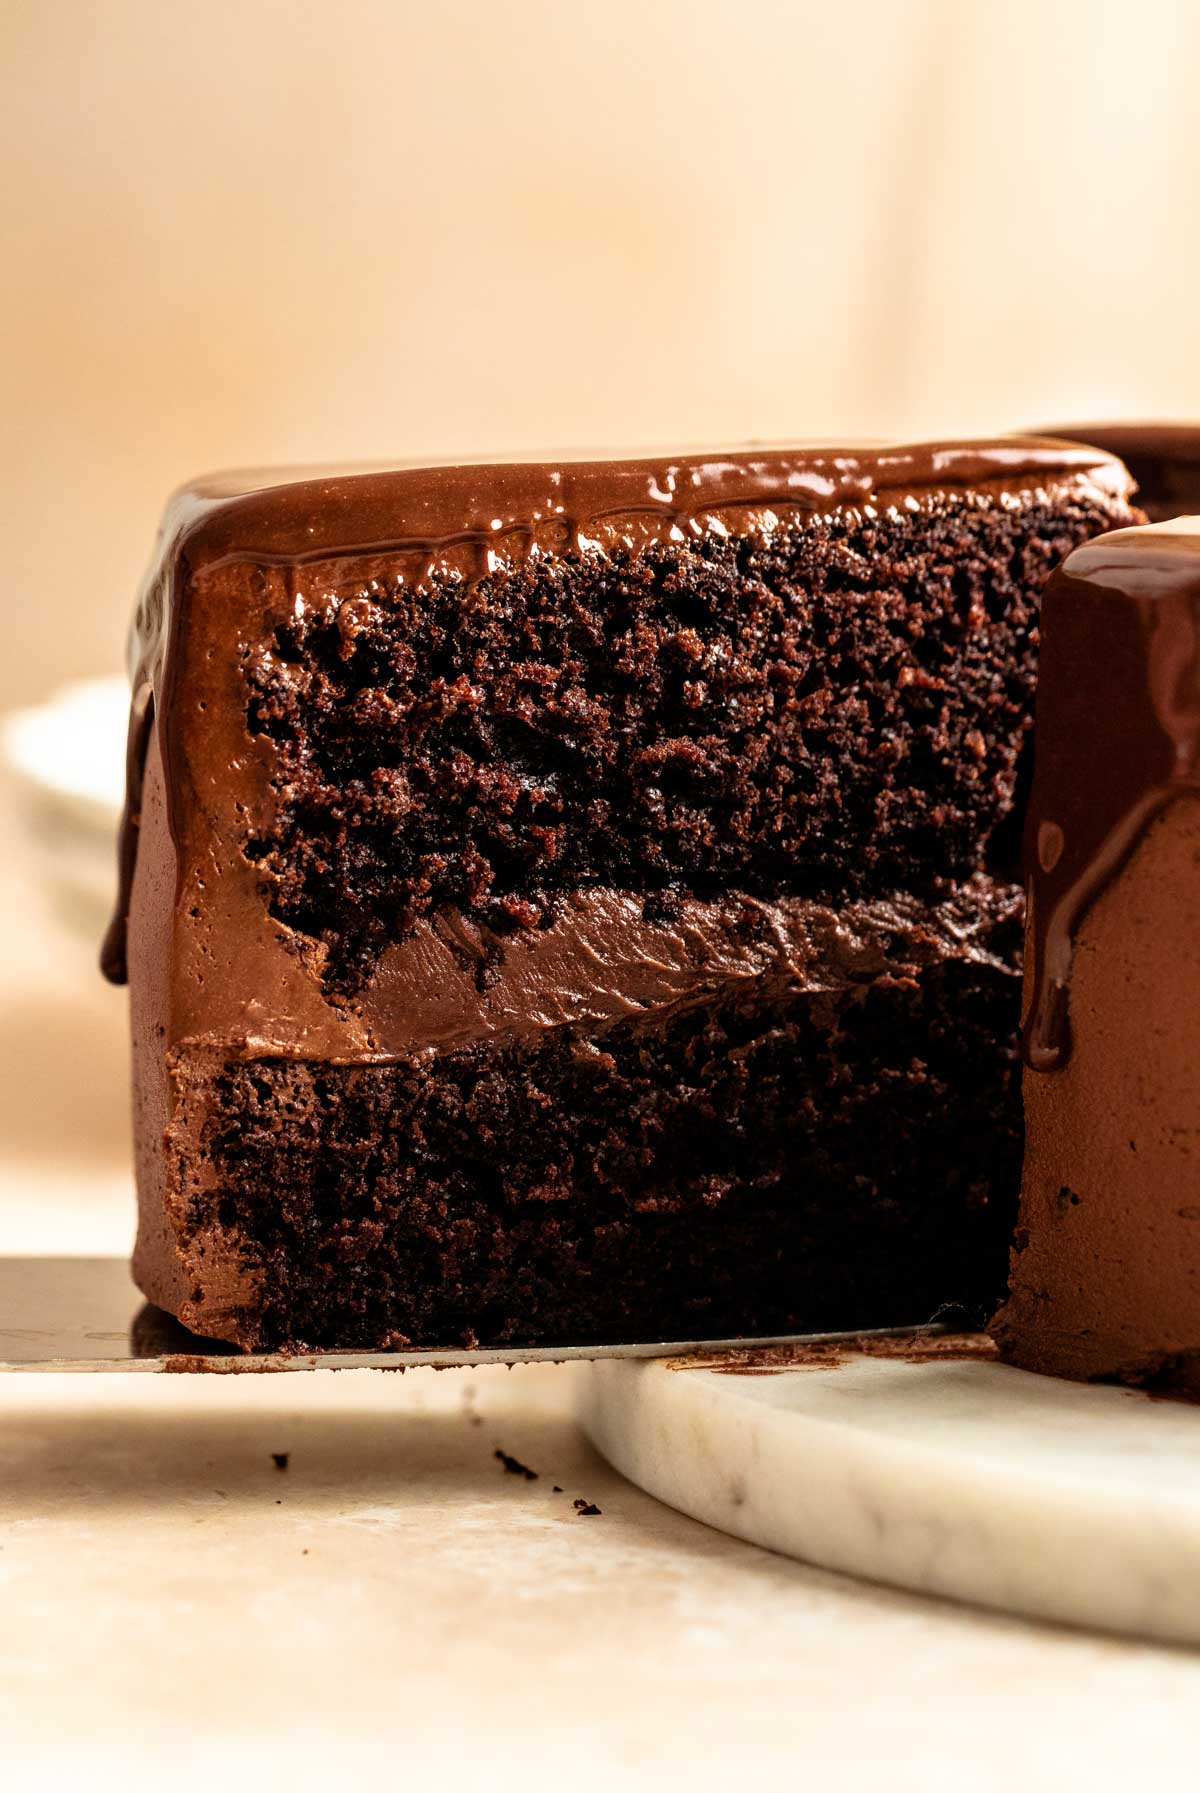
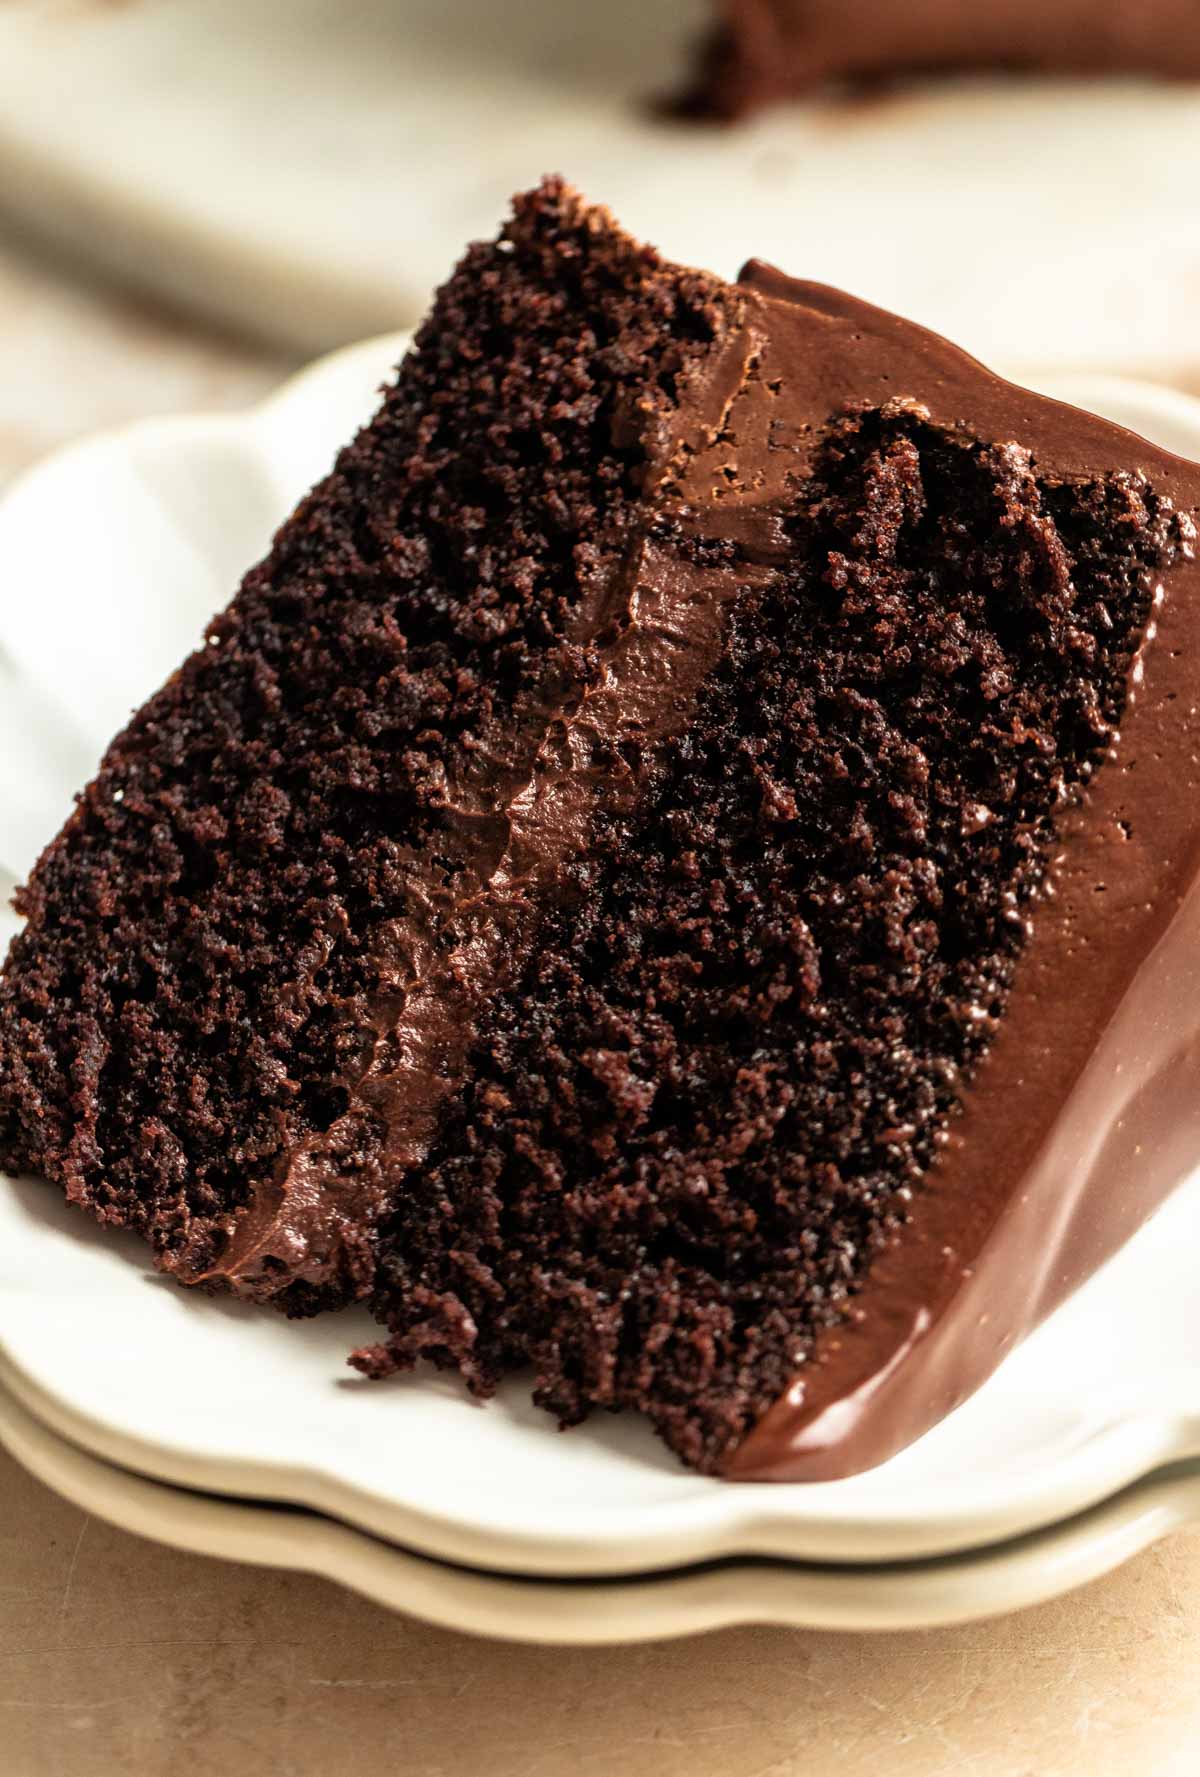
This chocolate ganache cake is made with moist and rich chocolate cake, filled with chocolate ganache, frosted with whipped chocolate ganache, and topped with a chocolate drip.
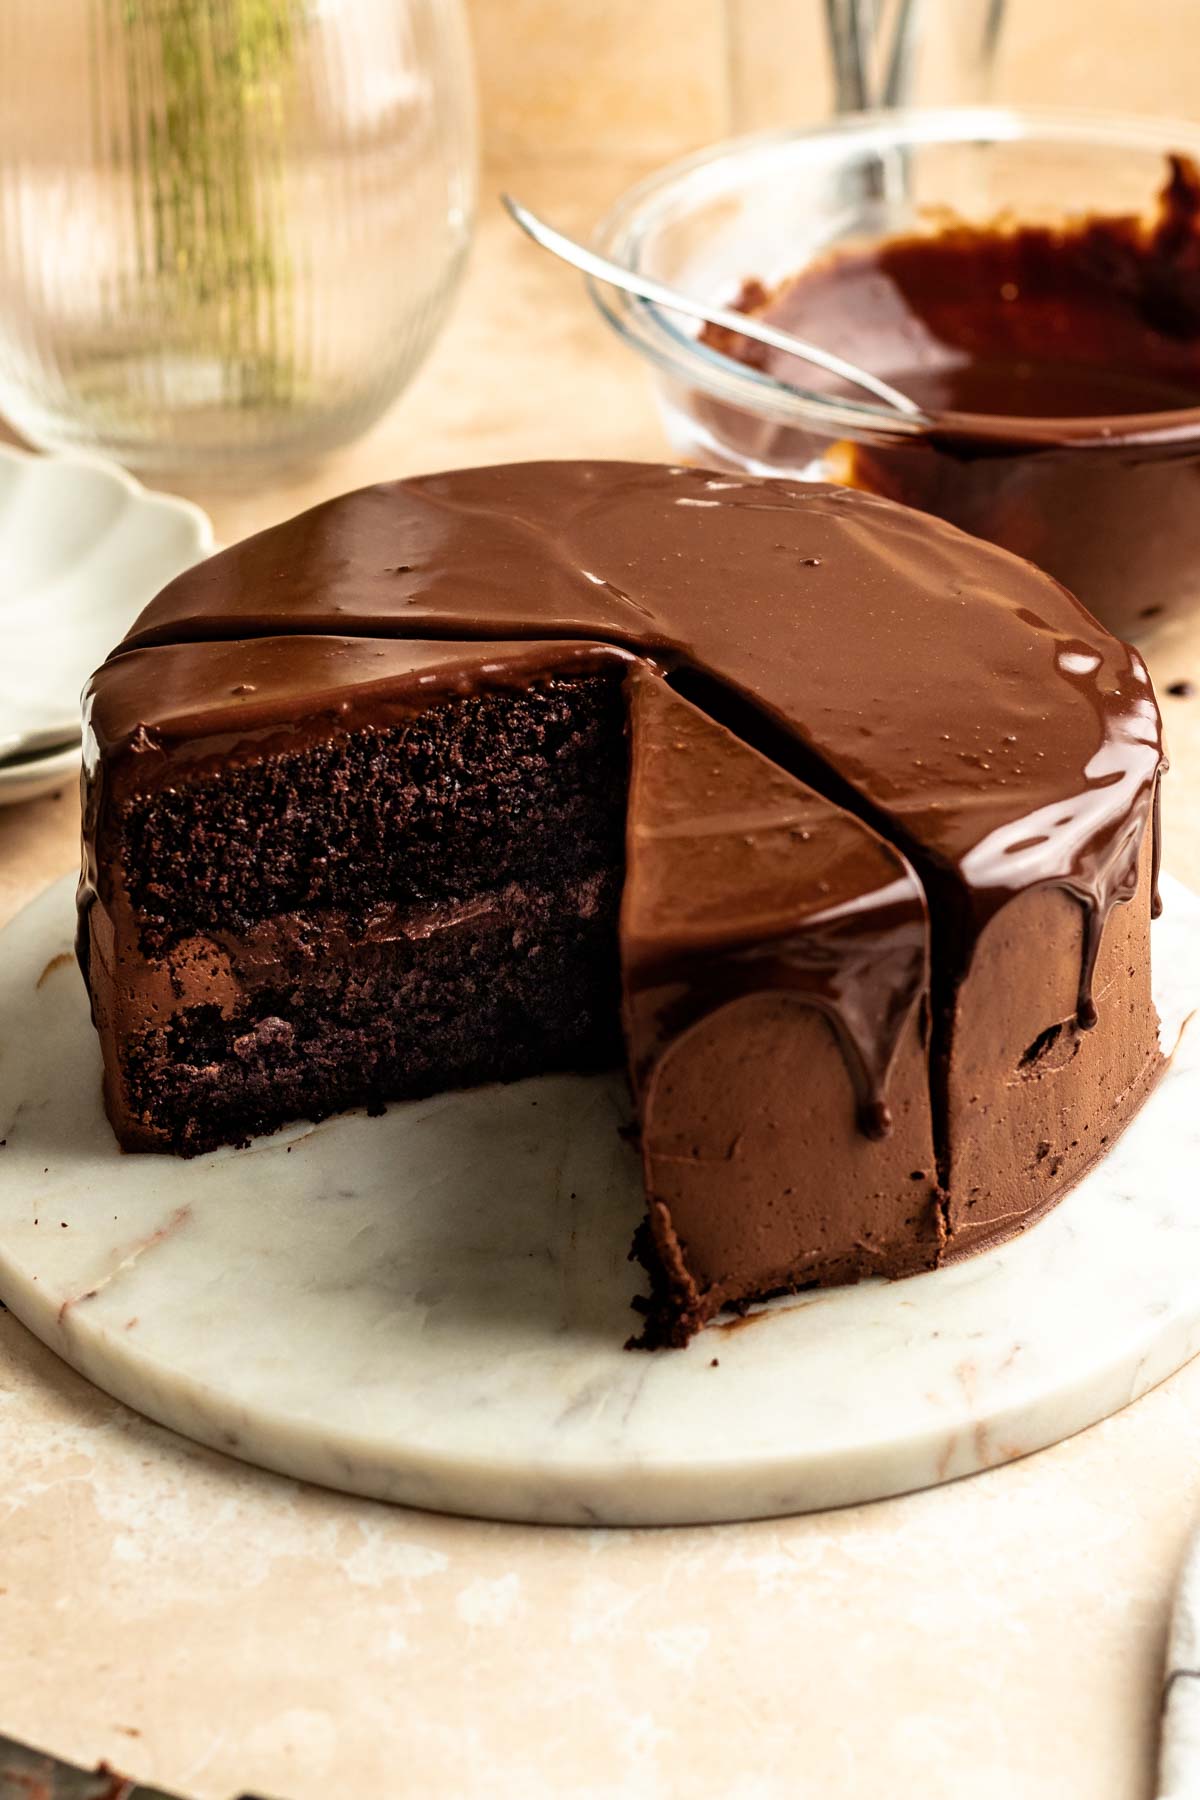
This cake is rich in chocolate flavor and is perfect for chocolate lovers. The frosting and filling of this cake, including the drip, is made with only two ingredients: dark chocolate and heavy cream!
This cake is the ultimate chocolate cake since it's full of chocolate flavor from the Dutch cocoa powder in the cake, and plenty of chocolate ganache that is used as filling, and frosting.
You can decorate it for any occasion like with fresh berries on top, sprinkles, or colored whipped cream. This cake is perfect for any occasion from parties, to holidays, to birthdays.
For more chocolate cakes, check out my best one bowl chocolate cake, chocolate sour cream pound cake, small chocolate cake, dark chocolate sheet cake, Ferrero rocher cake, matildas chocolate cake, and ding dong cake.
Why this recipe works
- Texture- this cake has a moist and tender texture that goes perfectly with the creamy chocolate ganache.
- Rich chocolate flavor- this cake has all chocolate flavor! From the cake itself which uses dutch cocoa powder, to the frosting, filling, and chocolate drip that is made with plenty of dark chocolate.
- Chocolate ganache filling- it is filled with chocolate ganache filling that is fudgy and truly decadent and is made with only 2 ingredients!
- Perfect for any occasion- this chocolate cake is perfect for birthdays, parties, holidays, events, or any other occasion!
- Chocolate ganache frosting- the whipped chocolate ganache frosting is extremely easy to make and has a luxurious and decadent flavor and texture.
How to make perfect even cake layers
Our biggest tip to make even cake layers is to use a scale and cake strips. Weigh the chocolate cake batter and divide it into two even pans. Then use cake strips to make sure your cake layers bake evenly and don’t develop a dome on top.
Cake strips give you an evenly baked cake with a flat top.
Ingredients
Before you start to make this recipe, measure and prepare your ingredients so the cooking process will go smoothly and easily.
Full measurements are in the recipe card below.
Flour– we used all-purpose flour for this recipe, self-rising flour, and cake flour will work great as well.
Dutch cocoa powder– we like to use Dutch-process cocoa powder for our chocolate cake because we like the deep and rich chocolate taste, but the natural cocoa powder will work great as well!
Baking powder and baking soda – to help the cake rise.
Granulated sugar– we like to use granulated sugar, also the most common sugar used in baking. Caster sugar will work great as well.
Vegetable oil – we used vegetable oil for this recipe. canola oil will work great for this recipe.
Sour cream- I used sour cream for this cake to make it extra moist and tender. You can also use full-fat Greek yogurt.
Eggs- To give the cake a good structure. Make sure you’re using room-temperature eggs.
Buttermilk- gives the cake extra moisture. You can make your own buttermilk if you don’t have one on hand. Simply mix a cup of milk with a tablespoon of vinegar or lemon juice and let it sit for at least 10 minutes.
Hot coffee- make a strong hot coffee, you can use espresso or instant coffee, both will work.
Vanilla extract- Vanilla extract Is an essential ingredient for chocolate cake.
Salt- We used kosher salt for this recipe. Salt doesn’t give the cake a salty taste, it helps to enhance the chocolate flavor.
For the chocolate ganache
Heavy cream- use full-fat heavy cream for this recipe. This cant is substituted.
Chocolate- use the best quality semisweet or dark chocolate bars for the best flavor. using the best quality dark chocolate is very important in this recipe.
Instructions
Preheat the oven to 180 (350f) and prep two 8-inch baking pans with cooking spray and parchment paper.
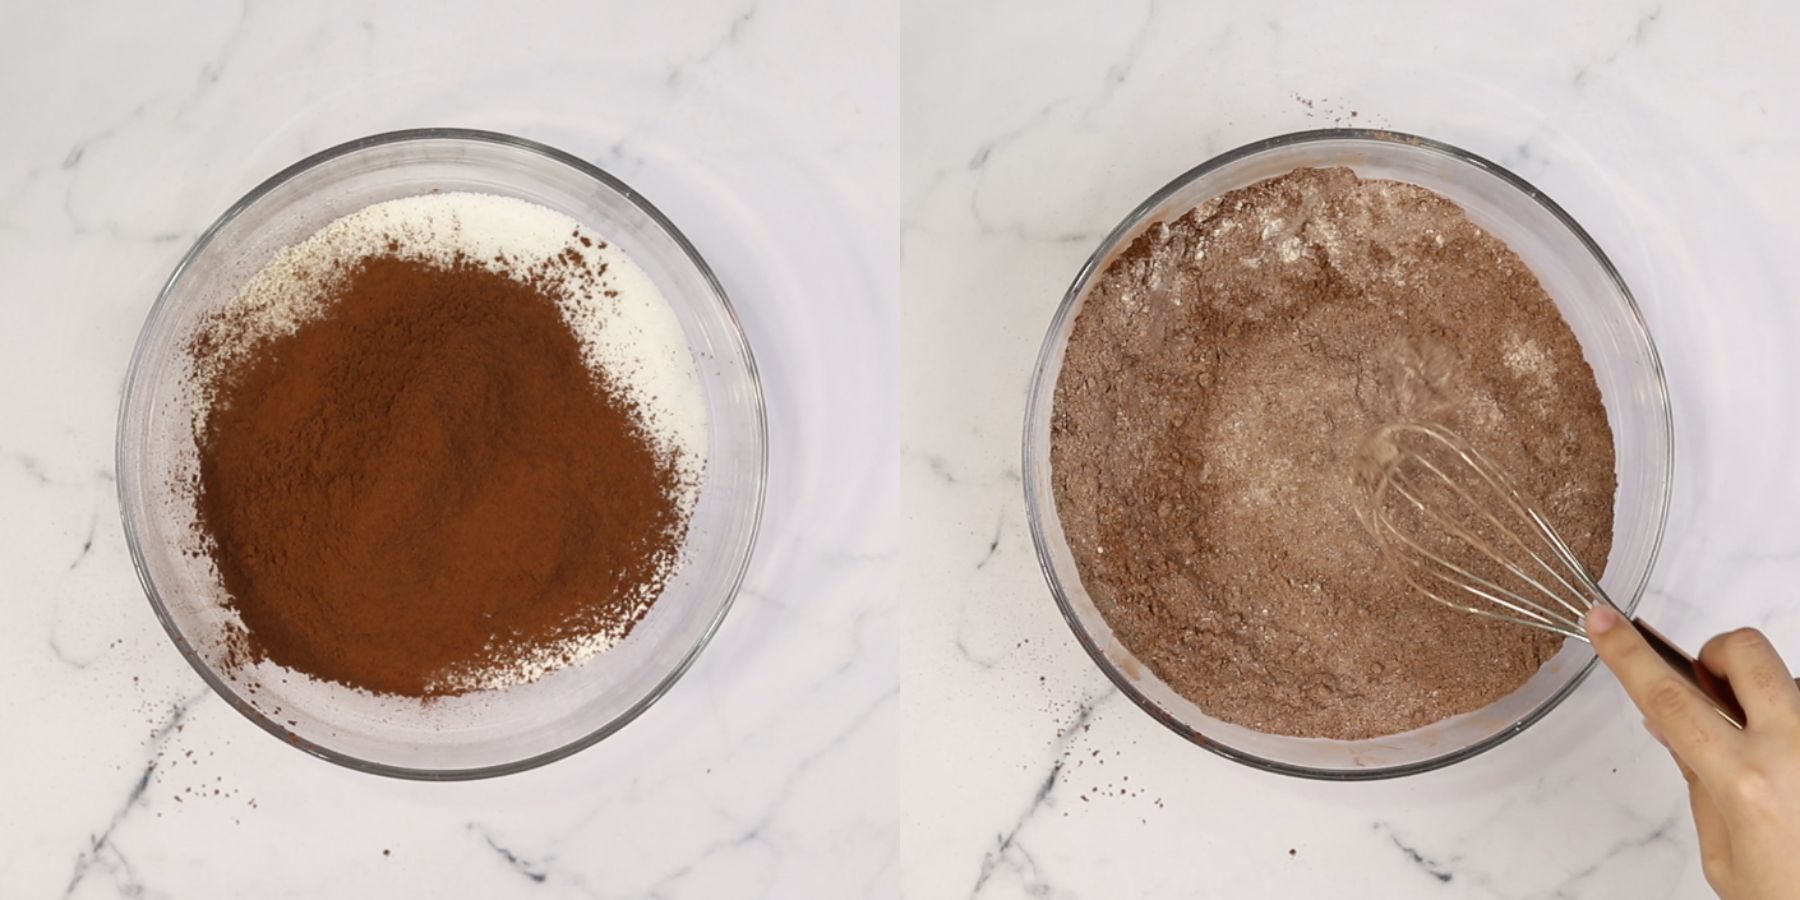
Into a large mixing bowl, add the dry ingredients: flour, granulated sugar, kosher salt, baking powder, and baking soda, sift the cocoa powder, and mix with a whisk.
Add the buttermilk, vegetable oil, vanilla extract, sour cream, and eggs, and mix until almost combined.
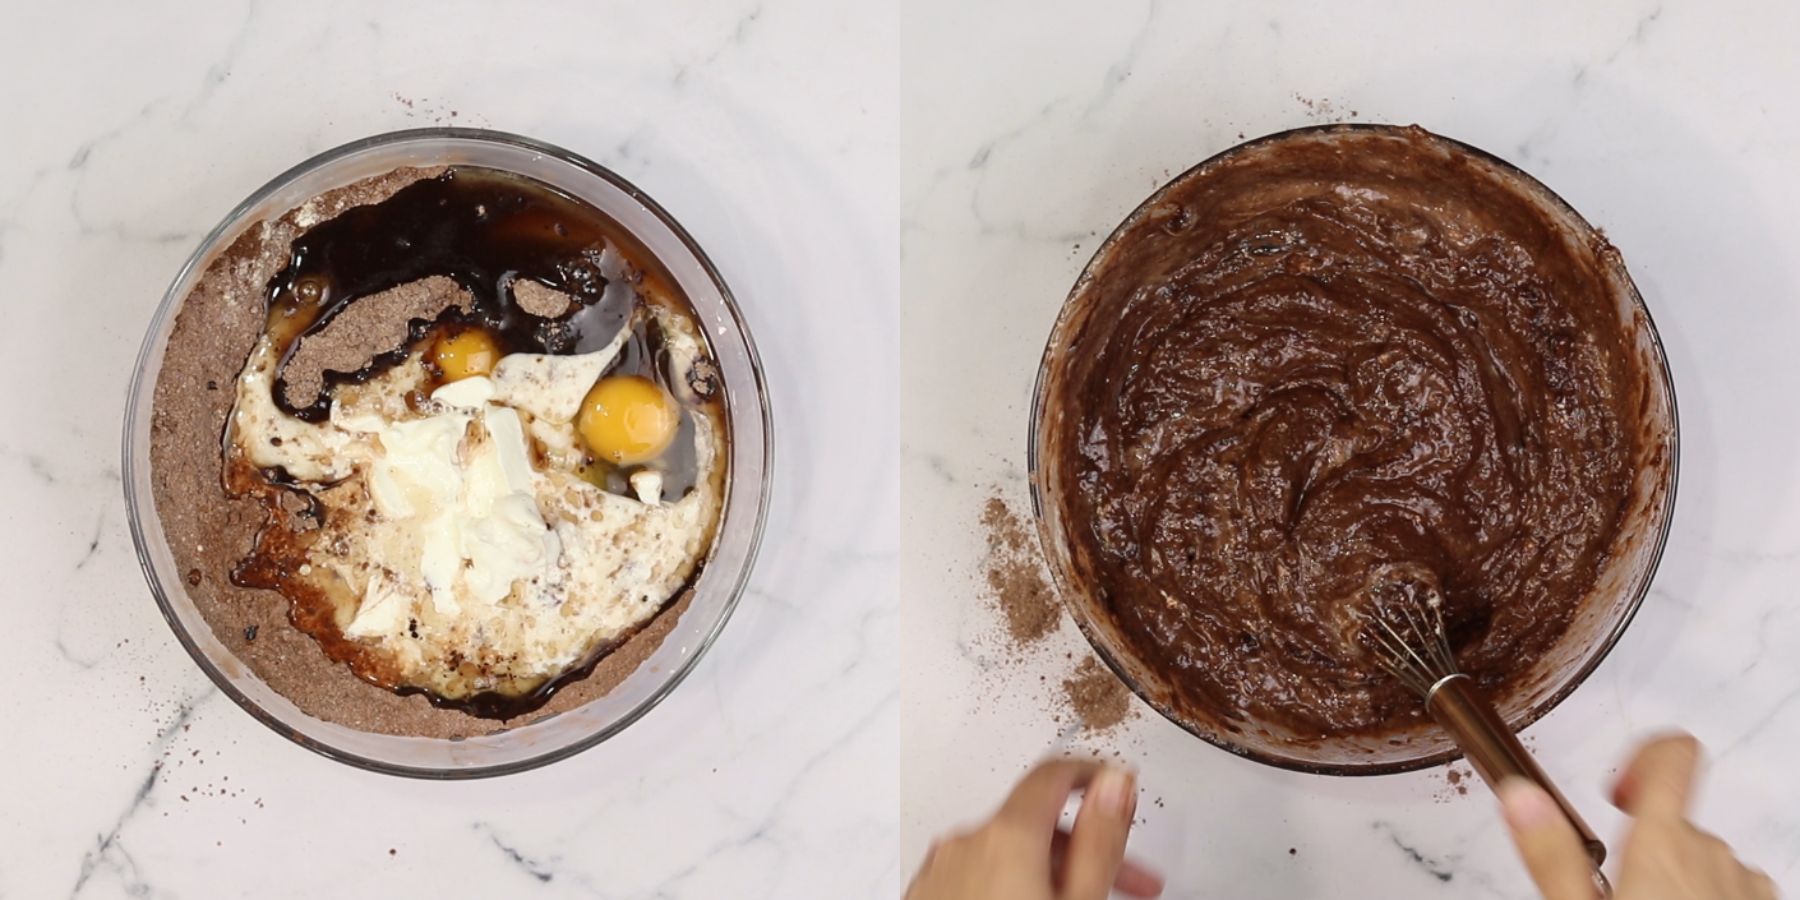
Add the hot coffee and mix until just combined and there are no lumps of flour visible. The batter should be pretty runny and smooth.
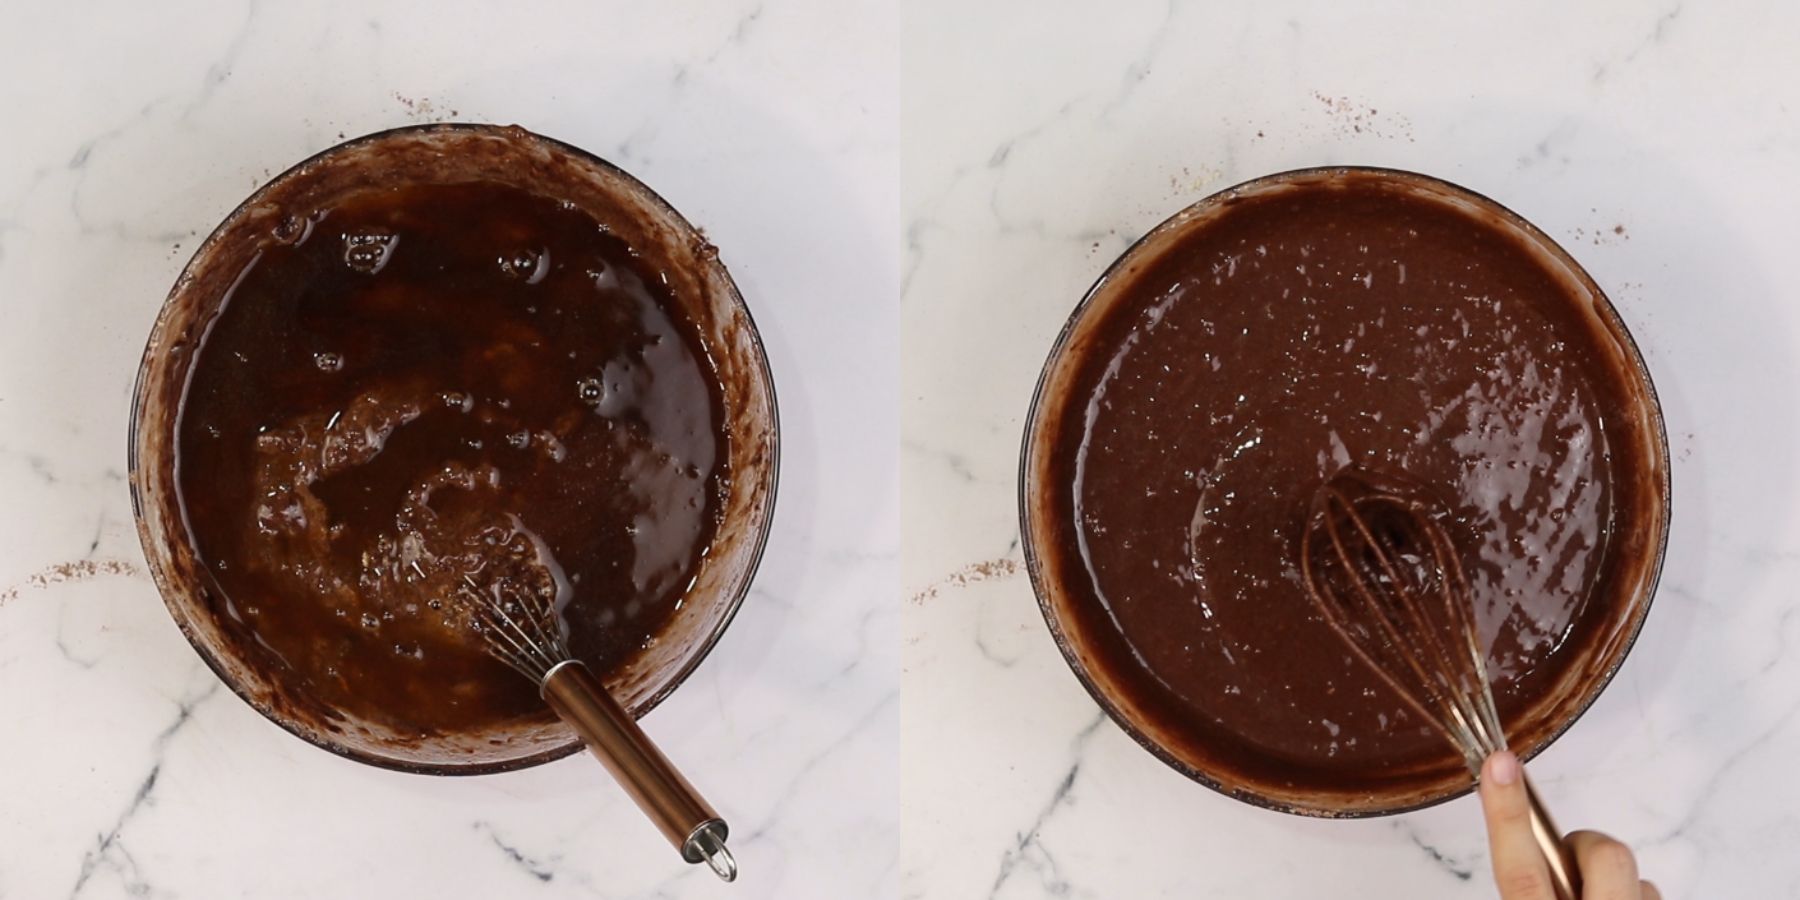
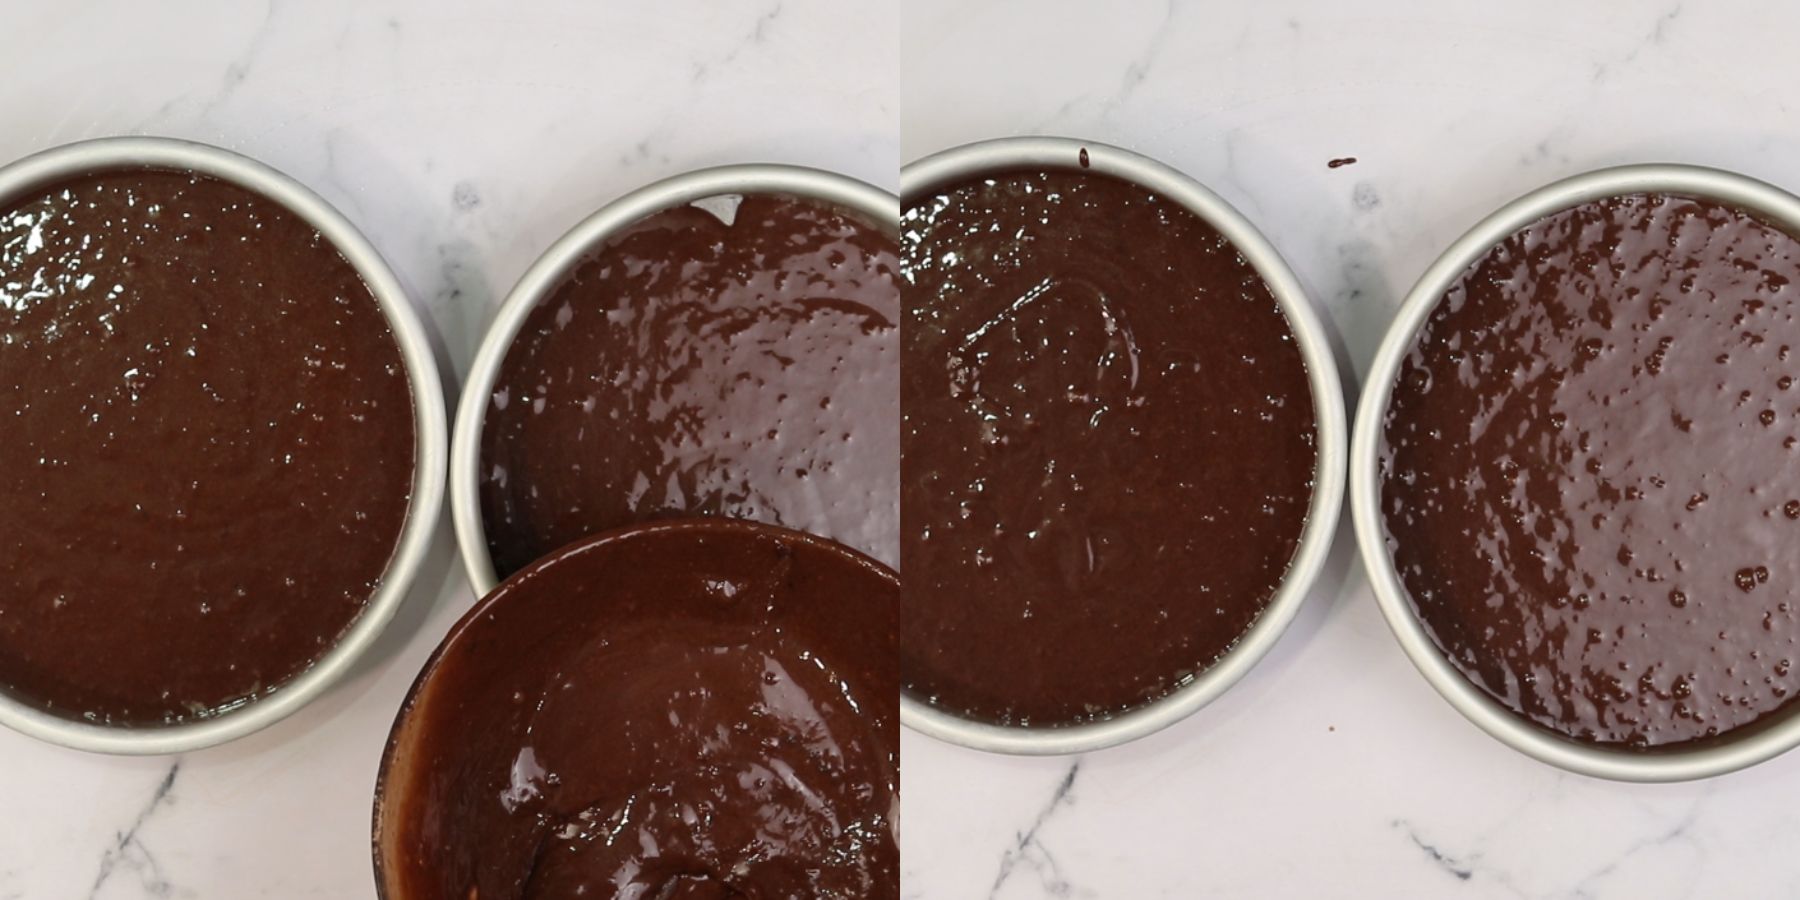
Divide the mixture into two 8-inch baking pans, I suggest using cake strips for even baking. (weight the batter for better results) and bake in a preheated oven for 25-30 minutes or until a toothpick comes out clean. (You can also use a 9-inch cake pan)
Let the cake cool completely before frosting so the frosting won't melt off the cake.
Make the chocolate ganache
Start making the chocolate ganache by chopping dark chocolate and placing it into a large bowl.
Heat the cream in a saucepan until it comes to a simmer. Pour the cream into the bowl with the chopped chocolate.
Let the chocolate and the cream sit for 10 minutes for the chocolate to melt, then mix until the chocolate ganache is smooth and silky.
Allow the ganache to cool at room temperature until it reaches room temperature. Cover the bowl with plastic wrap to prevent skin from forming.
Divide the ganache into two separate bowls and use an electric hand mixer to whip one-half of the chocolate ganache until it's lighter in color and resembles the texture of frosting.
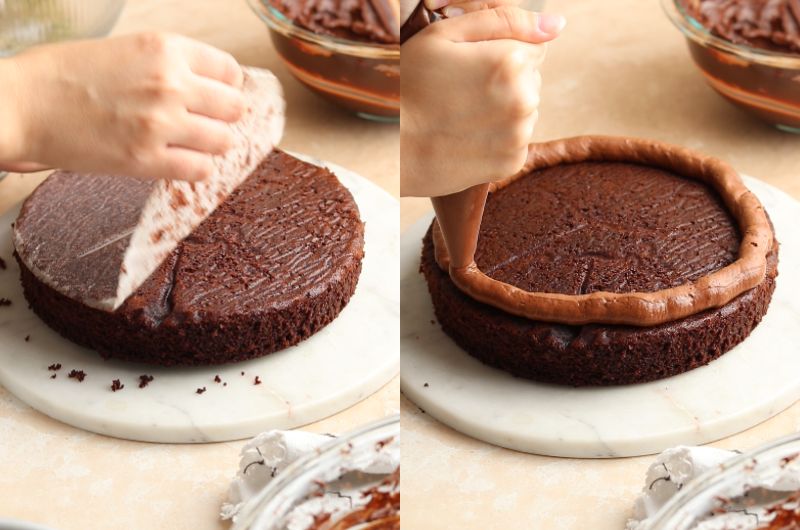
Use the whipped chocolate ganache to create a border around the edges of the first cake layer.
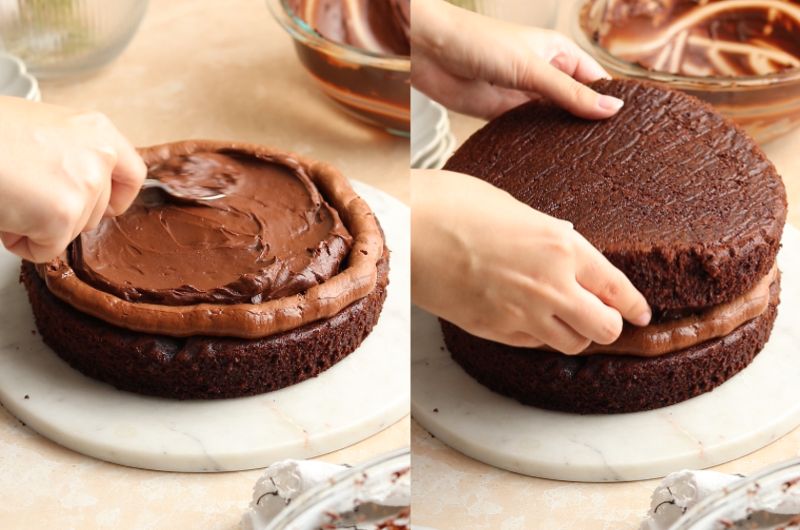
Then fill the middle with the other half of the chocolate ganache and smooth it out with a spoon or a spatula. Top with the second cake layer and frost the cake with the rest of the whipped ganache.
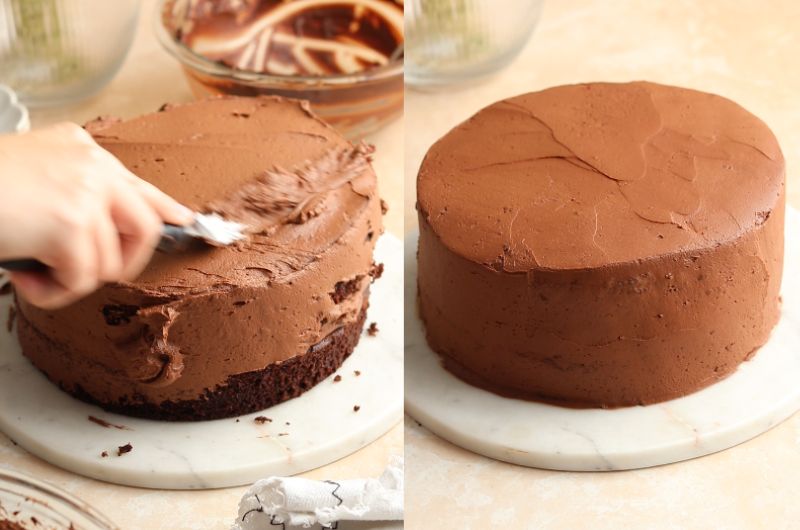
Meanwhile, store the cake in the fridge while you make the chocolate ganache for the drip.
For the chocolate drip, follow the same instructions for making the ganache but with a smaller amount of ingredients. Let the ganache cool for about 15 minutes or until it's not too hot.
Pour the chocolate ganache over the cake and use a spatula to carefully push the ganache around the edges of the cake until a drip design forms.
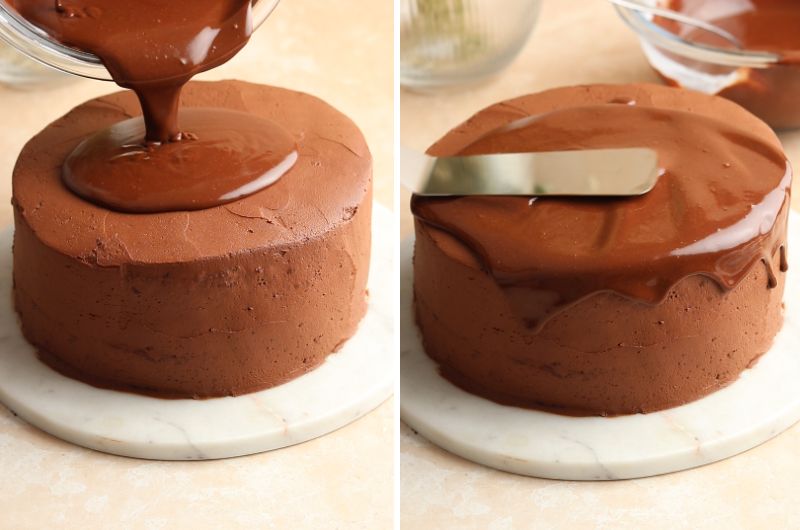
Expert Tips
- Don’t skip the coffee in the cake, you can’t taste the coffee, it simply enhances the chocolate flavor.
- Use cake strips! Cake strips give you even and perfectly baked cake layers.
- Use room temperature ingredients. It is important that you use room-temperature ingredients like eggs and butter. This step ensures that your mixture mixes into a homogenous mixture and bakes perfectly. you don’t want to place cold batter into the oven.
- Measure your flour correctly! When measuring your flour, avoid scooping it with a measuring cup. Instead, stir the flour with a spoon to create as many air pockets as possible, and spoon it into your measuring cup. Finally, level it with a back of a knife.
- Don’t overmix the batter, you don’t want to develop the gluten in the flour. This step ensures you have a moist cake and not a dense and dry cake.
- Line your baking pan with parchment paper! This step helps the cake to bake evenly, and it makes sure that your cake will release easily from the pan.
- Be patient! I know it’s extremely tempting to frost this cake as it is pulled out of the oven, but let the cake cool for at least 1 hour so it will be firmer and won’t crumble up, and prevent the frosting from melting.
Faq's
A chocolate ganache cake is made with rich chocolate layer cakes is filled with a two-ingredient chocolate ganache, and is frosted with whipped chocolate ganache.
Finally, it is topped with chocolate ganache to create a beautiful drip.
Chocolate ganache cake be made thicker by letting it set in the fridge. It can also get harder if you add more chocolate. It will naturally harden as it chills.
Yes. Chocolate ganache cake contains a lot of dairy which needs to be refrigerated so it won't go bad.
Yes. You can use 8 or 9-inch cake pans. Take into consideration that the cake layers will be thinner and you will need to bake it for less time.
No! you can’t taste the coffee. Adding the coffee simply enhances the chocolate flavor. So, don’t skip the coffee on the cake!
Storing
This cake will last up to 4 in the fridge. Cover the cake with plastic wrap or foil to prevent it from drying out. This cake tastes amazing for 4 days!
Freezing
Freeze this cake after it cooled completely in an airtight freezer-friendly container for up to 3 months, some people find the cake tastes better after freezing it.
My tip is not to freeze it decorated or covered with frosting, because it can ruin the decorating of the cake, I suggest freezing the cake and decorating it when you defrost it.
If you’re not looking to impress anyone with your decorating skills, it’s absolutely okay to freeze the cake with the frosting on. You can freeze the whole cake or slice it into slices and then freeze it.
Make it ahead of time
You can make this cake ahead by freezing the cake layers ahead of time. Wrap each cake layer with a few layers of plastic wrap and freeze for up to 2 months. Thaw at room temperature for 1-2 hours or in the fridge overnight.
When you are ready to frost and assemble the cake, make the frosting, and assemble the cake as written in the instructions!
Substitutions
Dairy-free- to make this cake dairy-free, replace the buttermilk with almond milk. Also, replace the heavy cream with coconut cream.
Egg-free- to make this cake egg-free, replace the eggs with ⅔ cup of applesauce.
Gluten-free - if you want to make this recipe gluten-free, simply replace the flour with gluten-free flour.
Variations
Zest- lots of people like the orange and chocolate combinations. If you do, add 1 tablespoon of orange zest to this cake to add a zesty orange flavor.
Frosting- Use your favorite chocolate frosting like dark chocolate frosting, chocolate whipped cream frosting, stabilized chocolate whipped cream frosting, chocolate cream cheese frosting, etc.
Equipment
- Mixing bowl (set of 3)
- Whisk Set (pack of 3) to whisk the ingredients together
- 8-inch cake pans.
- Rubber spatula
- Cake strips
More chocolate recipes
Chocolate Rice Krispie Treats- These chocolate rice krispie treats are loaded with chocolate flavor and are gooey, and chewy, take 20 minutes to prep, and are always a crowd-pleaser!
Triple Chocolate Cookies- These triple chocolate cookies are made with cocoa powder, chocolate chips, and chocolate chunks! These are the ultimate cookies for real chocolate lovers.
Easy No Bake Chocolate Pie- This no bake chocolate pie is made with an oreo cookie crust, topped with a rich chocolate filling that is made with both dark chocolate and cocoa powder, and topped with plenty of freshly made whipped cream.
If you tried this recipe, don’t forget to leave a rating and a comment below. We love hearing from you.
If you liked this recipe
- Follow us on Facebook, Instagram, and Pinterest.
- Share/pin this recipe to Pinterest.
- Leave a comment down below!
📖 Recipe
The BEST Chocolate Ganache Cake
Ingredients
For the chocolate cake
- 2 cups Flour
- 1 ¾ cups Granulated sugar
- 2 teaspoon Baking powder
- ½ teaspoon Baking soda
- ⅔ cup Cocoa powder
- ½ teaspoon Kosher salt
- ¾ cup Buttermilk
- ½ cup Sour cream
- ⅔ cup Vegetable oil
- 2 teaspoon Vanilla extract
- 3 Eggs
- ¾ cup Coffee hot
For the chocolate ganache
- 500 g Dark chocolate
- 500 g Heavy cream
For the chocolate drip
- 90 g Dark chocolate
- 90 g Heavy cream
Instructions
- Preheat the oven to 180 (350f) and prep two 8-inch baking pans with cooking spray and parchment paper.
- Into a large mixing bowl, add the dry ingredients: flour, granulated sugar, kosher salt, baking powder, and baking soda, sift the cocoa powder, and mix with a whisk.
- Add the buttermilk, vegetable oil, vanilla extract, sour cream, and eggs, and mix until almost combined.
- Add the hot coffee and mix until just combined and there are no lumps of flour visible. The batter should be pretty runny and smooth.
- Divide the mixture into two 8-inch baking pans, I suggest using cake strips for even baking. (weight the batter for better results) and bake in a preheated oven for 25-30 minutes or until a toothpick comes out clean. (You can also use a 9-inch cake pan)
- Let the cake cool completely before frosting so the frosting won't melt off the cake.
Make the chocolate ganache
- Start making the chocolate ganache by chopping dark chocolate and placing it into a large bowl.
- Heat the cream in a saucepan until it comes to a simmer. Pour the cream into the bowl with the chopped chocolate.
- Let the chocolate and the cream sit for 10 minutes for the chocolate to melt, then mix until the chocolate ganache is smooth and silky.
- Allow the ganache to cool at room temperature until it reaches room temperature. Cover the bowl with plastic wrap to prevent skin from forming.
- Divide the ganache into two separate bowls and use an electric hand mixer to whip one-half of the chocolate ganache until it's lighter in color and resembles the texture of frosting.
- Use the whipped chocolate ganache to create a border around the edges of the first cake layer.
- Then fill the middle with the other half of the chocolate ganache and smooth it out with a spoon or a spatula. Top with the second cake layer and frost the cake with the rest of the whipped ganache.
- Meanwhile, store the cake in the fridge while you make the chocolate ganache for the drip.
- For the chocolate drip, follow the same instructions for making the ganache but with a smaller amount of ingredients. Let the ganache cool for about 15 minutes or until it's not too hot.
- Pour the chocolate ganache over the cake and use a spatula to carefully push the ganache around the edges of the cake until a drip design forms.
Notes
- Don’t skip the coffee in the cake, you can’t taste the coffee, it simply enhances the chocolate flavor.
- Use cake strips! Cake strips give you even and perfectly baked cake layers. Click here for the Amazon link.
- Use room temperature ingredients. It is important that you use room-temperature ingredients like eggs and butter. This step ensures that your mixture mixes into a homogenous mixture and bakes perfectly. you don’t want to place cold batter into the oven.
- Measure your flour correctly! When measuring your flour, avoid scooping it with a measuring cup. Instead, stir the flour with a spoon to create as many air pockets as possible, and spoon it into your measuring cup. Finally, level it with a back of a knife.
- Don’t overmix the batter, you don’t want to develop the gluten in the flour. This step ensures you have a moist cake and not a dense and dry cake.
- Line your baking pan with parchment paper! This step helps the cake to bake evenly, and it makes sure that your loaf cake will release easily from the pan.
- Be patient! I know it’s extremely tempting to frost this cake as it is pulled out of the oven, but let the cake cool for at least 1 hour so it will be firmer and won’t crumble up, and prevent the frosting from melting.


Shenanigans
Fabulous!
Angela S.
The cake is amazing! I have been looking for one similar to one my Grandmother use to make and this is very close! The drip coat didn't work turn out as I had hoped but I think I needed to warm it up a bit to get it to "run" a bit more. It still turned out very good though and I will most definitely be using the cake as my new standard chocolate cake recipe! Thank you for sharing.
Fatima
Pela terceira vez que faço para aniversario e volta novamente a ser um sucesso. É realmente o melhor bolo de chocolate que encontrei. Obrigada.
Abby
Not sure why there was sour cream in the recipe if we never had to use it?? Otherwise good recipe that was easy to follow
Maureen
The sour cream was added in the 3rd step. Might not have been there when you made it and they corrected it, but , it is there now.
Surayya
I absolutely love this cake, i made it, made a square cake though but the taste was Devine. Mine didnt look as pretty as yours but my family loved it. Thank you.