
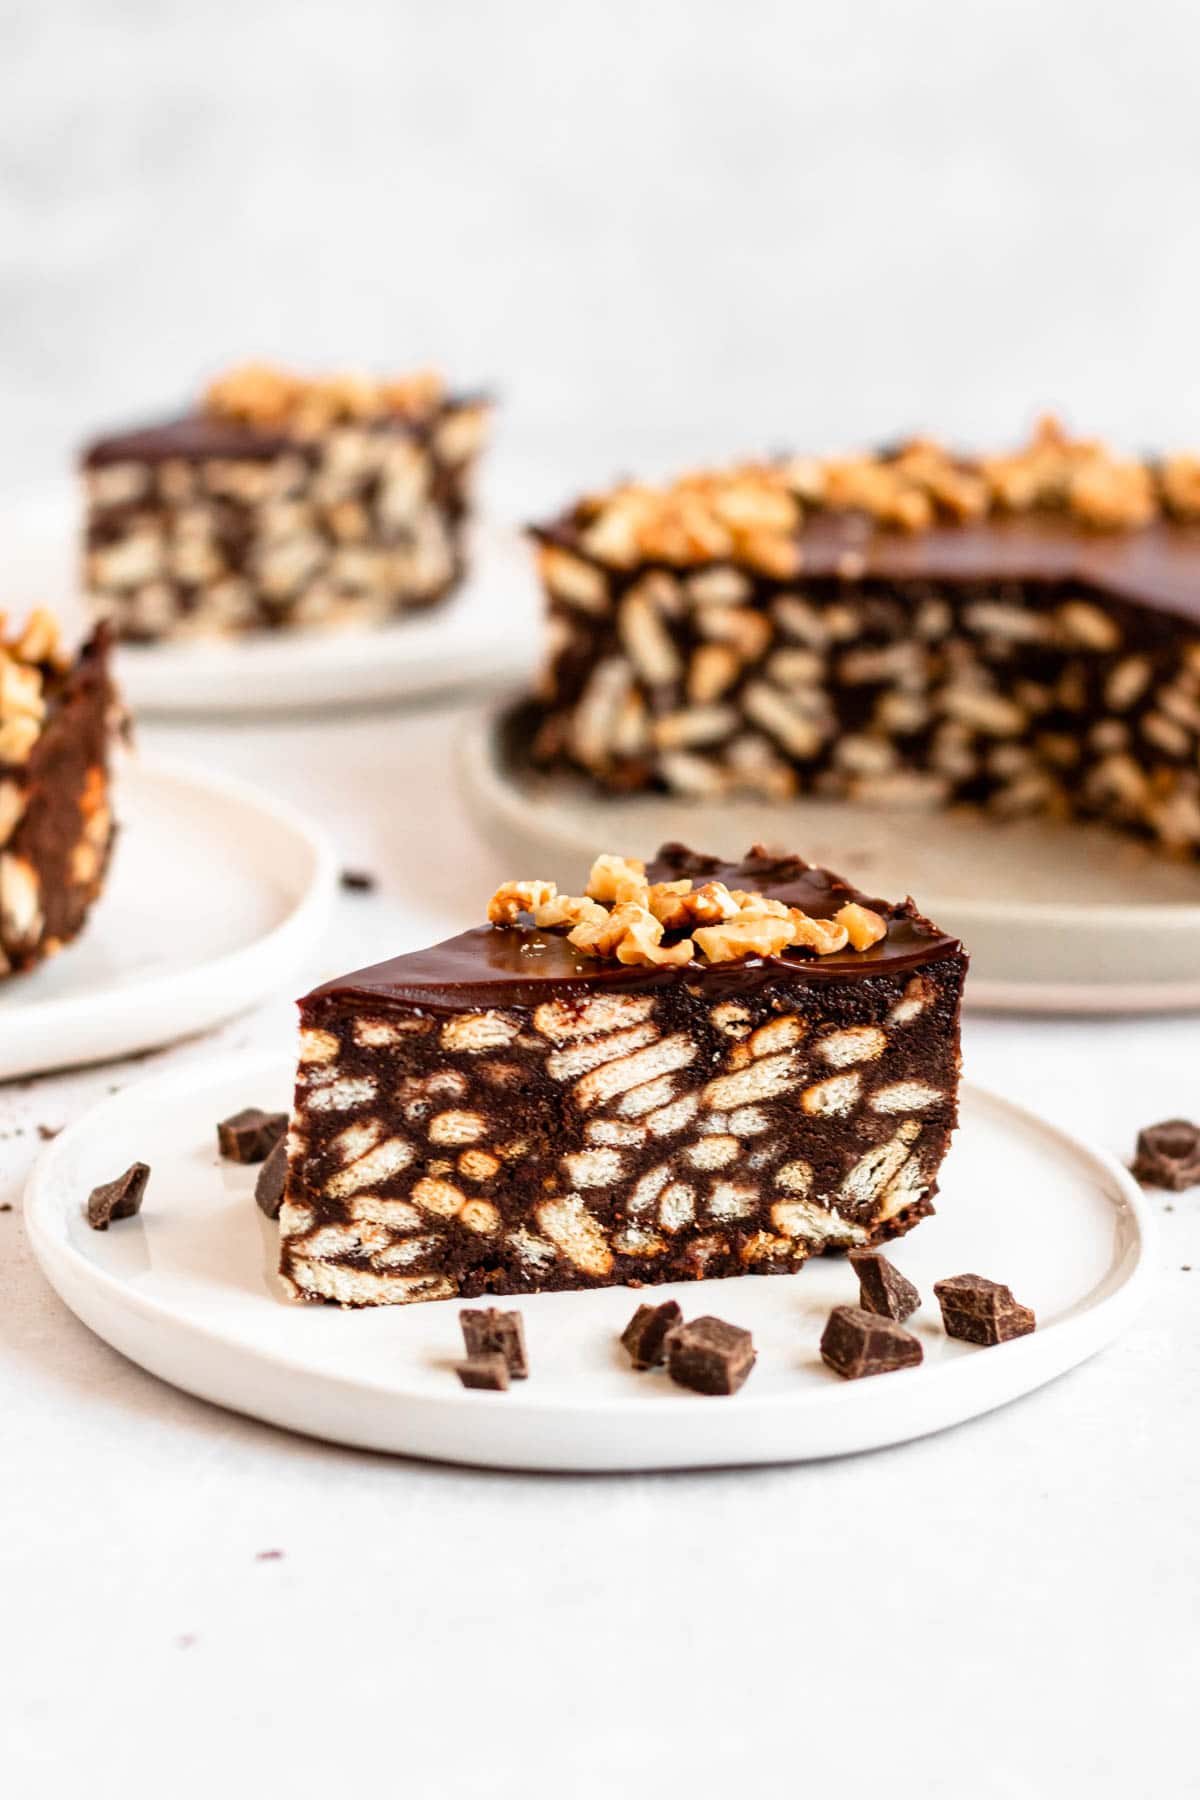
This no-bake chocolate biscuit cake is made with digestive biscuits, a rich homemade chocolate sauce, and topped with a silky chocolate ganache.
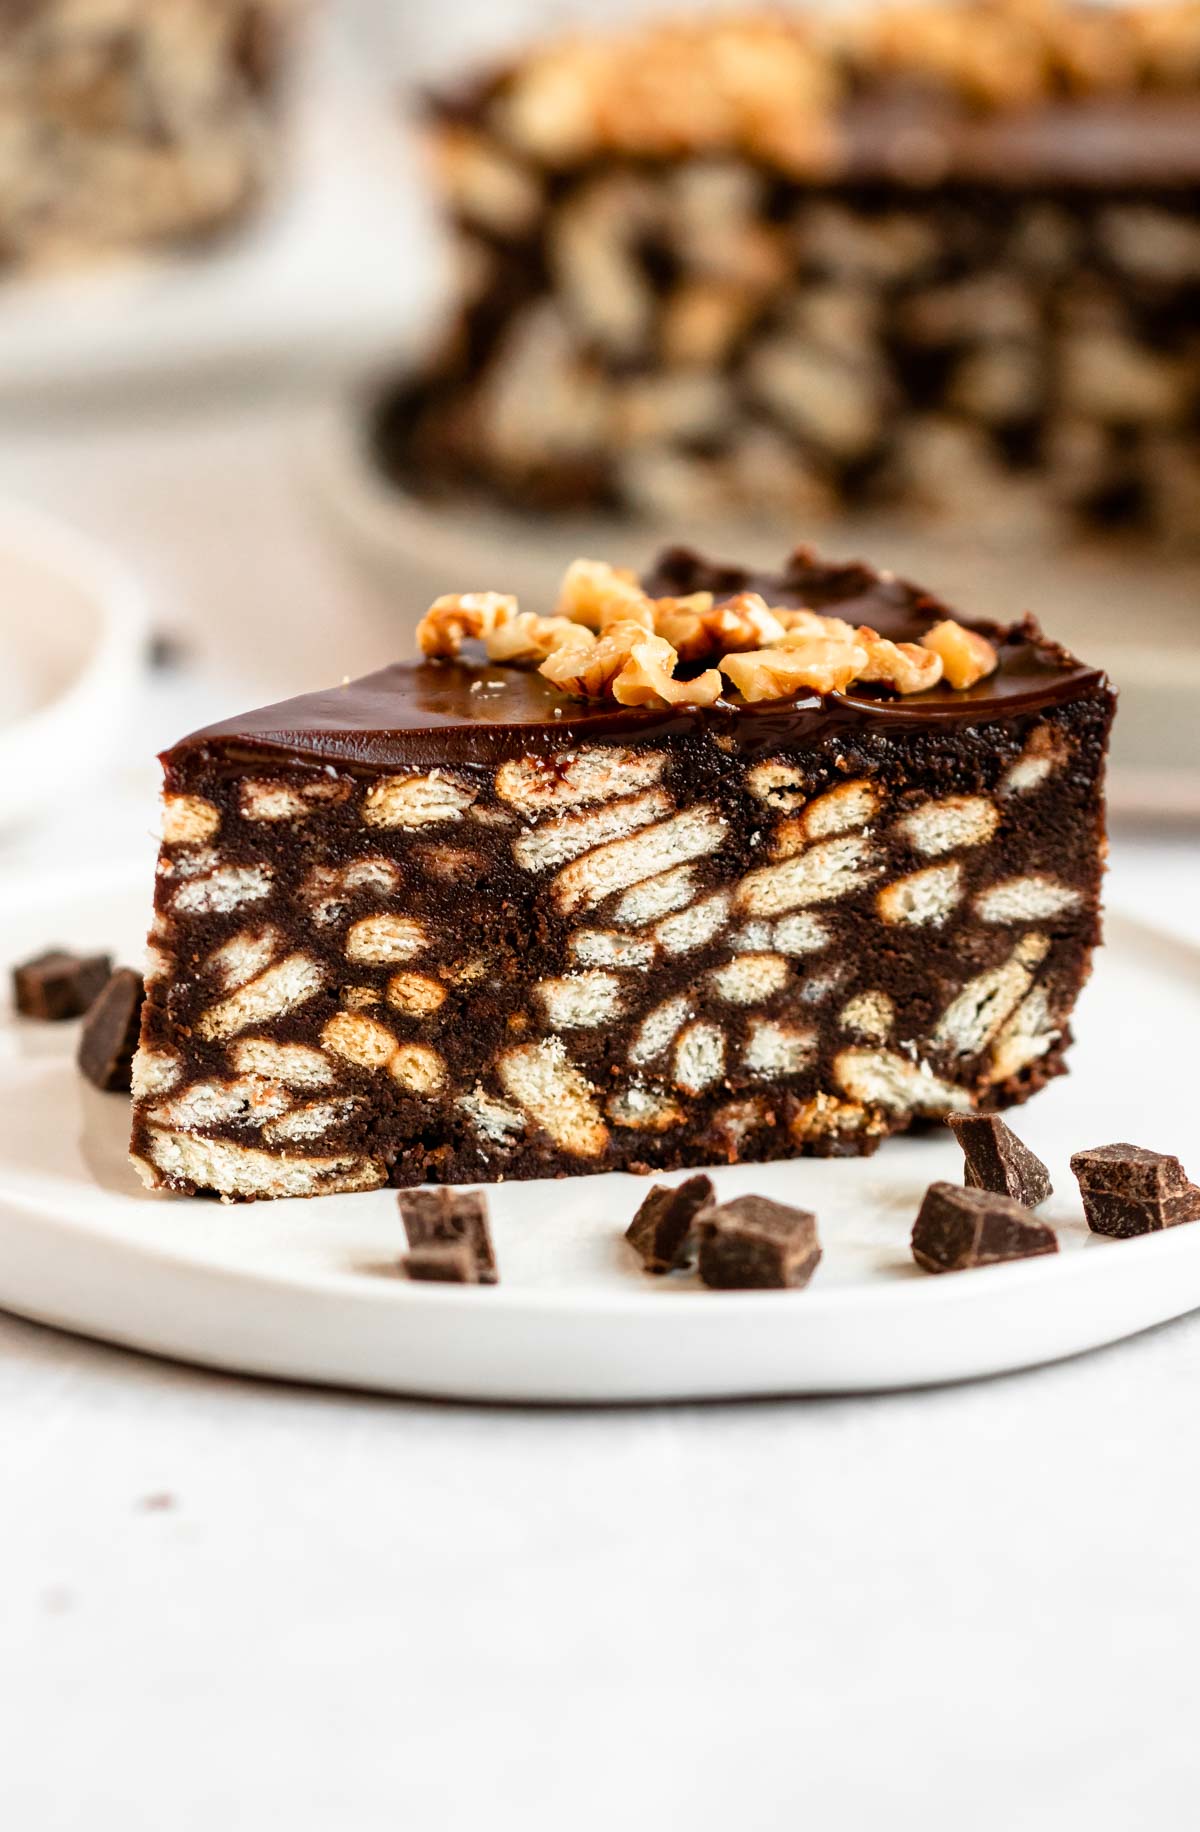
If you want a rich, decadent chocolate dessert without turning on the oven, this is the recipe for you.
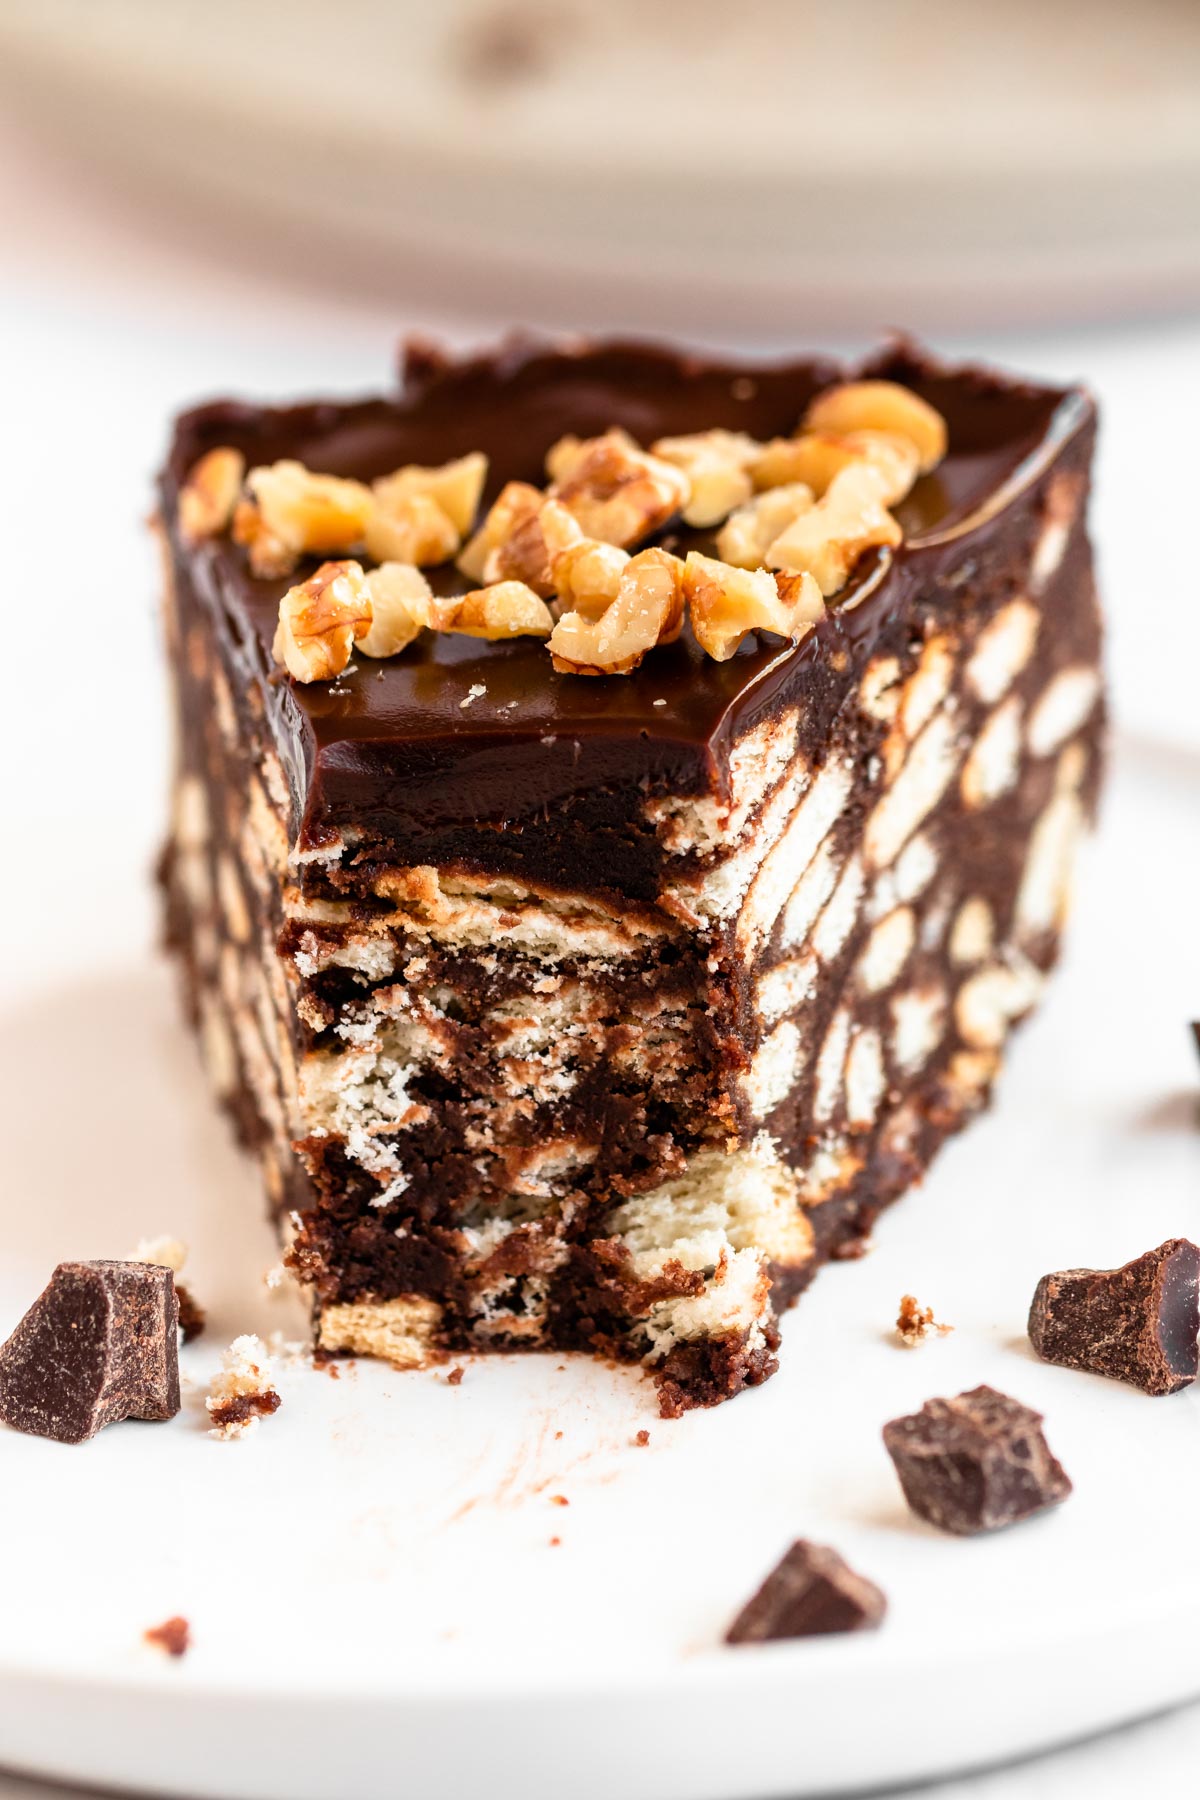
I use crunchy digestive biscuits and a homemade cocoa sauce to create the ultimate lazy cake texture. The result tastes like a cross between a fudgy chocolate truffle and a crunchy chocolate bar.
The biscuits absorb the rich chocolate syrup as it chills, staying perfectly tender with a satisfying crunch.
Because it relies on real dark chocolate and cocoa powder, the flavor is deeply rich rather than overly sweet. It is my go-to cake for summer gatherings, holiday prep, or any crowd of chocolate lovers.
For more chocolate desserts, check out my double chocolate banana bread, chewy double chocolate cookies, and our easy chocolate cupcakes!
Jump to:
Why this recipe works
- 100% No-Bake: Requires zero oven time, making it the ultimate stress-free dessert for warm weather or busy weekdays.
- Textural Contrast: Combines crunchy, buttery biscuit pieces with a rich cocoa syrup base and a silky-smooth dark chocolate ganache topping.
- Simple Pantry Staples: Made with basic ingredients like cocoa powder, sugar, butter, and tea biscuits that you likely already have in your kitchen.
- Make-Ahead Favorite: Tastes even better the next day as the biscuits soften slightly and meld into the rich chocolate base.
Ingredients
Before starting, measure and prepare your ingredients so the preparation process goes smoothly. You can find the exact measurements in the recipe card at the bottom of this post.
For the Chocolate Biscuit Base
Digestive Biscuits: Provide the crunchy core structure for the cake. You can also use Marie biscuits, Graham crackers, or vanilla tea biscuits.
Dutch-processed cocoa powder: Gives the homemade syrup a deep, intense chocolate flavor and dark color. Unsweetened natural cocoa powder works too.
Granulated Sugar: Sweetens the cocoa syrup and balances the dark cocoa notes.
Unsalted Butter: Adds richness and sets firm when chilled to hold the biscuit base together. Do not use margarine or coconut oil.
Vanilla Extract: Deepens and enhances the natural cocoa flavor.
Water: Forms the liquid base for the stovetop cocoa syrup.
For the Chocolate Ganache & Topping
Dark Chocolate (60–70% Cocoa): High-quality chopped dark chocolate bars melt into a silky ganache. Avoid chocolate chips containing stabilizers that prevent a smooth melt.
Heavy Cream (36% Fat): Full-fat heavy cream creates a glossy, melt-in-your-mouth topping that sets cleanly in the fridge.
Toasted Walnuts (optional): Add a warm, nutty crunch on top. You can swap with hazelnuts, almonds, or pistachios.
Instructions
1. Prep the Pan: Line the bottom of a 9-inch springform pan with a round of parchment paper. Lightly grease the sides of the pan or line the collar with a strip of parchment paper for an effortless release.
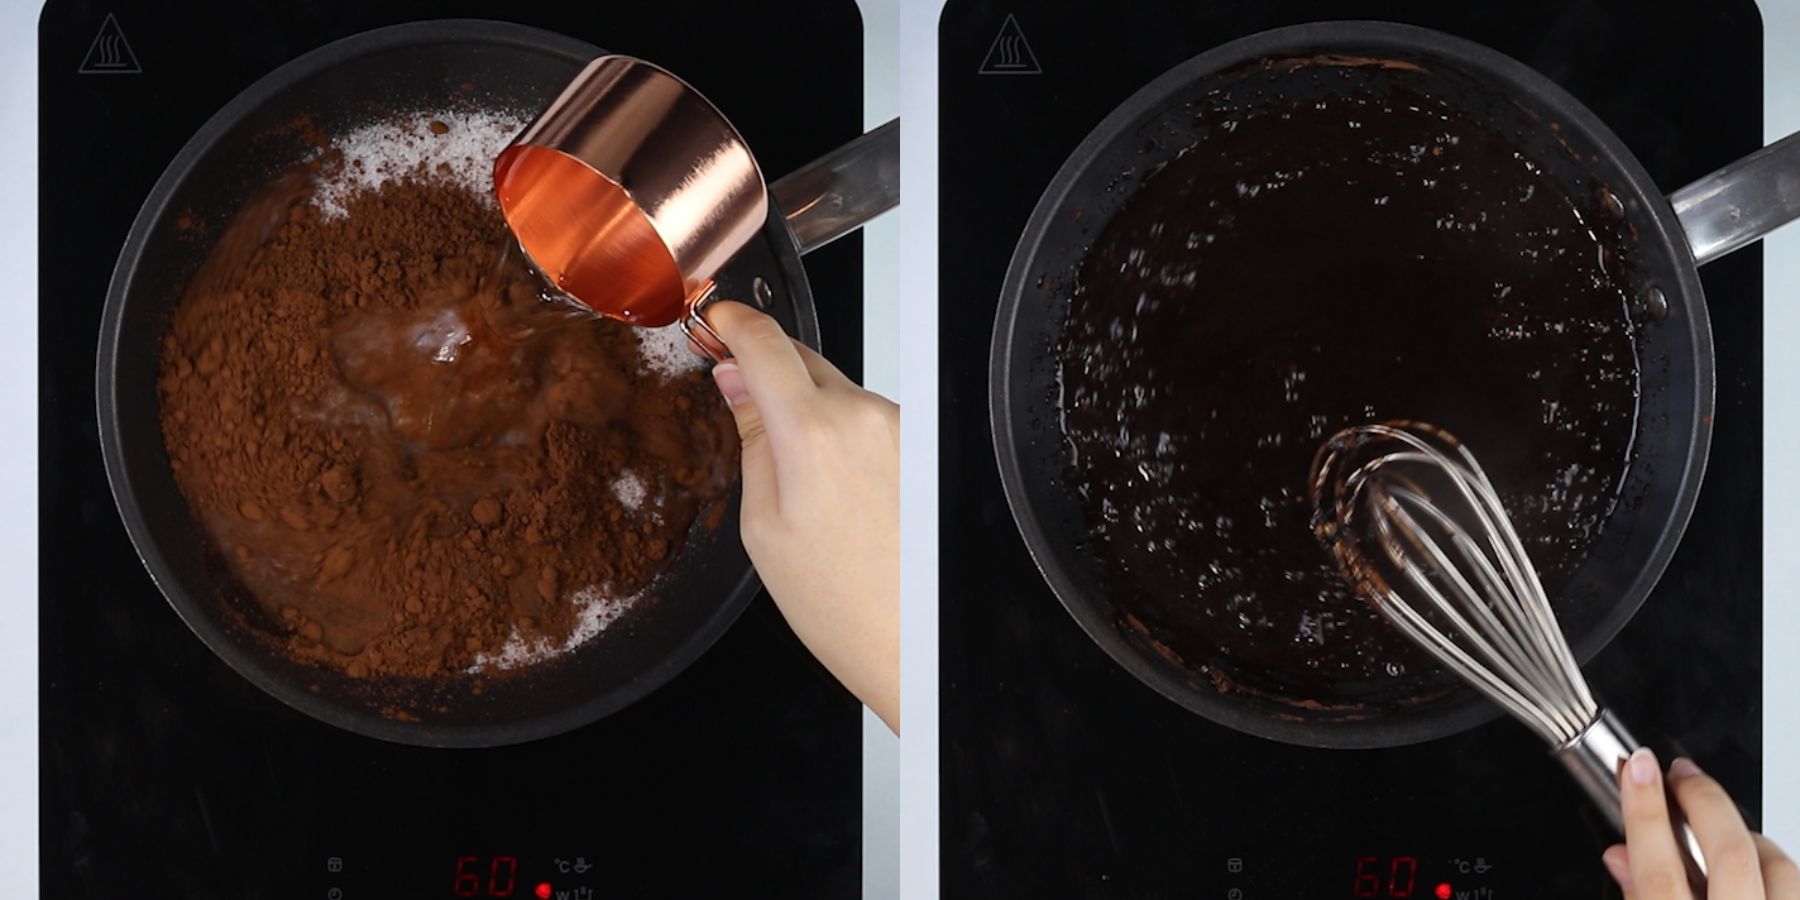
2. Make the Chocolate Syrup: In a small saucepan over medium-low heat, whisk together the sugar, cocoa powder, and water until dissolved.
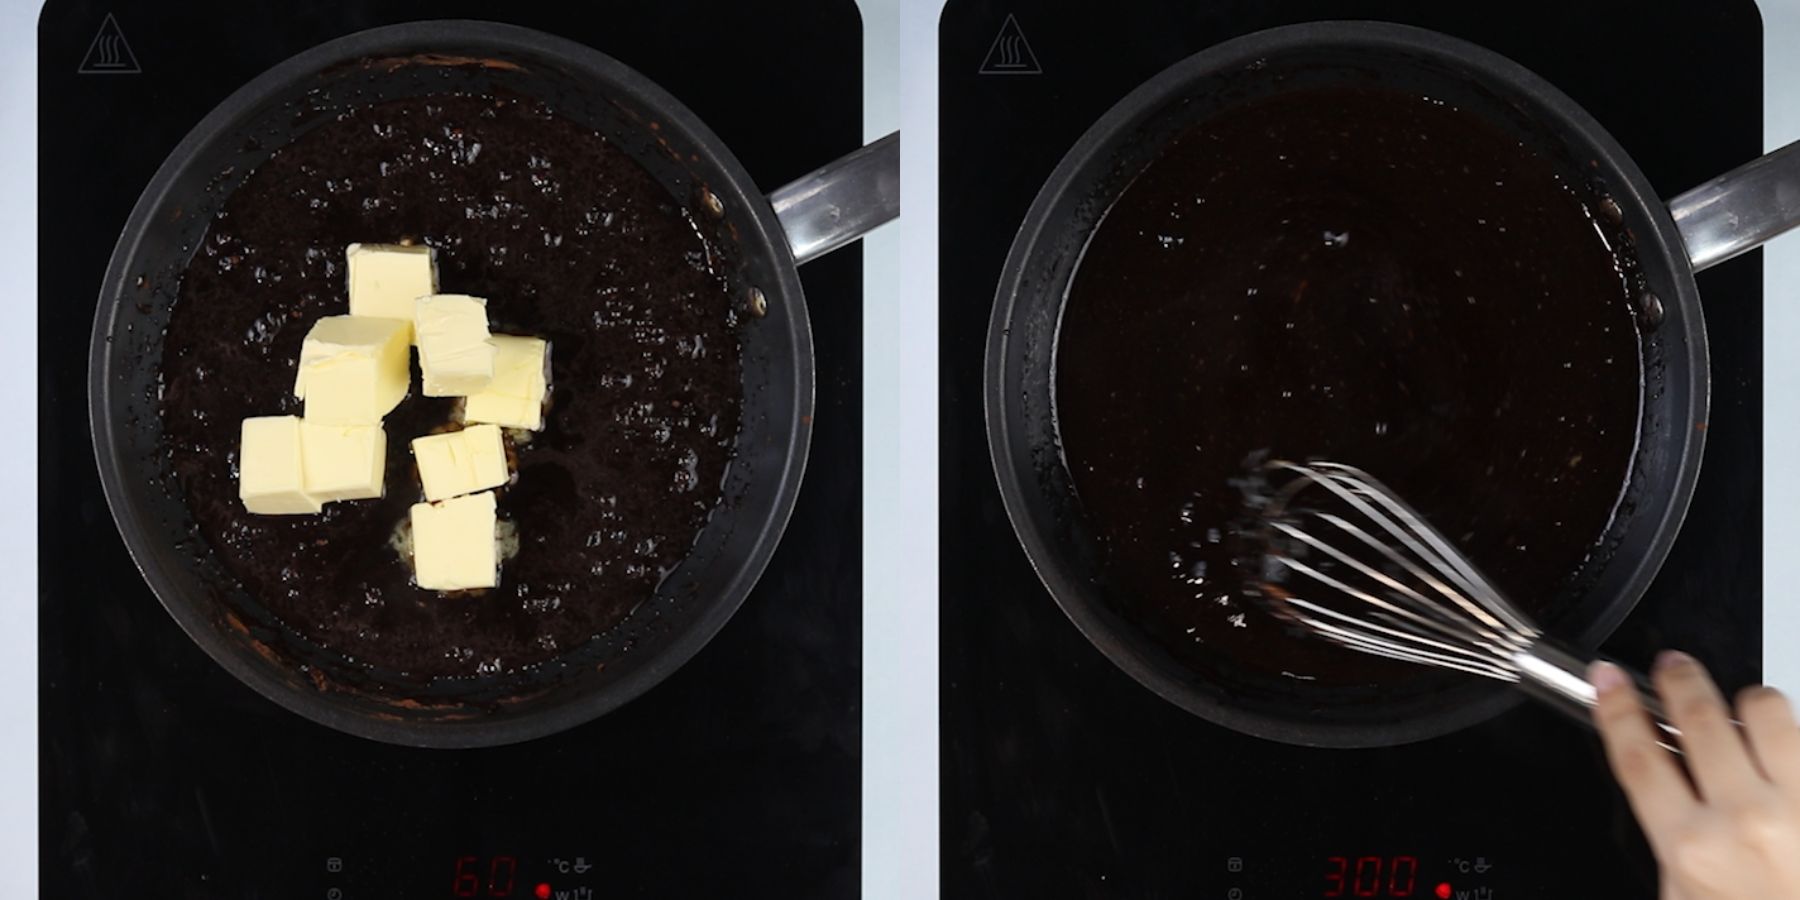
Add the butter and whisk until completely melted and smooth. Stir in the vanilla extract, remove from the heat, and let cool for 15 minutes.
3. Break the Biscuits: Break the biscuits into small, rough, bite-sized pieces in a large bowl. Avoid crushing them into fine crumbs so you get distinct biscuit chunks.
4. Combine: Pour the cooled chocolate syrup over the crushed biscuits. Mix thoroughly with a wooden spoon or spatula until every biscuit piece is coated.
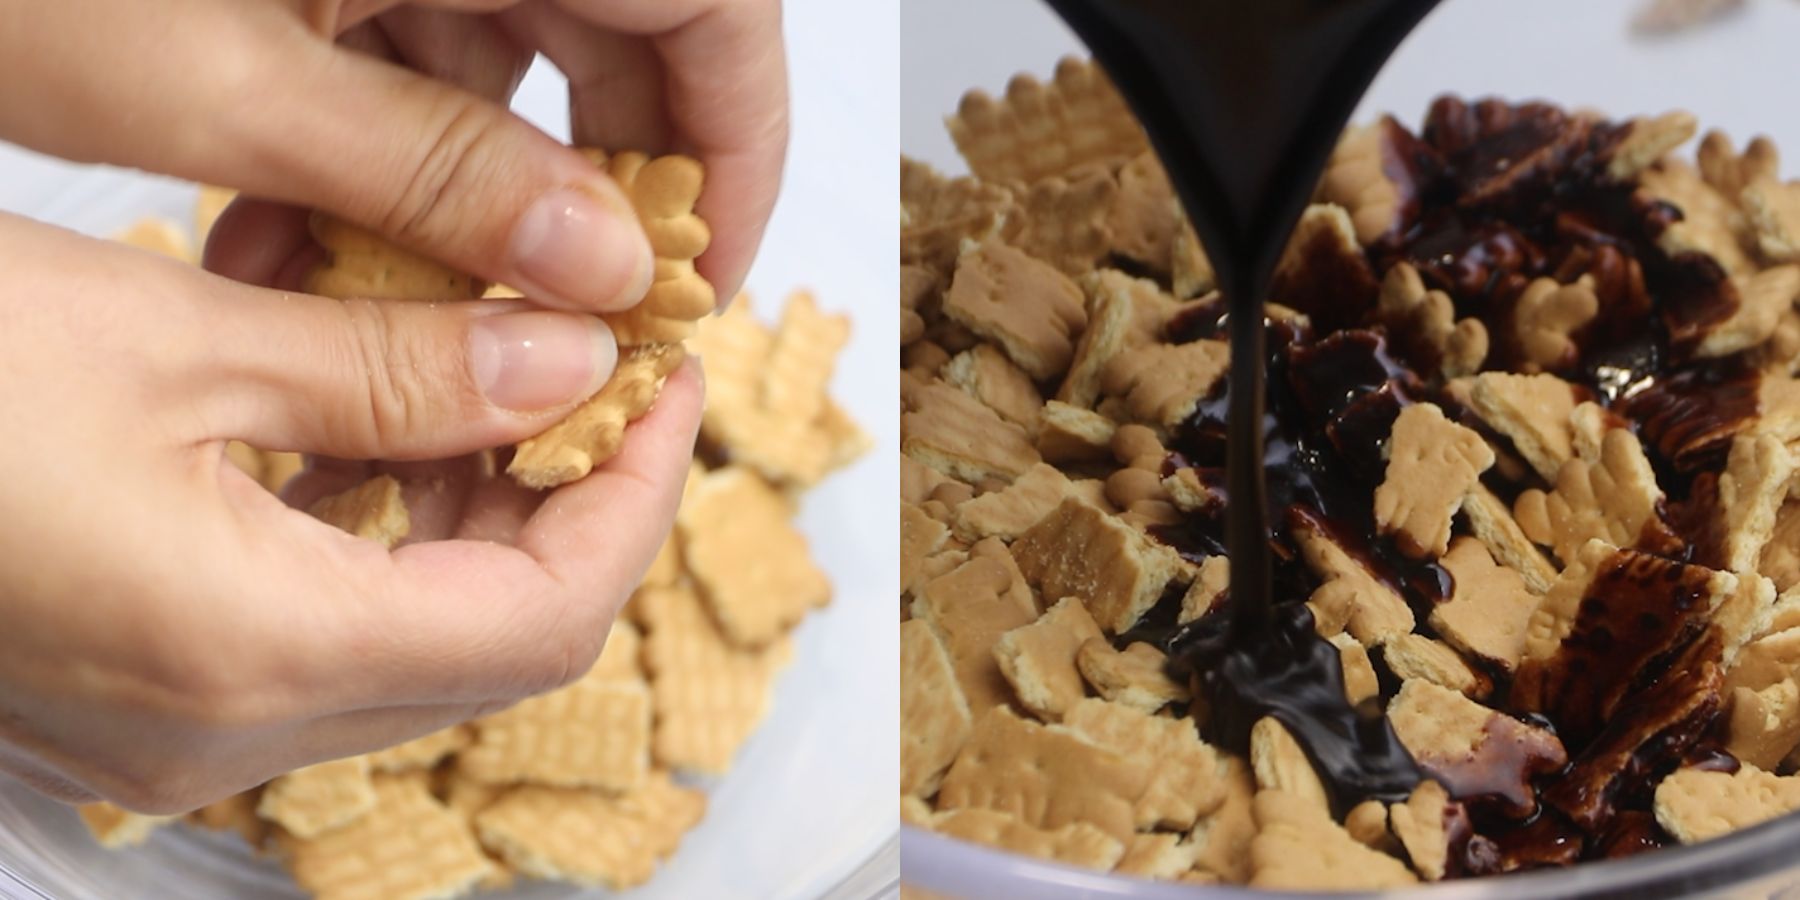
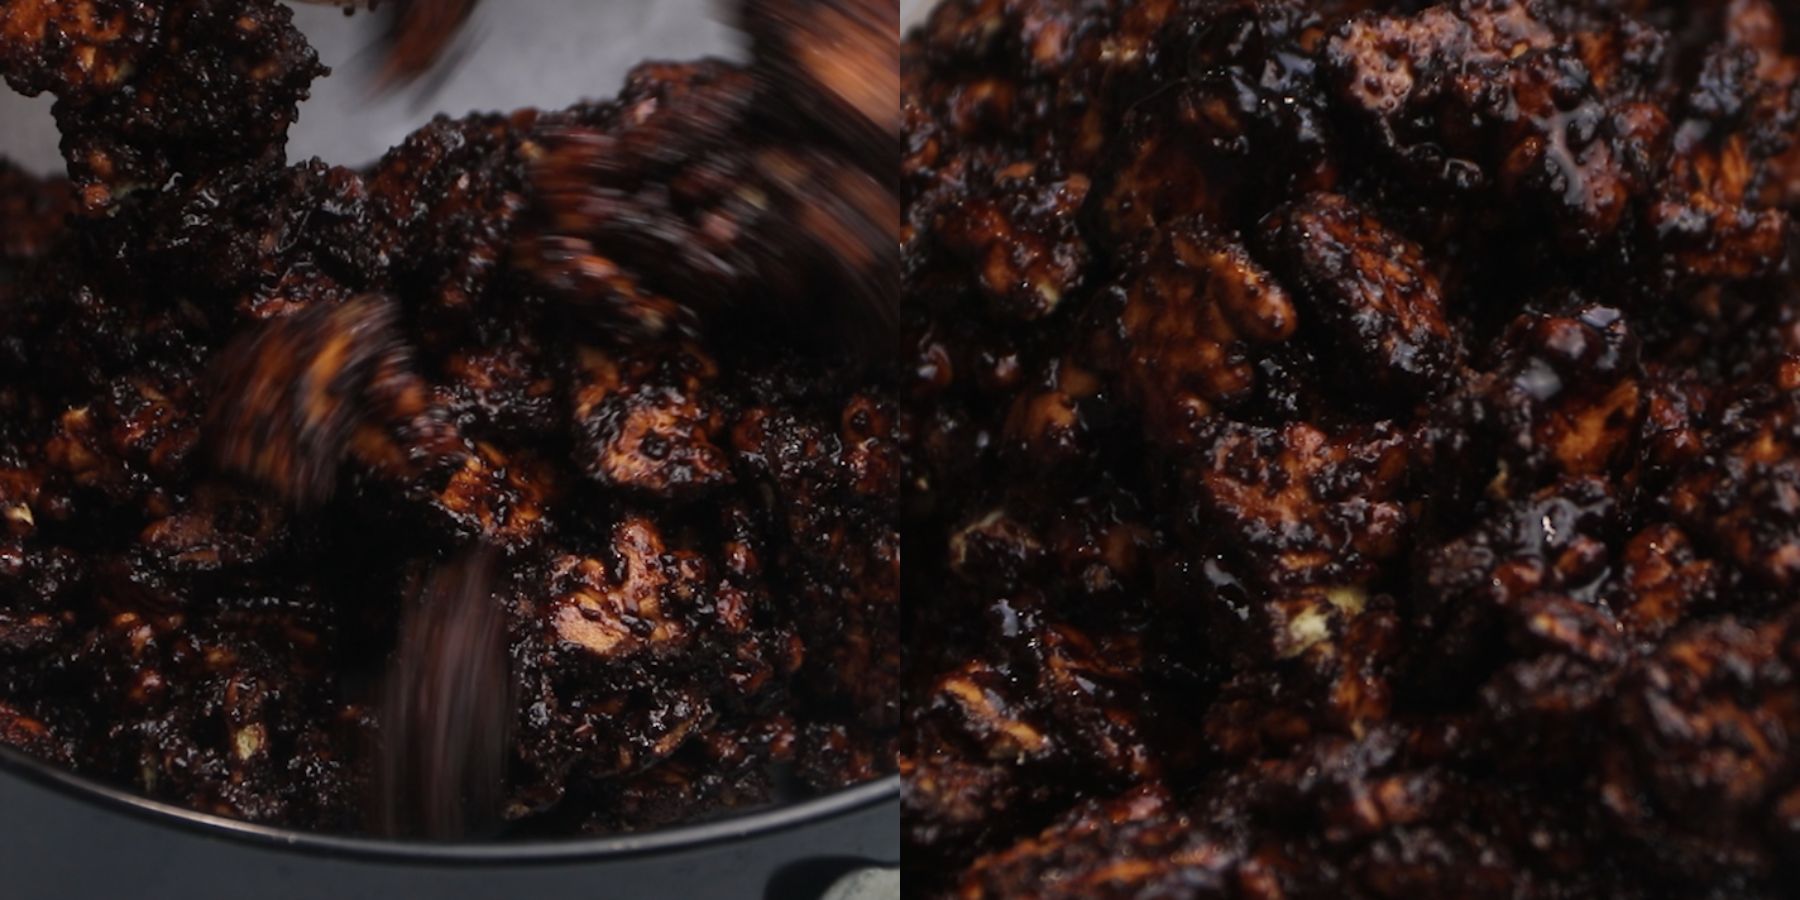
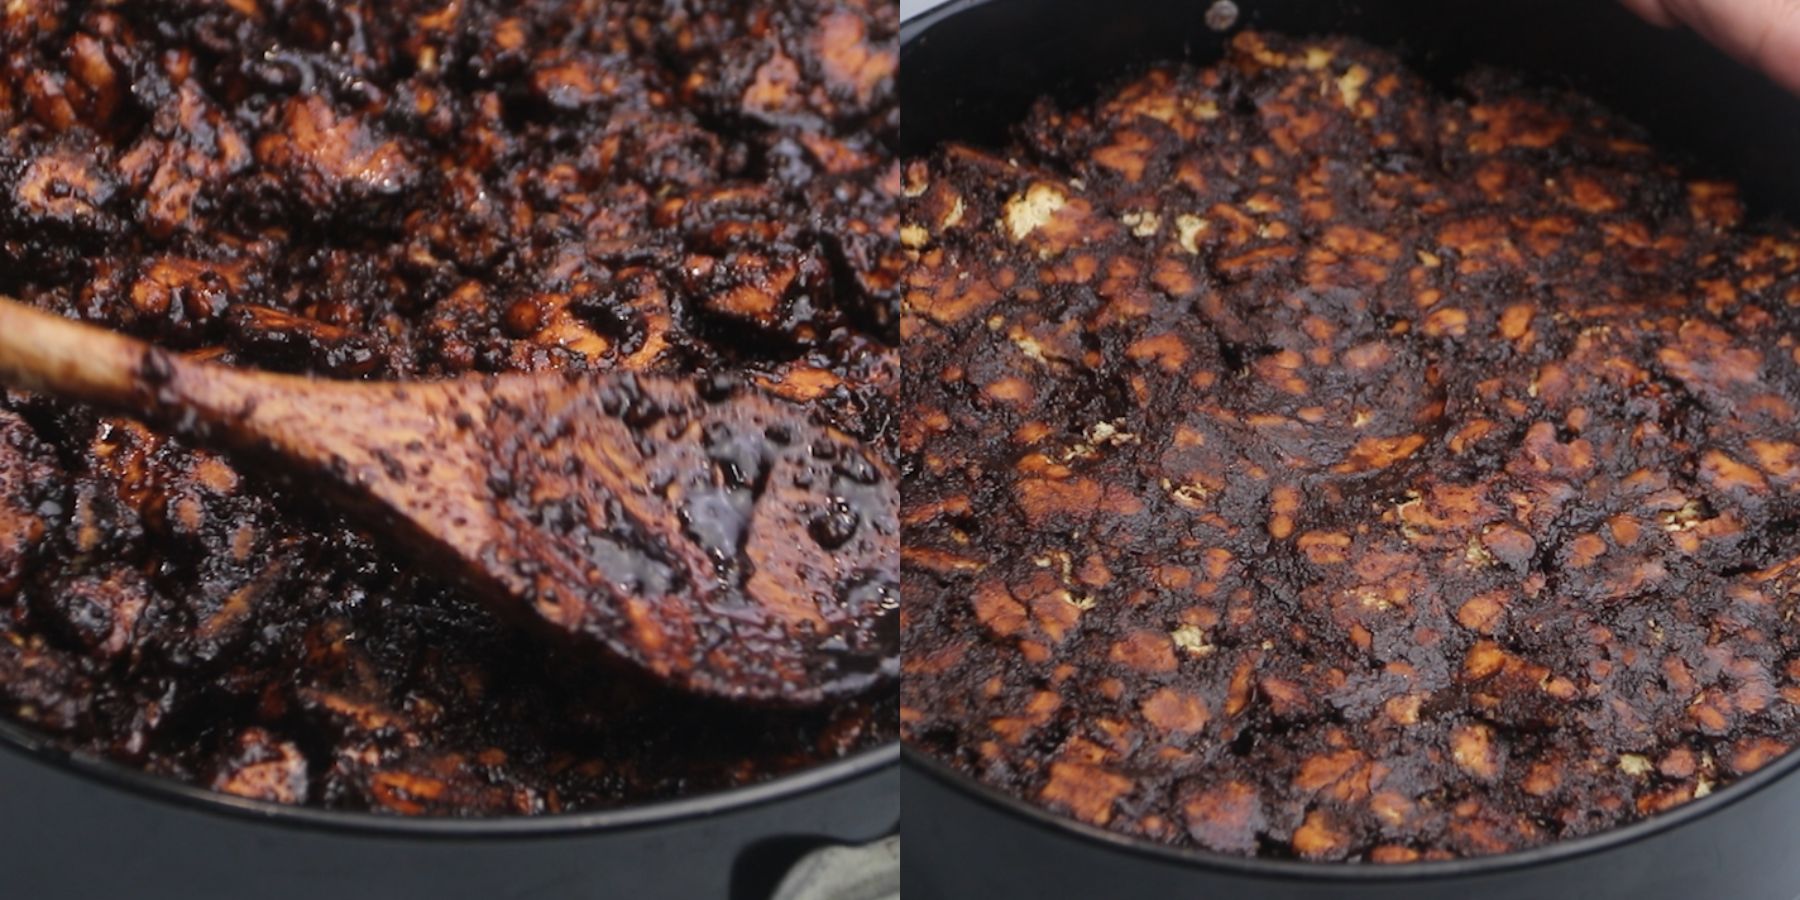
5. Press Into Pan: Transfer the biscuit mixture into the prepared springform pan. Press down firmly with the back of a measuring cup or offset spatula to pack it tightly into an even layer. Chill in the fridge for 30 minutes.
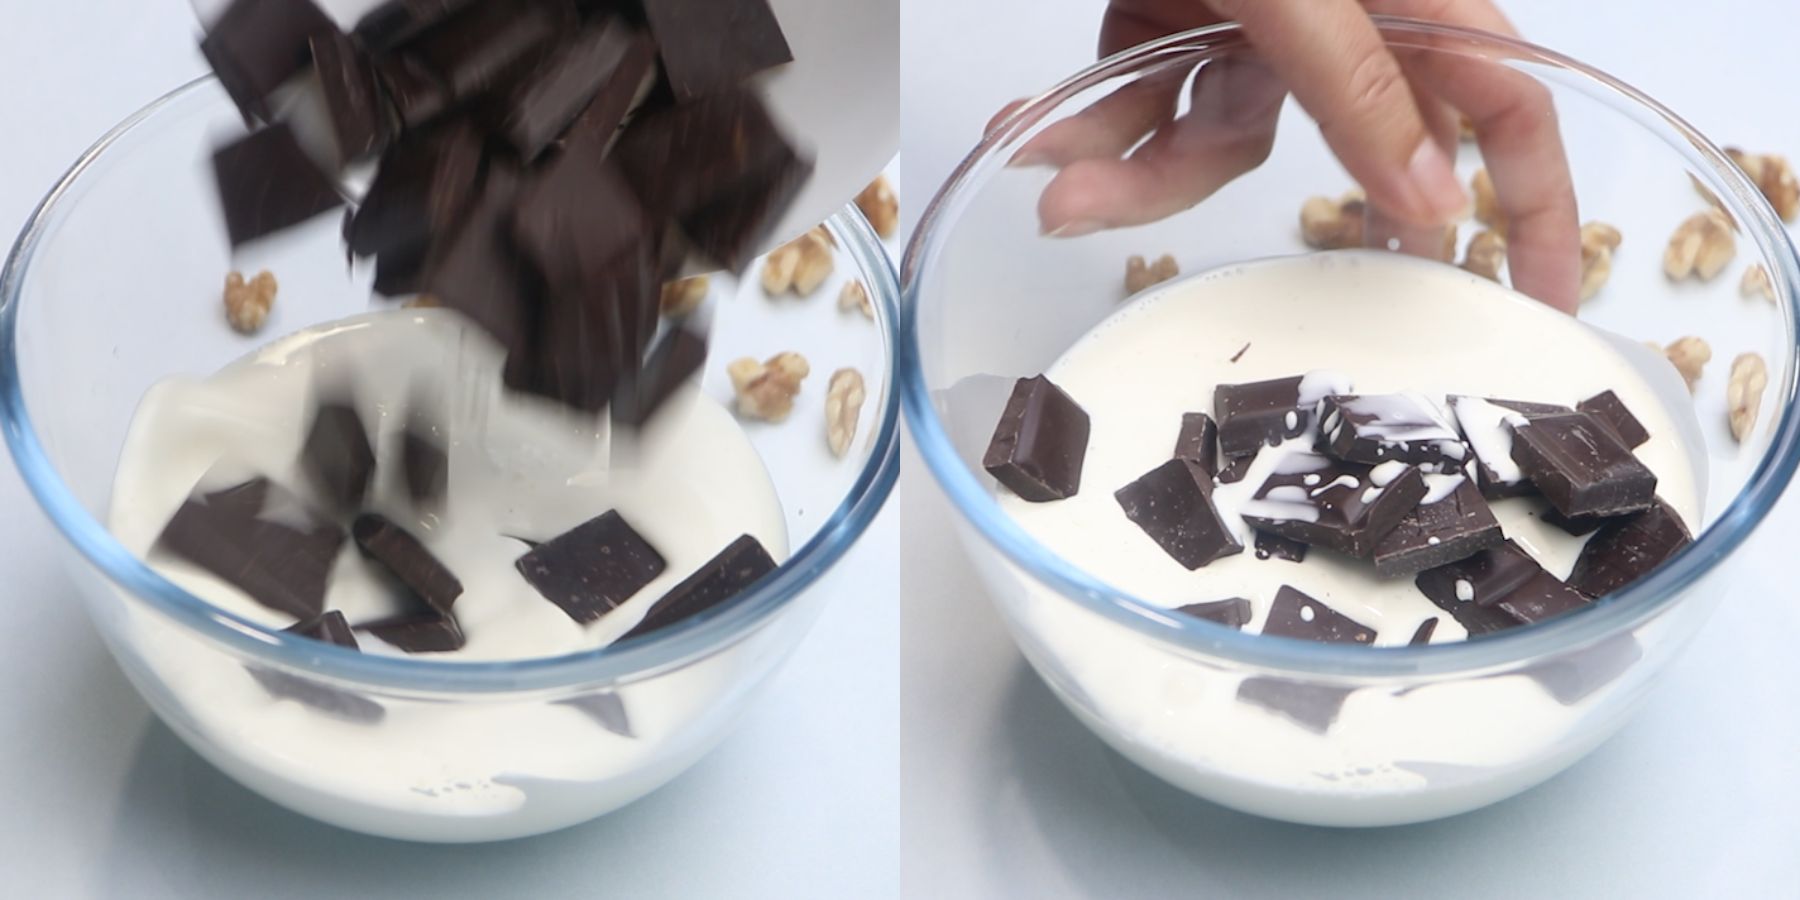
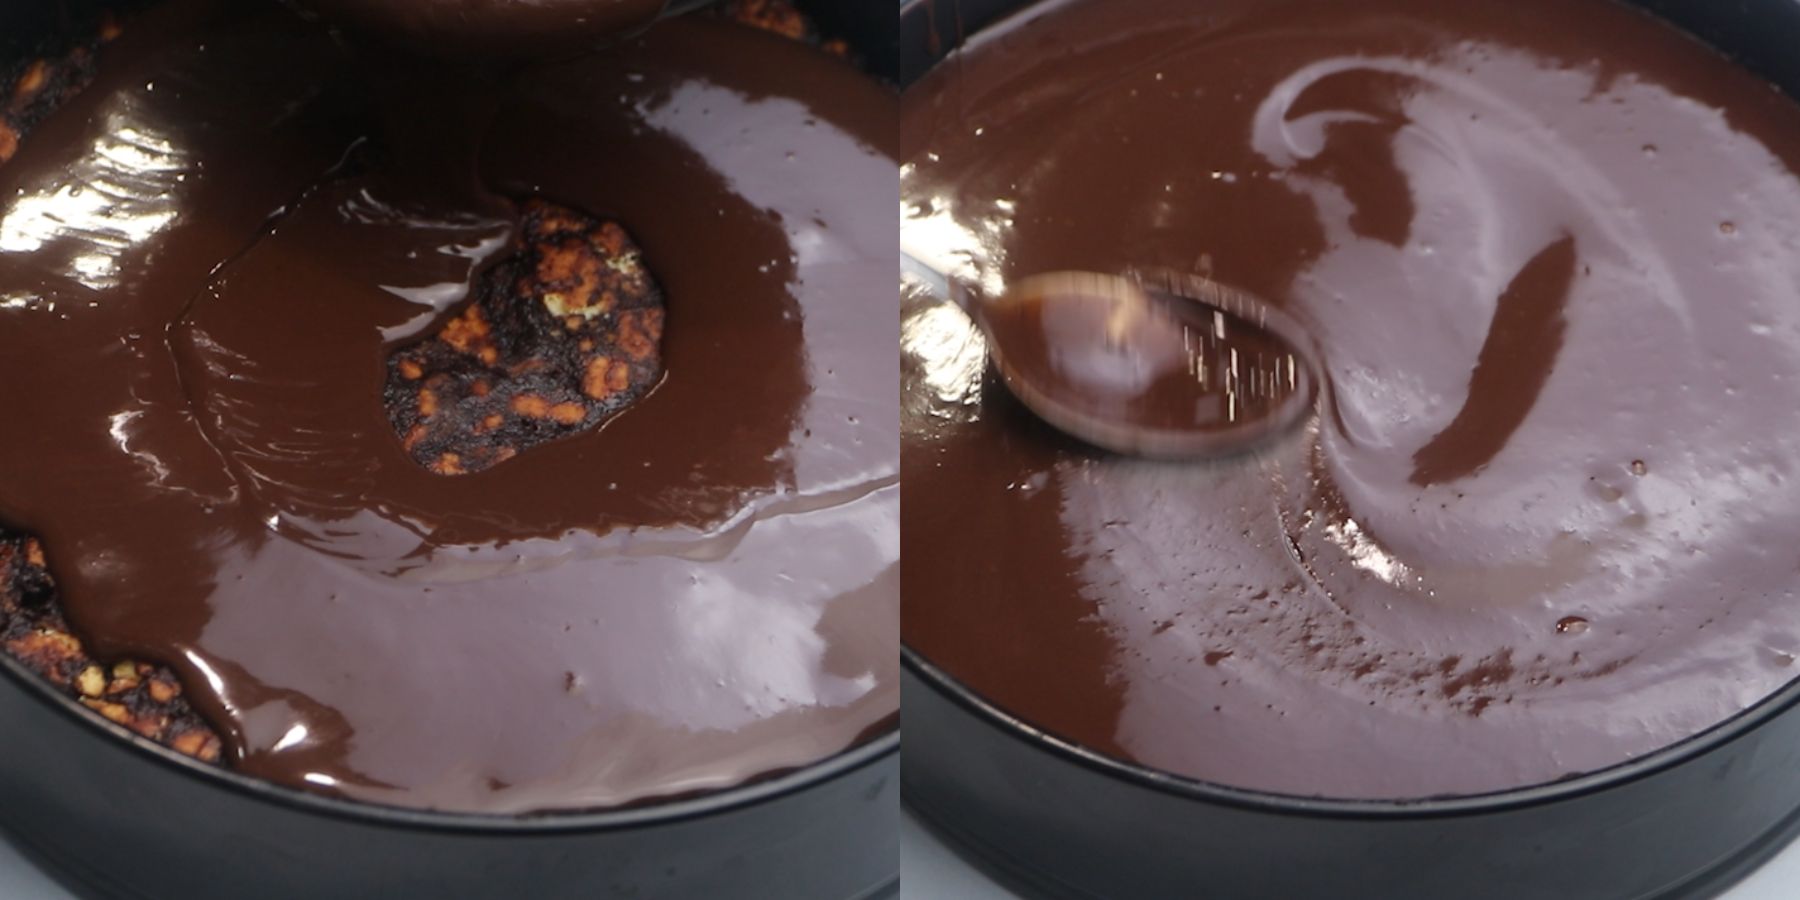
2. Top, Chill & Unmold: Pour the ganache over the chilled biscuit base, smoothing it evenly. Cover with plastic wrap and refrigerate for at least 4 hours (or overnight) until set.
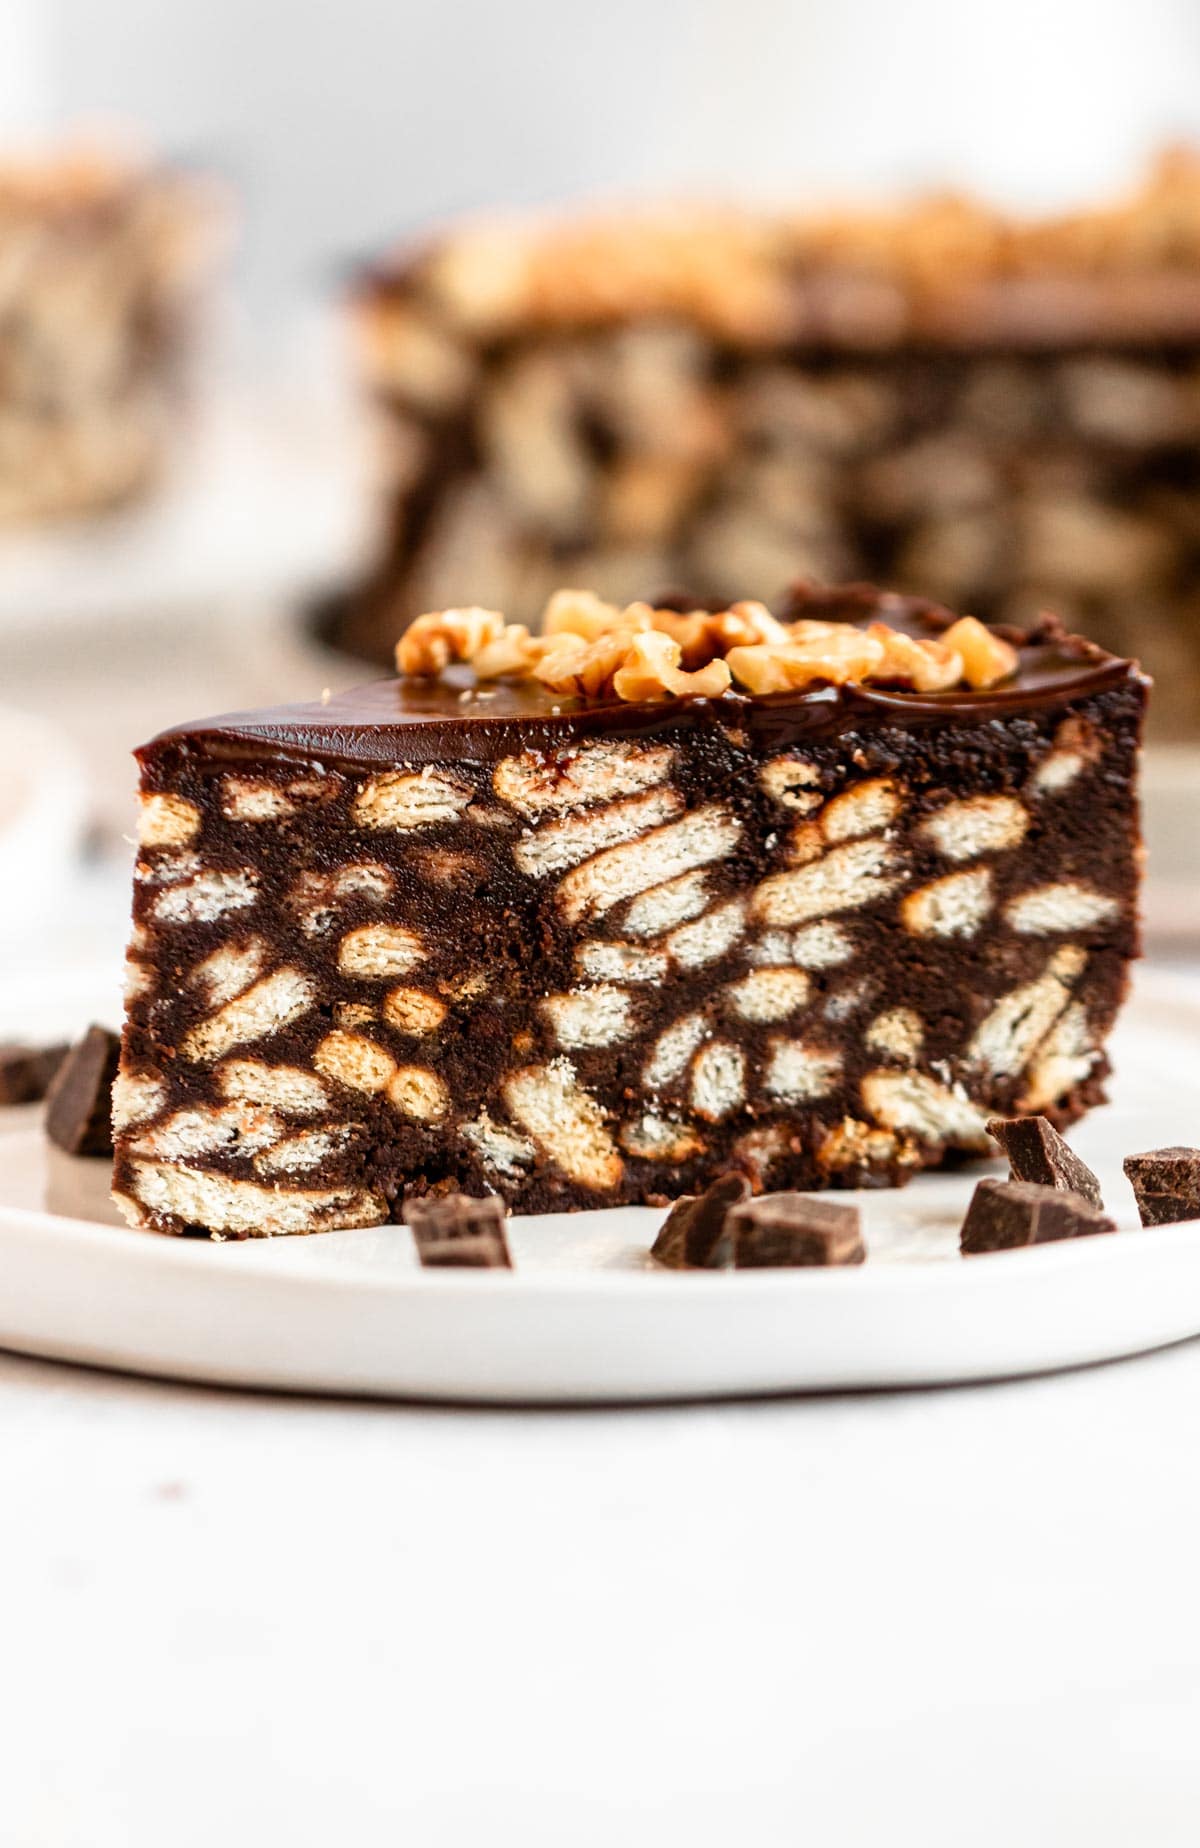
Run a thin knife around the inside edge of the pan, unlock the springform collar, and top with chopped toasted walnuts before slicing.
Expert Tips
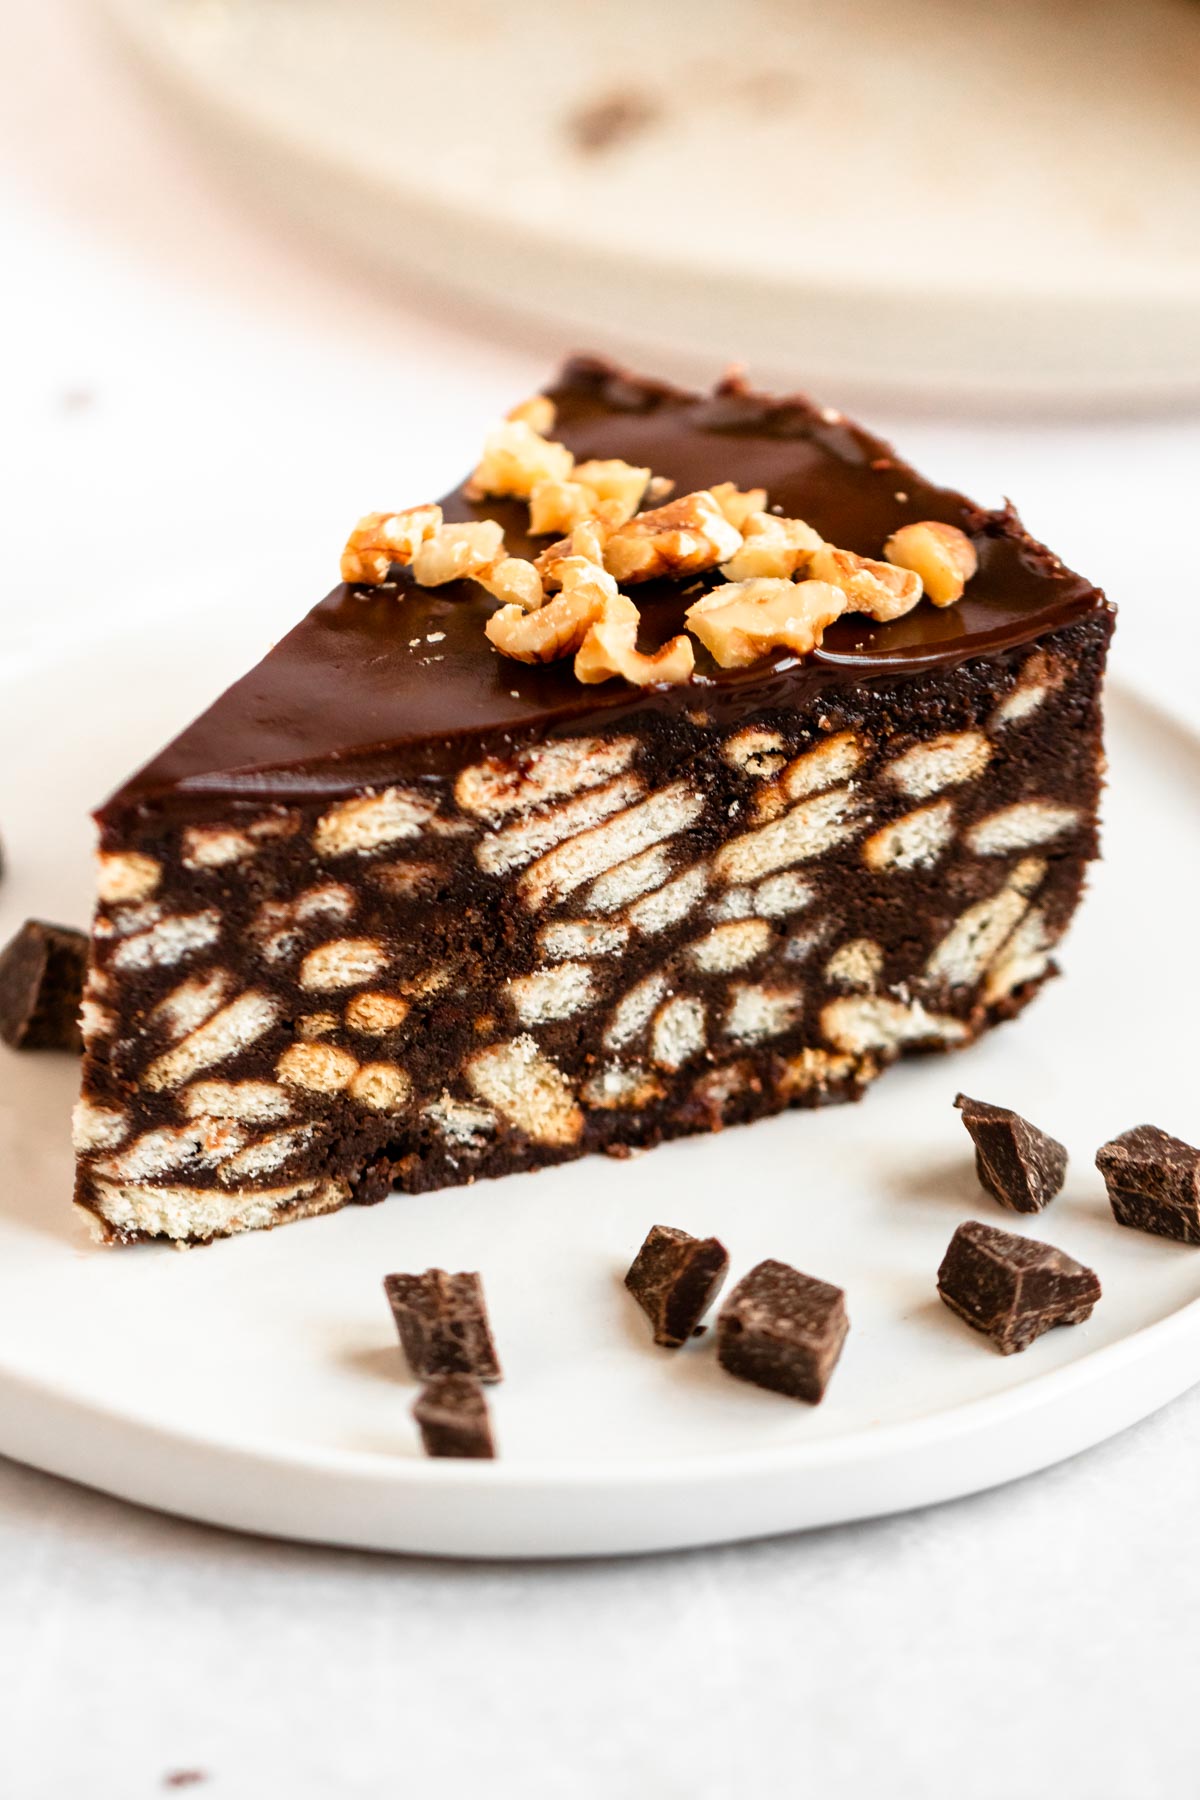
- Don't Over-Crush the Biscuits: Break biscuits into rough bite-sized pieces rather than fine crumbs to ensure a dramatic, mosaic-like cross-section when sliced.
- Pack the Mixture Firmly: Use the flat bottom of a measuring cup or spatula to press the biscuit mixture tightly into the pan to prevent air pockets and crumbling.
- Toast the Nuts: Always toast your walnuts or hazelnuts in a dry skillet for 3–5 minutes. Toasting draws out natural oils and keeps them extra crunchy.
- Use Real Dark Chocolate: High-quality chocolate bars yield a far smoother, glossier ganache than chocolate chips.
- Chill Before Slicing: Allow at least 4 hours of refrigeration so the butter and ganache set firm enough for clean, sharp cuts.
Troubleshooting
Why is my biscuit cake crumbling when I slice it?
The mixture was either not packed tightly enough into the pan, or the butter-to-biscuit ratio was off. Make sure to press firmly when shaping the base and chill completely.
Why is my ganache grainy or separated?
The heavy cream was too hot when poured, causing the cocoa butter to separate. Whisk in a tablespoon of cold heavy cream gently to restore the smooth emulsion.
Why are my biscuits soggy?
The chocolate syrup was likely poured over the biscuits while still boiling hot. Allow the syrup to cool for 15 minutes, until warm/room temperature, before mixing.
Frequently Asked Questions
Run a long, sharp chef’s knife under hot tap water for 10–15 seconds, wipe it completely dry with a towel, and press straight down in one firm motion. Re-warm and wipe the blade clean between every slice.
Yes! Combine the sugar, cocoa powder, water, and butter in a large heat-safe bowl. Microwave in 30-second intervals, stirring thoroughly between each burst, until the butter melts and the sugar dissolves into a smooth syrup.
Yes, but because milk chocolate contains more fat and milk solids, reduce the heavy cream by 2 tablespoons (down to ⅓ cup total). This ensures the milk chocolate ganache sets firm enough to slice cleanly.
US: Graham crackers, Ritz, or vanilla wafers.
UK / Australia: Digestive, Rich Tea, or Marie biscuits.
Europe & Israel: Petit Beurre or Kedem tea biscuits.
Storing
Because this cake contains butter and heavy cream, it must be kept refrigerated. Store it in an airtight container or covered tightly with plastic wrap in the fridge for up to 5 days.
Freezing
You can freeze the assembled biscuit cake (or individual slices) in an airtight container for up to 3 months. If freezing individual slices, wrap them tightly in plastic wrap before placing them in a freezer bag. Thaw in the fridge overnight before serving.
Make It Ahead Of Time
Make the Whole Cake Ahead: Because the flavor and texture improve as the biscuits absorb the syrup, you can make the entire cake 1 to 2 days before serving.
Substitutions
Gluten-Free: Swap the digestive biscuits with high-quality gluten-free tea biscuits or gluten-free Graham crackers.
Dairy-Free: Replace the butter with vegan block butter (avoid margarine) and use full-fat canned coconut cream in place of heavy cream for the ganache.
Nut-Free: Omit the toasted nuts on top or replace them with seeds like pumpkin or sunflower seeds.
Variations
Nutella Crunch: Stir ¼ cup of Nutella directly into the warm chocolate syrup before tossing with the biscuits.
Peanut Butter Ganache: Stir 3 tablespoons of creamy peanut butter into the ganache for a chocolate-peanut butter twist.
Coffee Infusion: Add 1 teaspoon of instant espresso powder to the cocoa syrup to deepen the rich dark chocolate flavor.
Berry & Chocolate: Top the ganache layer with fresh raspberries or sliced strawberries right before serving.
How to Scale This Recipe for Different Pans
9x13 Inch Pan: Multiply the entire recipe by 150% (1.5) to feed a larger crowd.
8x8 Inch Square Pan: Keep the ingredients exactly the same (100% of recipe). The surface area is virtually identical.
Loaf Pan (9x5 Inch): Multiply the entire recipe by 70% (0.7) for a tall, narrow block slice.
Equipment
- Offset spatula
- 9-inch springform pan
- Parchment paper
- Small saucepan and whisk
- Large mixing bowl
- Heat-proof bowl
More chocolate recipes
Chocolate sour cream pound cake- Moist, chocolaty, and topped with a silky smooth chocolate ganache.
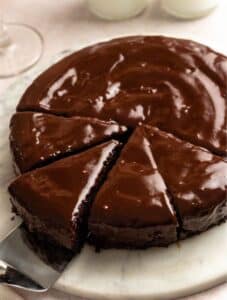
Small chocolate cake- Perfect 8x8-inch rich chocolate cake for quick cravings.
Double chocolate banana bread- Extra moist and loaded with chocolate chips throughout.
Connect With Us
Review: Leave a rating and comment below if you enjoyed this recipe. Socials: Follow on Facebook, Instagram, and Pinterest. Save: Pin this recipe to Pinterest for later.
📖 Recipe
No-Bake Chocolate Biscuit Cake
Ingredients
- 17 oz Tea biscuit
- ½ cup Dutch cocoa powder
- 1 cup Granulated sugar
- 1 cup Water
- 1 teaspoon Vanilla extract
- ⅔ cup Butter unsalted
Chocolate ganache:
- 3.5 oz Heavy cream
- 3.5 oz Dark chocolate 60–70% Cocoa
Assembly:
- ½ cup Walnuts
Instructions
- Prep the Pan: Line the bottom of a 9-inch springform pan with a round of parchment paper. Lightly grease the sides of the pan or line the collar with a strip of parchment paper for an effortless release.
- Make the Chocolate Syrup: In a small saucepan over medium-low heat, whisk together the sugar, cocoa powder, and water until dissolved.
- Add the butter and whisk until completely melted and smooth. Stir in the vanilla extract, remove from the heat, and let cool for 15 minutes.
- Break the Biscuits: Break the biscuits into small, rough, bite-sized pieces in a large bowl. Avoid crushing them into fine crumbs so you get distinct biscuit chunks.
- Combine: Pour the cooled chocolate syrup over the crushed biscuits. Mix thoroughly with a wooden spoon or spatula until every biscuit piece is coated.
- Press Into Pan: Transfer the biscuit mixture into the prepared springform pan. Press down firmly with the back of a measuring cup or offset spatula to pack it tightly into an even layer. Chill in the fridge for 30 minutes.
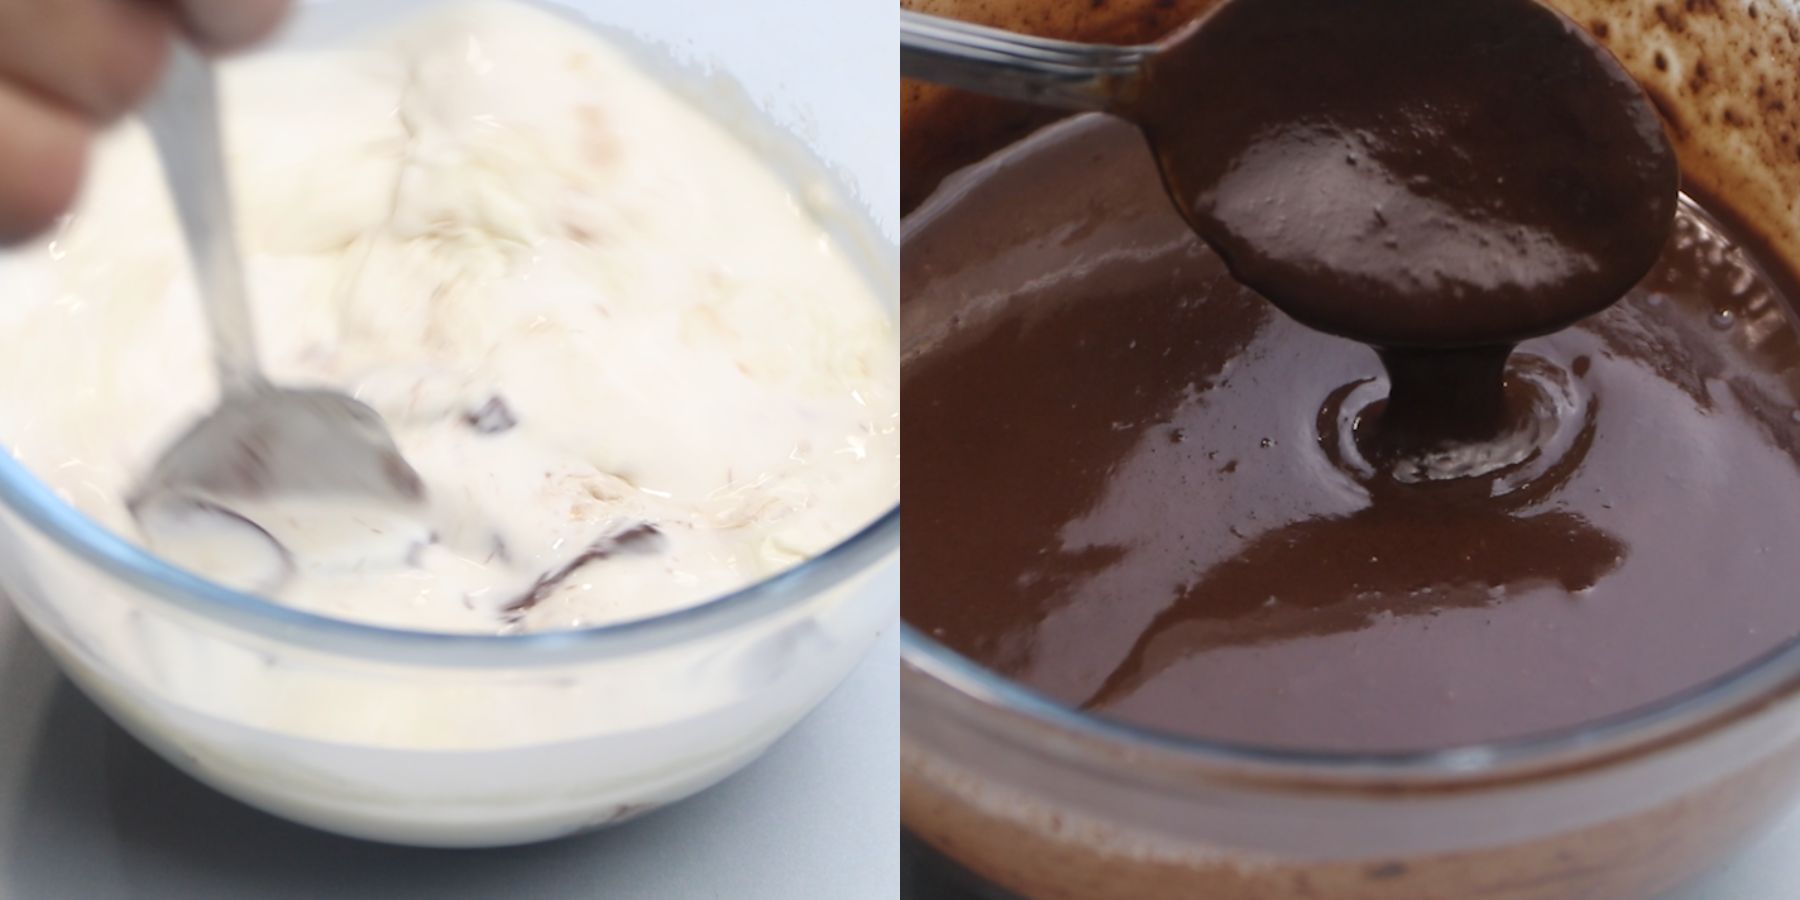
Make the chocolate ganache
- Top, Chill & Unmold: Pour the ganache over the chilled biscuit base, smoothing it evenly. Cover with plastic wrap and refrigerate for at least 4 hours (or overnight) until set.
- Run a thin knife around the inside edge of the pan, unlock the springform collar, and top with chopped toasted walnuts before slicing.
Notes
- Biscuit Prep: Break biscuits into rough, bite-sized pieces (½-1-inch chunks). Avoid crushing them into fine crumbs, or the cake will lose its distinct mosaic cross-section.
- Syrup Temperature: Let the cocoa syrup cool for 15 minutes until warm/room temperature before pouring over the biscuits. Boiling syrup will make the biscuits soggy.
- Packing the Pan: Press the coated biscuit mixture tightly into the springform pan using the flat bottom of a measuring cup or glass to eliminate air pockets and prevent crumbling when sliced.
- Ganache Quality: Use high-quality dark chocolate baking bars (60%-70% cocoa) instead of chocolate chips, which contain stabilizers that prevent a smooth melt.
- Clean Slicing: For sharp cuts, dip a long chef’s knife in hot water, wipe it completely dry, and press straight down. Re-warm and dry the blade between each slice.
- Storage: Store covered in the refrigerator for up to 5 days, or freeze wrapped individual slices for up to 3 months. Thaw frozen slices in the fridge overnight.
Rima says
Tried this recipe today ,was amazing ,Thankyou .
Sara says
My late mother made something called cocoa pie, with social tea biscuits, cocoa, butter and wine. She kept it in the freezer and we loved it. I have been looking for a similar recipe for years! I’m going to add some type of liquor to this recipe and hope it brings back tasty memories. Thank you!