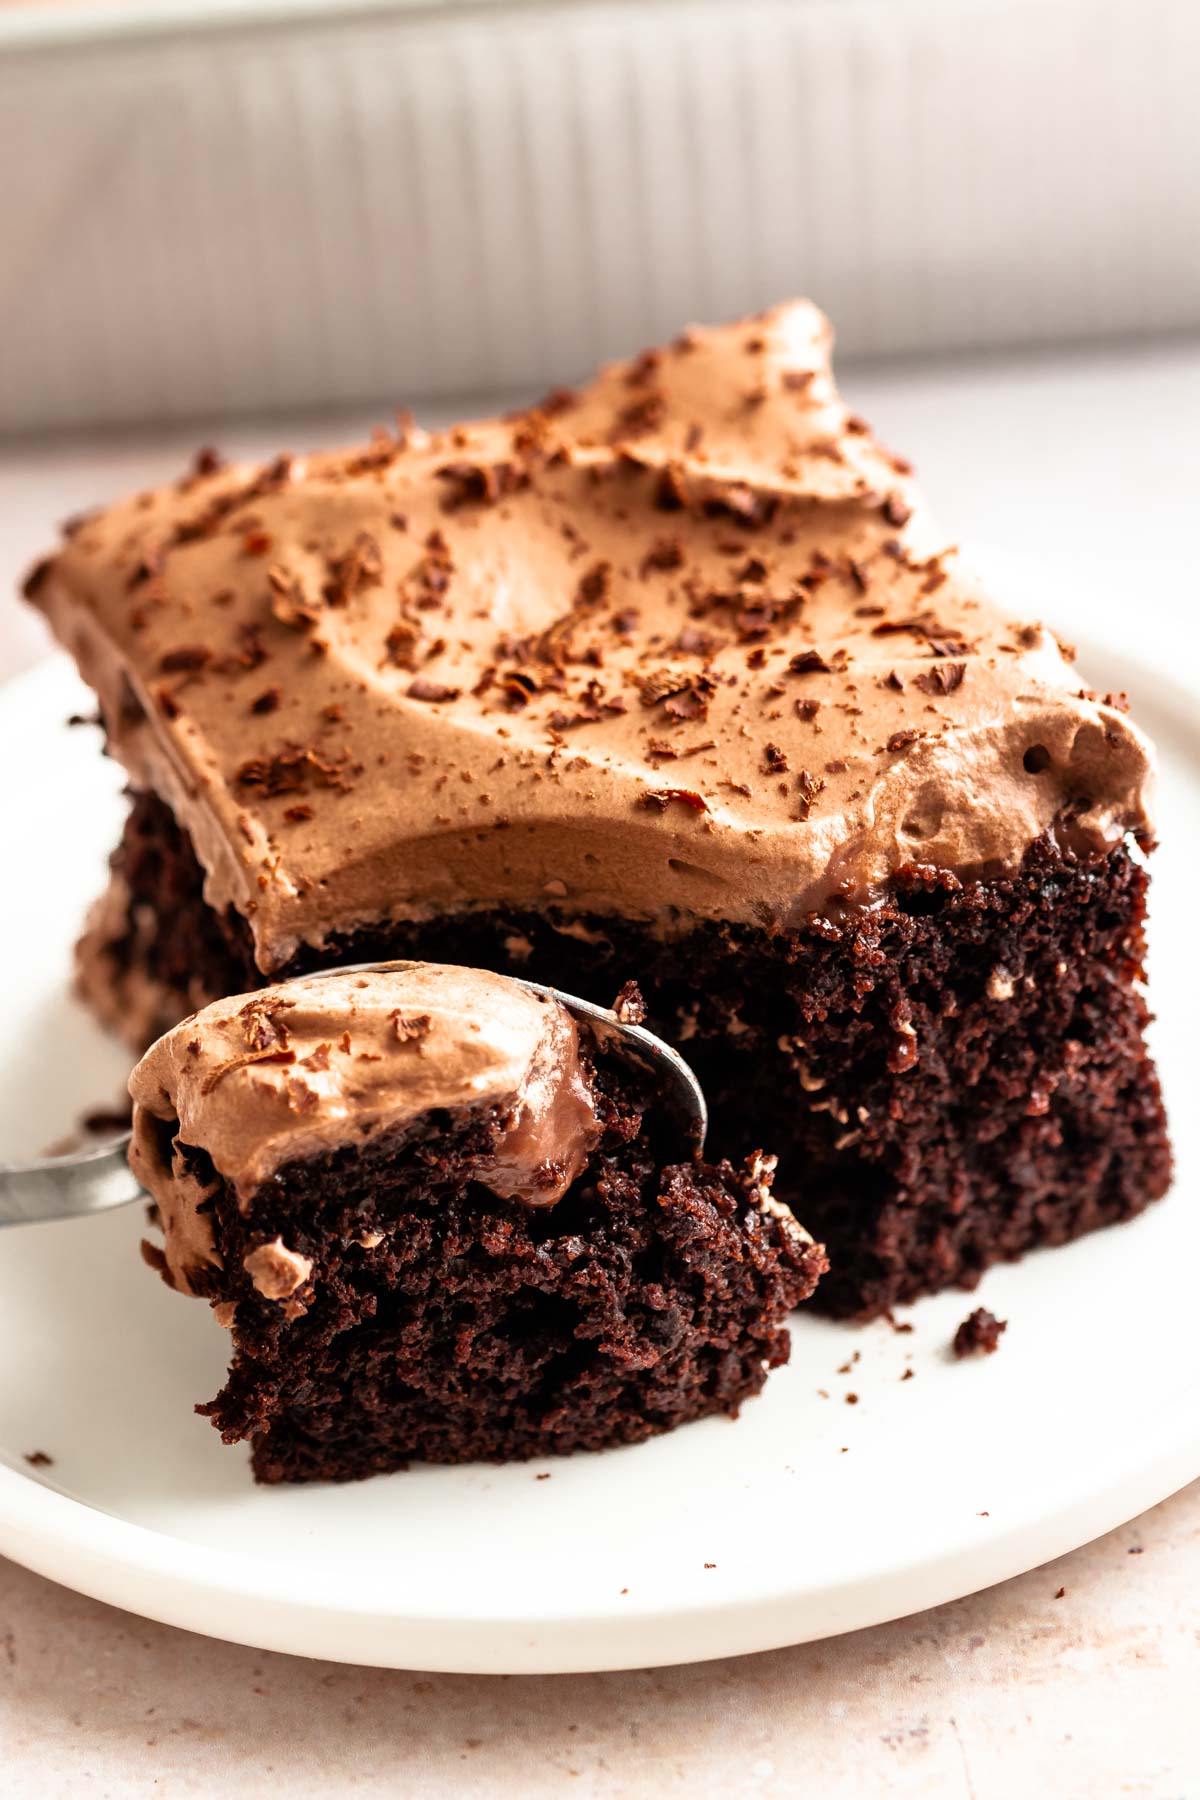
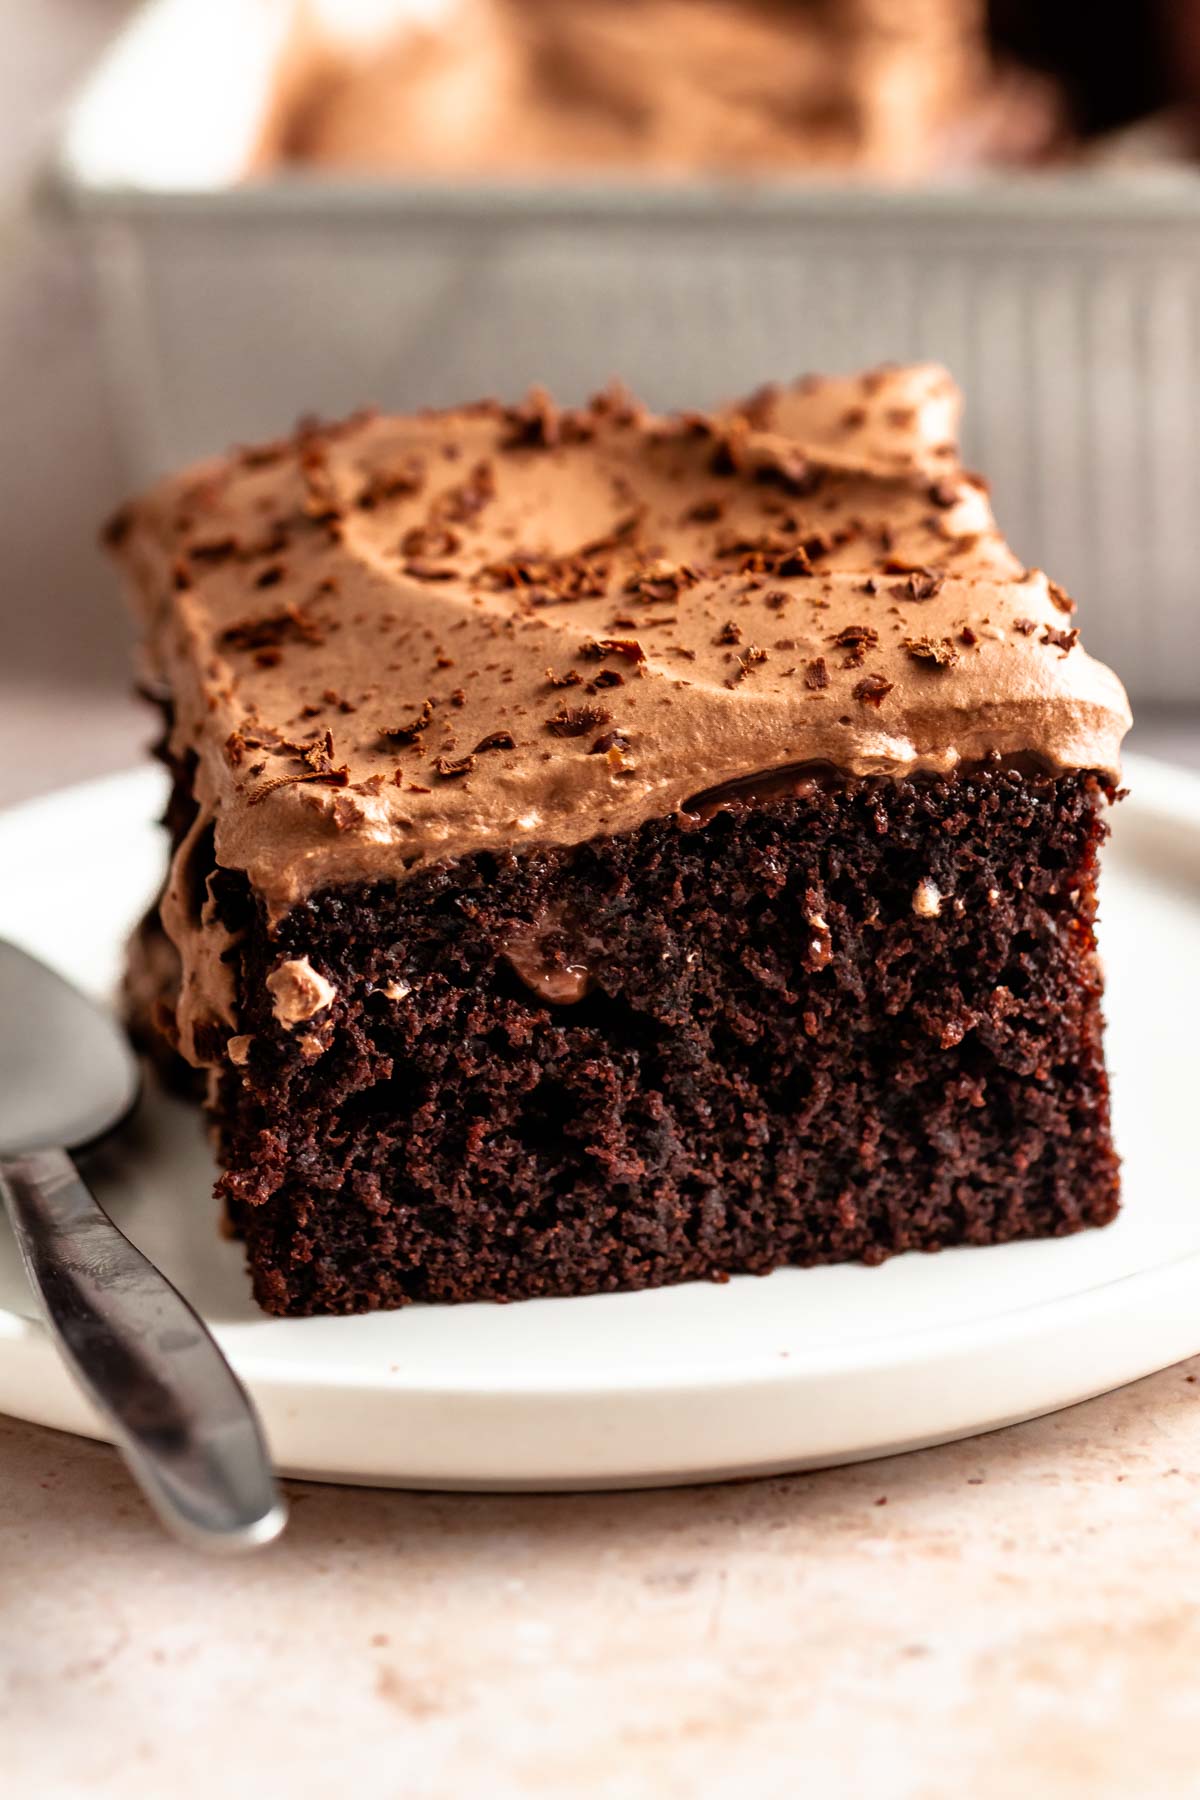
This chocolate poke cake is made with a moist chocolate cake, chocolate pudding filling, and stabilized chocolate whipped cream!
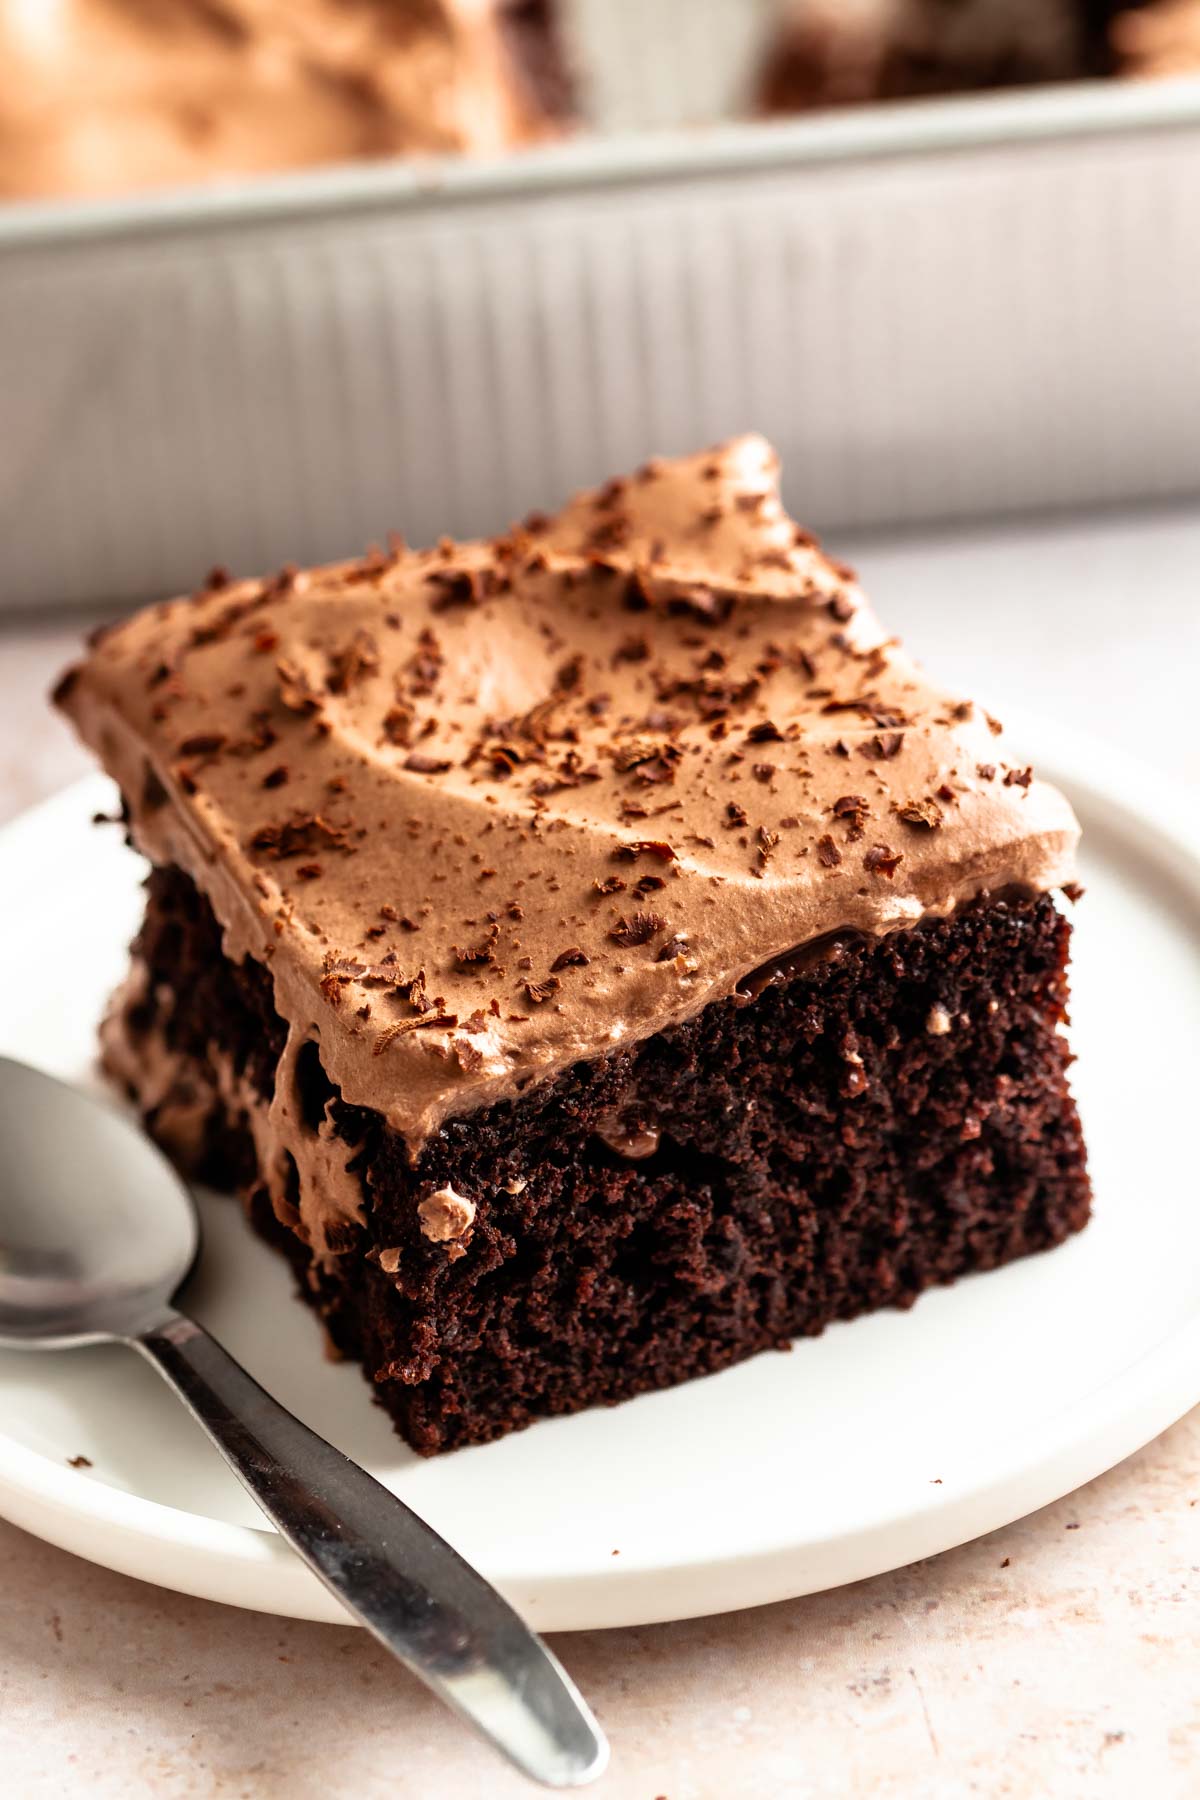
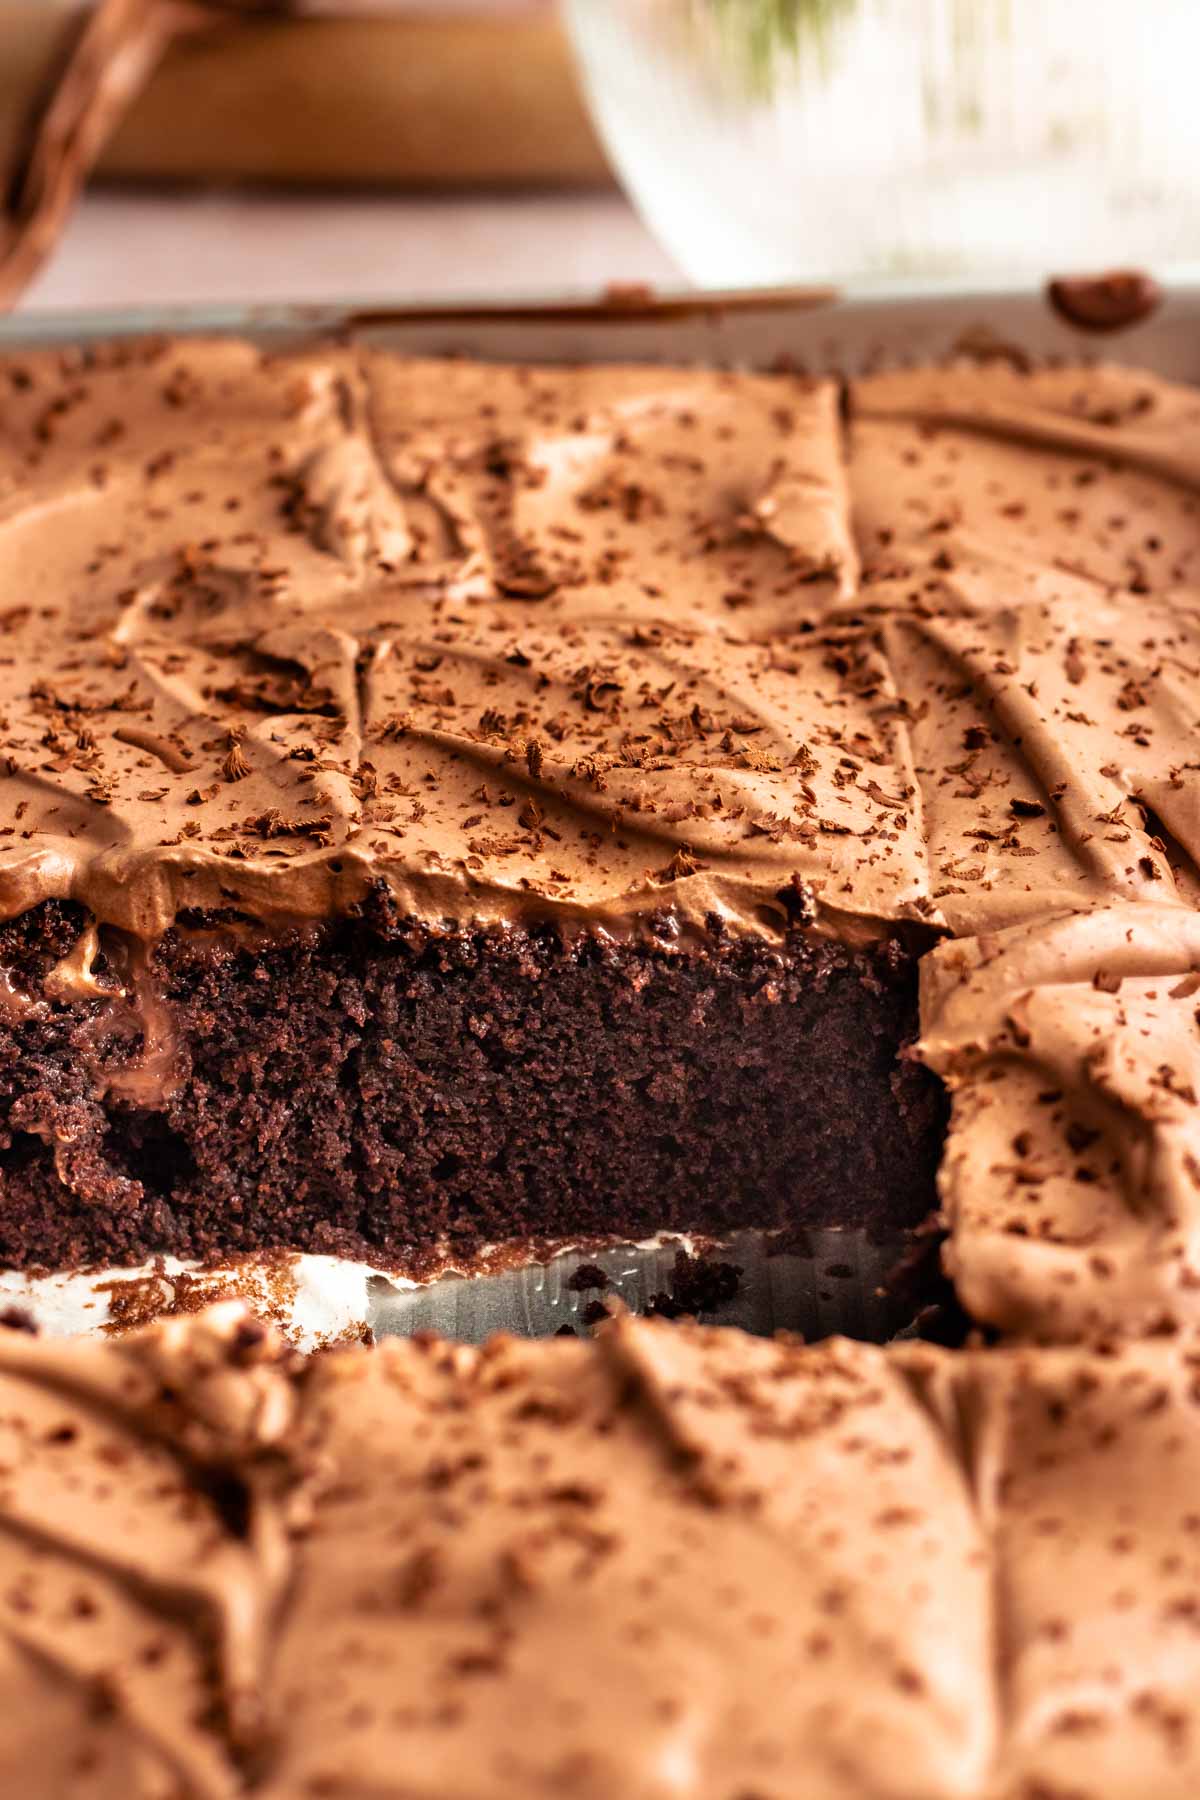
This delightful treat consists of a rich chocolate cake that is poked with holes after baking, allowing for a luscious filling to seep into every bite.
Topped with chocolate whipped cream, this cake is a favorite for gatherings and special occasions, delighting both chocolate lovers and dessert enthusiasts alike.
Indulge in the ultimate chocolate cake - a triple chocolate poke cake made with simple ingredients, without a box mix!
This cake is a real hit with a crowd and is perfect for serving a large group of people. It is baked in a 13 by 9-inch cake pan.
If you love making easy and delicious poke cakes, check out my lemon poke cake with mascarpone frosting!
For more delicious chocolate cake recipes, check out my chocolate brooklyn blackout cake, chocolate caramel cake, Matildas chocolate cake, chocolate coffee cake, and Nutella cake.
Jump to:
Why this recipe works
- Flavor- this cake is loaded with chocolate flavor from the chocolate cake to the chocolate pudding filling to the chocolate whipped cream and is perfect for chocolate lovers!
- Texture- this cake has a tender, moist, fluffy, and super soft texture that goes perfectly with the light chocolate whipped cream on top.
- Ease- this cake is super easy to make! It is made with a one-bowl chocolate cake, filled with a super easy chocolate pudding filling that is made with instant chocolate pudding, and topped with a super easy chocolate whipped cream.
- Made from scratch- one of my favorite parts about this cake is that it is made from scratch and is not made with a box mix cake. This takes this poke cake to the next level.
What is a poke cake?
A poke cake is a type of dessert where holes are poked into a baked cake, typically using the end of a wooden spoon or fork.
These holes are then filled with various fillings such as pudding, or fruit puree and then topped with a delicious frosting. The fillings seep into the cake, adding moisture and flavor to each bite.
Ingredients
Before you start to make this recipe, measure and prepare your ingredients so the cooking process will go smoothly and easily.
Full measurements are in the recipe card below.
Flour– we used all-purpose flour for this recipe, self-rising flour, and cake flour will work great as well.
Dutch cocoa powder– we like to use Dutch-process cocoa powder for our cake because we like the deep and rich chocolate taste, but the natural cocoa powder will work great as well!
Baking powder– baking powder allows the cake to rise. Make sure that your baking powder is not expired.
Granulated sugar– we like to use granulated sugar, also the most common sugar used in baking. Caster sugar will work great as well.
Vegetable oil – we used vegetable oil for this recipe. canola oil will work great for this recipe.
Eggs– To give the cake a good structure. Make sure you’re using room-temperature eggs.
Buttermilk– gives the cake extra moisture. You can make your own buttermilk if you don’t have one on hand. Simply mix a cup of milk with a tablespoon of vinegar or lemon juice and let it sit for at least 10 minutes.
Hot water- will melt all the ingredients together and make this cake extra moist.
Vanilla extract– Vanilla extract Is an essential ingredient for baking.
Salt– We used kosher salt for this recipe. Salt doesn’t give the cake a salty taste, it helps to enhance the chocolate flavor.
For the chocolate pudding filling
Chocolate instant pudding- you will need chocolate instant pudding for the filling. You can use your favorite brand of chocolate instant pudding for this.
Milk- we used whole milk for this. If you are vegan or don't consume dairy milk, you can use almond milk or your favorite plant-based milk instead!
For the chocolate whipped cream
Heavy cream- use full-fat heavy cream for this recipe. This cant is substituted.
Cocoa powder- we used Dutch cocoa powder. You can use natural cocoa powder as well.
Powder sugar- you will need powdered sugar for this recipe. you don’t have to buy powdered sugar, you can simply make it at home by blending granulated sugar in a blender or food processor.
Instructions
Preheat an oven to 180c (350f) and prepare a 9 by 13 inch pan with parchment paper.
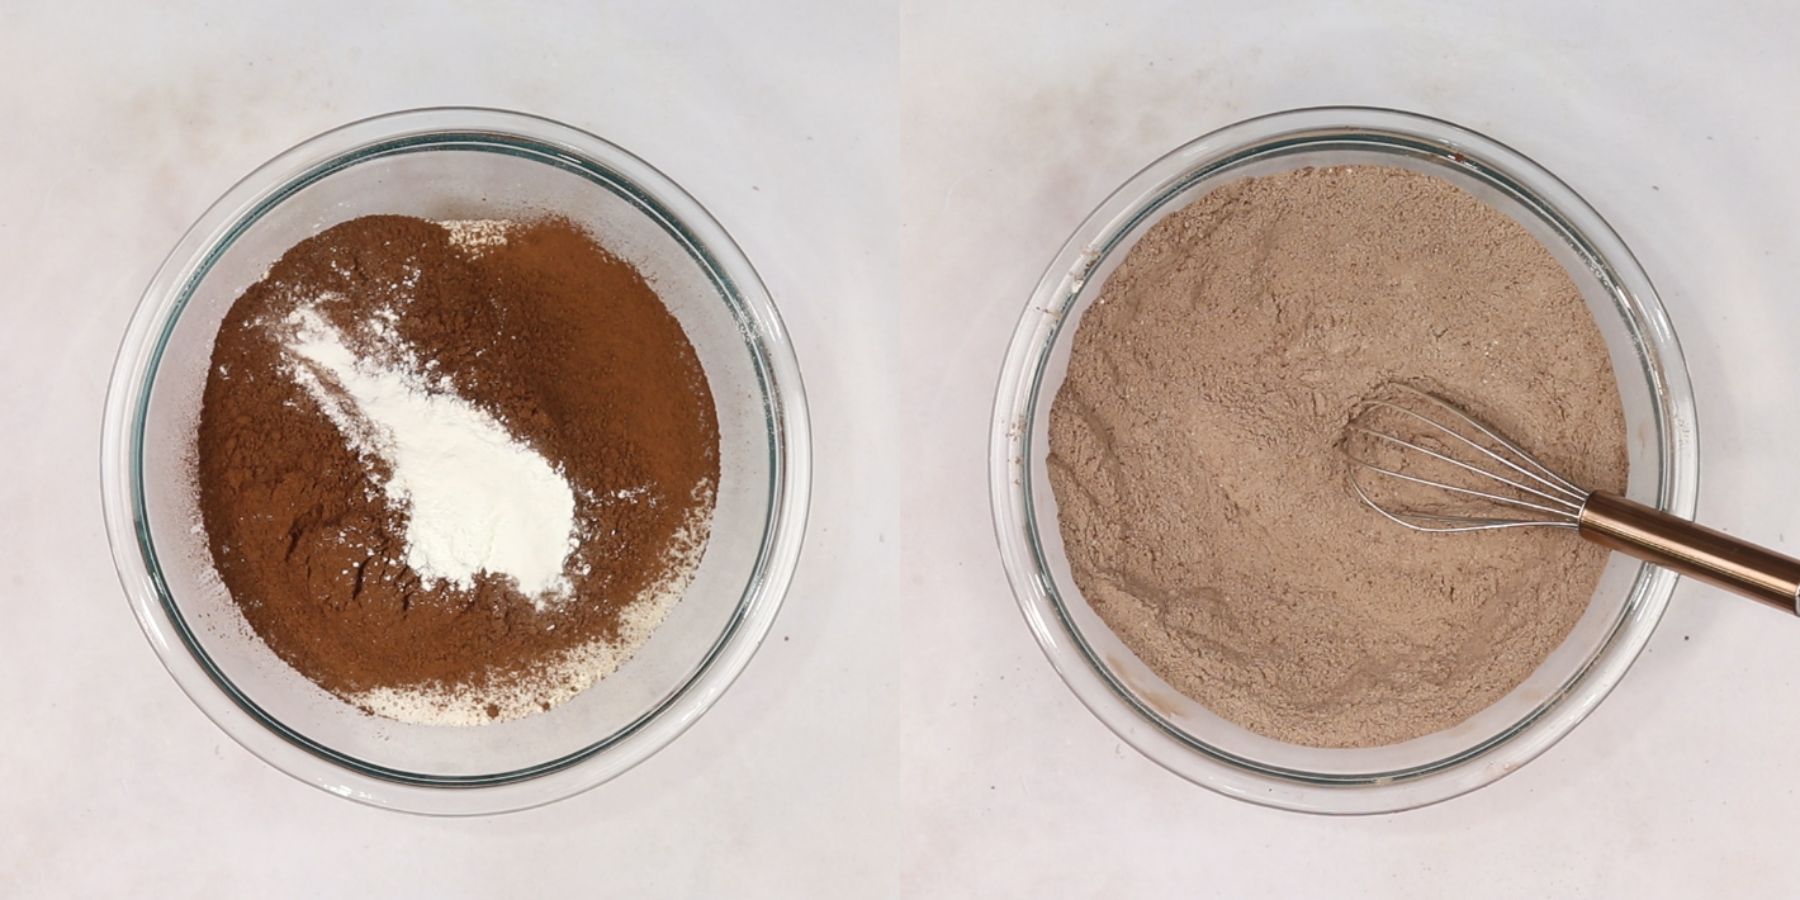
Into a large mixing bowl, add the dry ingredients: flour, cocoa powder (don't forget to sift), kosher salt, baking powder, baking soda, and granulated sugar, and mix with a whisk until well combined.
Add the eggs, buttermilk, oil, and vanilla extract, and mix until almost combined.
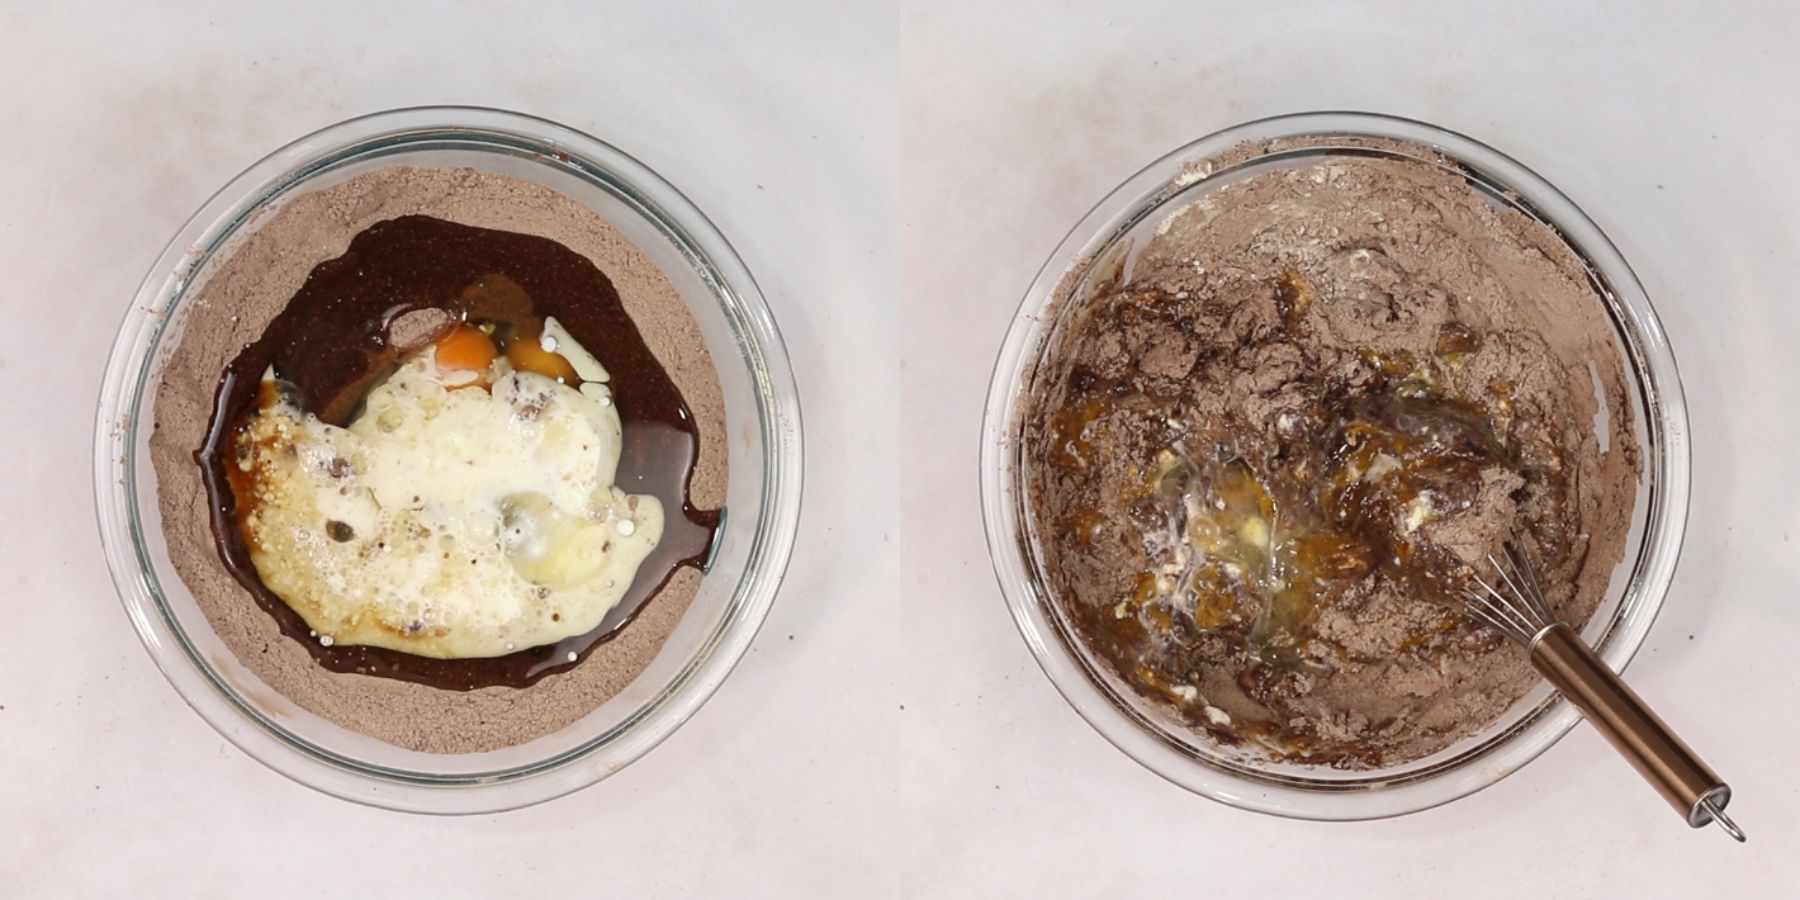
Add the hot coffee and mix until just combined and there are no lumps of flour visible.
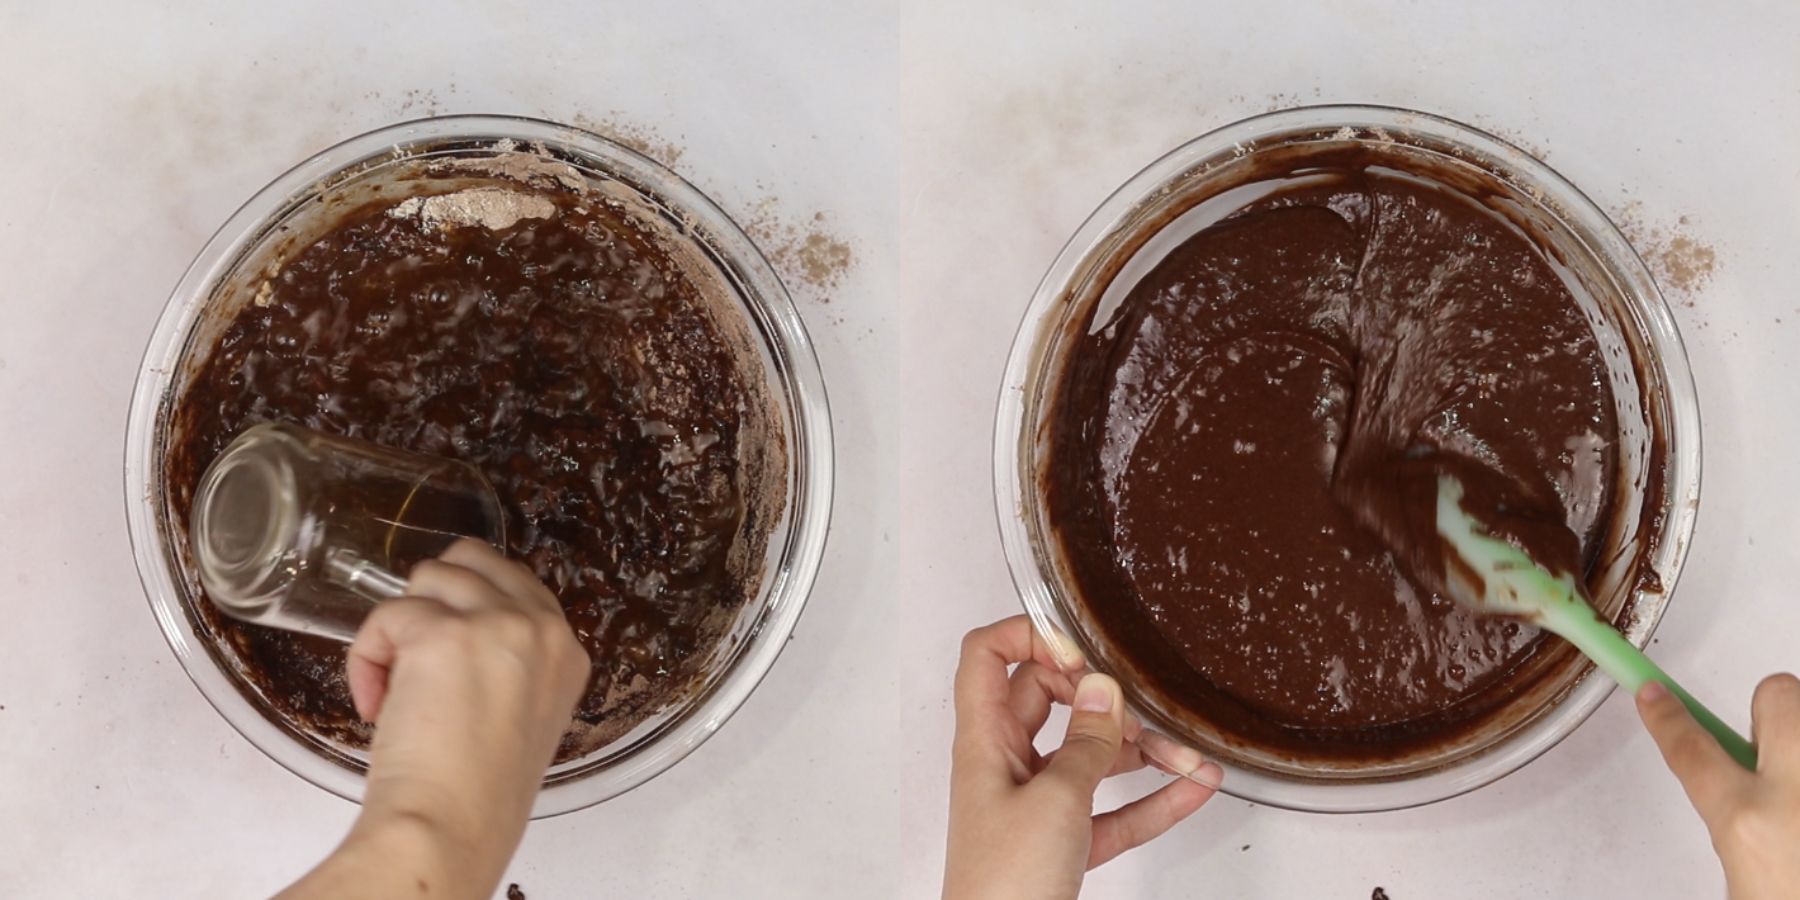
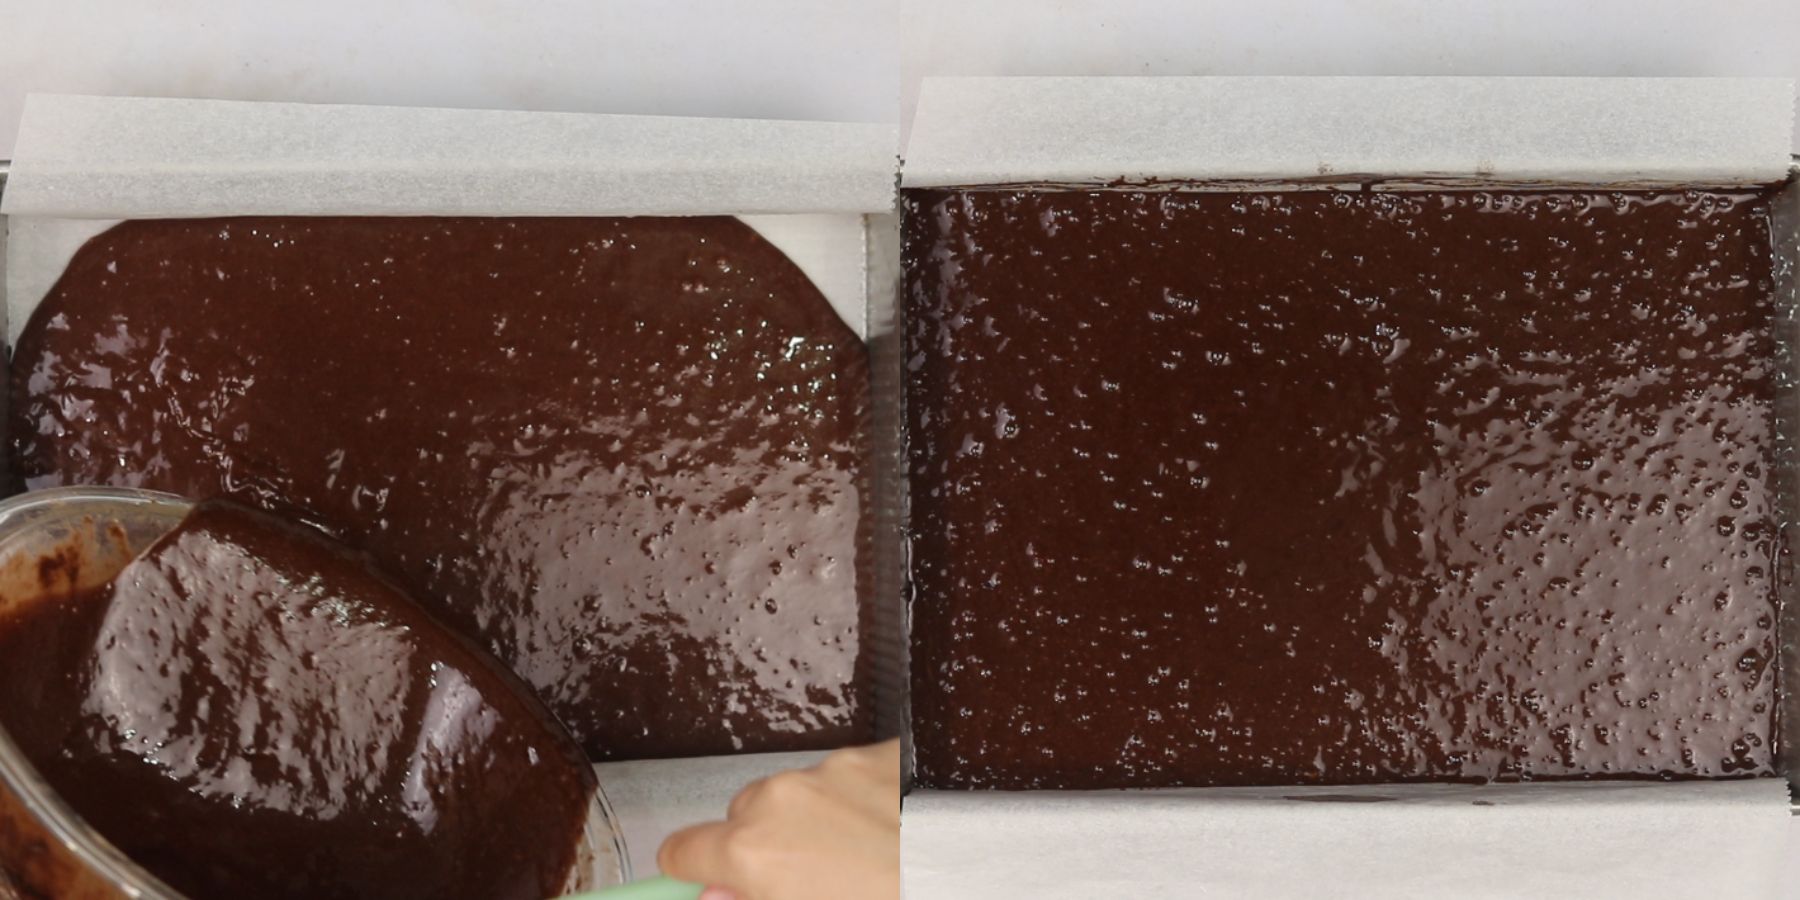
Pour the batter into the prepared baking pan and bake the cake in a 180c (350f) preheated oven for about 30-40 minutes or until a toothpick inserted into the cake comes out clean.
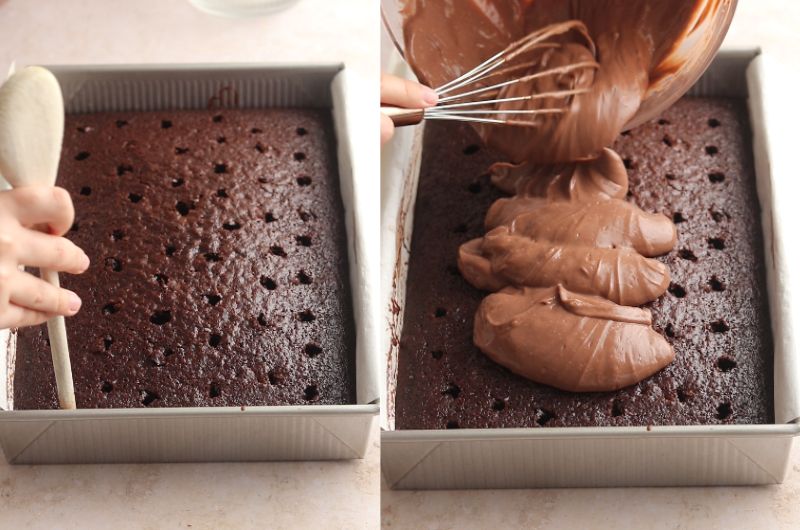
Let the cake cool in the pan for 20-30 minutes and poke holes using the back of a wooden spoon. Since the pudding is thicker, I recommend poking larger holes to ensure the filling gets into every hole.
Make the easy two-ingredient pudding filling. Into a medium mixing bowl, add the chocolate instant pudding, and milk. Mix well with a whisk and let it sit for 20-30 minutes or until it thickens.
If the pudding is too thick, add more milk until you get the right consistency.
Pour the pudding mixture on top of the cake and spread it out all over the cake using a spoon or an offset spatula. Ensure the holes fill out with the filling.
Make the chocolate whipped cream
In a cold large mixing bowl add the heavy whipping cream, and instant chocolate pudding, sift the cocoa powder, and add the sugar and vanilla.
Whip with a hand mixer or in a stand mixer until stiff peaks form. Make sure that you don't overmix the whipped cream so it won't turn into butter.
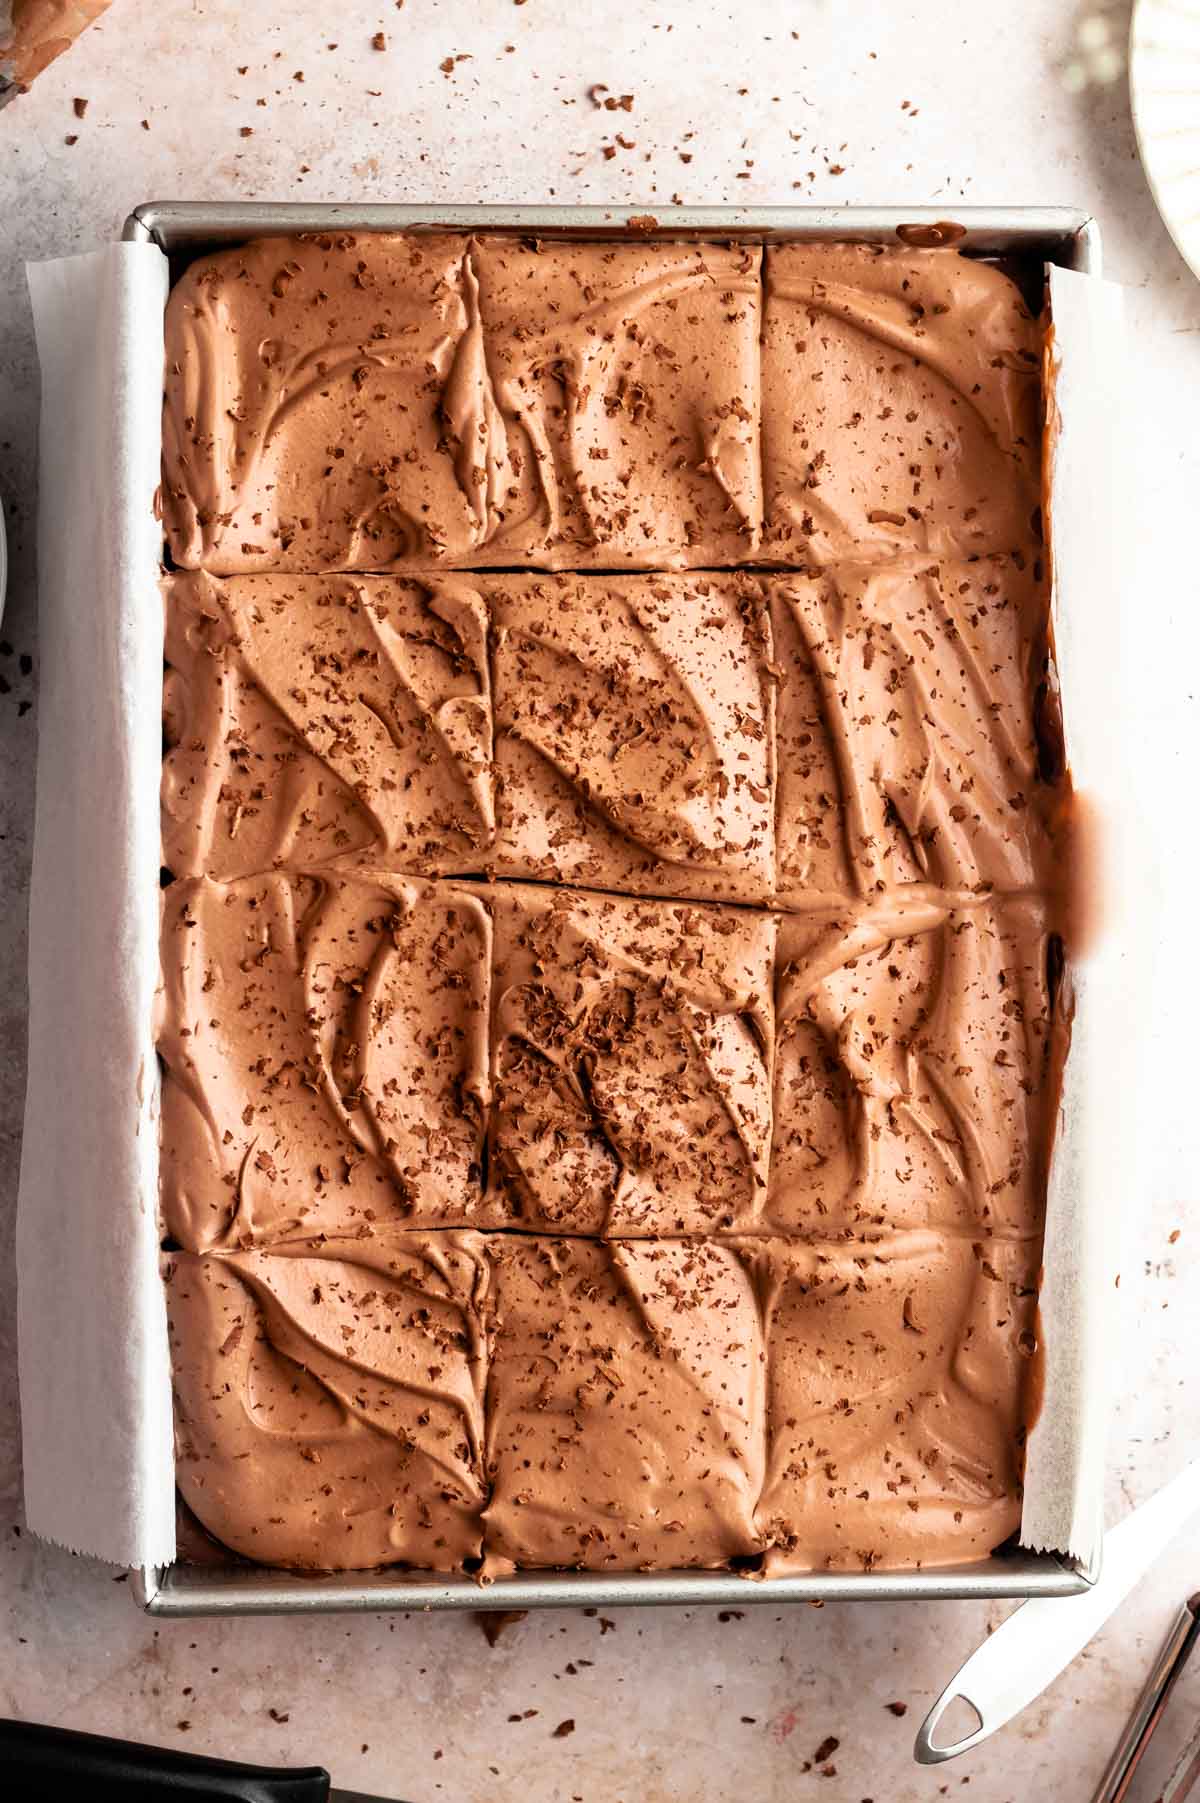
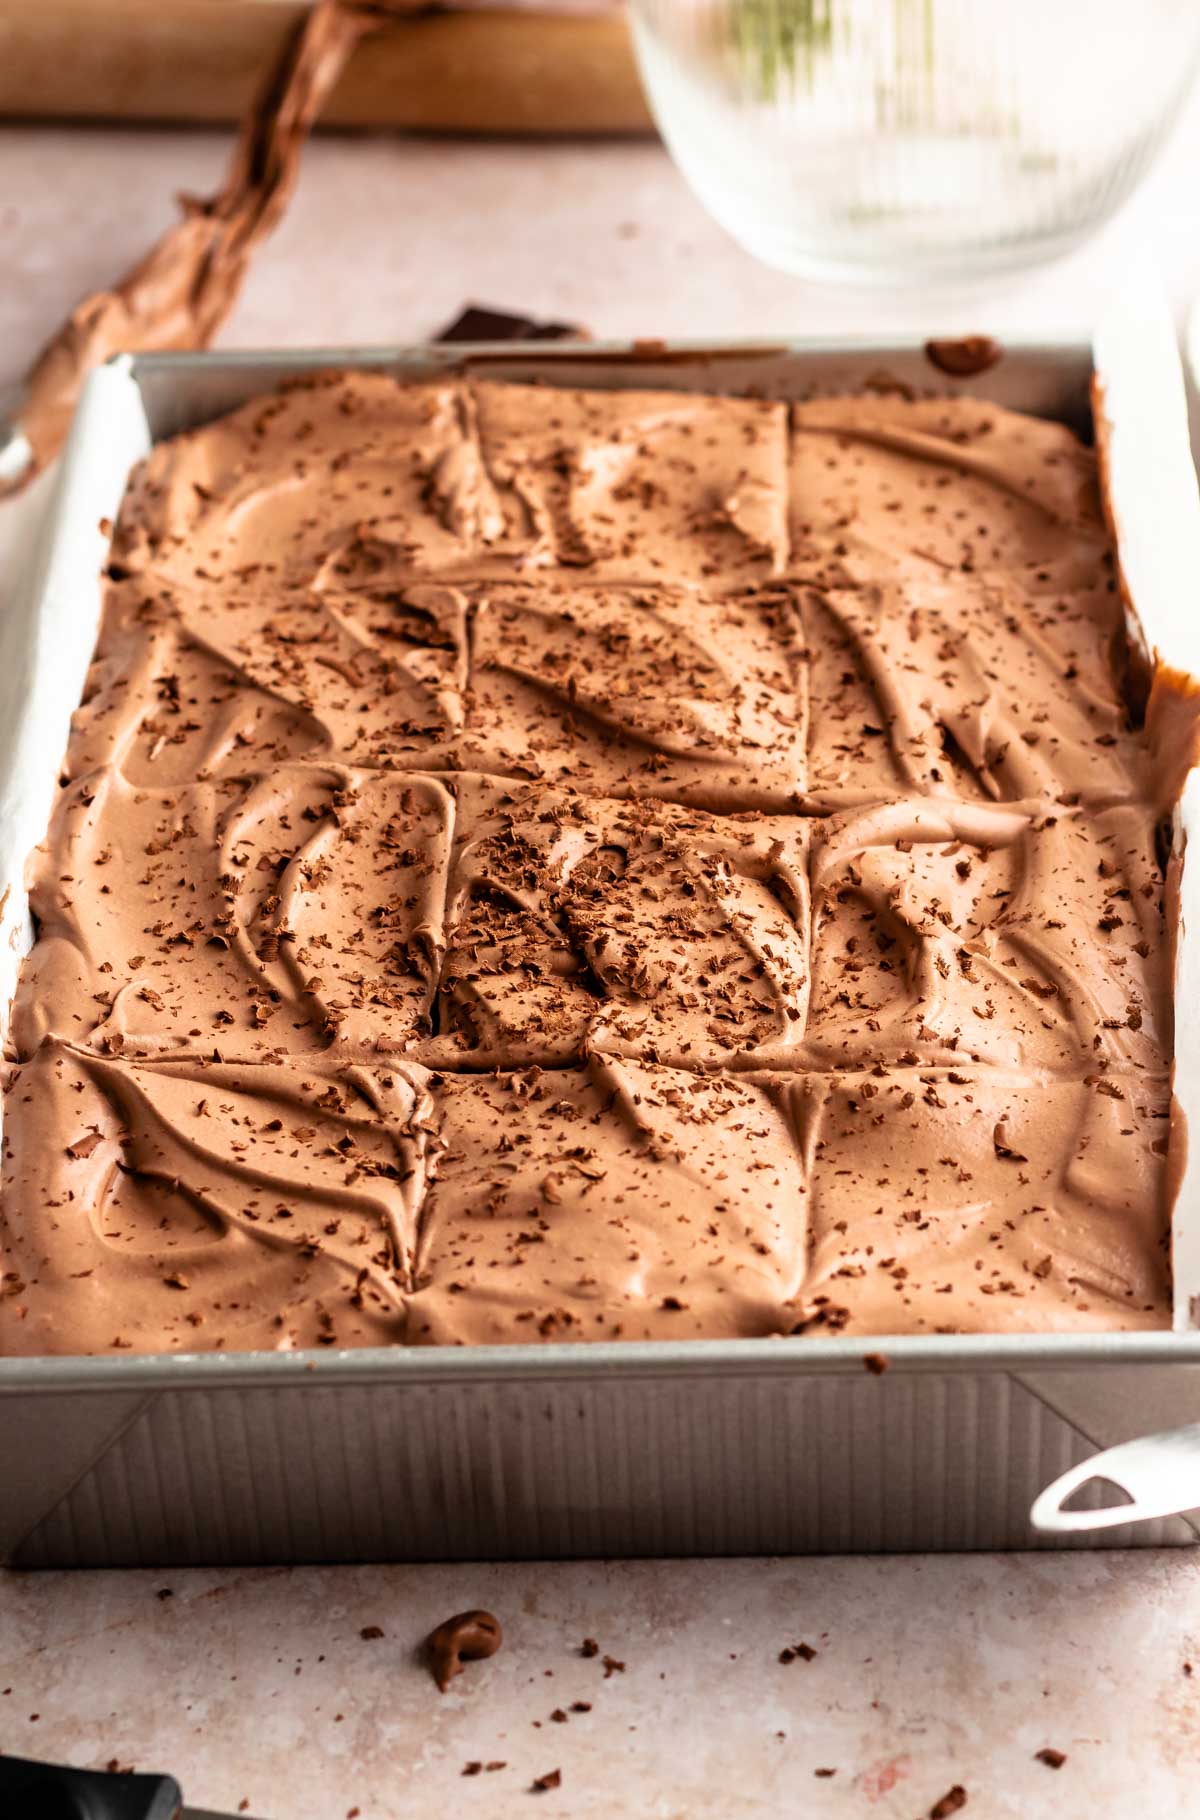
Top the cake with the cream and spread it evenly. Make swirls using an offset spatula and sprinkle chocolate shavings on top.
Expert Tips
- Use room temperature ingredients. It is important that you use room-temperature ingredients like eggs and milk. This step ensures that your mixture mixes into a homogenous mixture and bakes perfectly. you don’t want to place cold batter into the oven.
- Since the pudding is thick, you will need to make bigger holes in the cake so the pudding will get in every hole and every bite. If you have a small handle,
- Don’t overmix the batter, you don’t want to develop the gluten in the flour. This step ensures you have moist cake and not dense and dry cake.
- After baking your cake, use the round end of a wooden spoon handle to poke holes evenly across the surface of the cake. These holes will later be filled with luscious fillings and toppings.
- Measure your flour correctly! When measuring your flour, avoid scooping it with a measuring cup. Instead, stir the flour with a spoon to create as many air pockets as possible, and spoon it into your measuring cup. Finally, level it with a back of a knife.
- Be patient! I know it’s extremely tempting to eat and frost this cake as it's pulled out of the oven, but let the cake cool for at least an hour so it will be firmer and won’t crumble up. This step ensures that the frosting won’t melt off the cake. You never want to frost warm cupcakes or cakes.
- Line your baking pan with parchment paper! This step helps the cake to bake evenly, and it makes sure that your cake will release easily from the pan.
Faq's
Your poke cake might be soggy if you poked the holes too close together. Make sure that there's at least ½ inch between every hole. Also, ensure that you let your cake cool to room temperature before you add the filling.
No! you can’t taste the coffee. Adding the coffee simply enhances the chocolate flavor. So, don’t skip the coffee on the cake!
We like to use Dutch-processed cocoa powder because it gives the cake a deeper rich chocolate taste. We highly recommend not replacing the Dutch cocoa powder with natural cocoa powder.
Yes. You can skip the espresso powder in this recipe if you don't consume coffee or use a caffeine-free coffee powder or espresso powder.
Poke and pour cake is called poke cake since is it a recipe that calls for inserting holes into the cake, and then filling them with different fillings.
Storing
This cake will last up to 4 days stored in the fridge. Cover the cake with plastic wrap or foil to prevent it from drying out.
Freezing
You can freeze this cake after it has cooled completely. Store it in an airtight, freezer-friendly container for up to 3 months.
You can freeze the whole cake or slice it into slices and then freeze it.
If you are freezing individual slices of the cake, I would recommend storing them in a ziplock bag and then transferring them to an airtight freezer-friendly container.
Thaw at room temperature for a few hours or in the fridge overnight.
Make ahead instructions
You can make this cake ahead by freezing the baked cake ahead of time. Wrap the cake layer with a few layers of plastic wrap and freeze for up to 2 months.
Thaw at room temperature for 1-2 hours or in the fridge overnight.
When you are ready to frost the cake, follow the rest of the instructions and enjoy!
Or, make the entire cake a day ahead of time, and serve it a day later. The flavors of the cake will soak in, making it the perfect time to indulge in this ultimate treat.
Substitutions
Gluten-free - if you want to make this recipe gluten-free, simply replace the flour with gluten-free flour.
Egg-free- to make this cake egg-free, replace the eggs with ⅔ cup of applesauce.
Dairy-free- you can make this cake dairy-free by replacing the buttermilk with vegan milk, the milk with vegan milk, and the chocolate whipped cream with vegan chocolate whipped cream.
Variations
Frosting- Use your favorite chocolate frosting like dark chocolate frosting, chocolate buttercream frosting, chocolate cream cheese frosting, etc.
Toppings- some of my favorite toppings for this cake are brownie bits, chocolate chips, mini chocolate chips, chopped Reese’s cups, snickers, chocolate sauce, chocolate ganache, and caramel sauce.
Layer cake- make this into a layer cake by using 2 8 or 9-inch cake pans and bake them for 30 minutes or until a toothpick inserted into the cake comes out with a few moist crumbs.
Cupcakes- you can make this recipe into cupcakes! Half the cake recipe, and bake them into cupcakes at 180c (350f) for 18 minutes and make the same amount of frosting.
Equipment
- Mixing bowl (set of 3)
- Whisk Set (pack of 3) to whisk the ingredients together
- 9x13 baking pan
- Rubber spatula
- Electric hand mixer
More chocolate recipes
Chocolate fudge cake- This chocolate fudge cake is the most amazing chocolaty, rich, moist, and tender, and is the perfect dessert to satisfy your chocolate cravings!
Best ever chocolate cake- This decadent chocolate cake is made by making two simple cake layers with the easiest and most chocolaty chocolate frosting. This cake is a moist, fluffy, and rich cake that is not too sweet.
Small batch chocolate cake- This small chocolate cake is perfect when you're craving a chocolate cake but don't want to make a big cake. We made this cake in an 8x8 inch baking pan.
If you tried this recipe, don’t forget to leave a rating and a comment below. We love hearing from you.
If you liked this recipe
📖 Recipe
The BEST Chocolate Poke Cake
Ingredients
- 2 ⅓ cups Flour
- ½ teaspoon Kosher salt
- 1 ⅔ cups Granulated sugar
- ⅔ cup Cocoa powder
- 2 teaspoon Baking powder
- ½ teaspoon Baking soda
- 3 Eggs
- ¾ cup Buttermilk
- ½ cup Vegetable oil
- 2 teaspoon Vanilla extract
- 1 cup Hot Coffee
Chocolate pudding filling
- 3.1 oz Chocolate instant pudding
- 2 cups Milk
Chocolate whipped cream
- 2 cups Heavy cream cold
- ⅓ cup Cocoa powder
- ½ cup Powdered sugar
- 2 teaspoon Vanilla extract
- 3 tablespoon Instant chocolate pudding
Instructions
- Preheat an oven to 180c (350f) and prepare a 9 by 13 inch pan with parchment paper.
- Into a large mixing bowl, add the dry ingredients: flour, cocoa powder (don't forget to sift), kosher salt, baking powder, baking soda, and granulated sugar, and mix with a whisk until well combined.
- Add the eggs, buttermilk, oil, and vanilla extract, and mix until almost combined.
- Add the hot coffee and mix until just combined and there are no lumps of flour visible.
- Pour the batter into the prepared baking pan and bake the cake in a 180c (350f) preheated oven for about 30-40 minutes or until a toothpick inserted into the cake comes out clean.
- Let the cake cool in the pan for 20-30 minutes and poke holes using the back of a wooden spoon. Since the pudding is thicker, I recommend poking larger holes to ensure the filling gets into every hole.
- Make the easy two-ingredient pudding filling. Into a medium mixing bowl, add the chocolate instant pudding, and milk. Mix well with a whisk and let it sit for 20-30 minutes or until it thickens.
- If the pudding is too thick, add more milk until you get the right consistency.
- Pour the pudding mixture on top of the cake and spread it out all over the cake using a spoon or an offset spatula. Ensure the holes fill out with the filling.
Make the chocolate whipped cream
- In a cold large mixing bowl add the heavy whipping cream, and instant chocolate pudding, sift the cocoa powder, and add the sugar and vanilla.
- Whip with a hand mixer or in a stand mixer until stiff peaks form. Make sure that you don't overmix the whipped cream so it won't turn into butter.
- Top the cake with the cream and spread it evenly. Make swirls using an offset spatula and sprinkle chocolate shavings on top.
Notes
- Use room temperature ingredients. It is important that you use room-temperature ingredients like eggs and milk. This step ensures that your mixture mixes into a homogenous mixture and bakes perfectly. you don’t want to place cold batter into the oven.
- Since the pudding is thick, you will need to make bigger holes in the cake so the pudding will get in every hole and every bite. If you have a small handle,
- Don’t overmix the batter, you don’t want to develop the gluten in the flour. This step ensures you have moist cake and not dense and dry cake.
- Measure your flour correctly! When measuring your flour, avoid scooping it with a measuring cup. Instead, stir the flour with a spoon to create as many air pockets as possible, and spoon it into your measuring cup. Finally, level it with a back of a knife.
- Be patient! I know it’s extremely tempting to eat and frost this cake as it's pulled out of the oven, but let the cake cool for at least an hour so it will be firmer and won’t crumble up. This step ensures that the frosting won’t melt off the cake. You never want to frost warm cupcakes or cakes.
- Line your baking pan with parchment paper! This step helps the cake to bake evenly, and it makes sure that your cake will release easily from the pan.


Comments
No Comments