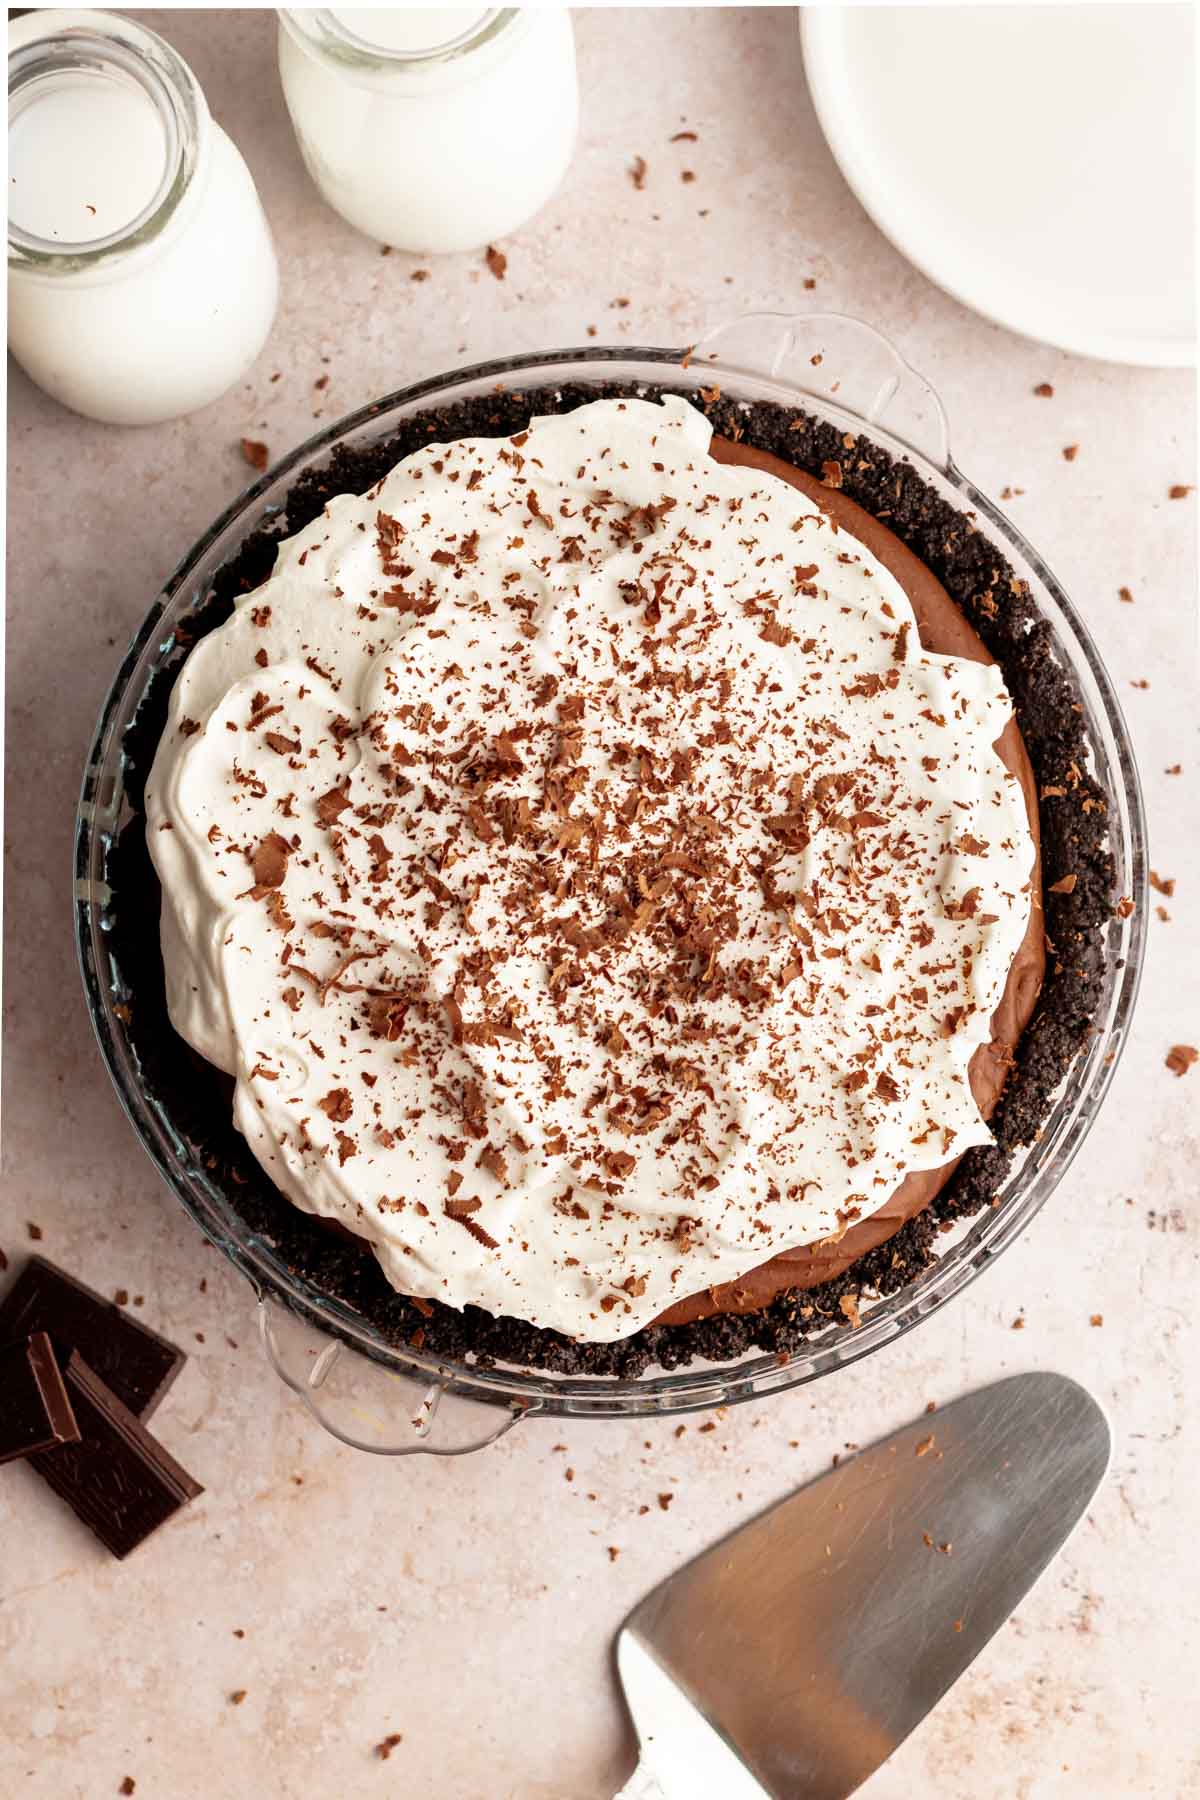
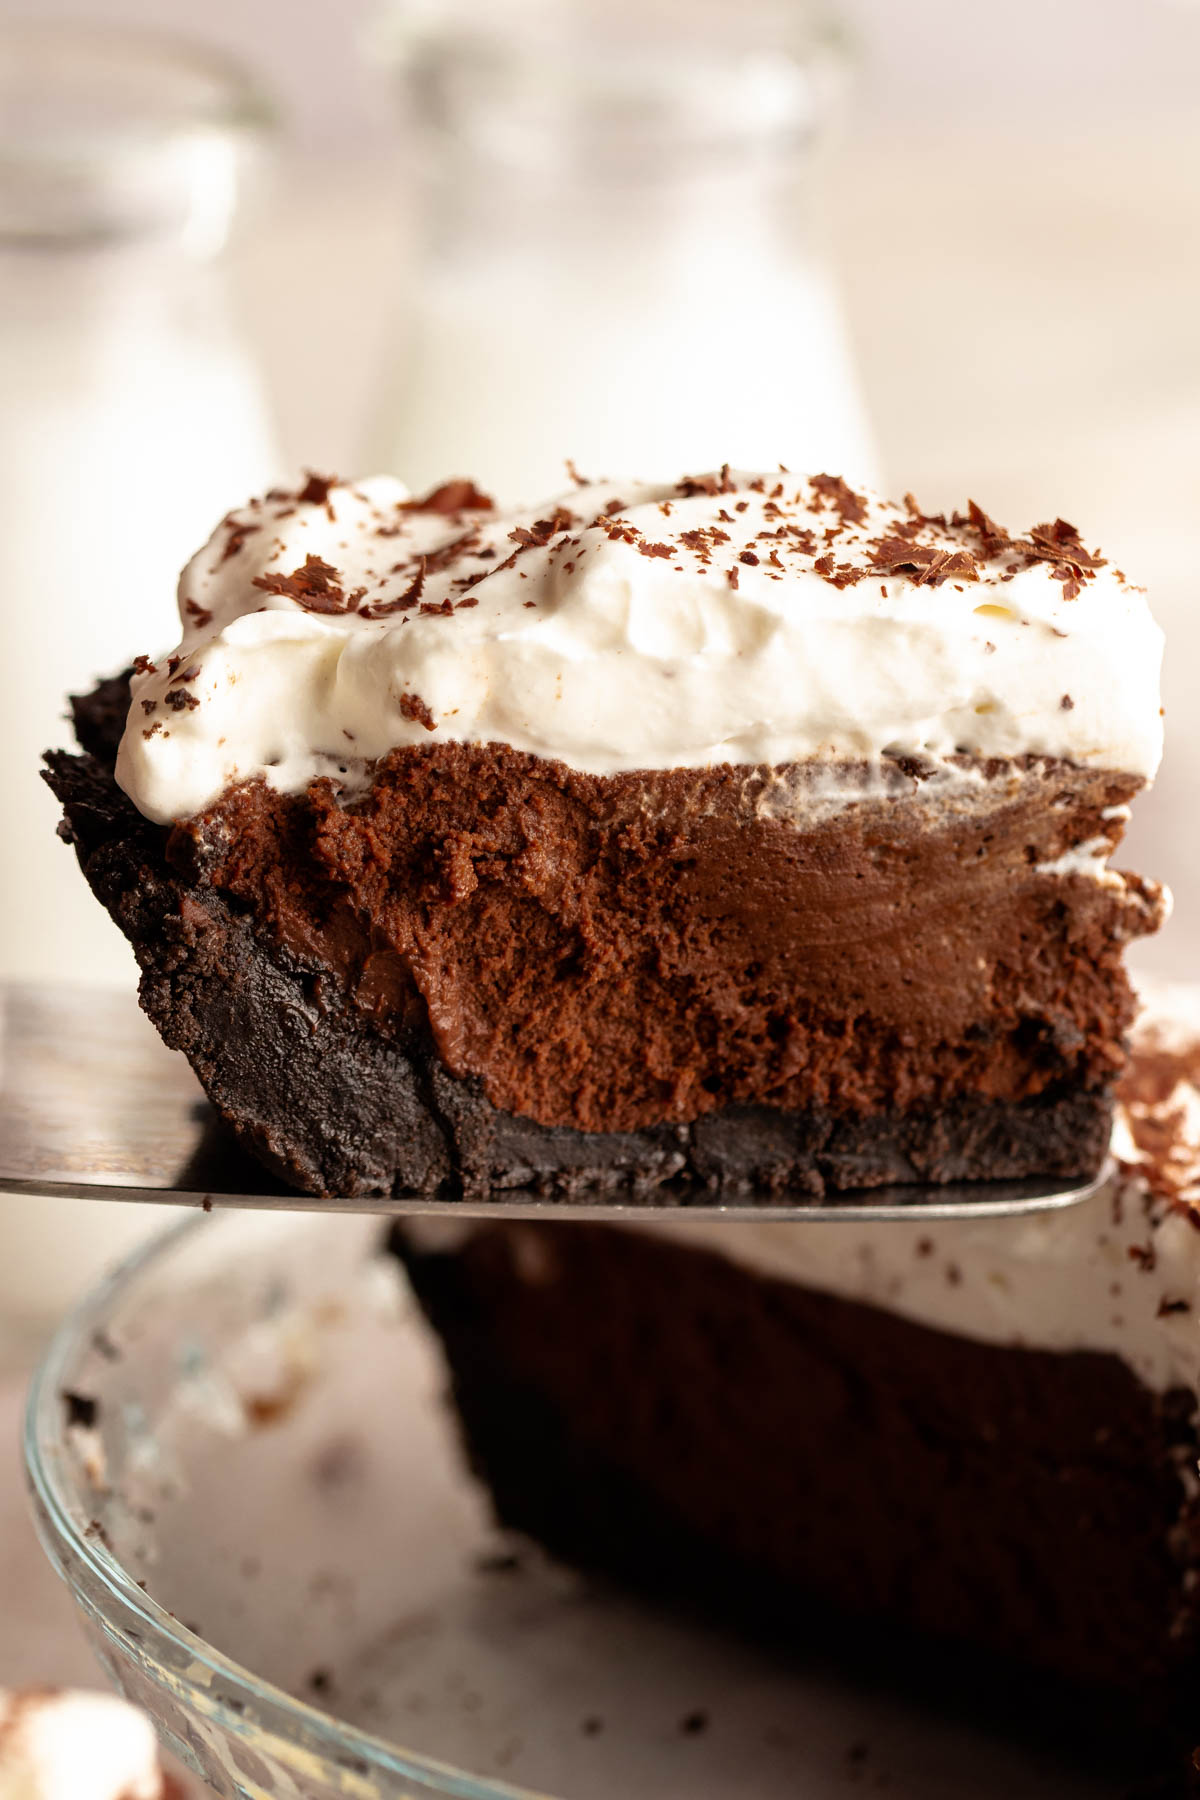
This no bake chocolate pie is made with an oreo cookie crust, topped with a rich chocolate filling that is made with both dark chocolate and cocoa powder, and topped with plenty of freshly made whipped cream.
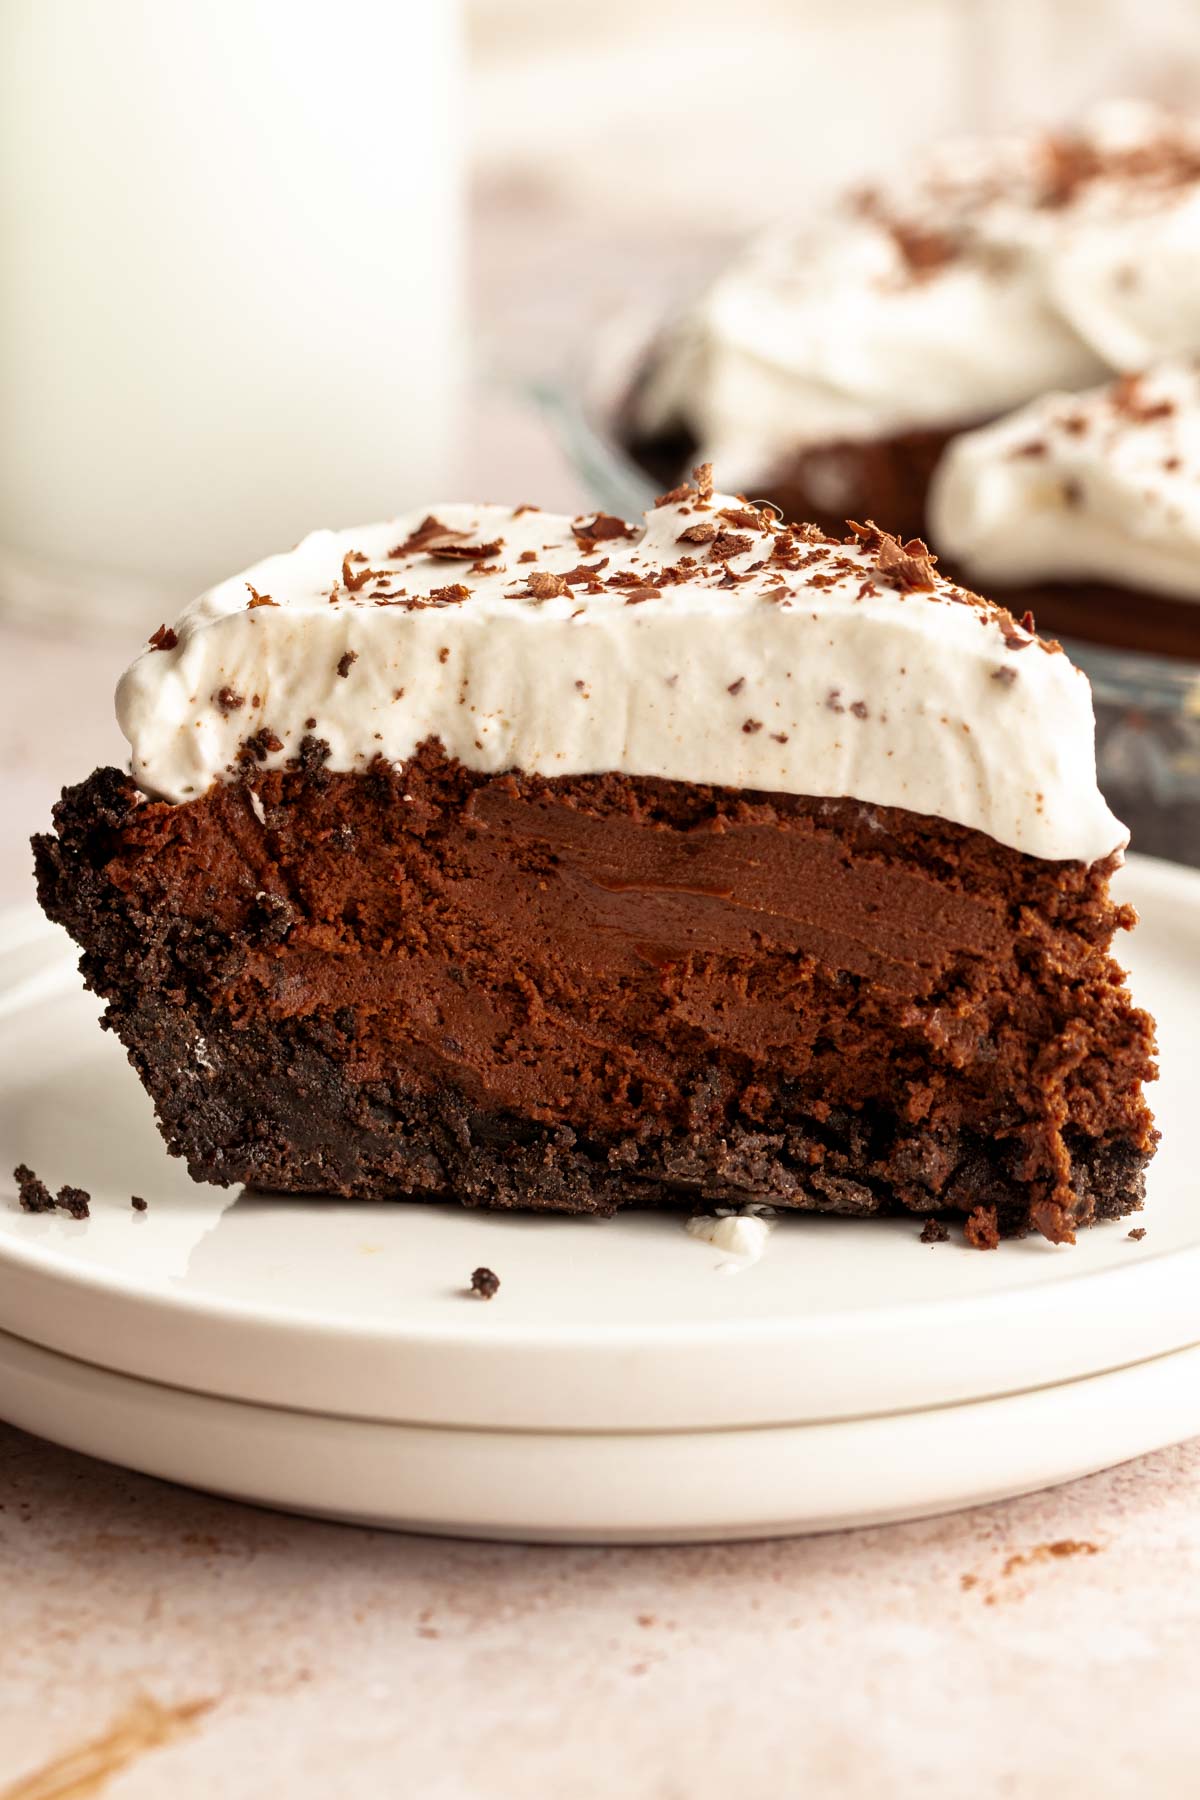
This will be your new favorite dessert! It's rich, extremely creamy, and super easy to make. I love that you can make such an indulgent dessert without turning the oven on!
The chocolate cookie crust is made with only two ingredients and will melt in your mouth! The filling has a secret ingredient that will make it stay stable.
If you like decadent chocolate desserts, check out our torta Caprese (italian chocolate torte), brownie bites, small batch brownies, ferrero rocher cake, brownie cookies, and chocolate sour cream pound cake.
Jump to:
Why this recipe works
- Texture and flavor- It has a creamy and rich texture and chocolate flavor that is perfect for real chocolate lovers!
- Easy crust- It's made with a two-ingredient Oreo cookie crust that is chocolaty and delicious.
- No bake recipe- No baking is required for this recipe! Which is mindblowing for the result you get.
- Prepare in advance- This recipe is great to make in advance. You can store it in the fridge for up to 4 days which is great for parties and gatherings.
- Rich and luxurious- this pie is rich in chocolate flavor and has a creamy and luxurious texture that you are going to fall in love with.
Ingredients
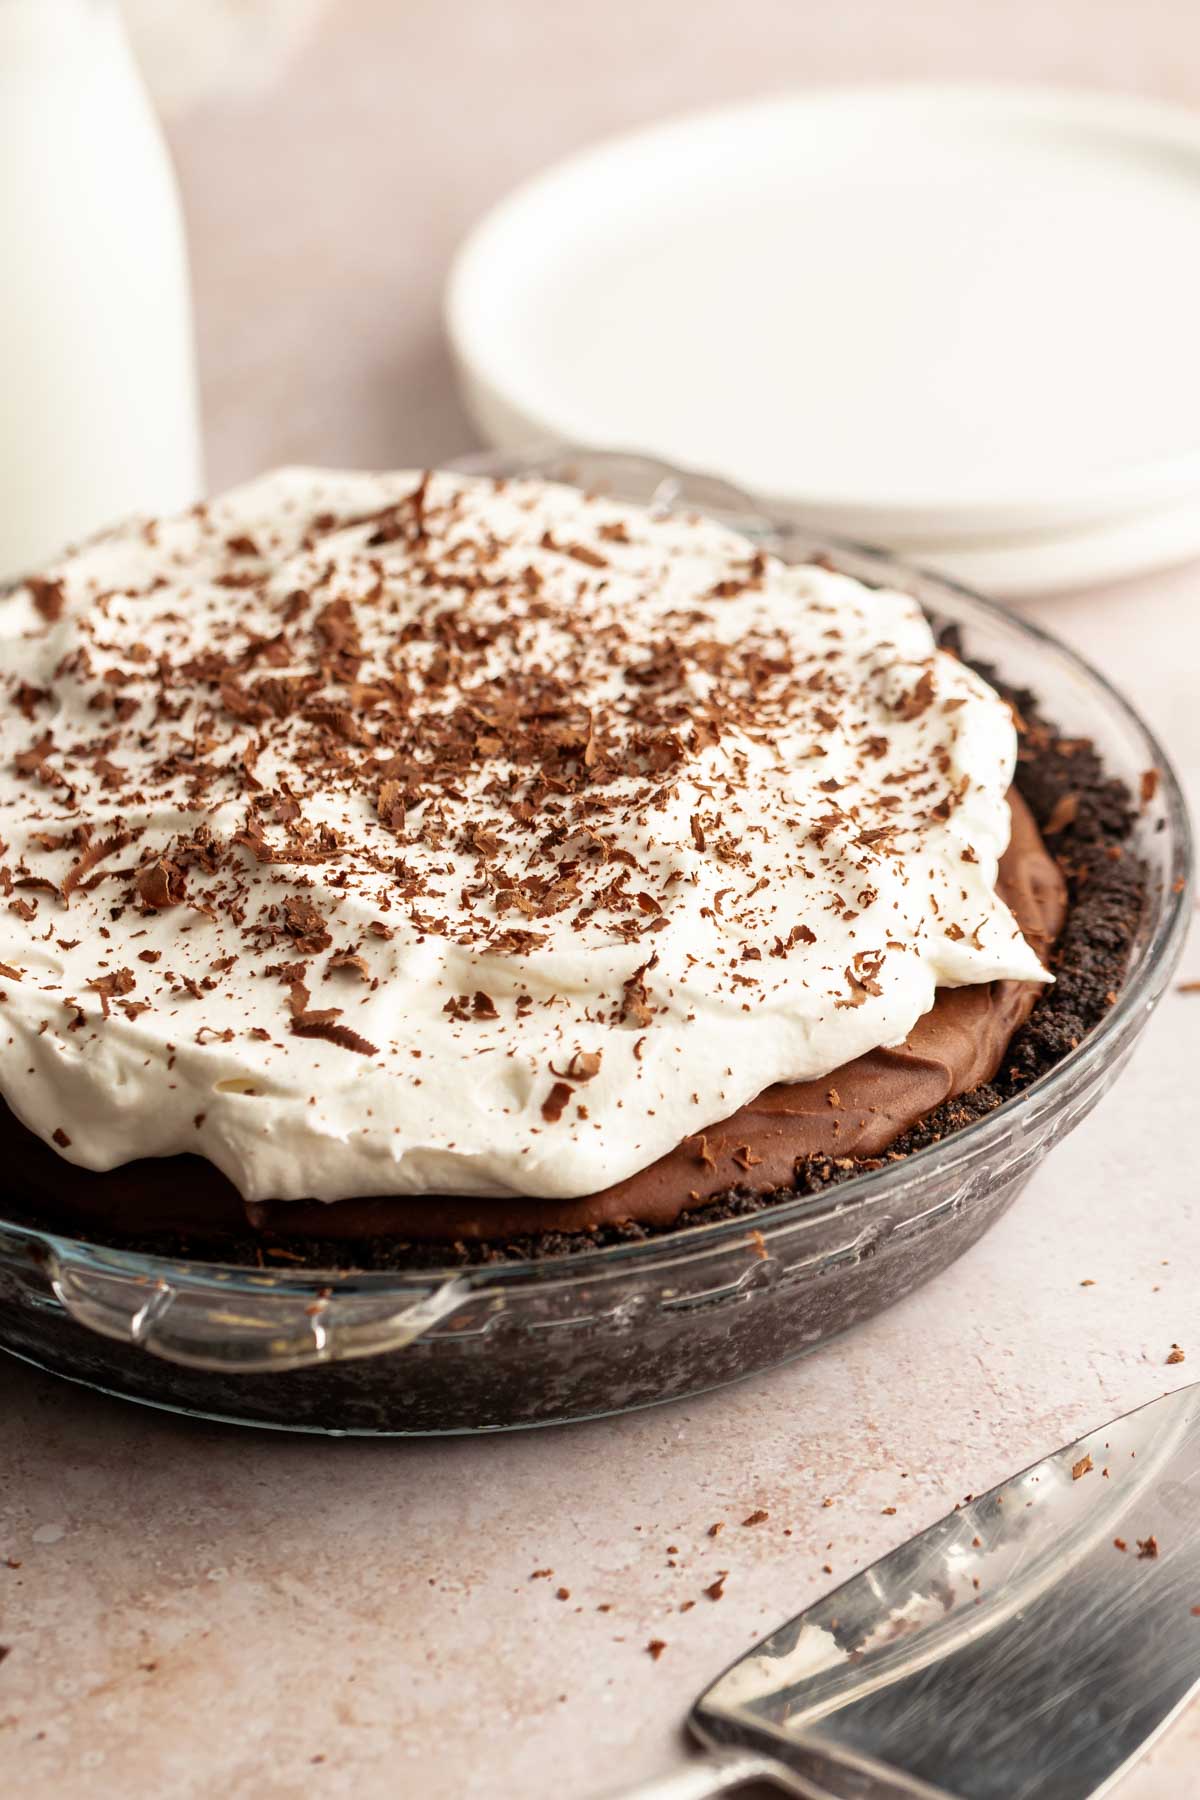
Before you start to make this chocolate pie with Oreo crust recipe, measure and prepare your ingredients so the cooking process will go smoothly and easily.
Full measurements are in the recipe card below.
For the crust
Oreo cookies- we used Oreo cookies for this cheesecake because we like the chocolaty taste of Oreo cookies, but you can use any kind of chocolate digestive biscuits.
Melted butter– melt the butter in the microwave for 30 seconds pulses, to make sure that the butter doesn’t boil up and explode in the microwave (been there done that), or melt it on the stovetop.
For the filling
Dark chocolate- use the best quality dark chocolate for the best flavor.
Heavy whipping cream- use cold heavy whipping cream.
Vanilla extract- for extra flavor.
Salt– We used kosher salt for this recipe. Salt doesn’t give the filling a salty taste, it helps to enhance the flavor.
Dutch cocoa powder– we like to use Dutch-process cocoa powder for our brownies because we like the deep and rich chocolate taste, but the natural cocoa powder will work great as well!
Granulated sugar– we like to use granulated sugar, also the most common sugar used in baking. Caster sugar will work great as well.
Espresso powder- you can use your favorite espresso powder.
Chocolate instant pudding- the secret ingredient to make this pie stable is instant chocolate pudding! You can use vanilla instant pudding as well for this or swap it with gelatin as I did in this triple chocolate brownie mousse cake recipe.
Instructions
Start by making the crust: pulse Oreos in a food processor until fine crumbs form. If you don’t have a food processor on hand, place the Oreos in a Ziplock bag and smash them with a cup until fine crumbs form.
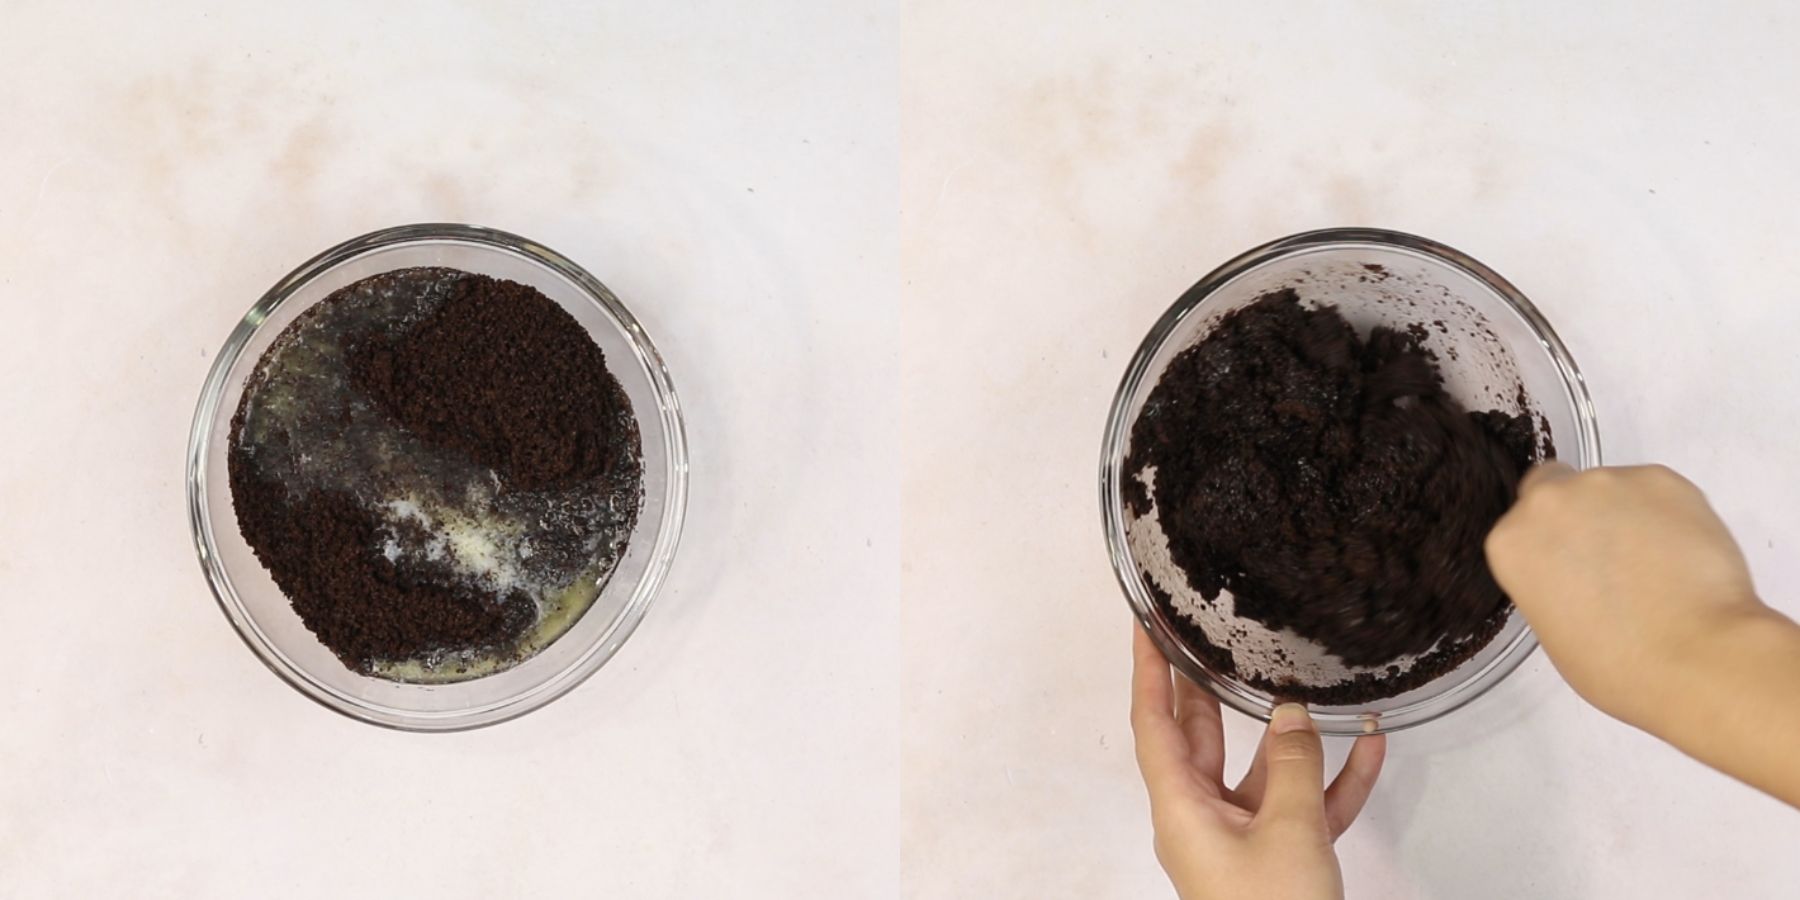
Into a small to medium mixing bowl, add the crumbs, and melted butter. Mix with a spoon until the crumbs are coated with butter.
Transfer the crumbs into a prepared 9-inch pie pan, pressing evenly and firmly into the pan.
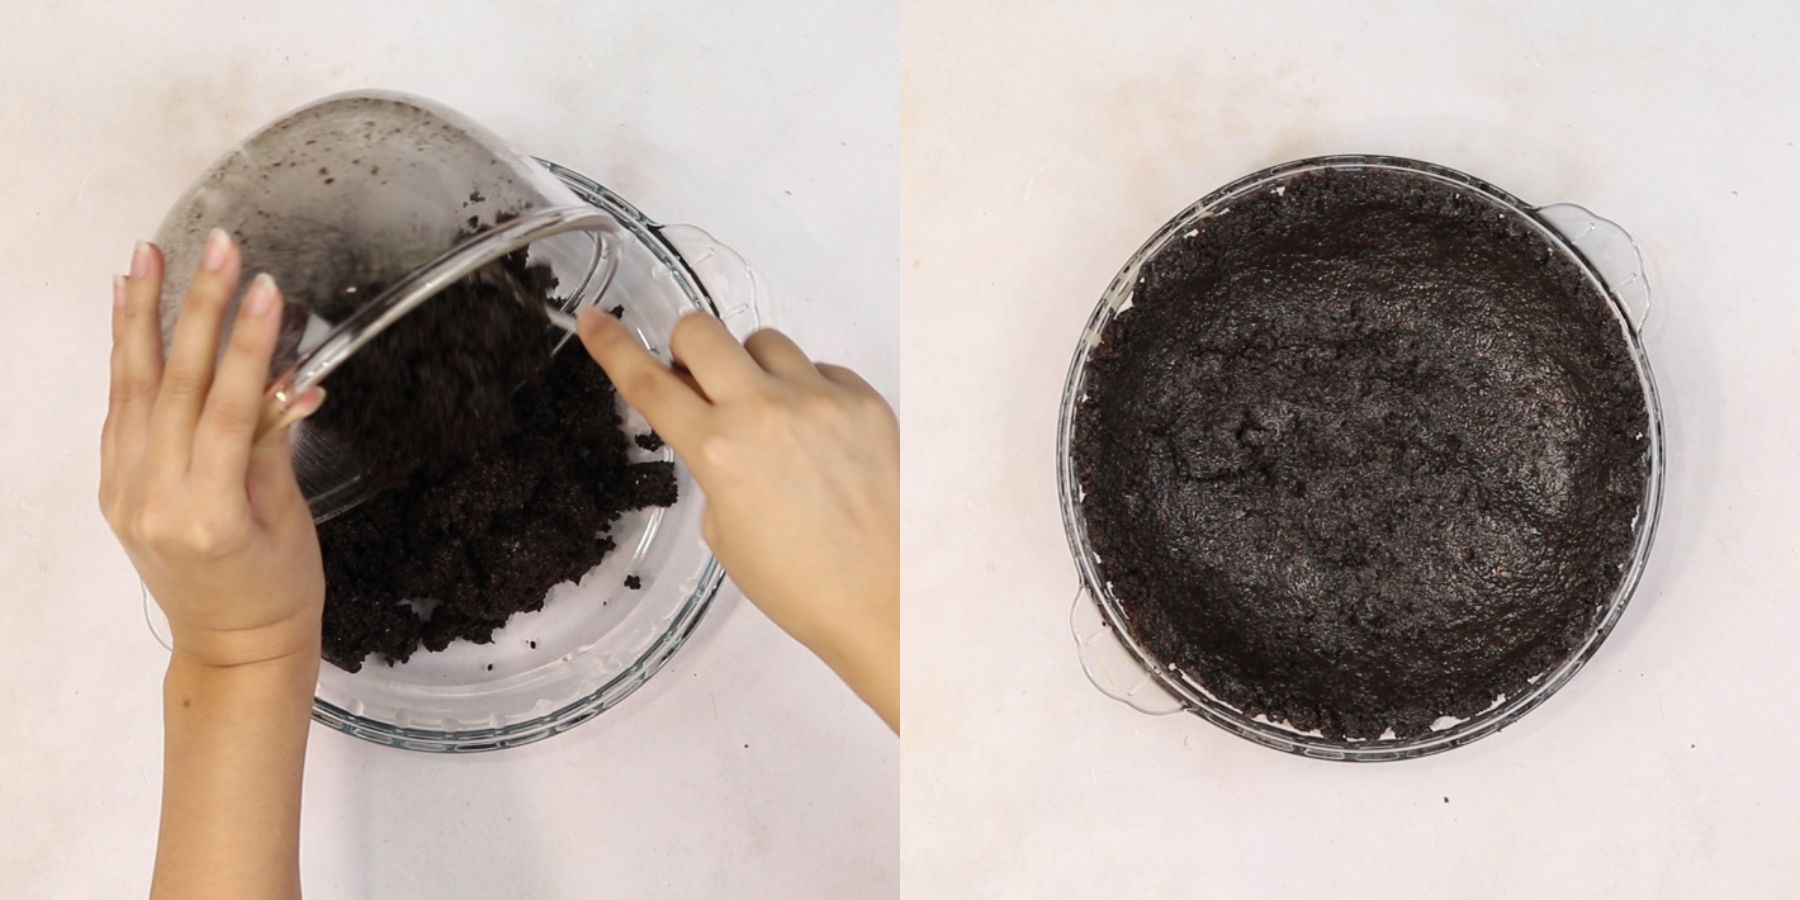
Place the pan in the freezer for at least 20 minutes to set.
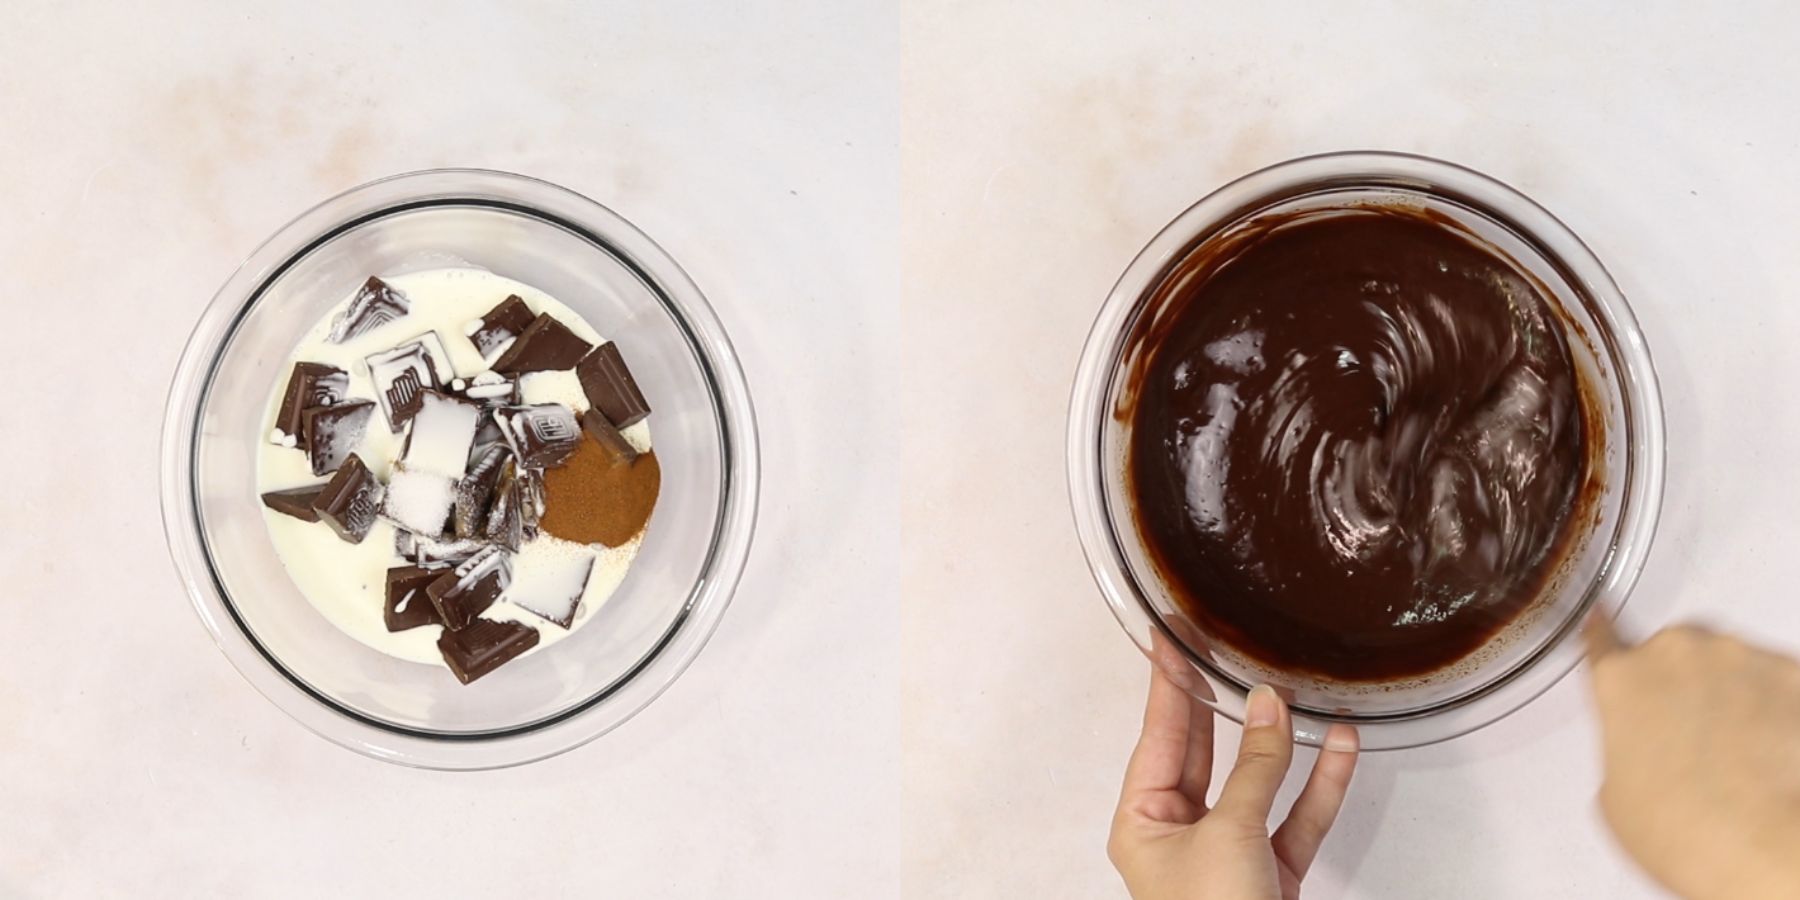
Into a large mixing bowl, add the dark chocolate, heavy cream, vanilla extract, kosher salt, and espresso powder and melt completely in the microwave or on a bain Marie. Let the chocolate mixture cool completely.
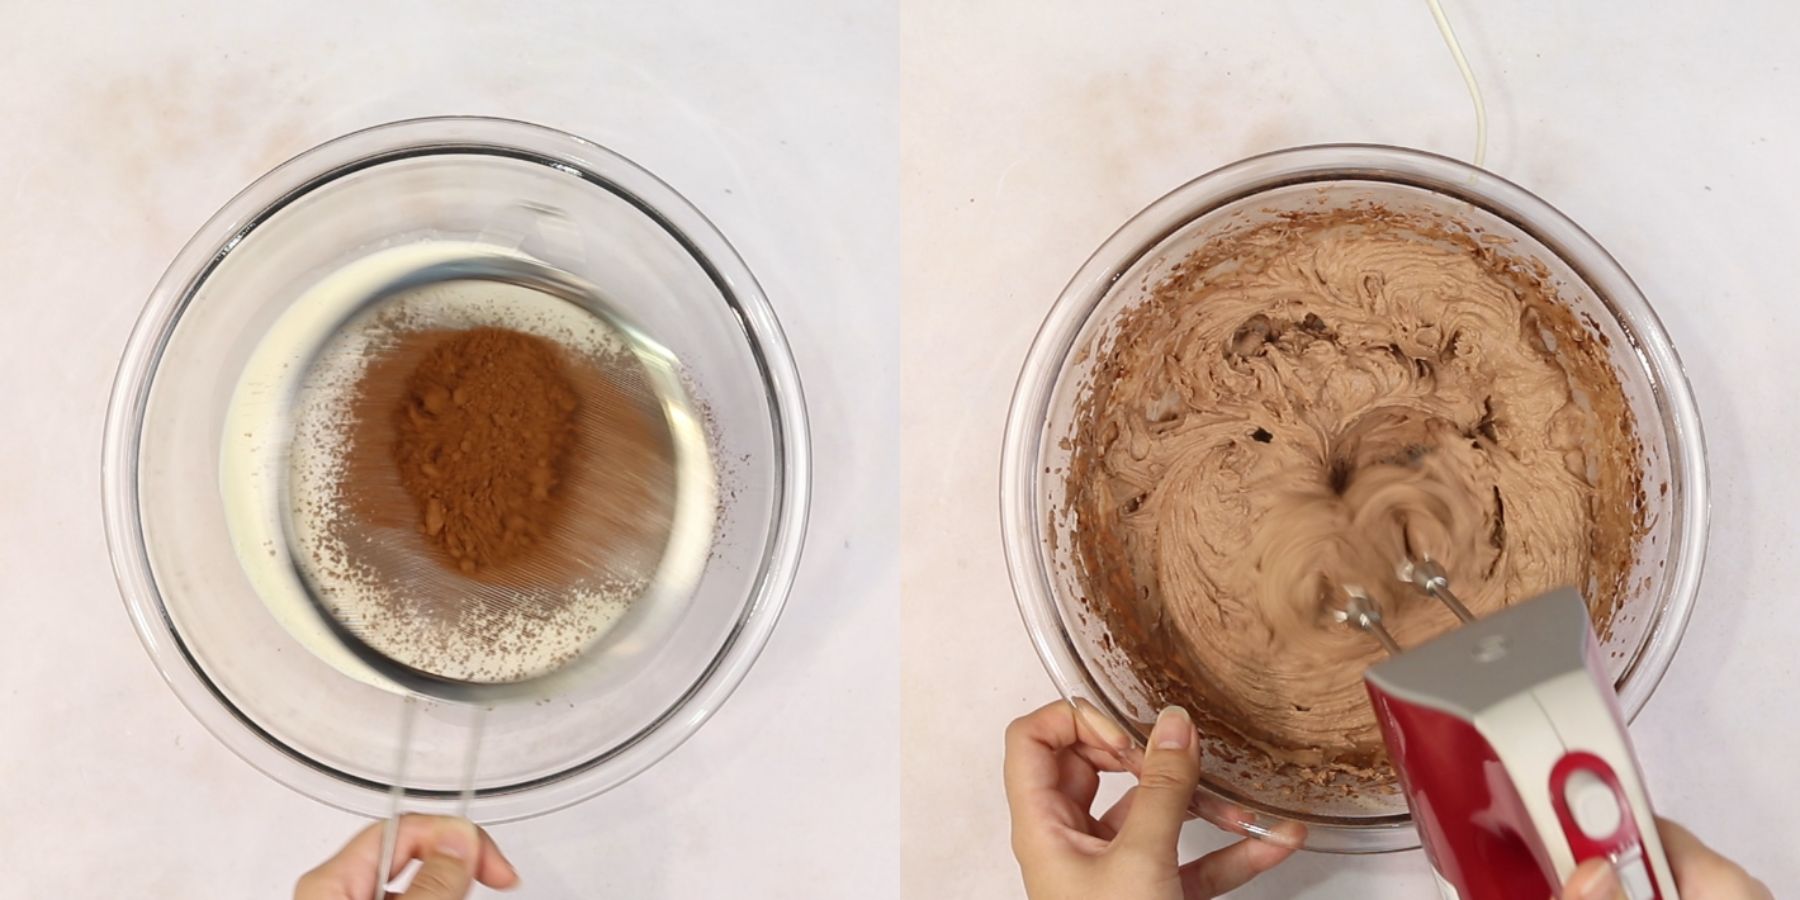
Into a large mixing bowl, add the cold heavy cream, and instant pudding, sift the cocoa powder, and add the sugar. Whip with an electric hand mixer until stiff peaks form.
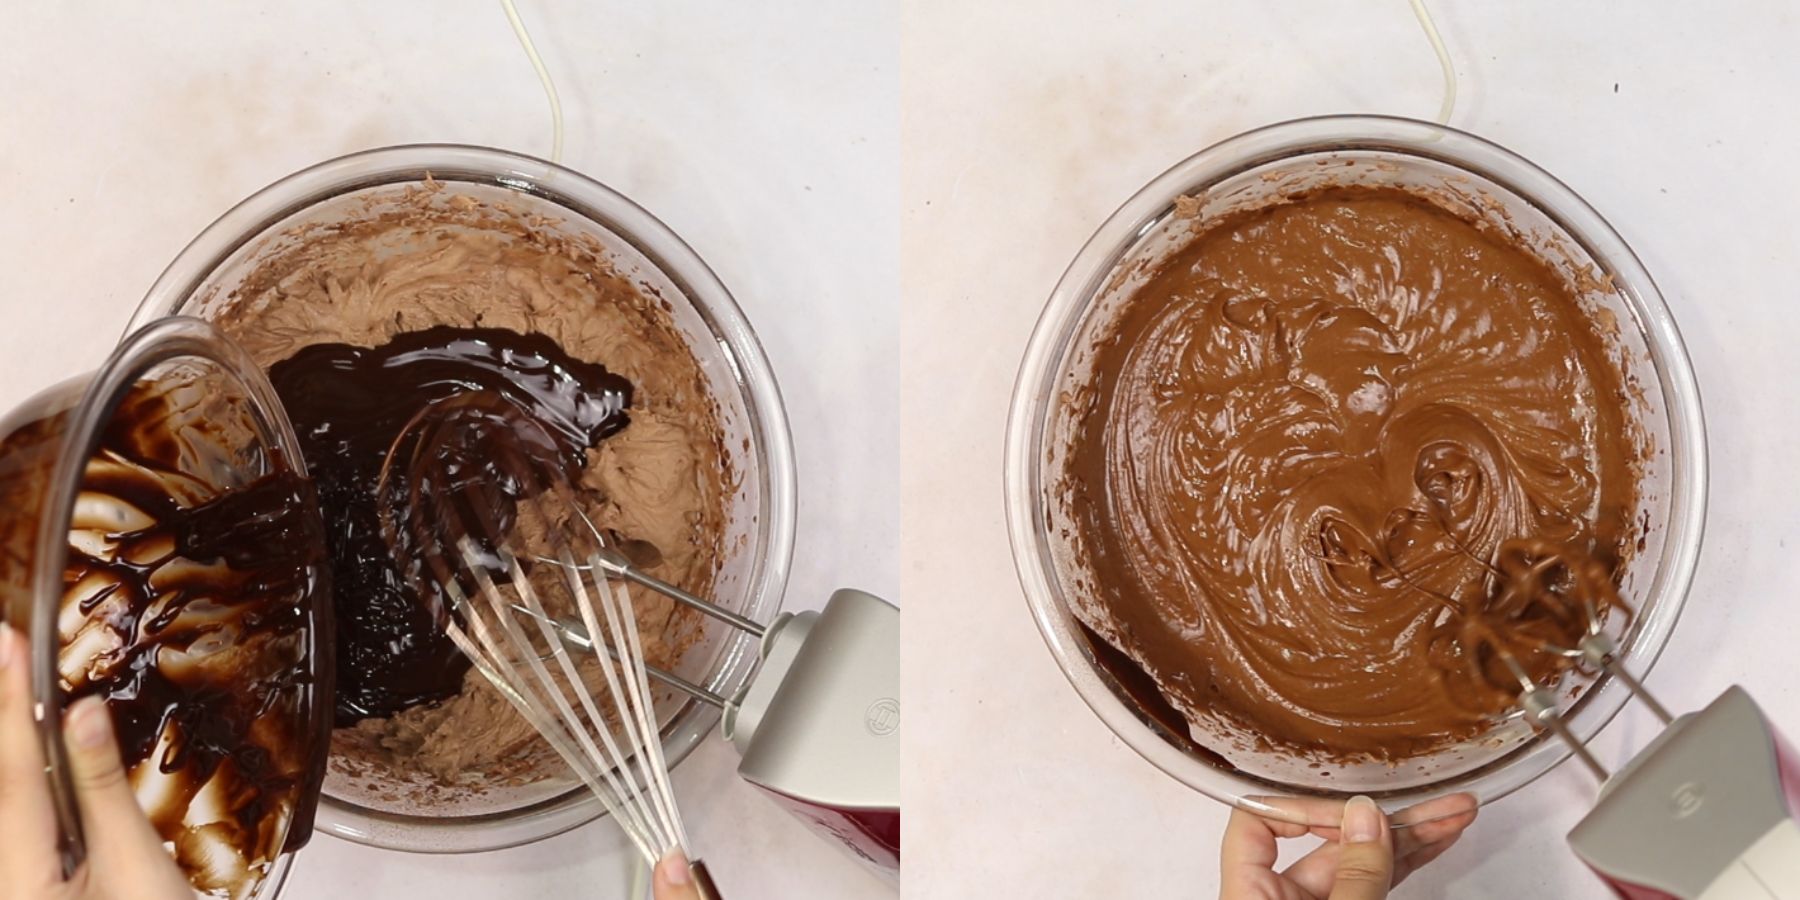
Add the melted chocolate mixture to the whipped mixture and mix with the electric hand mixer and then fold with a spatula until well combined.
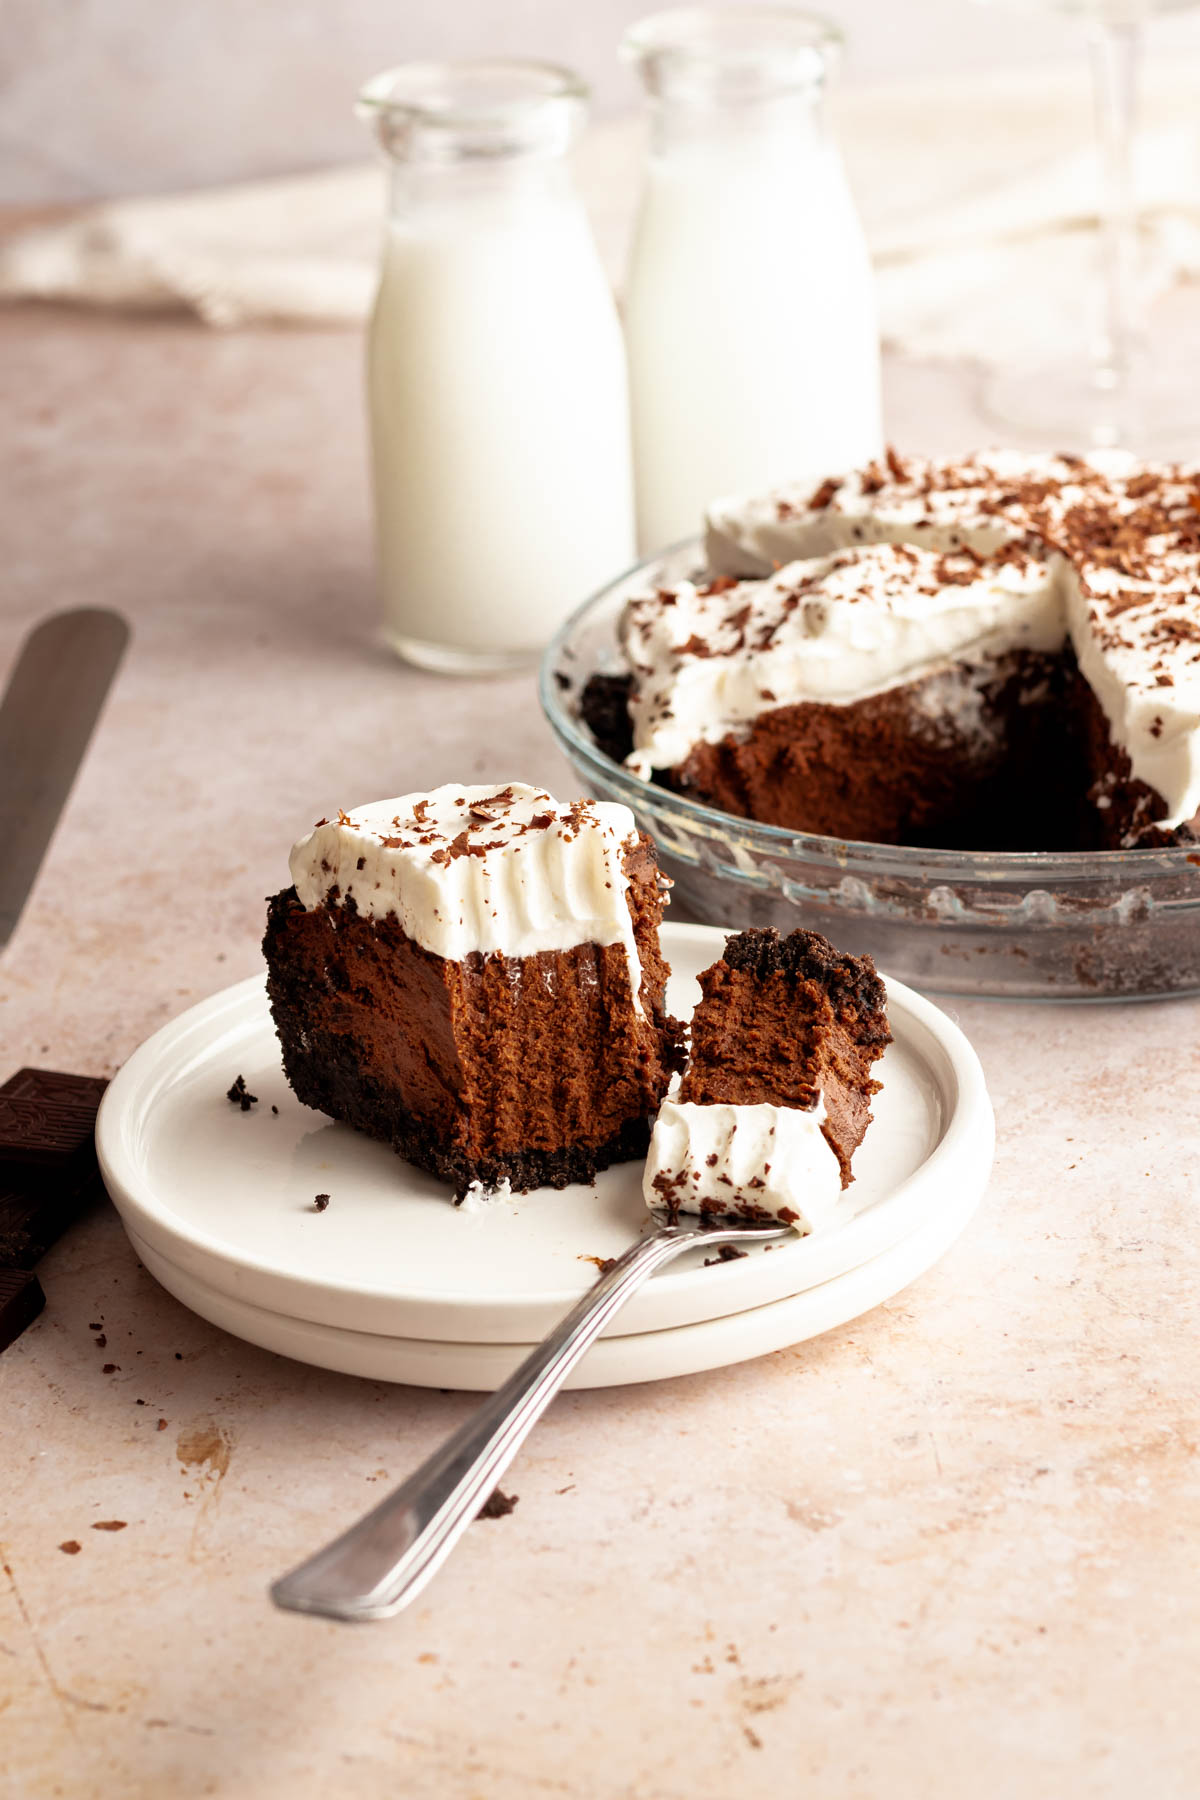
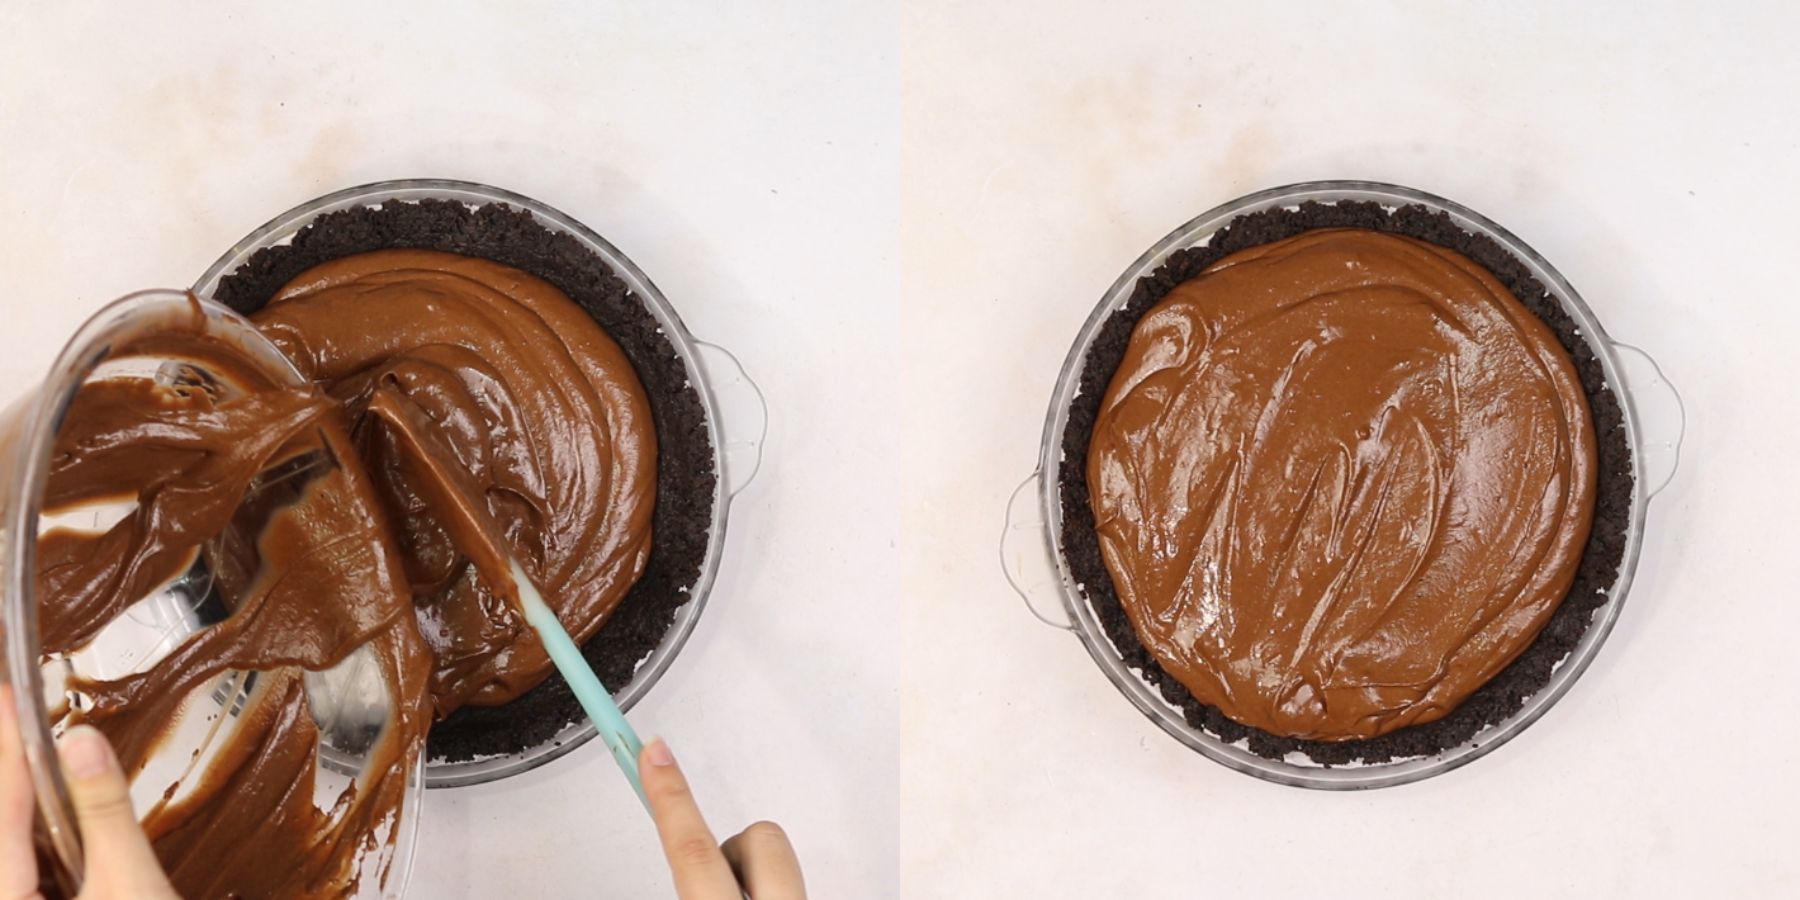
Pour the chocolate filling onto the Oreo crust, and smooth it out with a spatula. Place the pie in the fridge to set for at least 5 hours. I like storing it in the fridge overnight to set it completely.
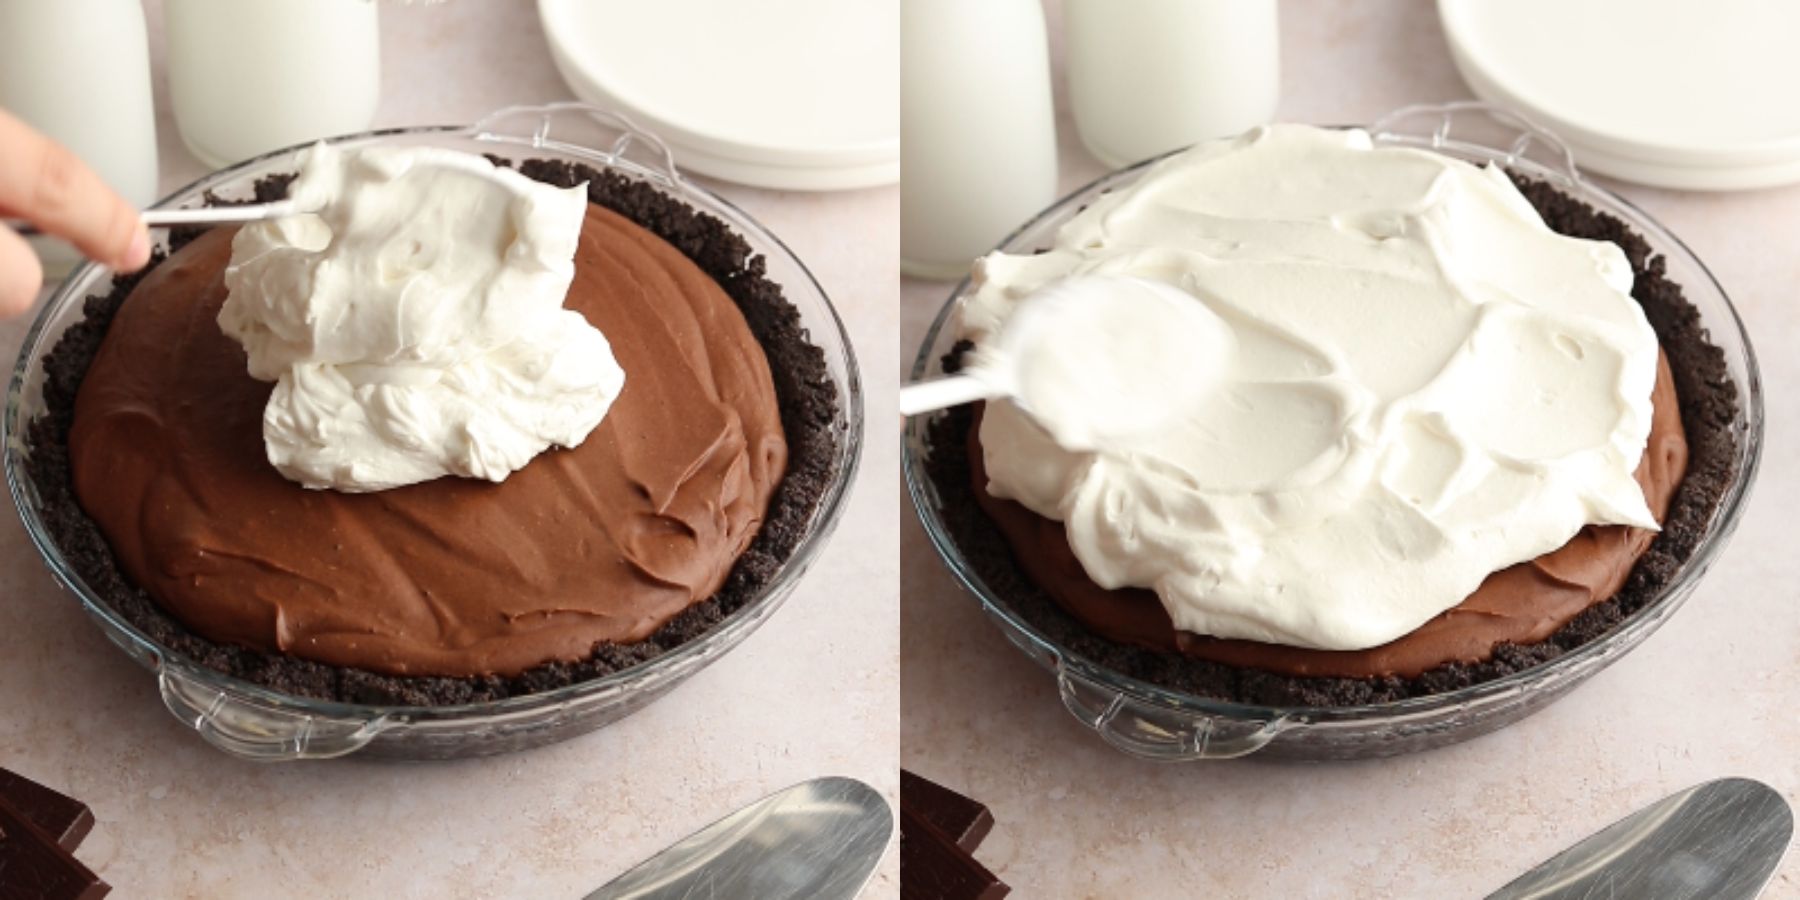
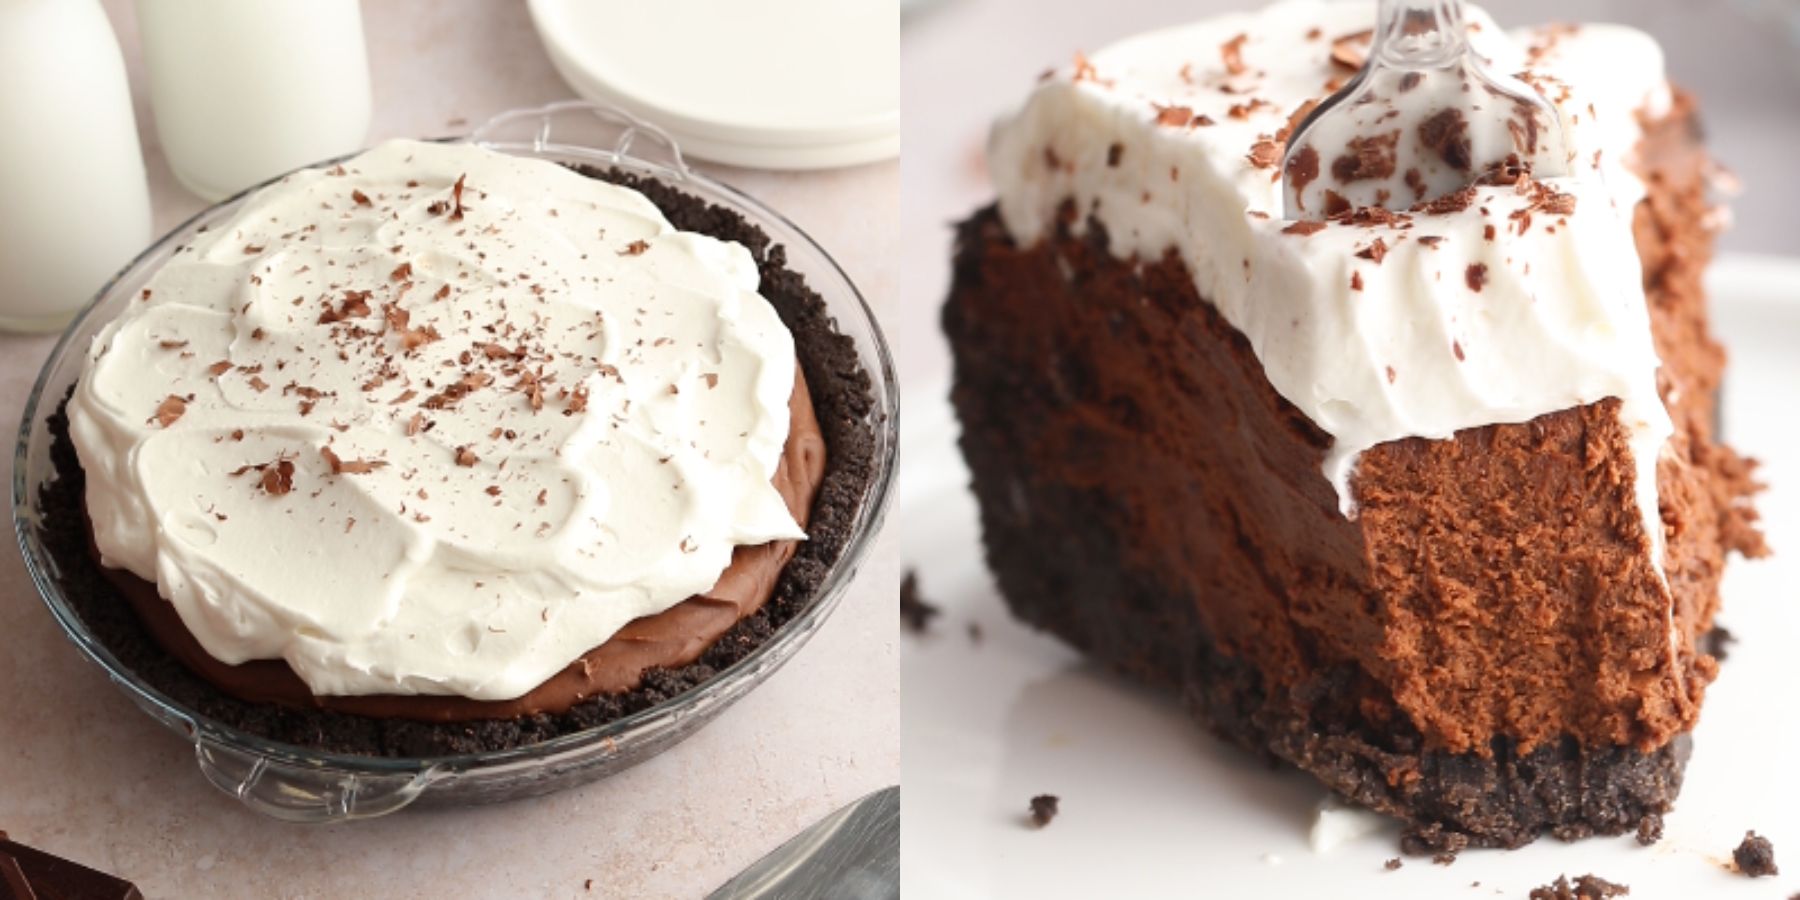
Top the pie with a lot of freshly made whipped cream, and chocolate shavings, and serve!
Expert Tips
- Scrape down the sides of the bowl frequently to ensure that you have a homogeneous mixture that has no cream cheese lumps.
- Make sure that you are using high-quality dark chocolate for this pie. It will make the flavor of this pie super delicious, and it doesn't have to be expensive! There are a lot of affordable high-quality dark chocolate brands.
- Do not use chocolate chips instead of chocolate bars for this recipe! The dark chocolate bars help stabilize the pie.
- I recommend greasing the pie pan with softened butter to prevent the crust from sticking.
- You can use a cool whip instead of freshly made whipped cream if you are short on time for the topping.
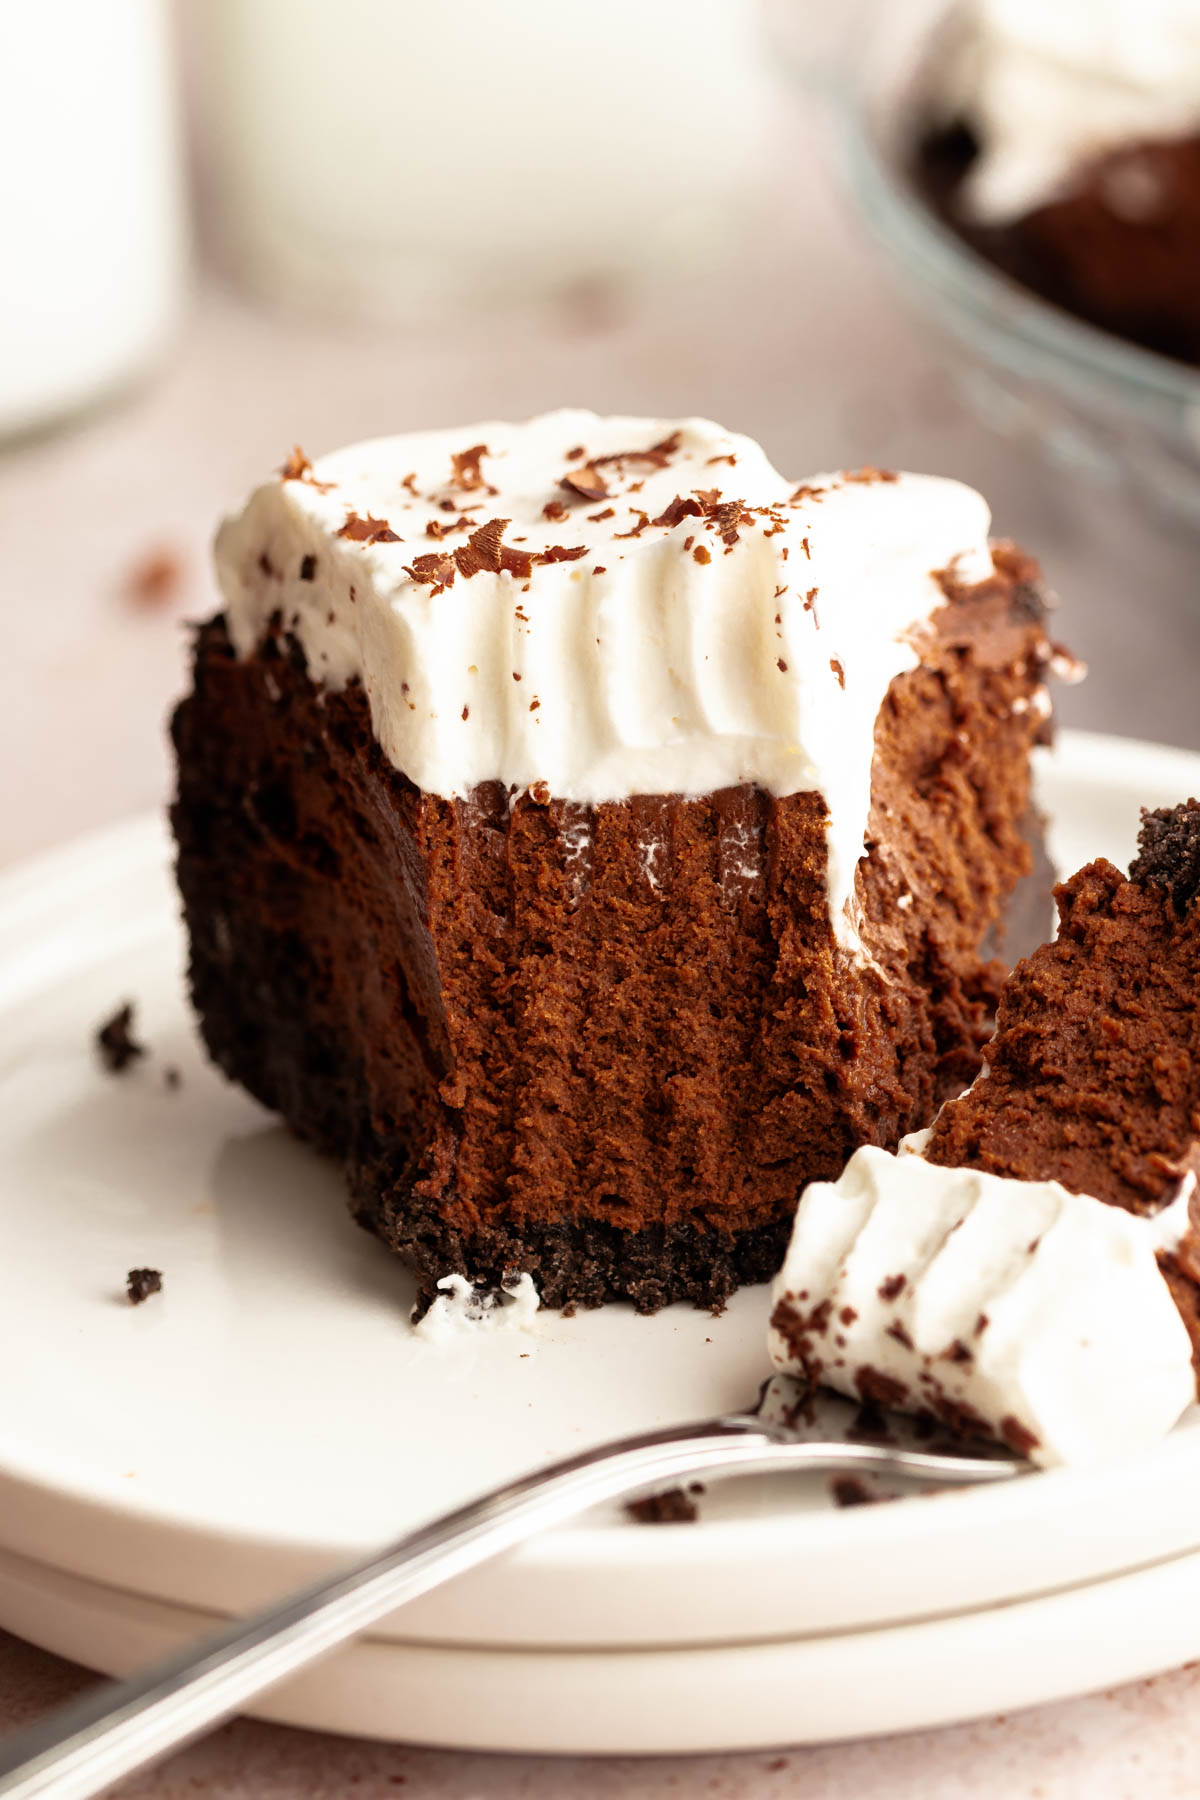
- Since this pie is very rich, you can slice it into smaller slices, and this way it will feed more people!
Faq's
This pie will last for up to 4 days stored in an airtight container in the fridge.
Yes. You can use a store-bought pie crust for this recipe, but I recommend using the crust from this recipe because it's so delicious and is perfect for this pie.
This need to be set in the fridge for at least 8 hours. We let it set overnight for the best results.
Cutting pie, the right way is essential. To get even and clean slices, make sure that you are using a sharp knife.
Our favorite way to cut pies is by dipping a long knife into hot water, once the knife warms up, wipe off the excess water, and slice the pie. Dip and wipe the knife between every slice.
Storing
Store this pie in the fridge (because it contains dairy) covered tightly with plastic wrap for up to 5 days.
Freezing
This pie freezes great! to freeze this, make it according to the instructions, letting it set in the fridge for at least 5 hours, and before you top it with the whipped cream freeze it.
When the pie is completely set, you can freeze it covered in a few layers of plastic wrap or foil. This pie will freeze for up to 3 months. To thaw, place the pie in the fridge overnight.
Then you will top it with whipped cream and chocolate shavings.
Substitutions
Gluten-free - if you want to make this recipe gluten-free, simply replace the Oreos with gluten-free Oreos.
Variations
Chocolate biscuits- if you don't want to use Oreos, use chocolate biscuits for the crust!
Chocolate chips- add mini or regular chocolate chips to the filling for a delicious chocolaty crunch.
Chocolate whipped cream- instead of topping this pie with regular whipped cream, you can top it with chocolate whipped cream. You can use the chocolate whipped cream recipe from this post.
More pie recipes
No bake turtle pie- This no bake turtle pie is made with a rich chocolaty oreo crust, and a creamy no bake caramel cheesecake filling and topped with melted chocolate, caramel sauce, and chopped pecans.
Apple pie with puff pastry- This apple pie with puff pastry is the easiest pie ever! It is made with store-bought or homemade puff pastry and filled with an easy and delicious apple pie filling!
No bake key lime pie- No-bake key lime pie is a refreshing dessert that is perfect for summer and spring. Key lime pie is an easy recipe that comes together in under 20 minutes. It's refreshing, creamy, zesty, and delicious.
If you tried this recipe, don’t forget to leave a rating and a comment below. We love hearing from you.
If you liked this recipe
- Follow us on Facebook, Instagram, and Pinterest.
- Share/pin this recipe to Pinterest.
- Leave a comment down below!
📖 Recipe
Easy No Bake Chocolate Pie
Ingredients
Crust
- 32 Oreos
- 115 g Butter melted
Chocolate filling
Melt together
- 230 g Dark chocolate
- 150 g Heavy cream
- 1 teaspoon Vanilla extract
- ½ teaspoon Kosher salt
- 1 teaspoon Espresso powder
Whip together:
- 1 ½ cups Heavy cream cold
- ¼ cup Cocoa powder
- 2 tablespoon Granulated sugar
- 3 tablespoon Instant pudding chocolate or vanilla will work
Whipped cream
- 1 cup Heavy cream
- 1 teaspoon Vanilla extract
- 2 tablespoon Powder sugar
Instructions
- Start by making the crust: pulse Oreos in a food processor until fine crumbs form. If you don’t have a food processor on hand, place the Oreos in a Ziplock bag and smash them with a cup until fine crumbs form.
- Into a small to medium mixing bowl, add the crumbs, and melted butter. Mix with a spoon until the crumbs are coated with butter.
- Transfer the crumbs into a prepared 9-inch pie pan, pressing evenly and firmly into the pan. Place the pan in the freezer for at least 20 minutes to set.
- Into a large mixing bowl, add the dark chocolate, heavy cream, vanilla extract, kosher salt, and espresso powder and melt completely in the microwave or on a bain Marie. Let the chocolate mixture cool completely.
- Into a large mixing bowl, add the cold heavy cream, and instant pudding, sift the cocoa powder and add the sugar. Whip with an electric hand mixer until stiff peaks form.
- Add the melted chocolate mixture to the whipped mixture and mix with the electric hand mixer and then fold with a spatula until well combined.
- Pour the chocolate filling onto the oreo crust, and smooth it out with a spatula. Place the pie in the fridge to set for at least 5 hours. I like storing it in the fridge overnight to set it completely.
- Top the pie with a lot of freshly made whipped cream, and chocolate shavings, and serve!
Notes
- Scrape down the sides of the bowl frequently to ensure that you have a homogeneous mixture that has no cream cheese lumps.
- Make sure that you are using high-quality dark chocolate for this pie. It will make the flavor of this pie super delicious, and it doesn't have to be expensive! There are a lot of affordable high-quality dark chocolate brands.
- Do not use chocolate chips instead of chocolate bars for this recipe! The dark chocolate bars help stabilize the pie.
- I recommend greasing the pie pan with softened butter to prevent the crust from sticking.
- You can use a cool whip instead of freshly made whipped cream if you are short on time for the topping.
- Since this pie is very rich, you can slice it into smaller slices, and this way it will feed more people!


Ruth Sterling
What is Instant Pudding? Is there an alternative?
RichandDelish
Hi! You can substitute the instant pudding with 5 grams of gelatin bloomed with 20 grams of water.