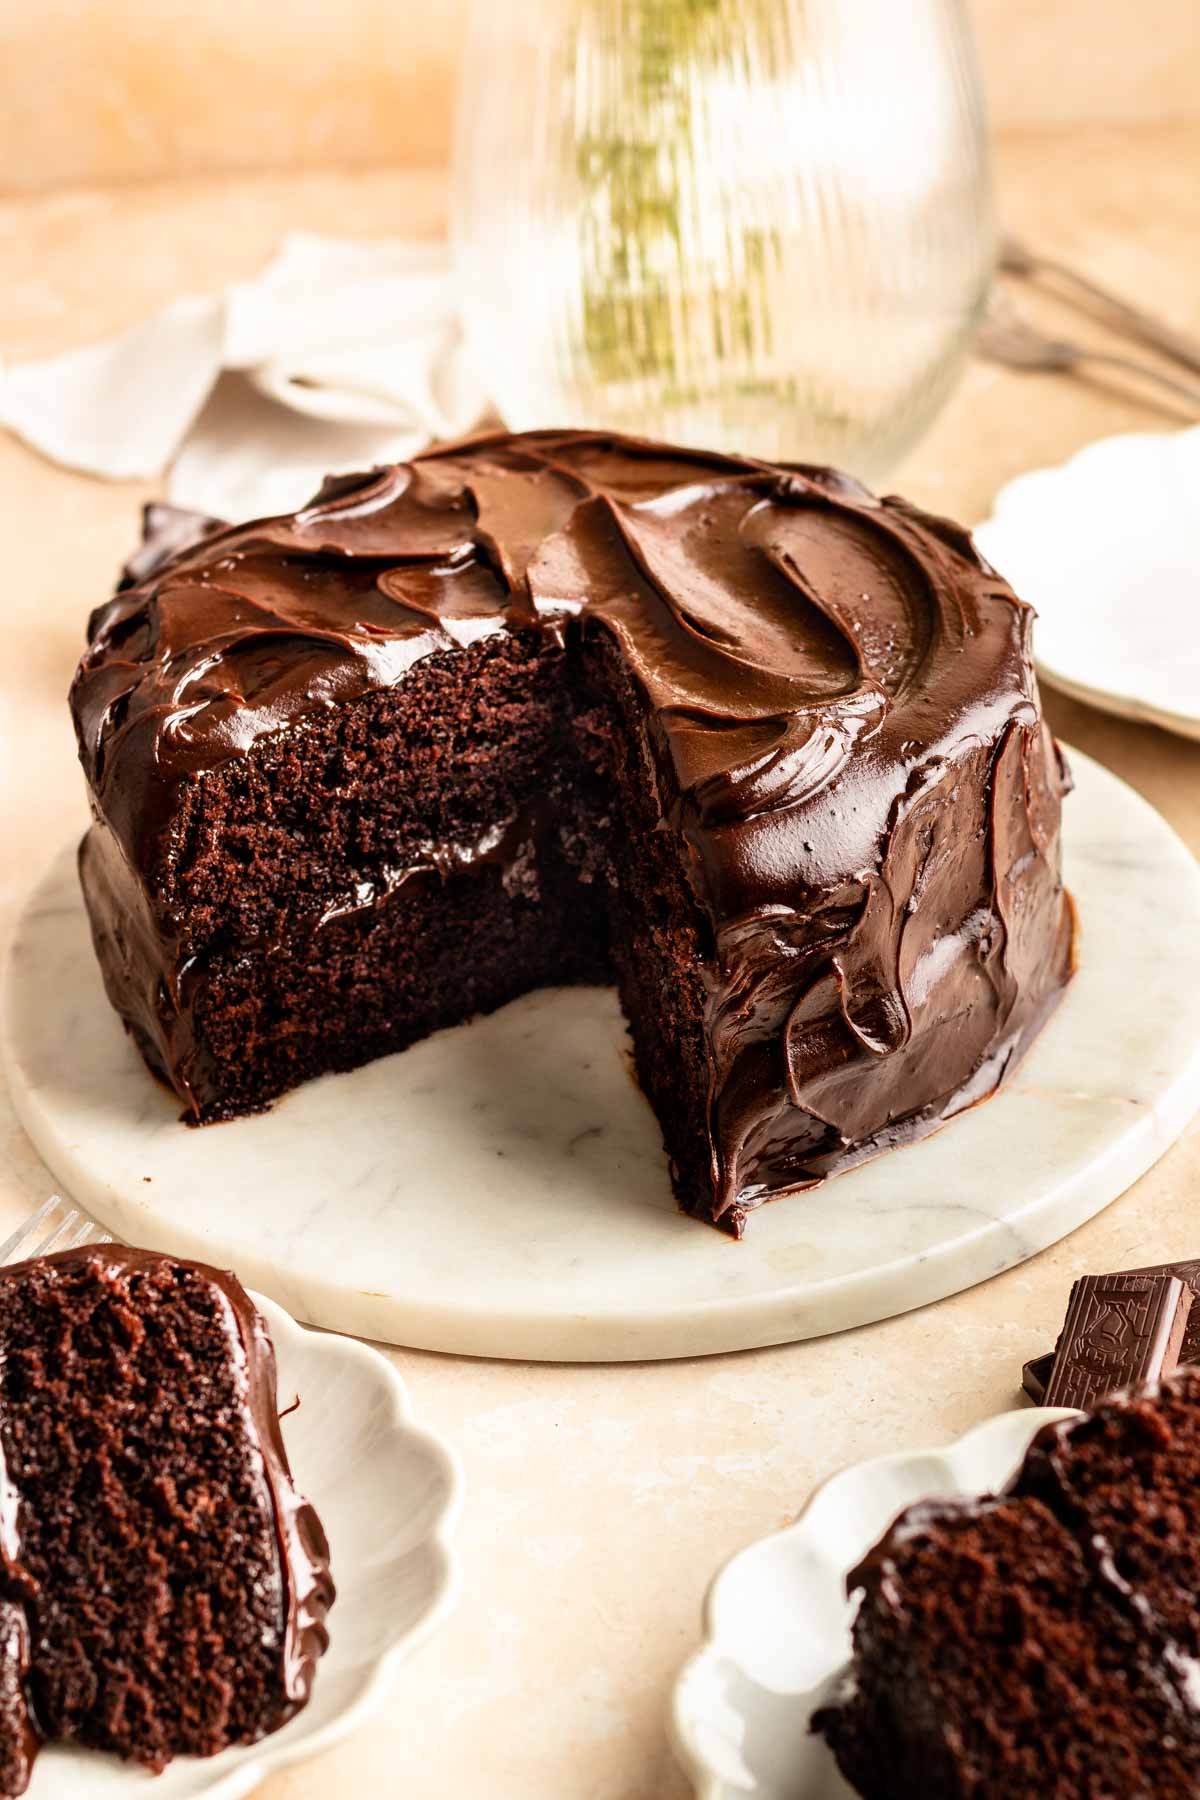
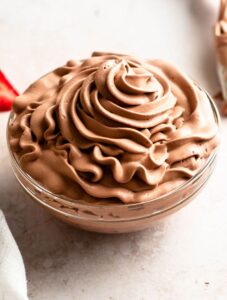
This chocolate fudge frosting is rich, silky, and not gritty like buttercream, with a perfect sweetness and no mixer required.
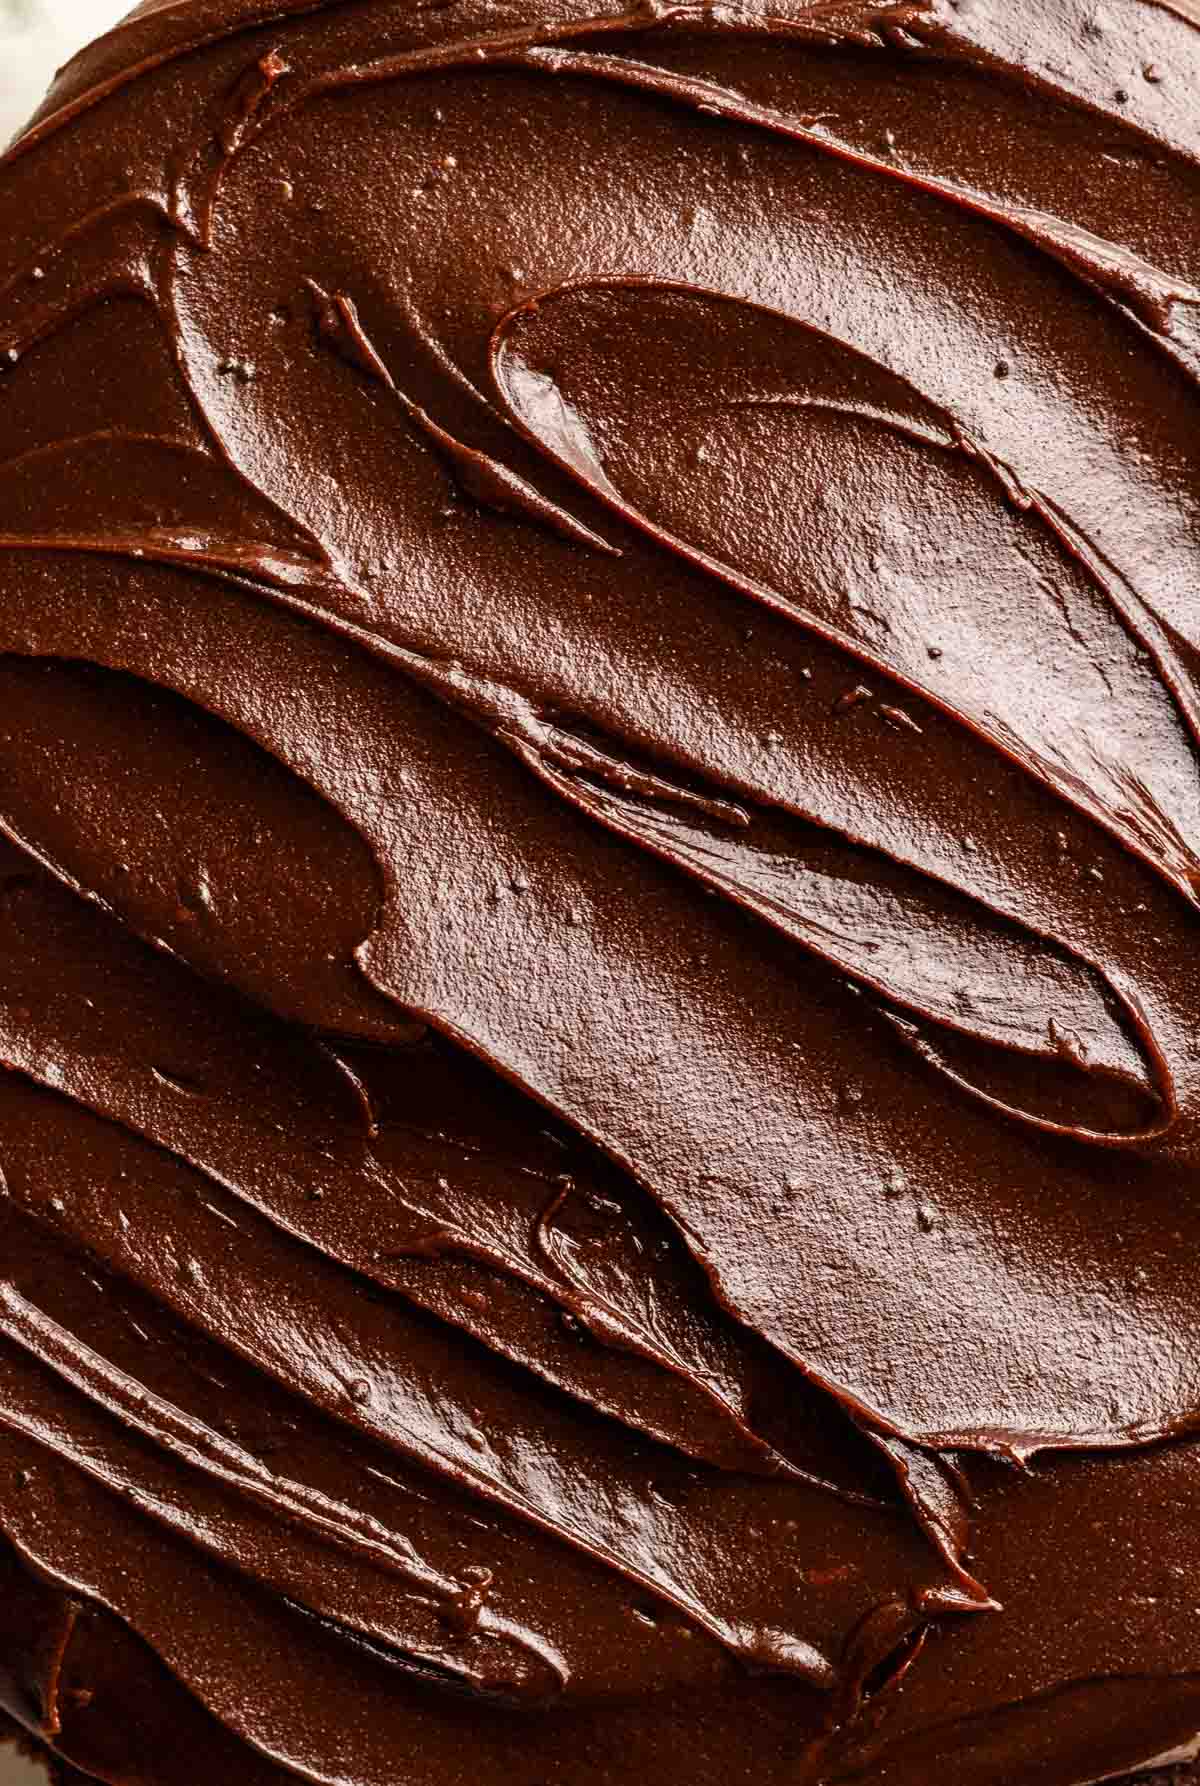
This no-mixer fudge frosting is a high-fat emulsion that stays silky-smooth and never gritty. It’s engineered for versatility: use it as a pourable glaze while warm or a sturdy, pipeable fudge once set.
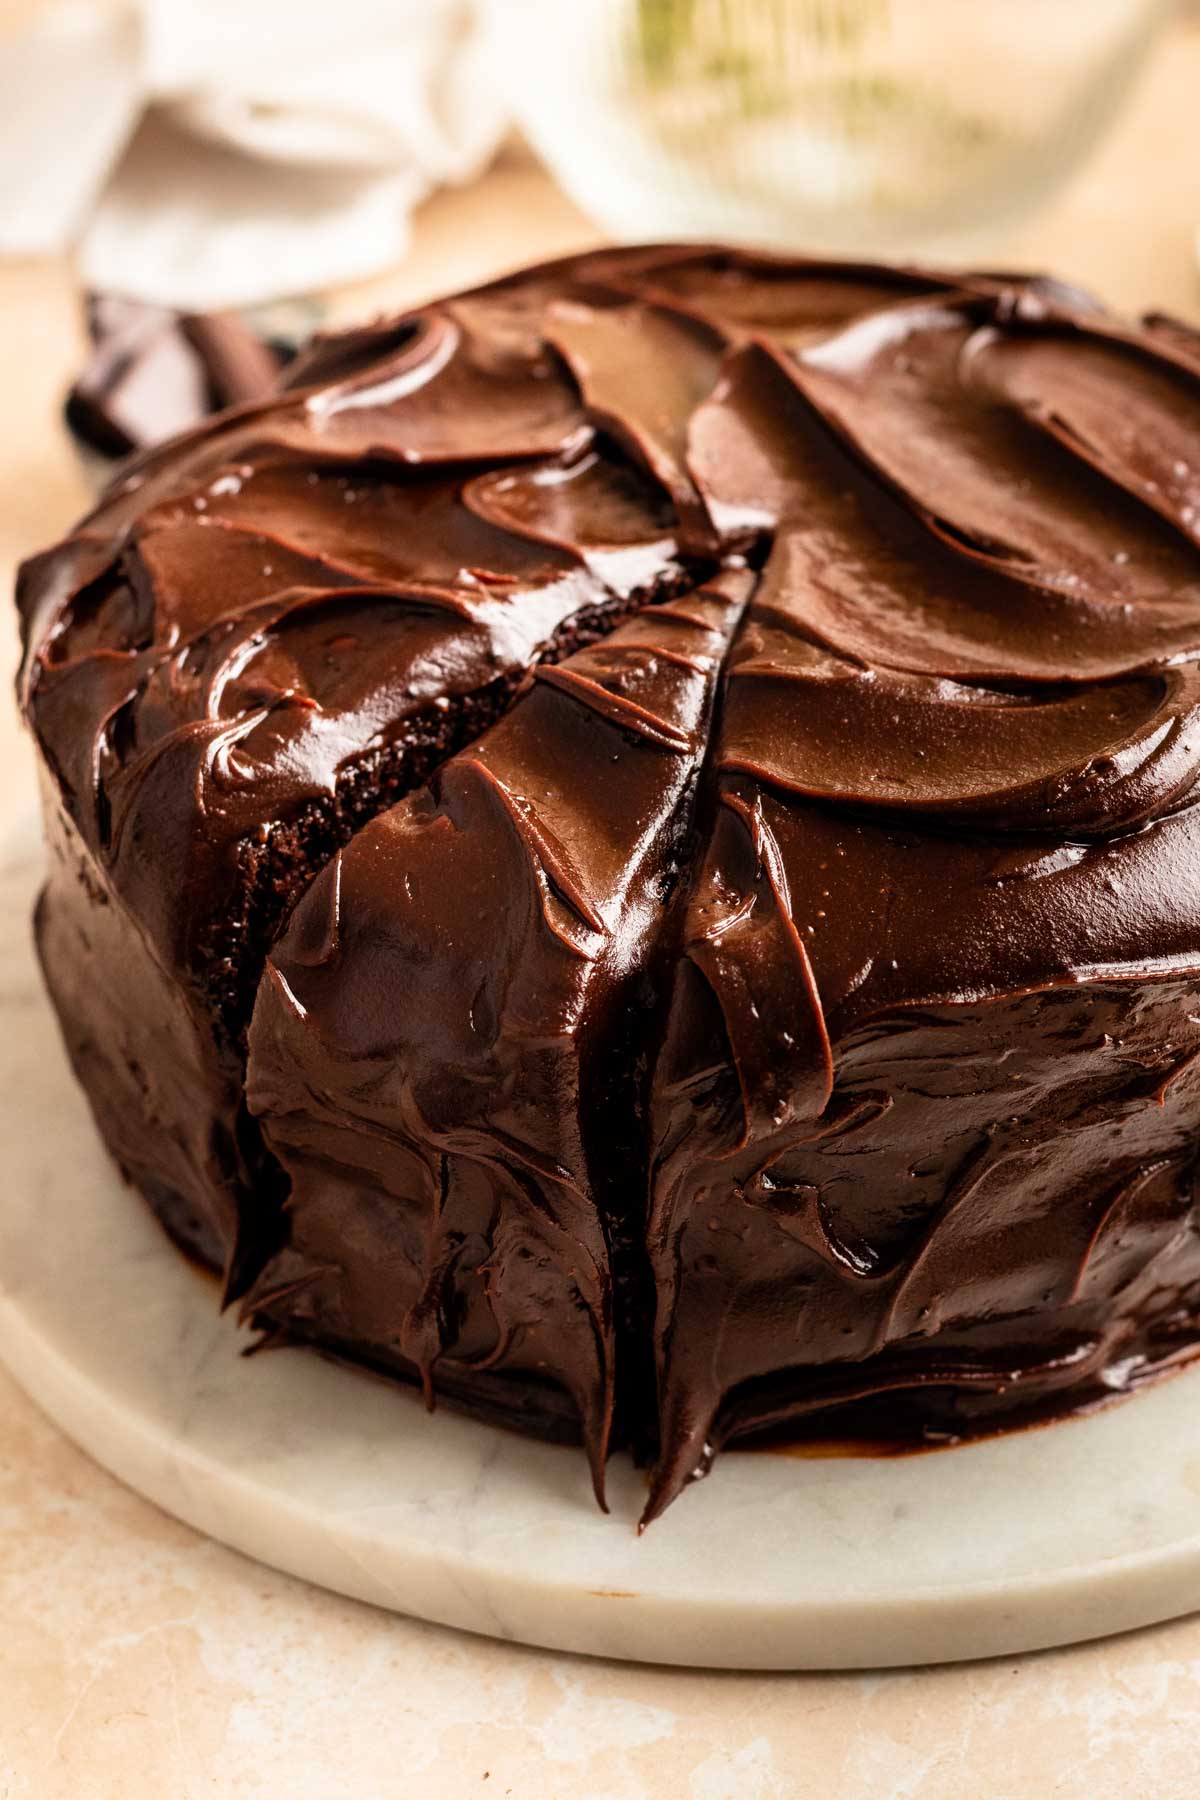
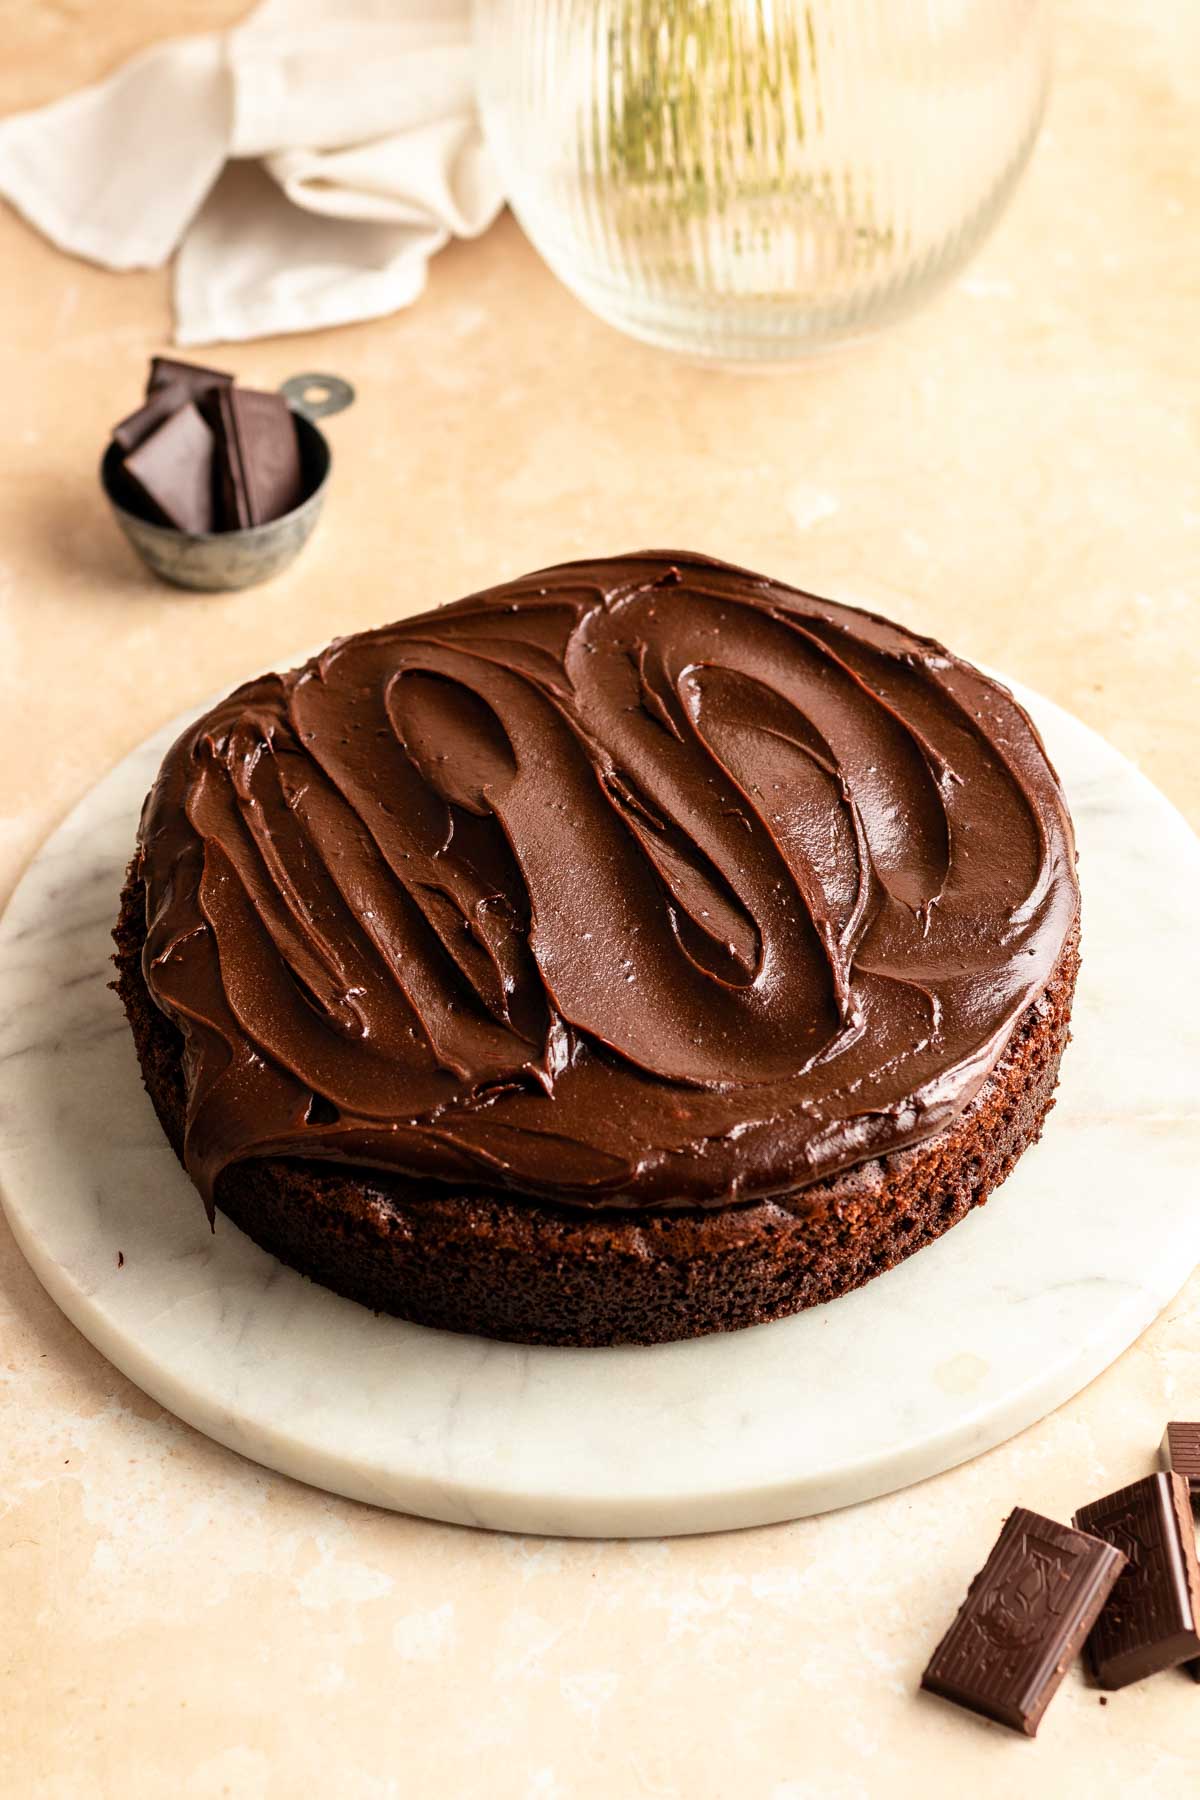
I originally made this frosting for my Matilda chocolate cake, but it will work amazingly on my mayonnaise chocolate cake, or use it as a filling for chocolate cupcakes.
Jump to:
Why this recipe works
- No Grit: The warm liquid base dissolves the sugar completely, ensuring a texture that is 100% smooth, unlike grainy buttercreams.
- Dual-Purpose: It’s a pourable glaze while warm and a sturdy piping frosting once cooled—one recipe for every chocolate need.
- True Fudge Texture: By skipping the mixer, you avoid adding air, keeping the frosting dense, dark, and decadent.
- Shelf Stability: The high fat content from the cream and butter keeps the frosting soft and shiny for days without it crusting or drying out.
Ingredients
Before you start to make this recipe, measure and prepare your ingredients so the cooking process will go smoothly and easily.
Full measurements are in the recipe card below.
Unsalted Butter: Adds a professional high-shine finish and creates a "melt-in-your-mouth" texture.
Dark Chocolate (60%-70%): Provides the structural "set" and deep flavor. The high cocoa butter content ensures the frosting firms up perfectly for piping.
Cocoa Powder: Intensifies the chocolate profile and adds a dark, rich color that chocolate bars alone can't achieve.
Heavy Cream: The liquid base used to create a silky emulsion; it keeps the frosting soft and prevents it from becoming brittle.
Powdered Sugar: Provides necessary body and sweetness. Because it’s dissolved into the warm base, it stays completely smooth.
Kosher Salt: Essential for balancing the sugar and cutting through the richness of the fats.
Vanilla Extract: Acts as a flavor enhancer that rounds out the bitterness of the dark chocolate.
Instructions
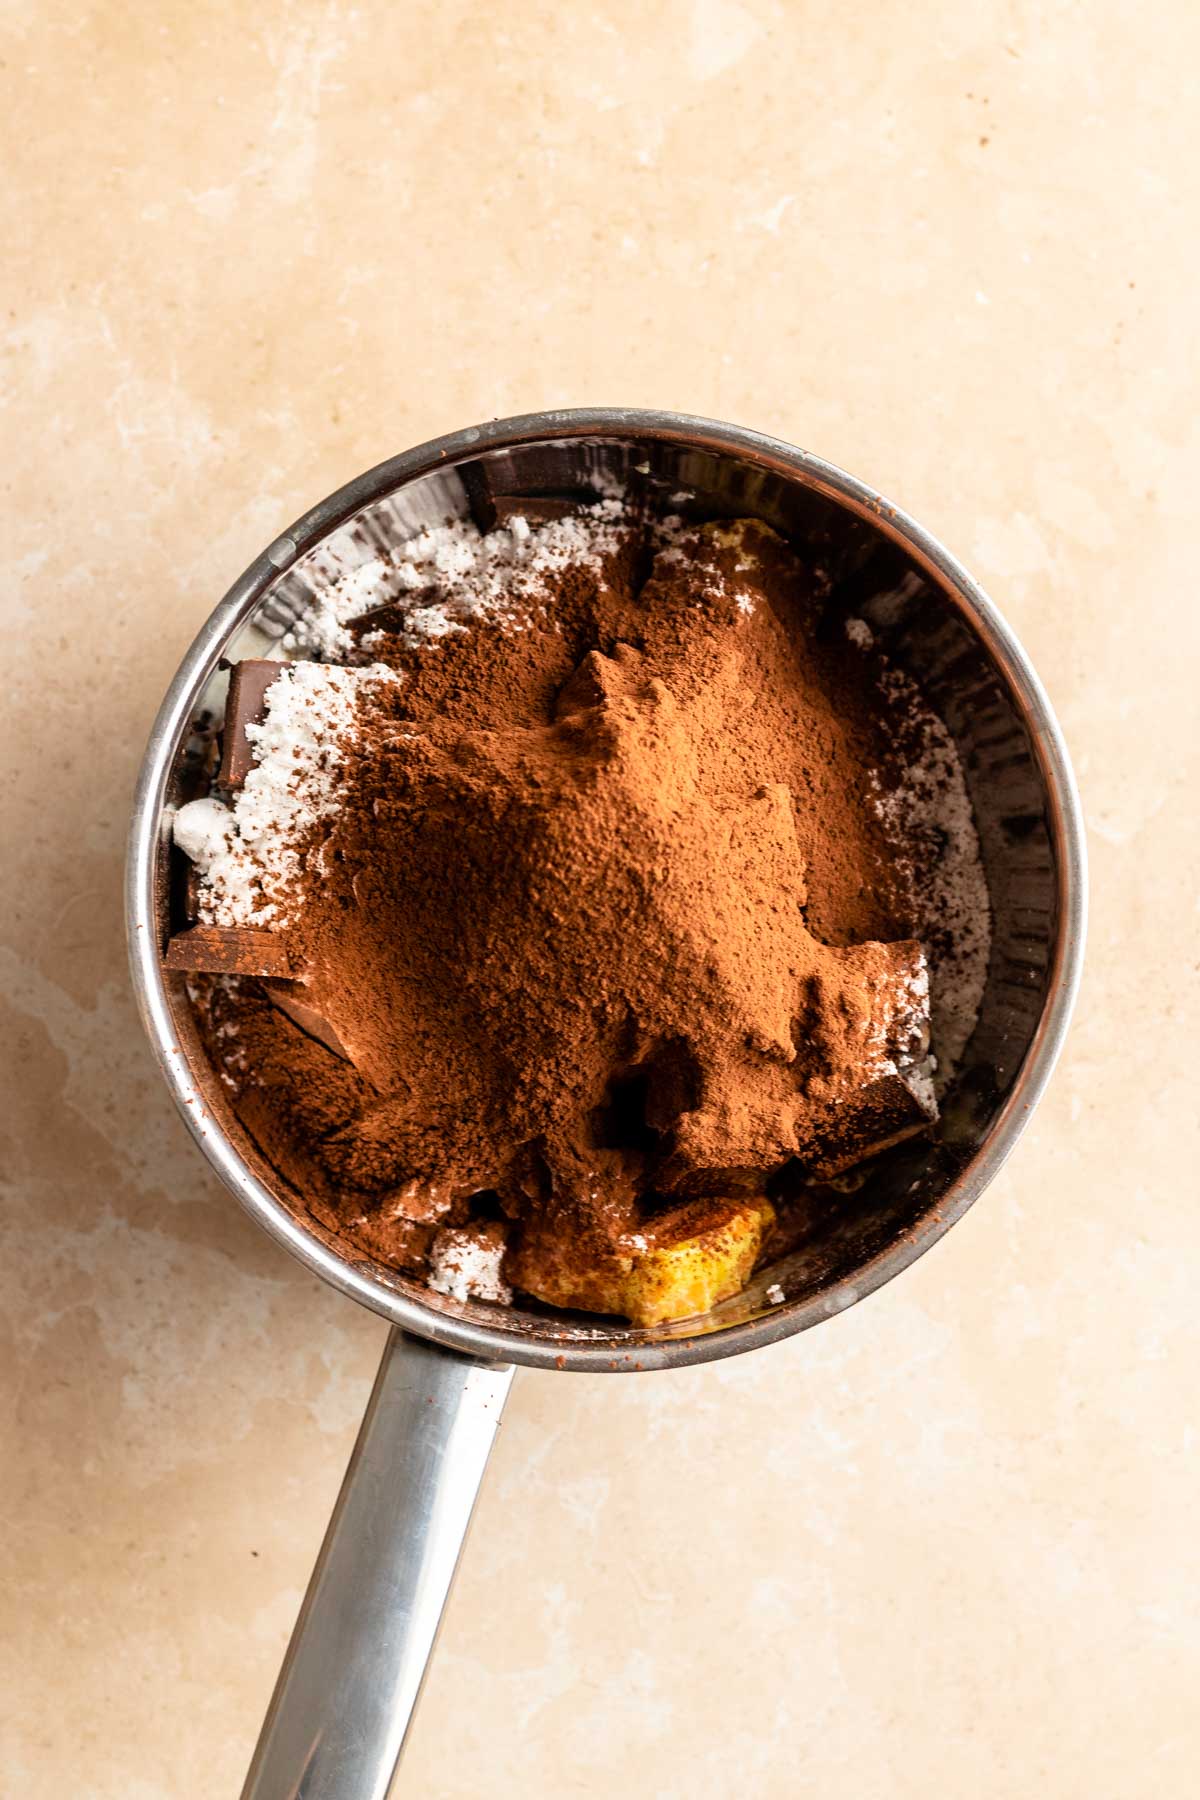
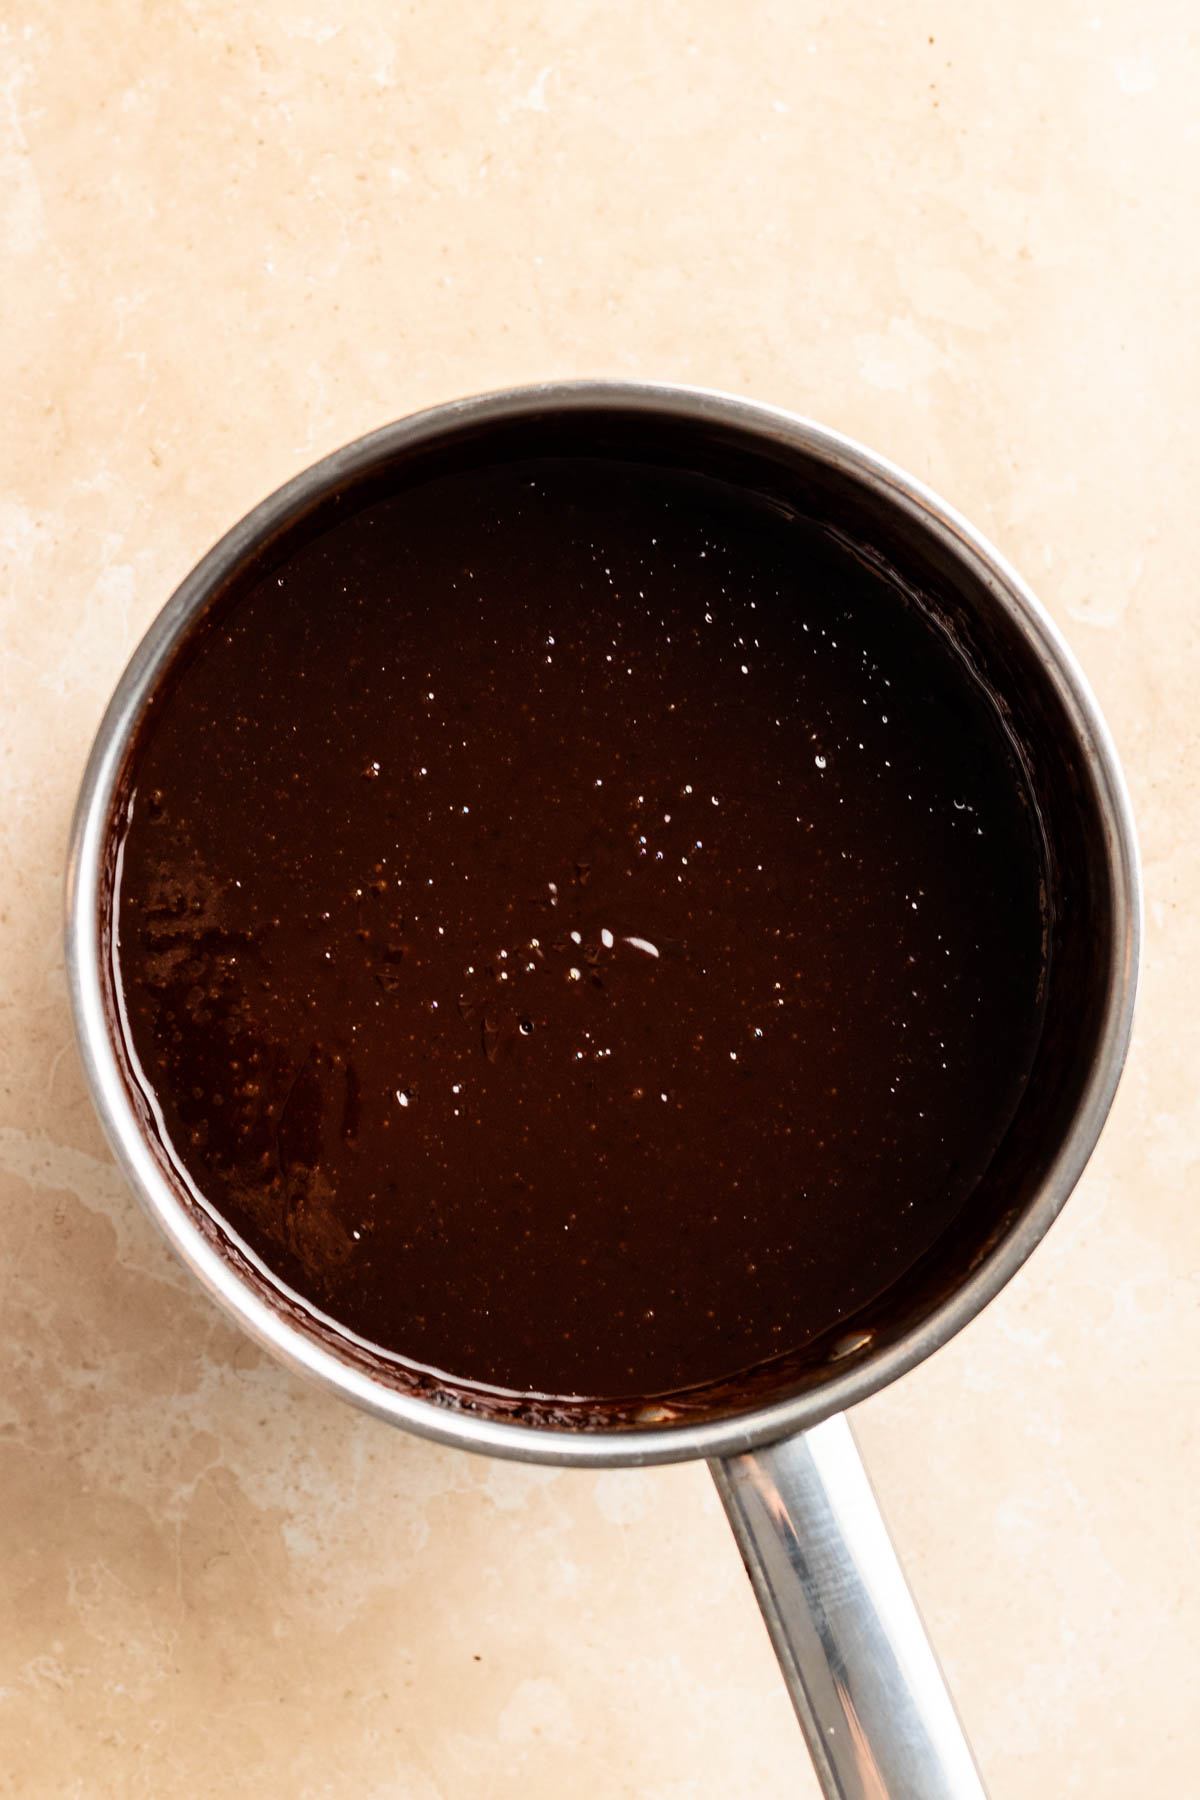
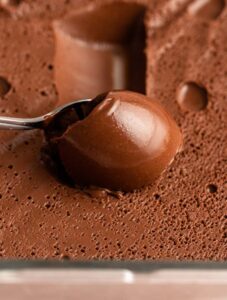
In a medium saucepan, combine butter, heavy cream, dark chocolate, cocoa powder, powdered sugar, and salt. Heat over medium-low, whisking constantly until the mixture is completely melted and glossy.
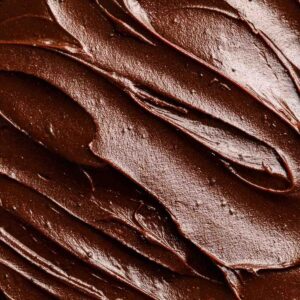
Success Marker: The mixture should look like a smooth, liquid Ganache with no visible sugar grains.
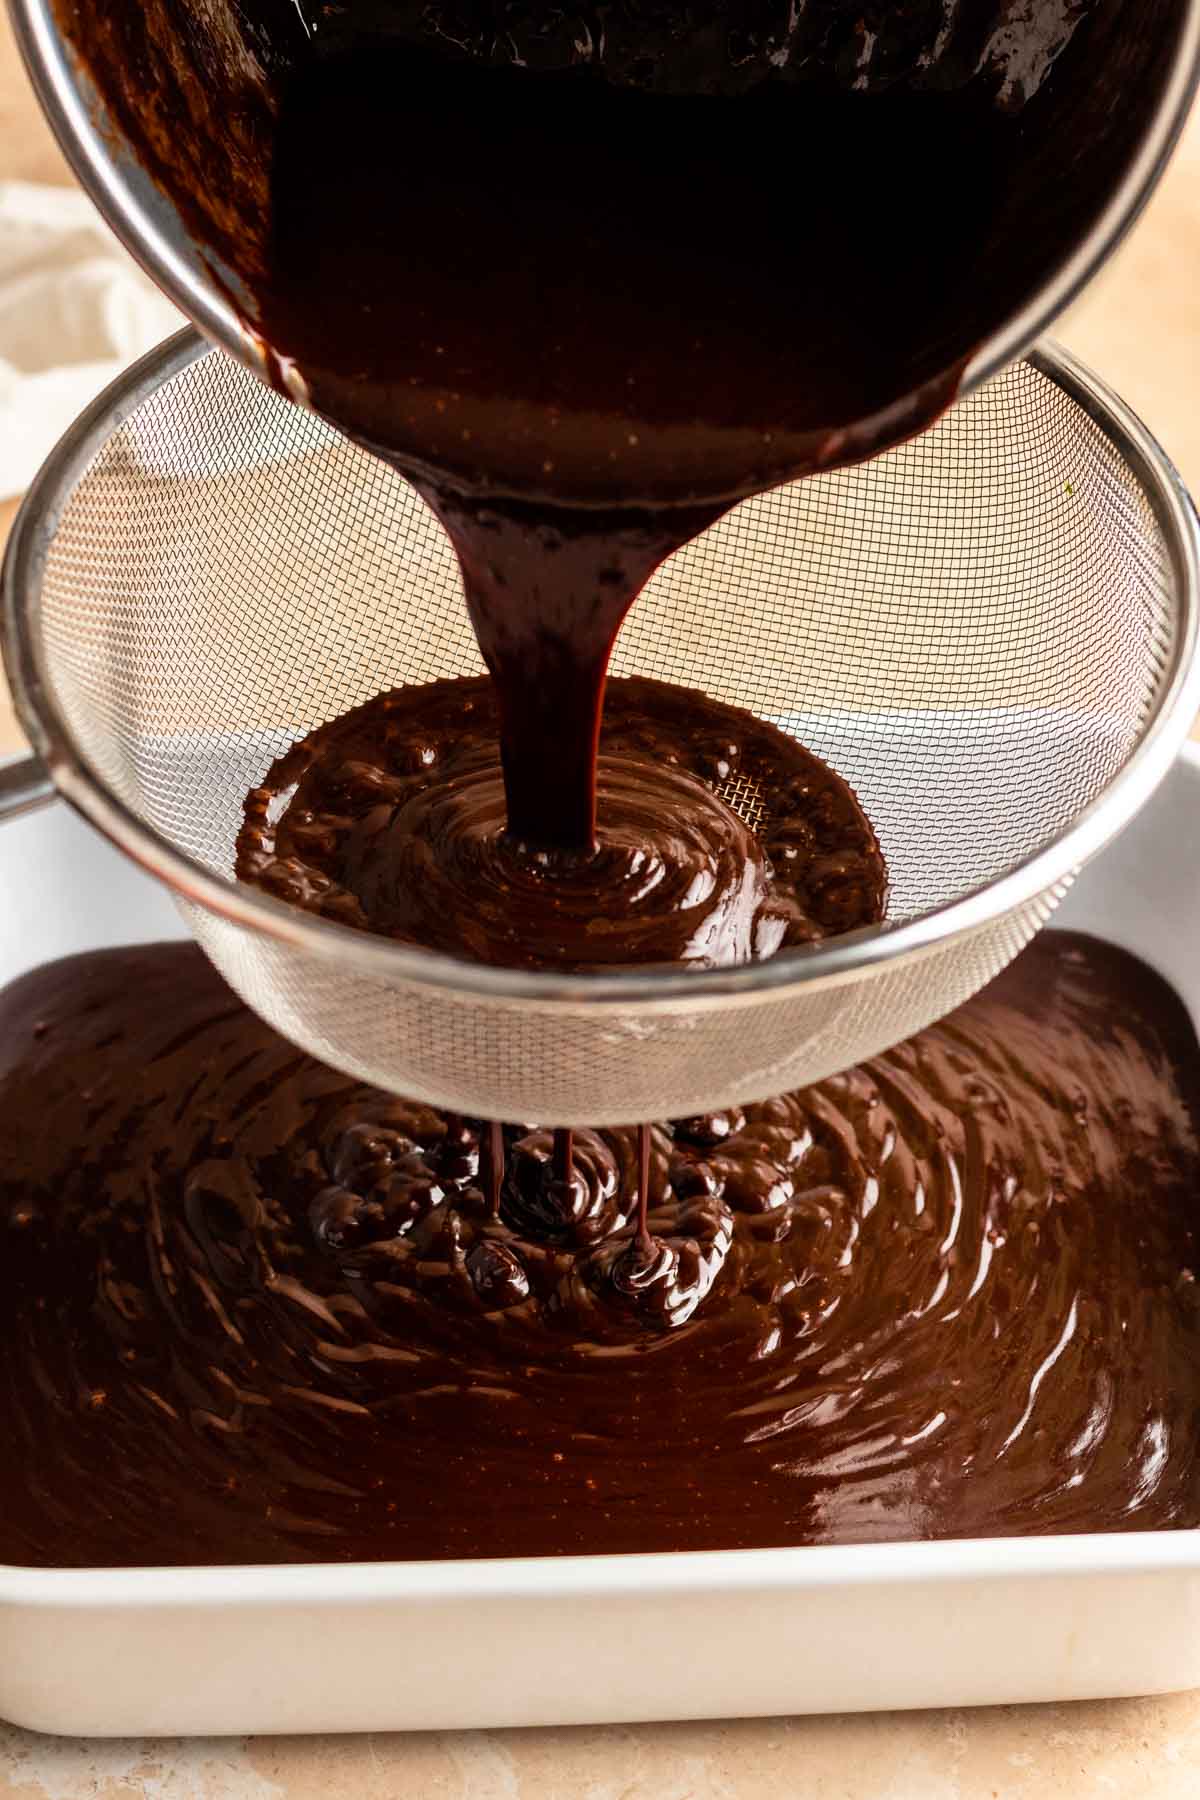
Pour the mixture through a fine-mesh sieve into a large bowl or shallow baking pan.
Why? This catches any undissolved cocoa or sugar clumps, ensuring a professional, "silk-sheet" finish.
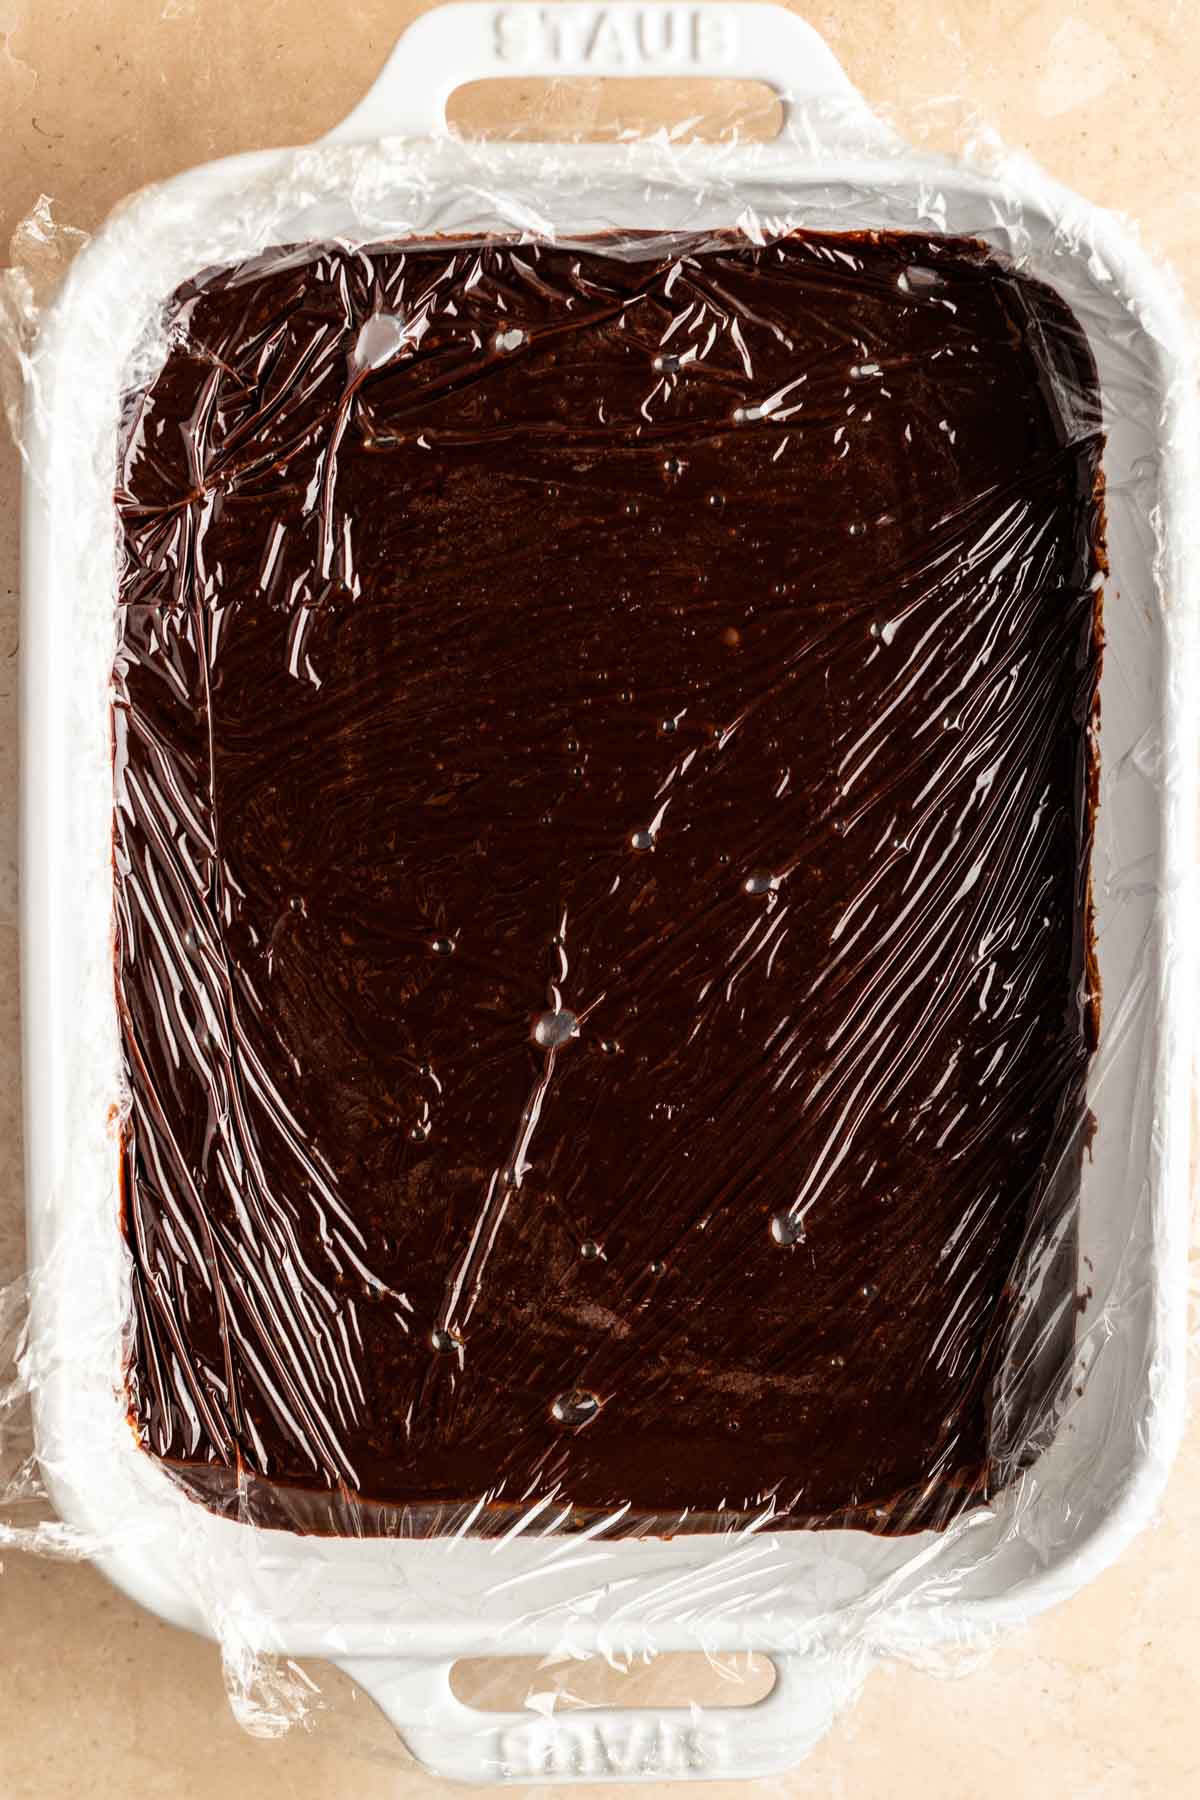
Seal and Cool Press plastic wrap directly onto the surface of the frosting to prevent a skin from forming.
Fridge: Transfer to the refrigerator for 1–2 hours.
Room Temp: Let it sit for 30 minutes to stabilize.
Check Your Consistency Remove from the fridge once it reaches your desired thickness. Give it a quick stir with a sturdy spatula to restore its creaminess.
Firm Set: Ideal for piping stable swirls or sharp edges.
Soft Set: Perfect for spreading on sheet cakes or "Matilda" style cakes.
Expert Tips
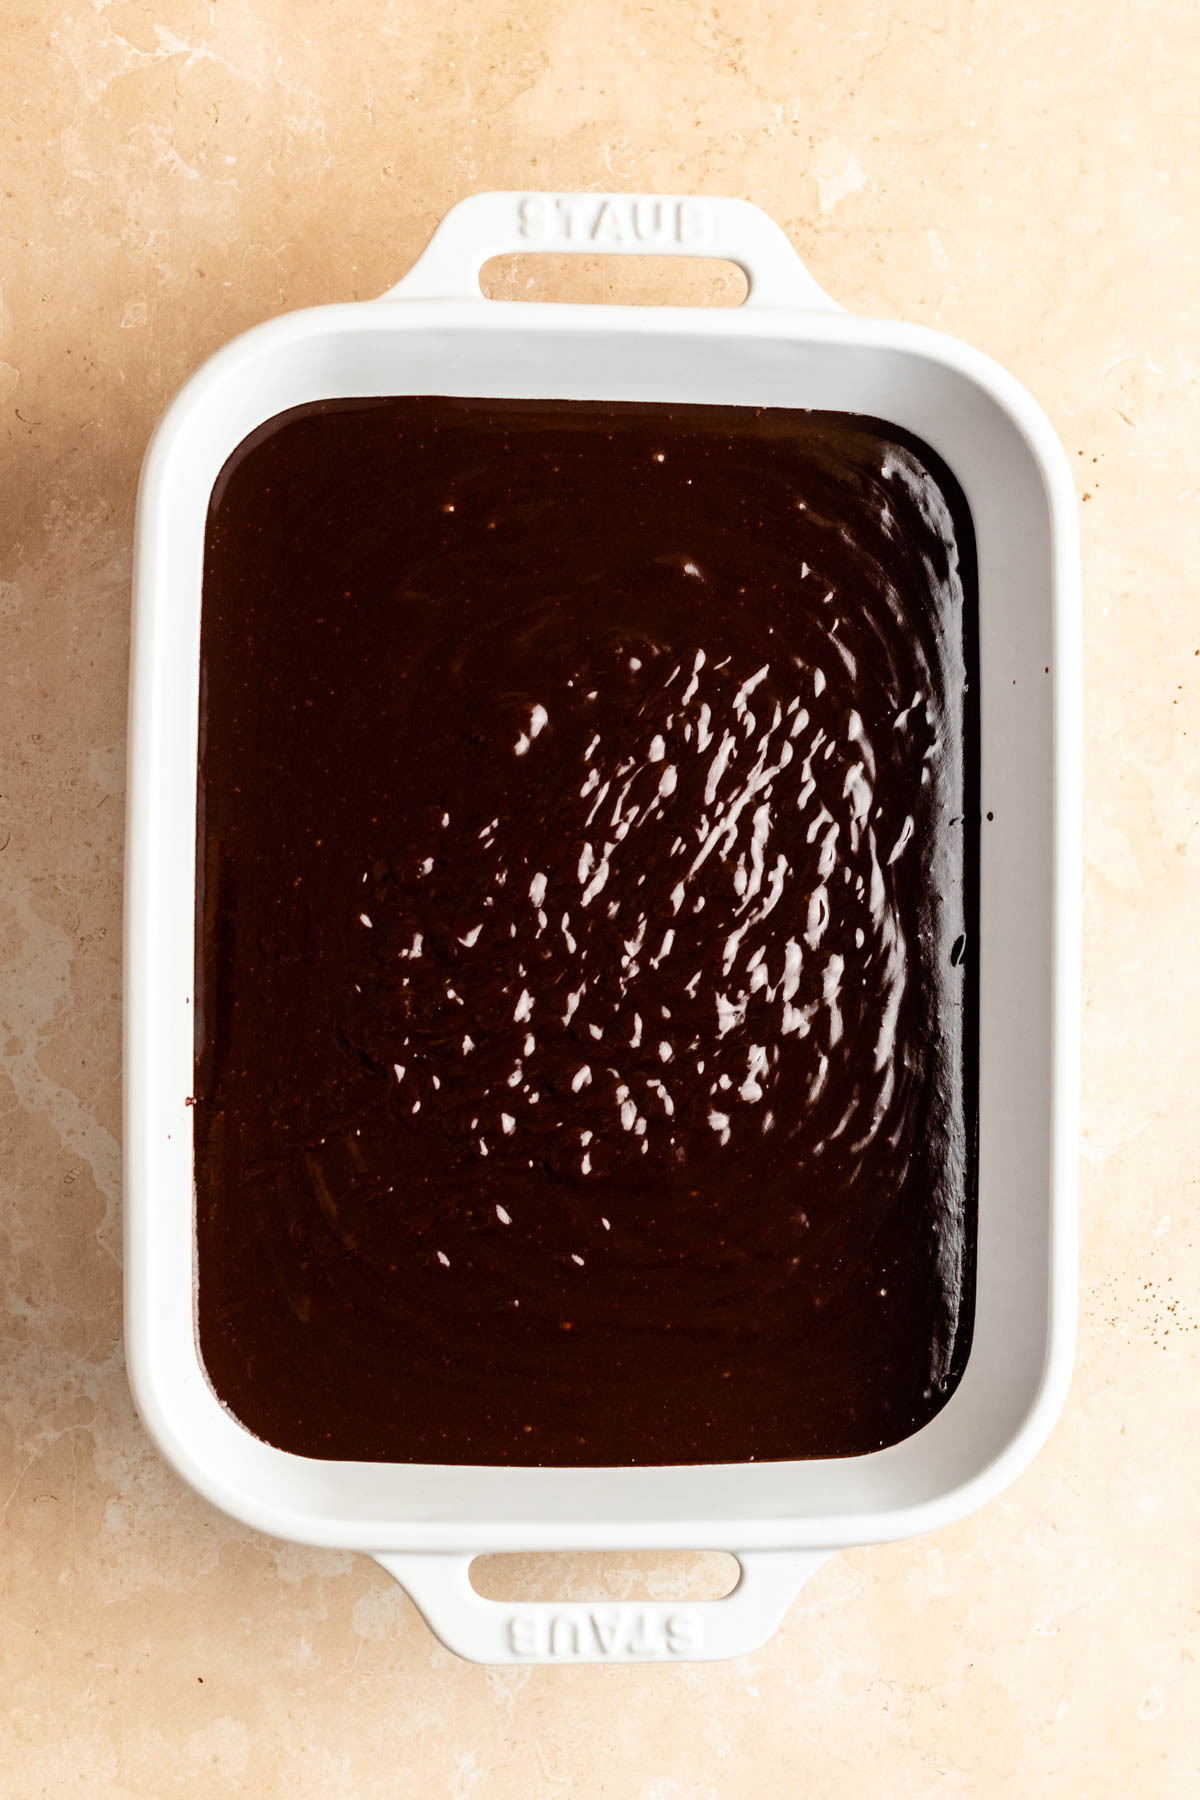
- The "Shallow Pan" Hack: To cool the frosting 50% faster, pour it into a wide, shallow glass baking dish instead of a deep bowl. More surface area means a faster, more even set.
- The Sieve is Non-Negotiable: Even if your cocoa looks fine, sifting it directly into the saucepan is the only way to guarantee a "silk-sheet" finish.
- Avoid Overheating: Never let the mixture reach a rolling boil. High heat can "break" the chocolate emulsion, leading to a greasy texture rather than a fudgy one.
- Temperature Matters: For the perfect "Matilda Cake" look, use the frosting when it is slightly cooler than room temperature (about 18°C/64°F). It will be thick enough to hold its shape but soft enough to swirl effortlessly.
Troubleshooting
Grainy Texture: Usually caused by powdered sugar that didn't dissolve or cocoa that wasn't sifted. The Fix: If it’s already cooled, gently reheat the mixture over low heat until the grains melt, then strain and re-chill.
Frosting is Too Hard: If it sat in the fridge too long, it will become very firm. The Fix: Let it sit at room temperature for 20 minutes, or microwave it for exactly 5 seconds, then stir vigorously to restore its spreadability.
Frosting is Too Runny: This means the fats haven't solidified yet. The Fix: Give it another 30 minutes in the fridge. If it’s still runny, you may have used a chocolate with a lower cocoa percentage (below 60%).
Separated or Greasy Look: This happens if the cream was too hot. The Fix: Whisk in a teaspoon of cold heavy cream while the mixture is still warm to "reset" the emulsion.
People Also Ask
It’s best to avoid it. A mixer incorporates air, turning this from a dense, fudgy "Matilda" style frosting into a lighter mousse. Hand-stirring preserves the signature decadence.
Because of the high butter and chocolate content, it will soften in direct heat (above 25°C/77°F). For summer events, keep the cake chilled until 30 minutes before serving.
This usually happens if it is stirred too much after it has already set. To bring the shine back, a very brief (2-3 second) blast of warm air from a hairdryer while stirring can restore the gloss.
Storing
Store in an airtight container with plastic wrap pressed directly onto the surface to prevent skin formation. It keeps at room temperature for 2 days or refrigerated for up to 1 week.
If chilled, allow the frosting to sit at room temperature for 60 minutes and stir well to restore its silky, pipeable consistency before using.
Freezing
To freeze, transfer the frosting to a freezer bag and squeeze out all excess air. It stays fresh for up to 3 months. Thaw in the refrigerator overnight, then let it reach room temperature and stir well to restore its silky texture.
Make It Ahead Of Time
Prepare the frosting up to 3 days in advance and store it in the fridge with plastic wrap pressed against the surface. Before using, let it sit at room temperature for 1 hour and stir to restore its smooth consistency.
Substitutions
Dairy-Free- Make this dairy-free by swapping butter 1:1 with vegan butter sticks, replacing heavy cream with full-fat canned coconut cream, and using a certified dairy-free dark chocolate.
Variations
Espresso: Stir 1 teaspoon of espresso powder into the melted chocolate to deepen the cocoa flavor and add a subtle coffee note.
Peanut Butter: Mix in ½ cup of creamy peanut butter once the frosting is smooth for a rich, salty-sweet twist.
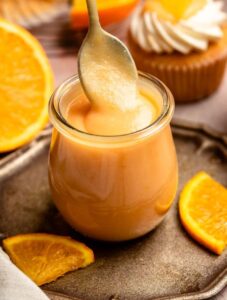
Orange Zest: Fold in 1 tablespoon of freshly grated orange zest and a splash of orange extract to create a bright, citrusy contrast to the dark chocolate.
Chocolate Fudge Frosting Uses
This velvety chocolate fudge frosting is the perfect rich finish for my Small Chocolate Cake or a decadent topping for my Chocolate Espresso Cake.
It also works beautifully as a smooth glaze for No-Bake Chocolate Cheesecake or as a fudgy dip to my Pecan Pie Cookies.
Equipment
- Small Saucepan: To melt the butter and chocolate over low heat.
- Kitchen Scale: For the most accurate ingredient measurements and consistent results.
- Whisk: For emulsifying the frosting into a smooth, glossy texture.
- Sifter: To remove lumps from the powdered sugar and cocoa powder.
- Rubber Spatula: To scrape the pan and ensure the mixture is fully combined.
- Piping Bag & Tips: For decorating cakes or filling cookies.
Love chocolate? Try these next:
- Chocolate Poke Cake: Moist one-bowl cake with a silky pudding filling and whipped cocoa topping.
- Ultimate Fudge Cake: The richest, most tender crumb for serious chocolate cravings.
- Chocolate Rice Krispie Treats: A 20-minute, gooey crowd-pleaser loaded with extra chocolate.
Connect With Us
Review: Leave a rating and comment below if you enjoyed this recipe. Socials: Follow on Facebook, Instagram, and Pinterest. Save: Pin this recipe to Pinterest for later.
📖 Recipe
Chocolate Fudge Frosting (No Mixer)
Ingredients
- 1 cup Butter unsalted
- 10.5 oz Dark chocolate about 60%-70%
- ¼ cup Cocoa powder
- 1 cup Heavy cream
- 1 cup Powdered sugar
- ⅓ teaspoon Kosher salt
- 1 teaspoon Vanilla extract
Instructions
- In a medium saucepan, combine butter, heavy cream, dark chocolate, cocoa powder, powdered sugar, and salt. Heat over medium-low, whisking constantly until the mixture is completely melted and glossy.
- The mixture should look like a smooth, liquid Ganache with no visible sugar grains.
- Pour the mixture through a fine-mesh sieve into a large bowl or shallow baking pan.
- Seal and Cool Press plastic wrap directly onto the surface of the frosting to prevent a skin from forming. Fridge: Transfer to the refrigerator for 1–2 hours. Room Temp: Let it sit for 30 minutes to stabilize.
- Remove from the fridge once it reaches your desired thickness. Give it a quick stir with a sturdy spatula to restore its creaminess.
Notes
- The "Shallow Pan" Hack: To cool the frosting 50% faster, pour it into a wide, shallow glass baking dish instead of a deep bowl. More surface area means a faster, more even set.
- The Sieve is Non-Negotiable: Even if your cocoa looks fine, sifting it directly into the saucepan is the only way to guarantee a "silk-sheet" finish.
- Avoid Overheating: Never let the mixture reach a rolling boil. High heat can "break" the chocolate emulsion, leading to a greasy texture rather than a fudgy one.
- Temperature Matters: For the perfect "Matilda Cake" look, use the frosting when it is slightly cooler than room temperature (about 18°C/64°F). It will be thick enough to hold its shape but soft enough to swirl effortlessly.
- Yield: This recipe makes enough to cover one 8 or 9-inch cake, a Bundt cake, or 12 cupcakes. If you are making a double or triple-layer cake, or 24 cupcakes, just double the recipe.

Cindy says
So, if the frosting needs to stay refrigerated, does the cake need to stay refrigerated after its frosted?
RichandDelish says
Yes.
Samantha Ash says
Absolutely delicious! I realized I left out the vanilla due to it being in the ingredient list but it's not included in the instructions anywhere, unless im blind lol. Luckily it doesn't seem like it's lacking anything in flavor despite its absence. It is glossy, smooth, rich and indulgent! I've recently realized I'm not much of a fan of buttercream so I've been on the hunt for a good fudgy frosting recipe. This is perfect for my Father's Day cake! Thank you!
Tina says
I did the same thing!!
Kristan says
Have you ever had this break??? I followed your instructions exactly and the butter absolutely separated and the cream fat clumped up…. I’m wondering what I did wrong and if there’s any way to fix it?
RichandDelish says
Hi Kristan, this can happen if you cook it on very high heat. It should be cooked on medium-high heat. Hope this helps.
Graziella says
Taste wise it’s amazing - just literally prepared it now and am waiting for it to cool.
Do you think this would whip up well?