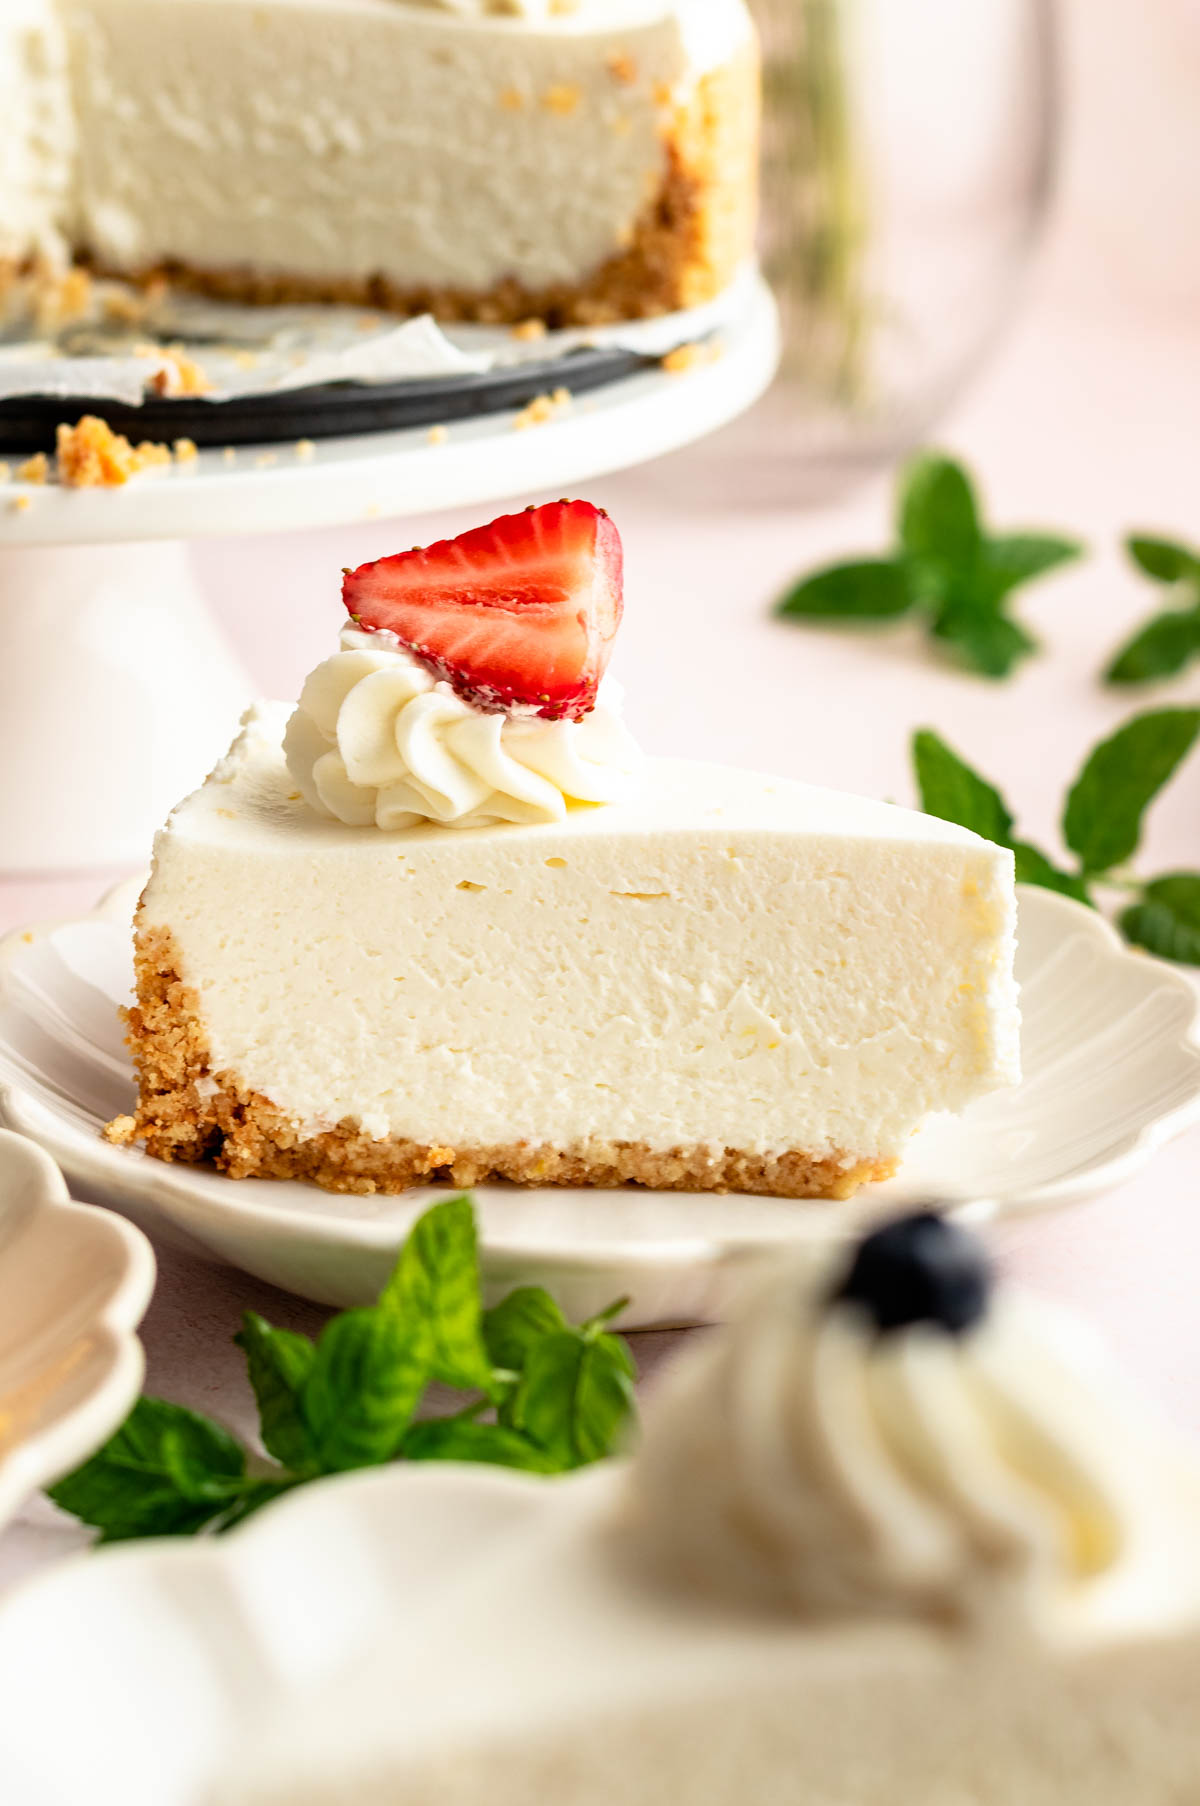
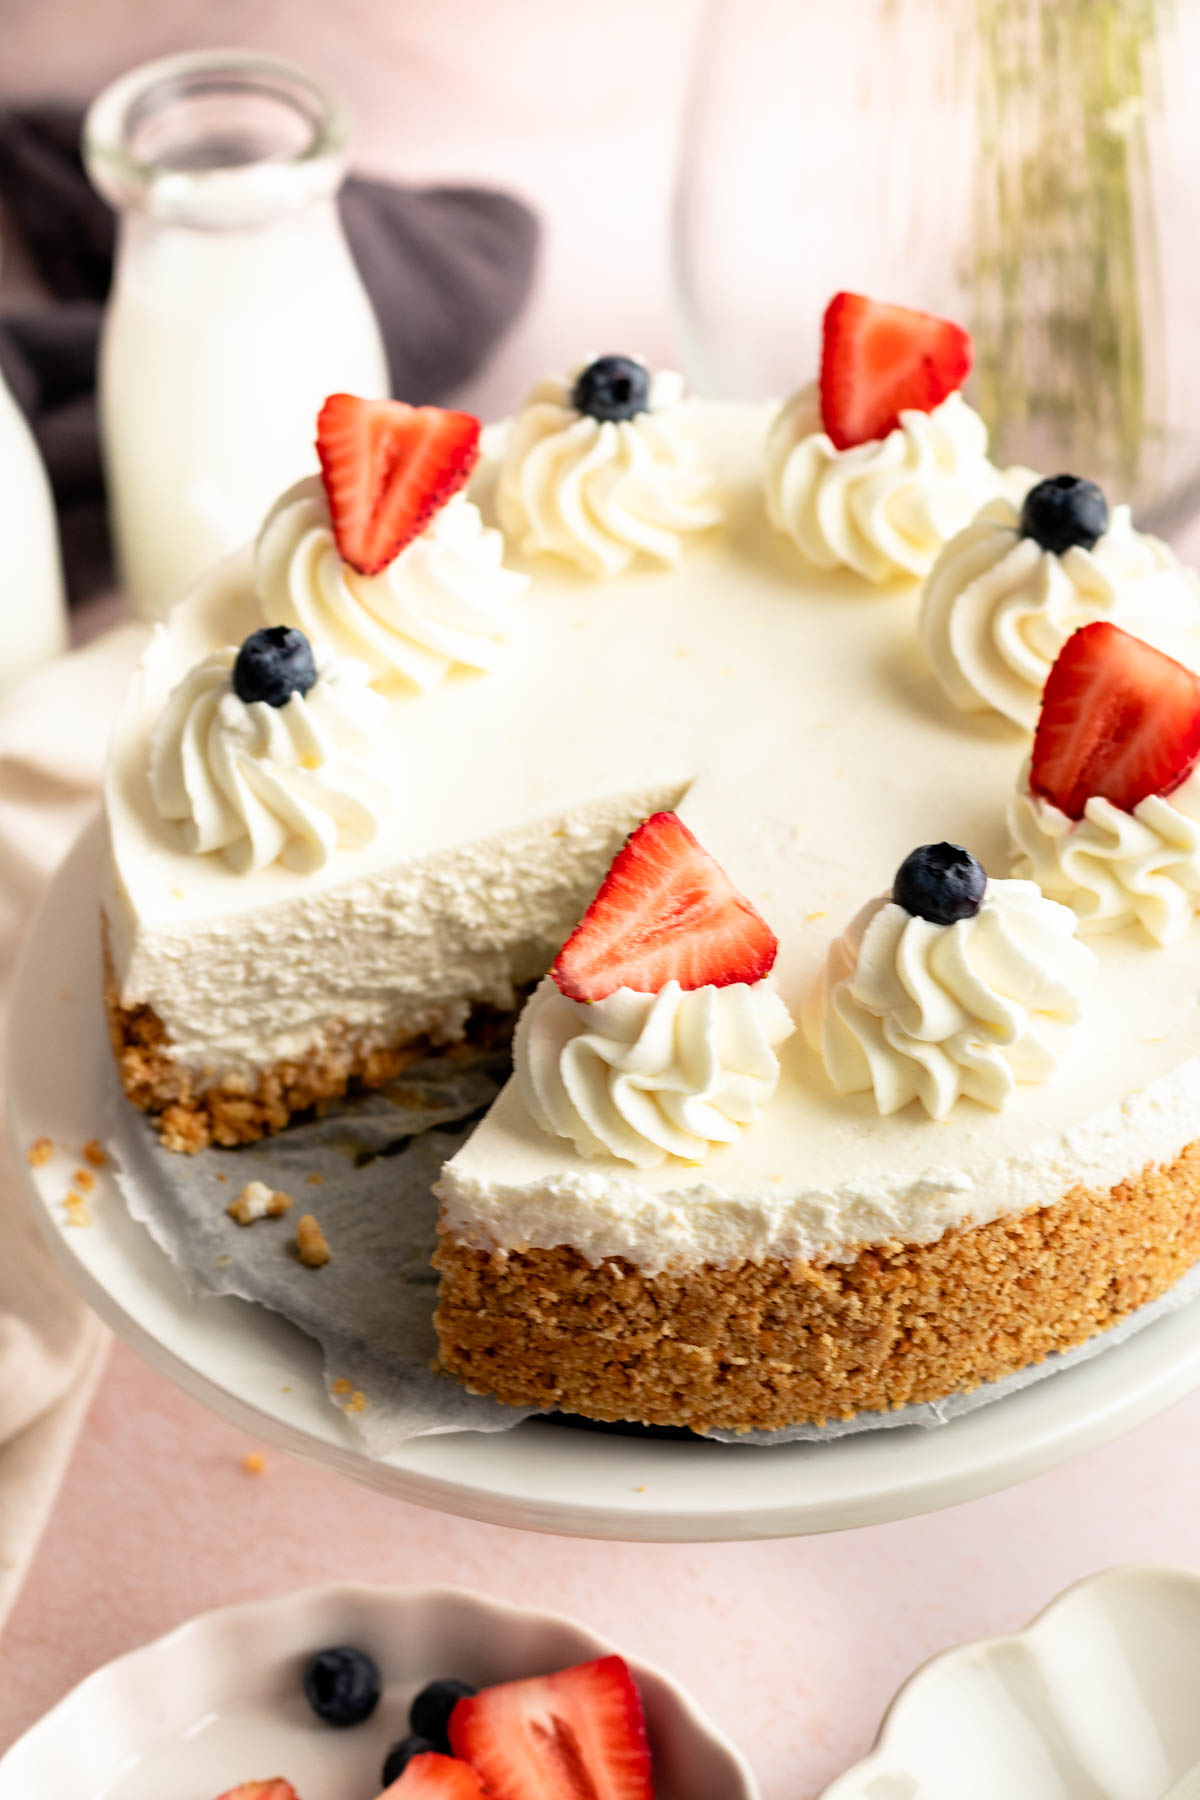
This no bake cheesecake is made with a buttery graham cracker crust and filled with velvety and creamy cheesecake filling.
This delish cheesecake starts with a buttery graham cracker crust that's simply pressed into a pan without any baking required.
The filling is where the magic happens - it's velvety smooth and incredibly creamy, made with simple ingredients like cream cheese, sugar, and whipped cream.
Unlike traditional cheesecake, this version doesn't need to be baked in the oven. Instead, it sets in the refrigerator, resulting in a light and airy texture that melts in your mouth.
The best part? You can customize it with your favorite toppings, from fresh fruit to chocolate drizzle, making it a versatile treat for any occasion.
This is the most perfect summer dessert that is also perfect all year round. It is refreshing and light and is delish!
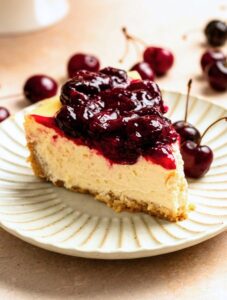
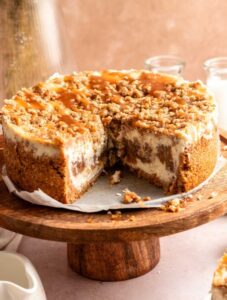
For more delicious cheesecake recipes, check out my cherry cheesecake, baklava cheesecake, creamy vanilla cheesecake, pistachio cheesecake, and no bake chocolate cheesecake.
Jump to:
Why this recipe works
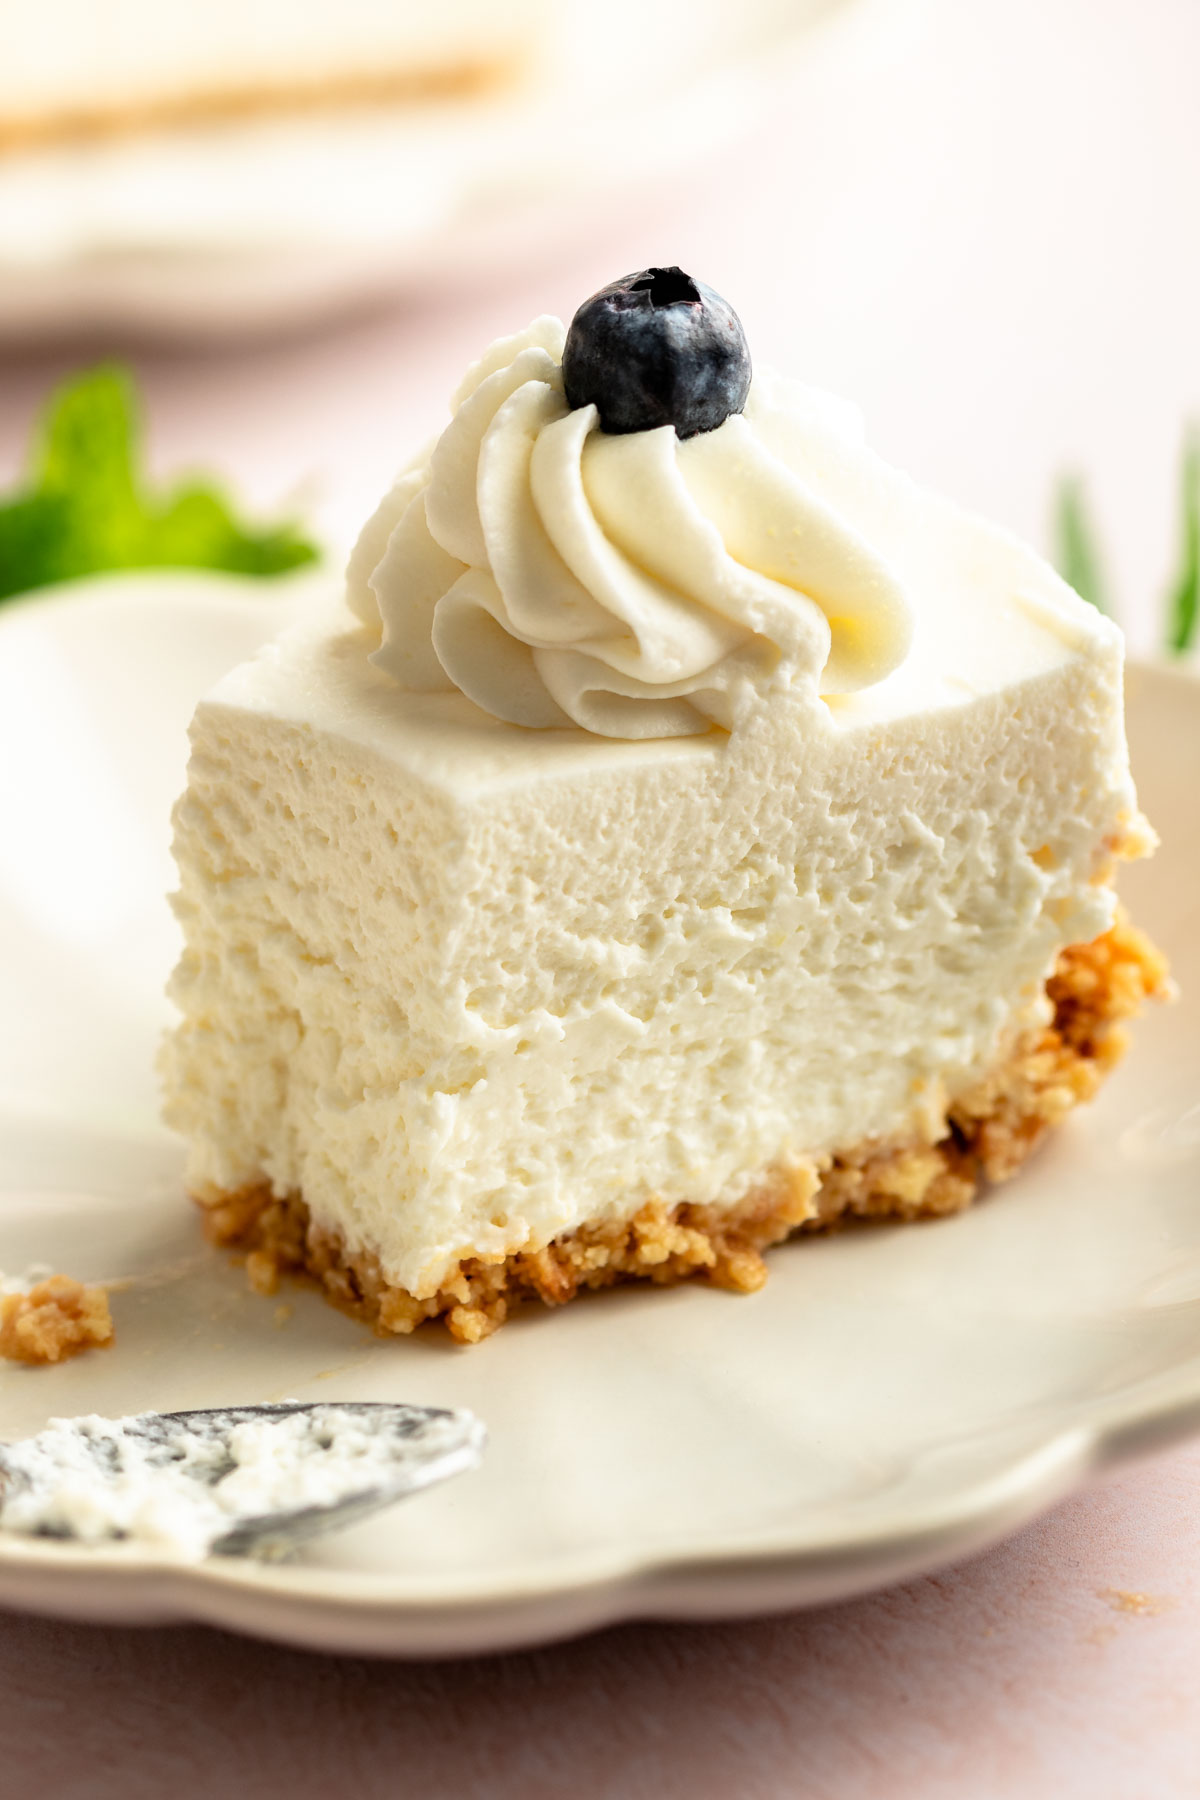
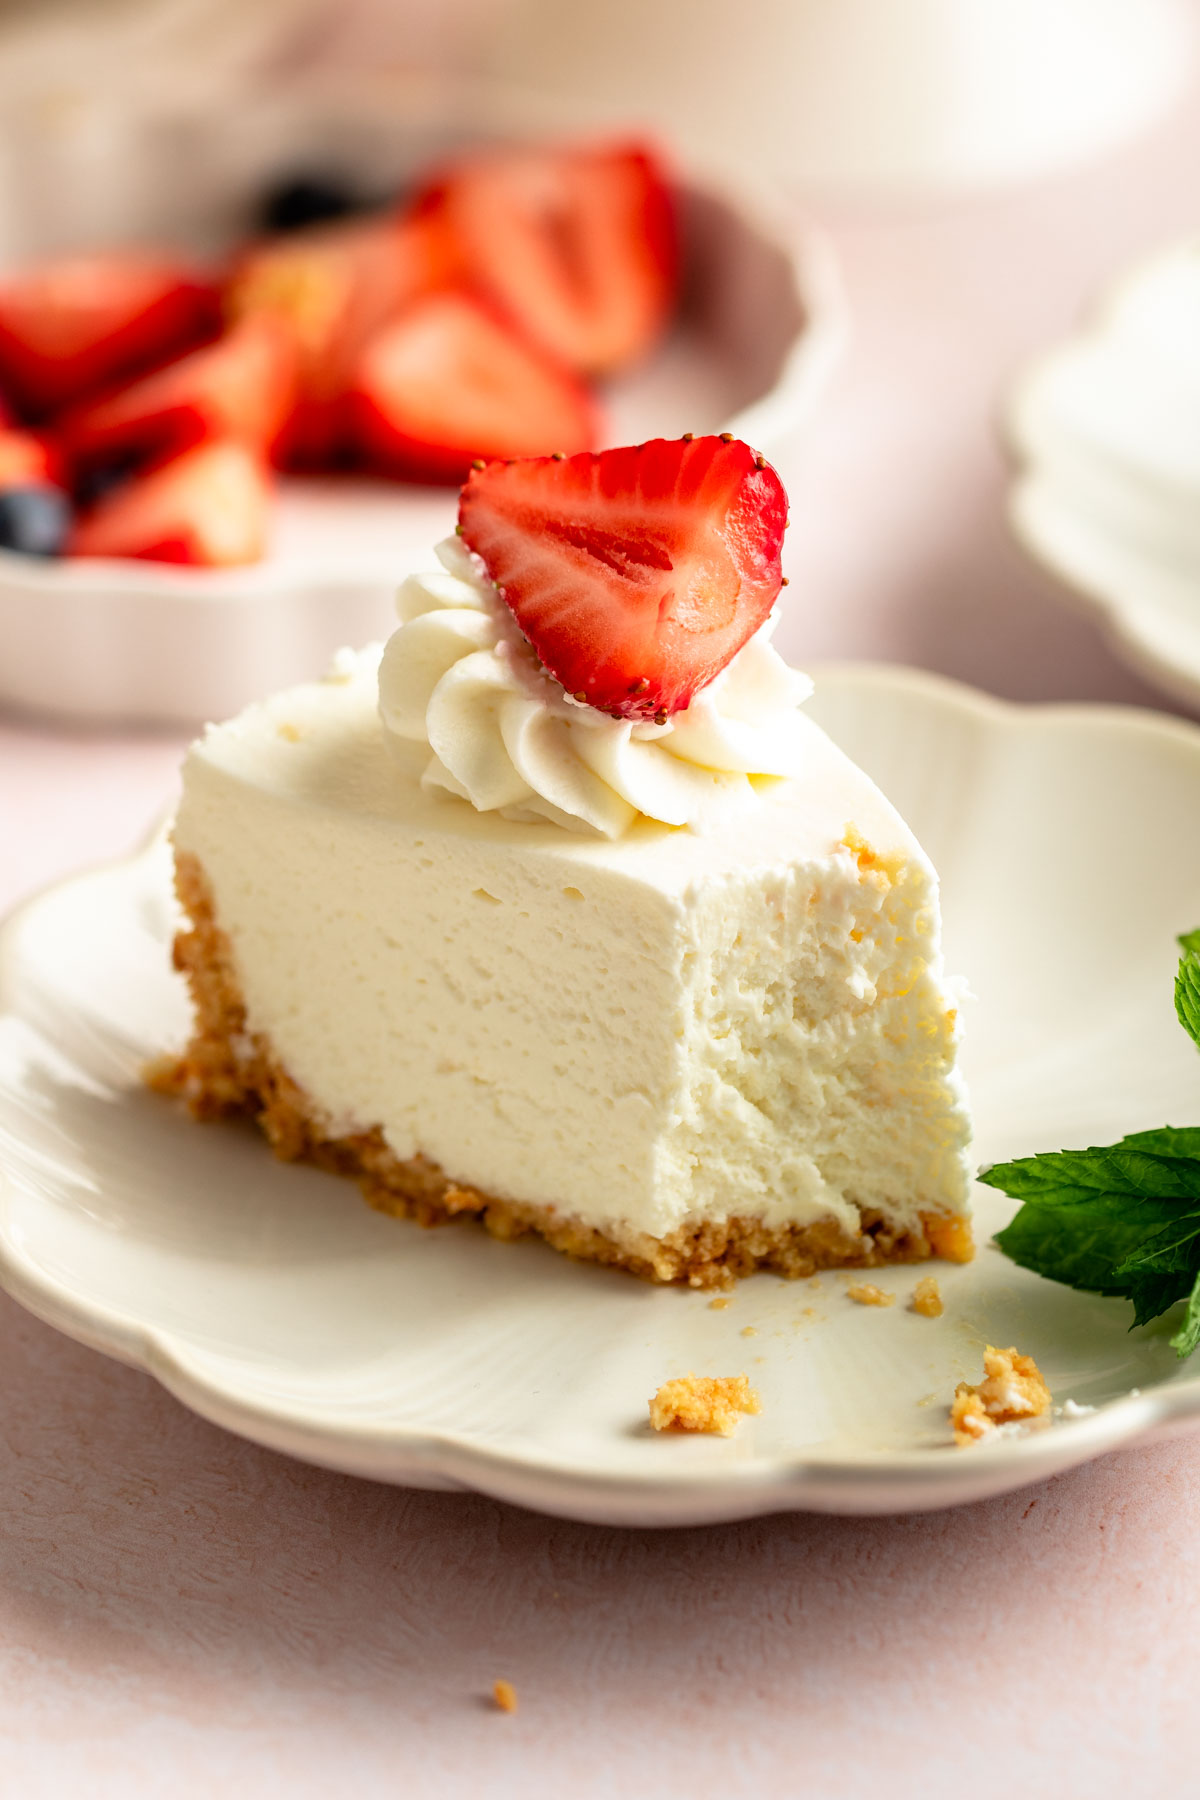
- Texture- the texture of this cheesecake is extra creamy and silky smooth and will melt in your mouth! Unlike baked cheesecakes, it has a lighter, almost mousse-like consistency that's refreshing and indulgent.
- Crust- This cheesecake features a buttery graham cracker crust that balances the creamy filling. The crust's sweet crunch complements the smooth cheesecake, creating a delightful contrast in each bite.
- Simple- this recipe is made with a few simple ingredients you can find in any supermarket and is super easy to make!
- No bake- this no bake cheesecake offer a cool, refreshing treat without heating your kitchen. It's perfect for hot summer days or when you need a quick, impressive dessert.
- Versatile- this cheesecake can be topped with various toppings from fruit sauces, and fresh fruit, to chocolate whipped cream!
What is a no bake cheesecake?
A no bake cheesecake is a cheesecake that is made without eggs, or flour and is made without turning on the oven.
The best part about this cheesecake except it's absolutely delicious is that you don't have the risk of the cheesecake from cracking, overbaking, underbaking, etc.
Ingredients
Before you start to make this recipe, measure and prepare your ingredients so the cooking process will go smoothly and easily.
Full measurements are in the recipe card below.
For the crust:
Graham crackers/ tea biscuits- we like to use tea biscuits or digestive biscuits, but graham crackers will work as well.
Melted butter– melt the butter in the microwave for 30 seconds pulses, to make sure that the butter doesn’t boil up and explode in the microwave (been there done that), or melt it on the stovetop.
Sugar- I added granulated sugar for the crust, you can swap it with caster sugar or brown sugar, or skip it for a less sweet crust.
For the filling
Heavy cream- make sure that your heavy cream is cold from the fridge.
Cream cheese- use full-fat cream cheese, and make sure that it’s at room temperature.
Powder sugar- you don’t have to buy powdered sugar, you can simply make it at home by blending granulated sugar in a blender or food processor. super easy!
Sour cream- I suggest using full-fat sour cream for this recipe. The sour cream makes the cheesecake batter creamier and lighter.
Vanilla extract- vanilla extract adds extra flavor. For extra vanilla flavor, use vanilla bean extract or an actual vanilla bean!
Lemon zest- the lemon zest adds an aroma and a light flavor to this dessert. Don’t worry, this cheesecake will not taste like lemon cheesecake.
Lemon juice- use fresh lemon juice for this recipe. Fresh lemon will give you the best result. I don't recommend using store-bought lemon juice. This will make the flavor pop!
Instant pudding- the secret ingredient to make this cheesecake stable without using gelatin.
Instructions
Prepare a 9-inch springform pan with parchment paper.
Pulse graham crackers or digestive biscuits in a food processor until fine crumbs form. If you don’t have a food processor on hand, place the crackers in a Ziplock bag and smash them with a cup until fine crumbs form.
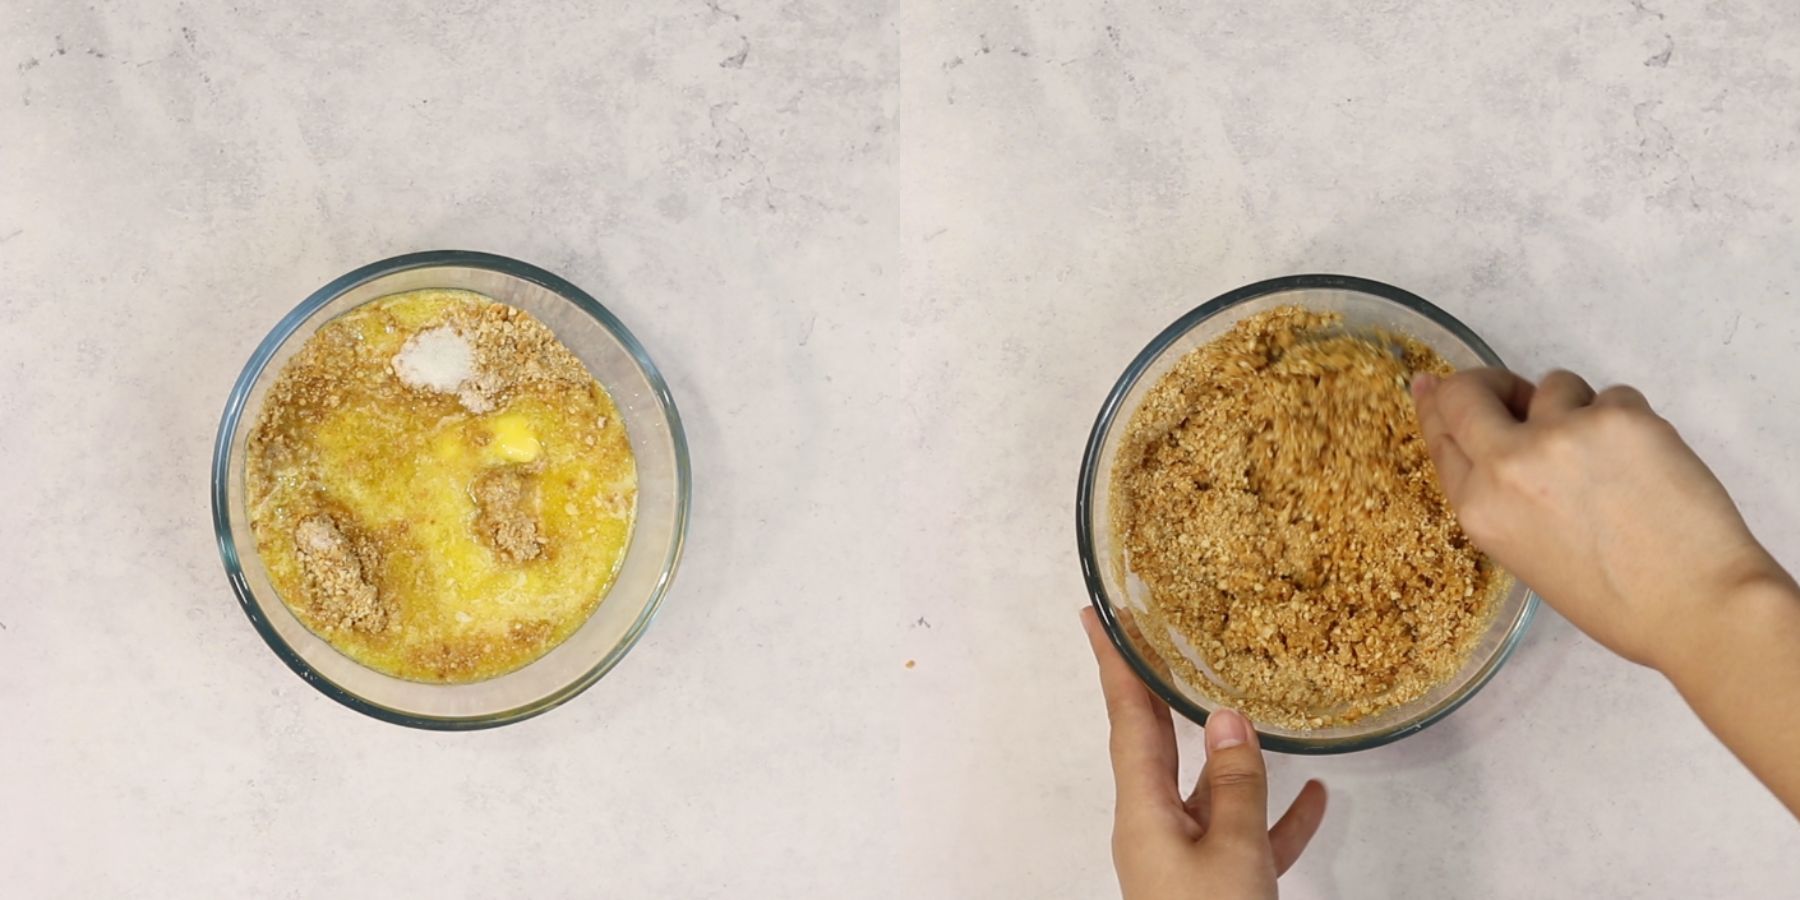
Into a small to medium mixing bowl, add the crumbs, sugar, and melted butter. Mix with a spoon until the crumbs are coated with butter.
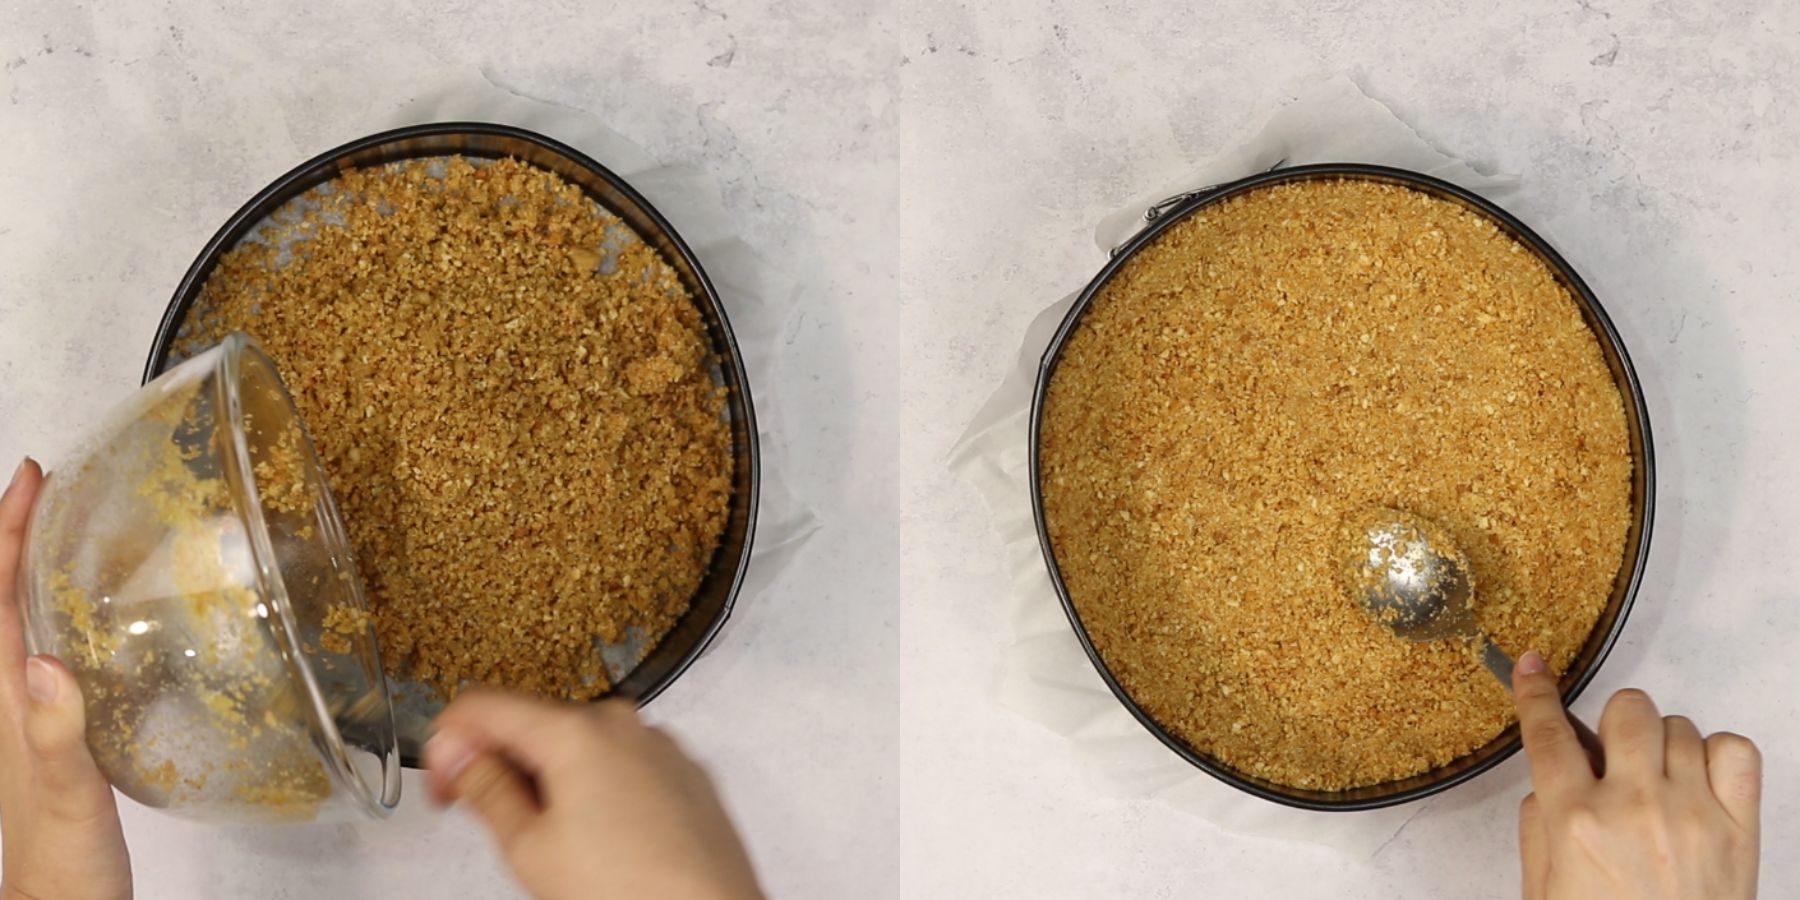
Transfer the crumbs into a prepared 9-inch cake pan, pressing evenly and firmly into the pan.
Transfer the pan to the freezer and let the crust firm up while you make the filling.
In a medium-sized mixing bowl, add the cold heavy whipping cream, and whip it with an electric hand mixer until stiff peaks form.

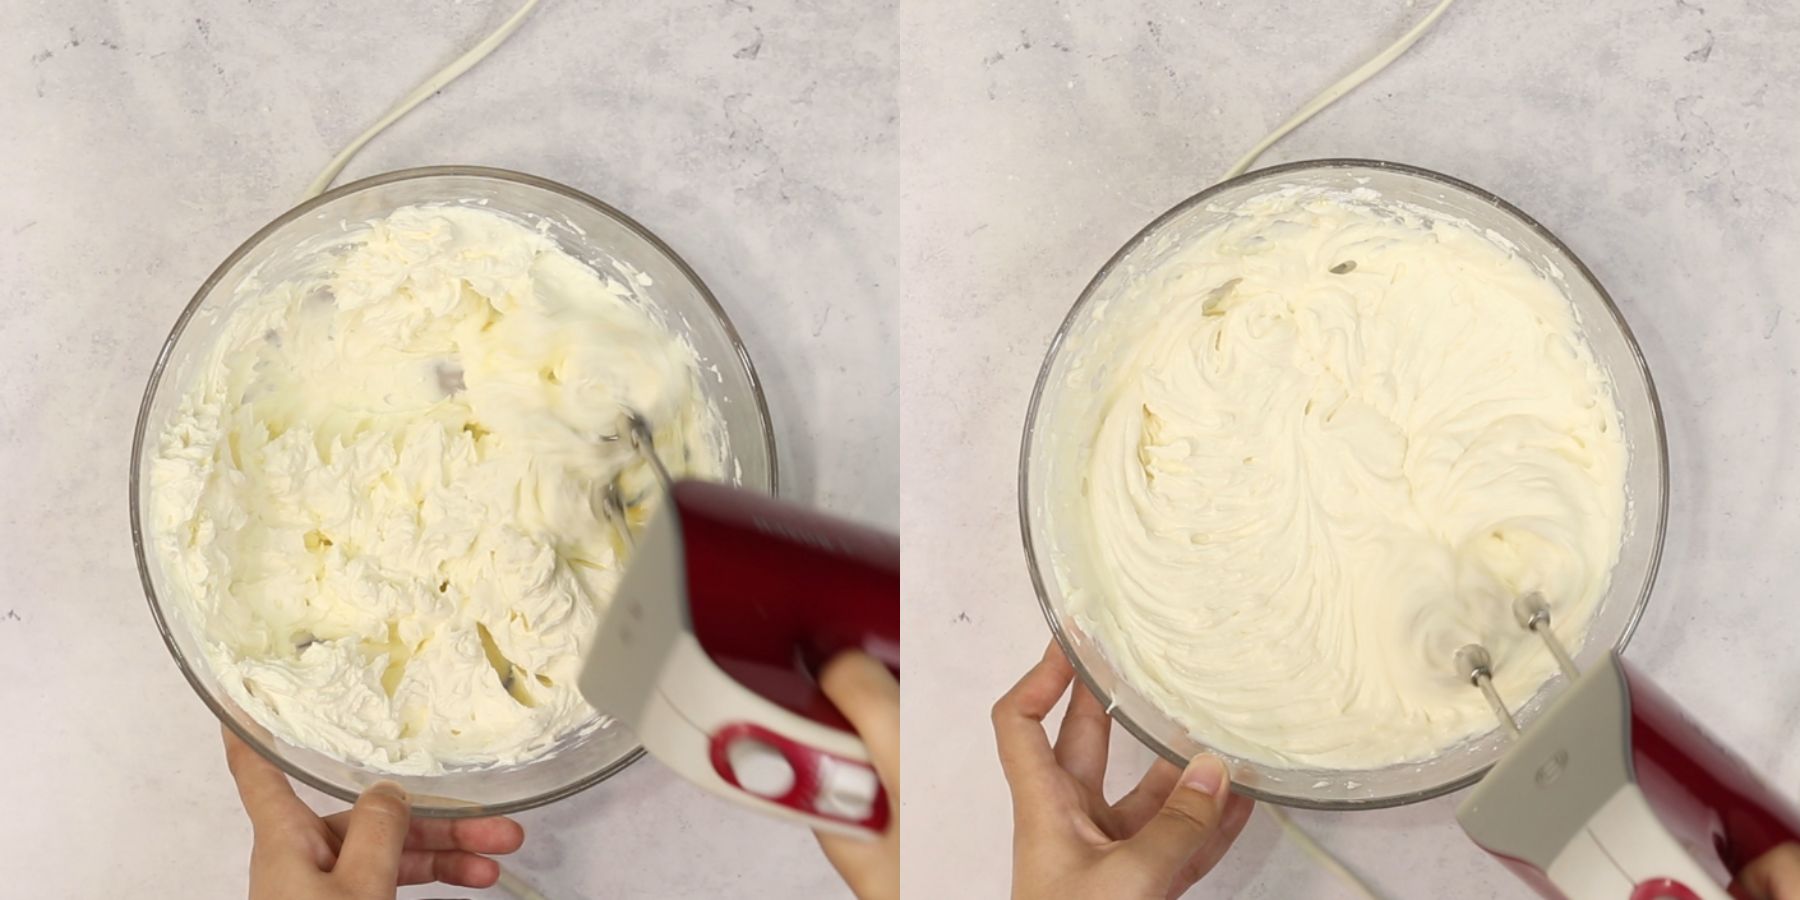
In a separate big mixing bowl, add the room-temperature cream cheese and mix with an electric hand mixer for about 1-2 minutes or until it's smooth and creamy.
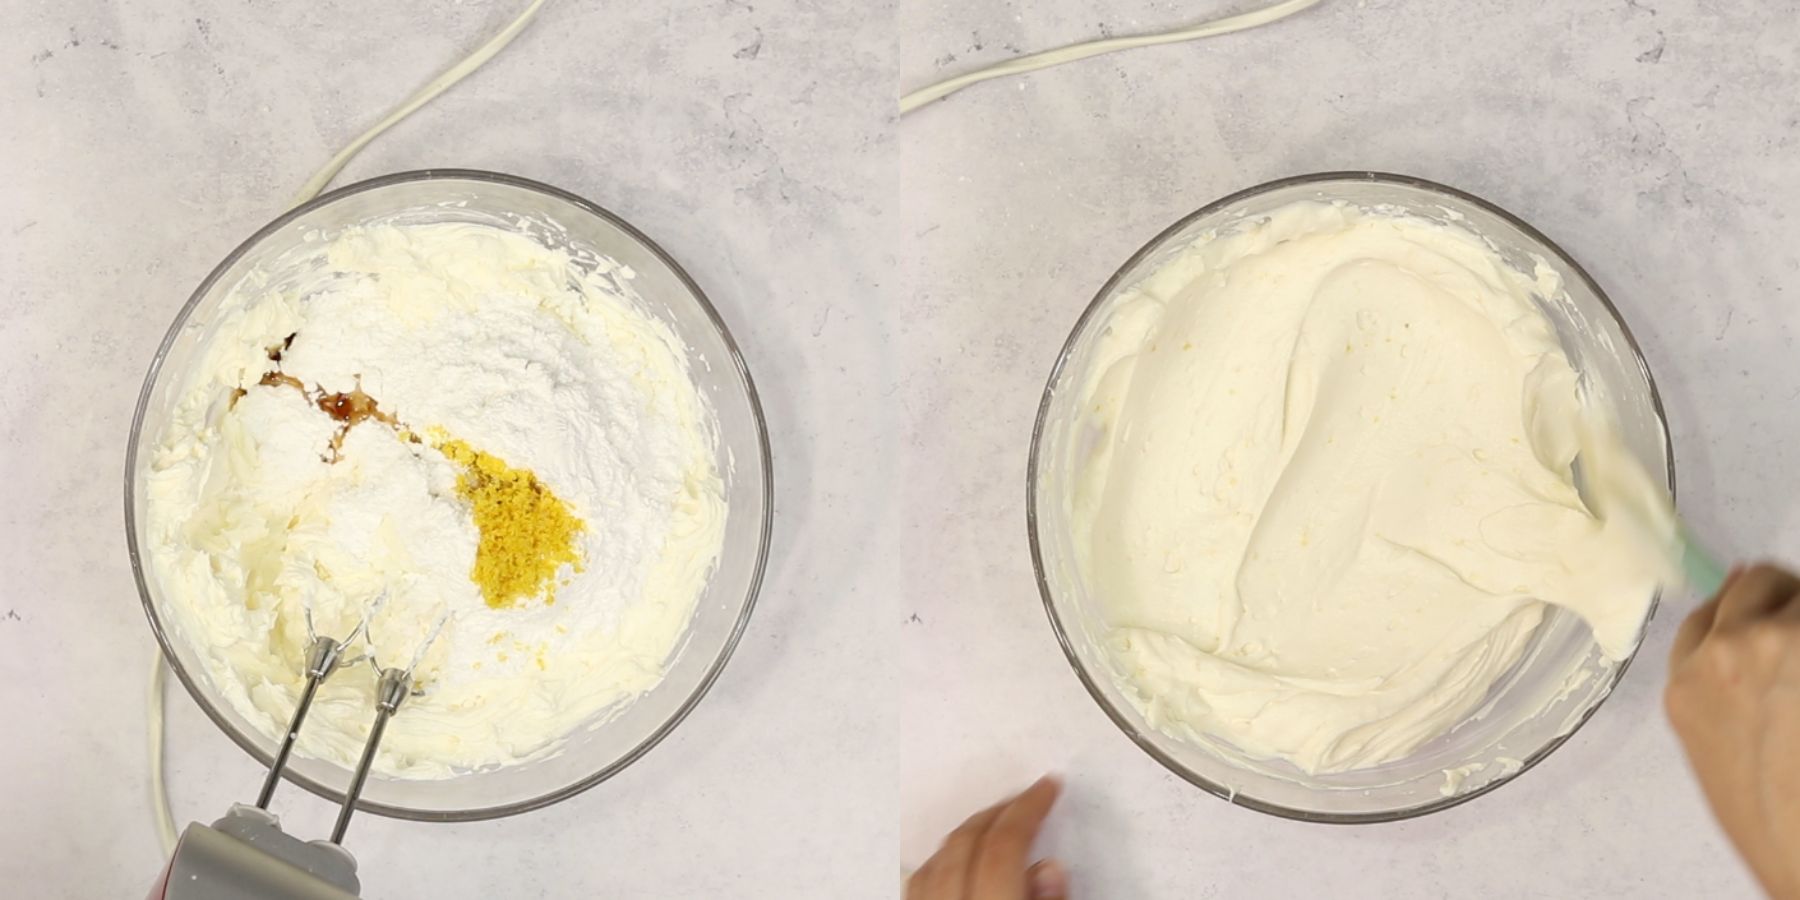
Add the sour cream, vanilla extract, vanilla instant pudding, lemon juice, lemon zest, and powdered sugar, and mix until the mixture is creamy and smooth.
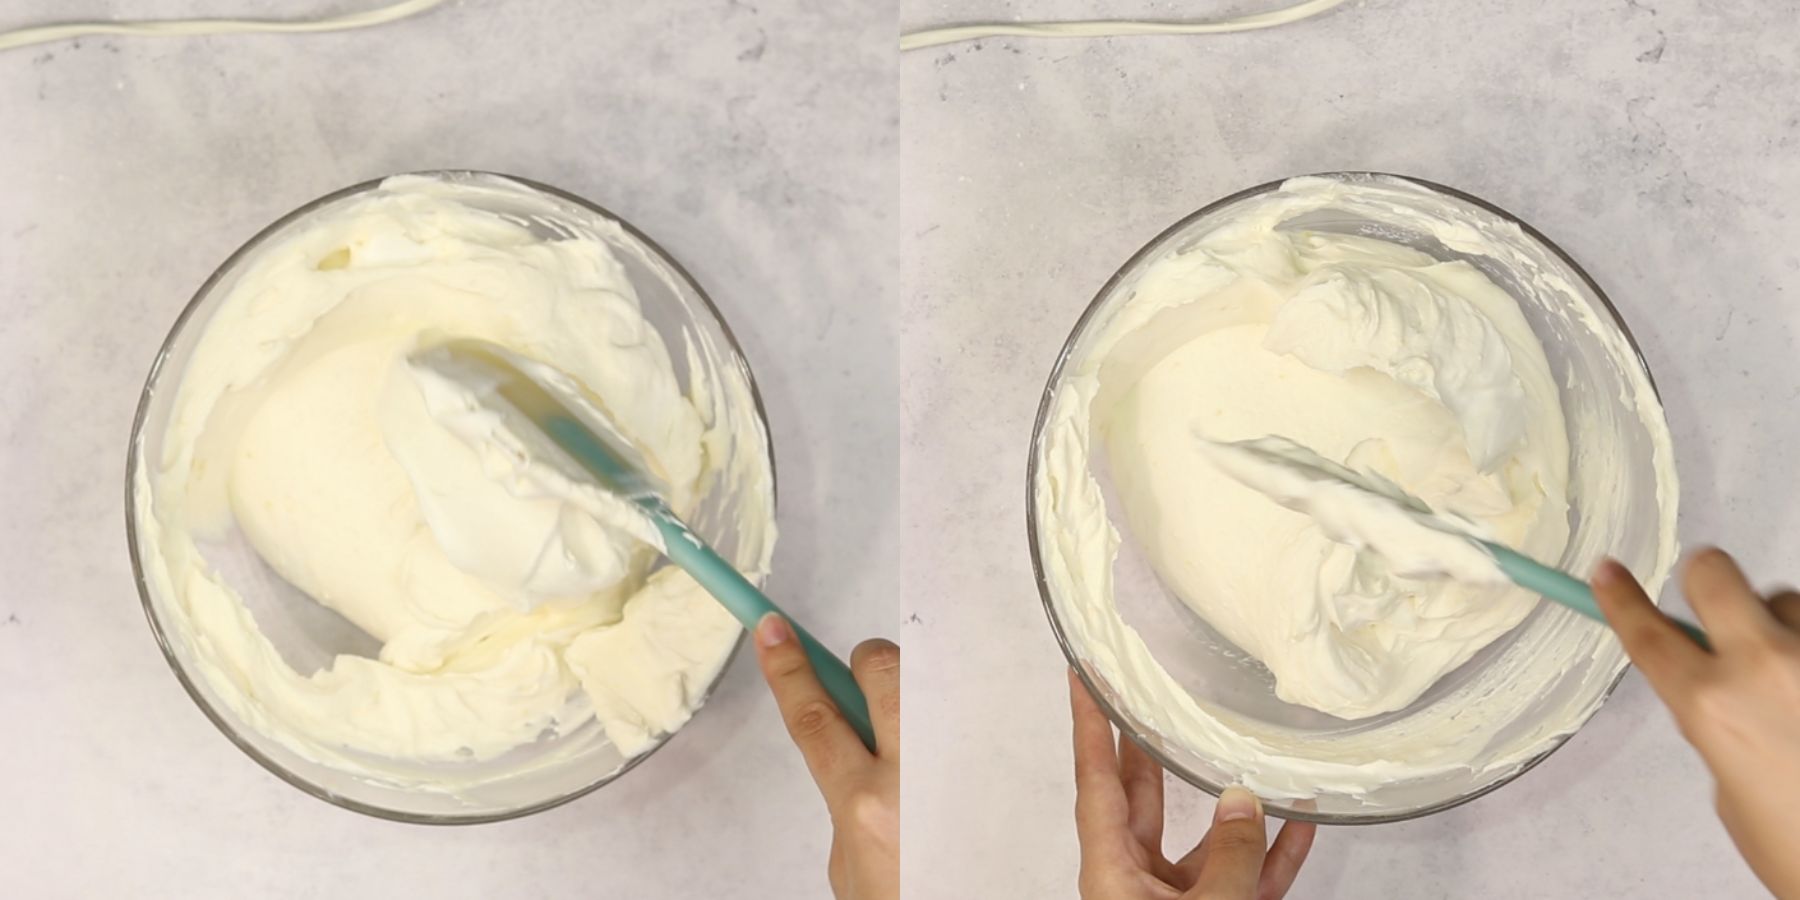
Gradually transfer the whipped cream (⅕ at a time) to the cream cheese mixture and fold gently with a spatula until the mixture is well combined.
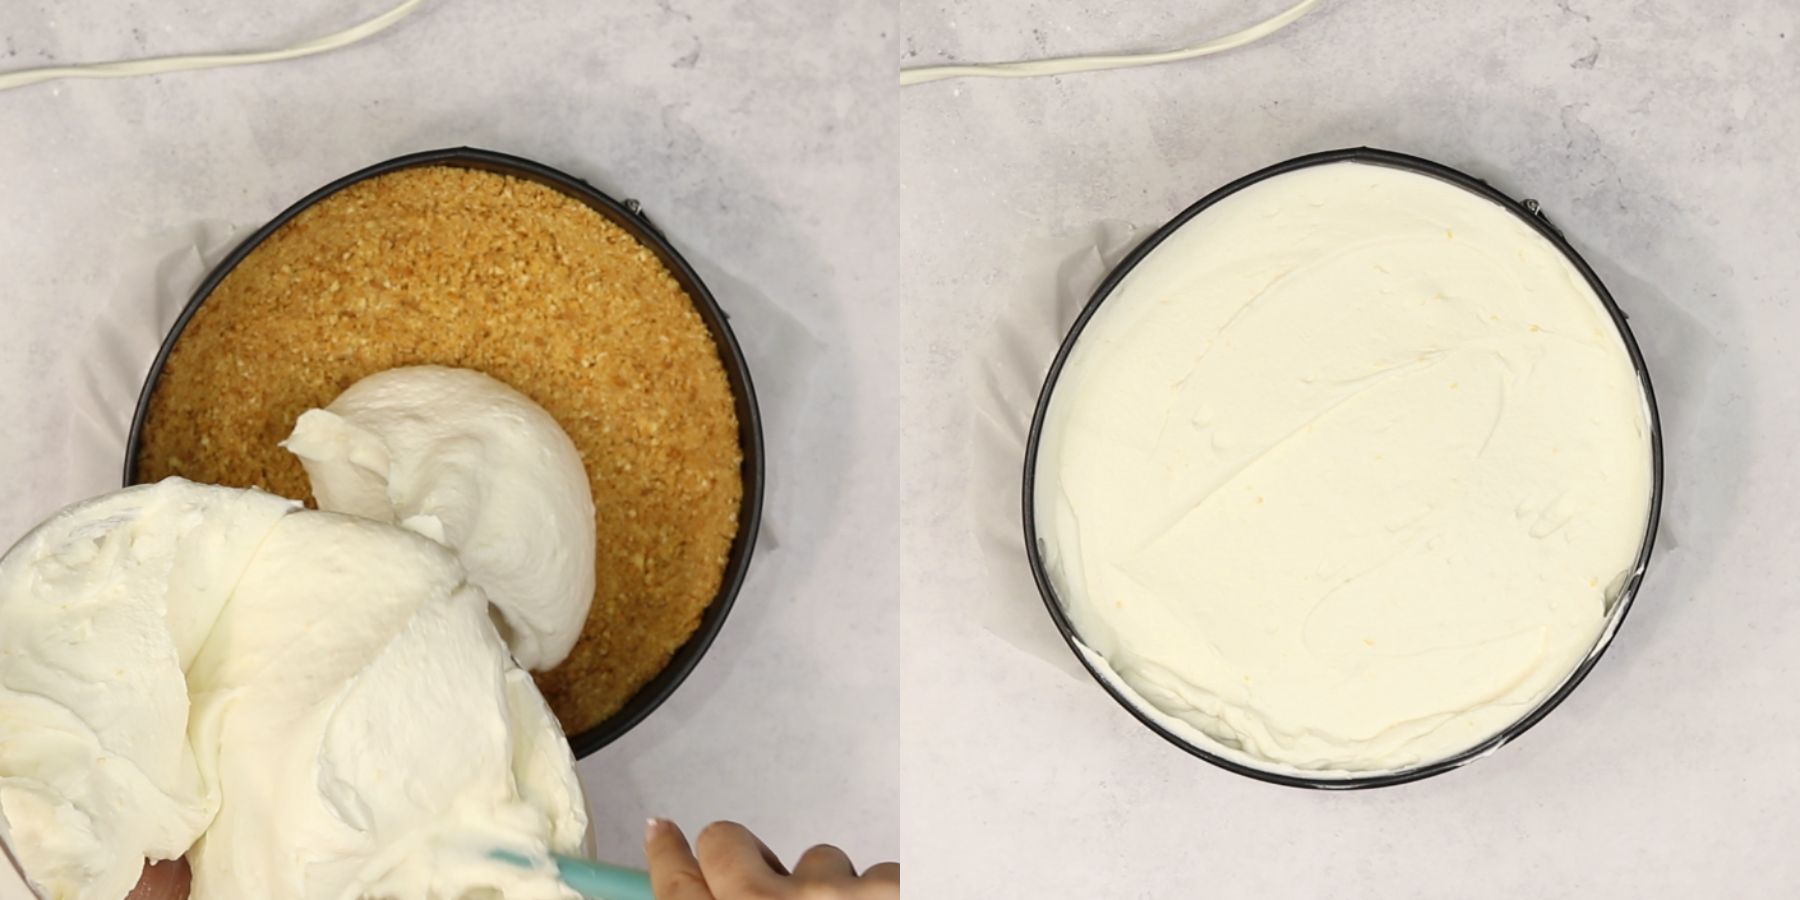
Pour the cheesecake batter over the crust, and let it set in the fridge for at least 5 hours.
Keep in the fridge for up to 4 days covered with plastic wrap or foil, and when ready to serve, top with fresh berries, or your favorite toppings, and serve!
Expert Tips
- Make sure that you are using room-temperature cream cheese in this recipe, this step makes it easier to mix the cream cheese with no unnecessary lumps, we don’t want that.
- Use COLD heavy cream for this. Cold heavy cream whips faster and holds its shape beautifully. Room temperature cream will whip as well, but will take way longer!
- Use a nonstick springform pan. We use nonstick pans for all of our cheesecake recipes. This makes sure that your cheesecake will be easy to release from the pan.
- In order to speed up this process and make the cream whip quicker, place the bowl in the freezer for 10 minutes before whipping the mixture.
- Do not overmix the cream! If you overmix this cream, it will curdle and will ruin the creaminess of this cheesecake.
- Use high-fat cream cheese or the well-known Philadelphia cream cheese. Using full-fat cream cheese ensures that your cheesecake will be stable and set properly.
- Let your cheesecake set in the fridge for at least 5 hours. We know it’s very hard to resist eating this delicious cheesecake right away, but you have to let the cheesecake chill and set it in the pan. We like to let the cheesecake sit in the fridge overnight.
- Don’t overbeat the mixture! It’s really easy to overbeat the mixture, and that is one of the most common mistakes.
- Scrape down the sides of the bowl frequently to ensure that you have a homogeneous mixture that has no cream cheese lumps.
Faq's
The filling is made by whipping cream to stiff peaks, then folding it into a mixture consisting of cream cheese, sugar, sour cream, vanilla extract, and lemon juice. The filling is poured over the crust which is either homemade crust or pre-made crust.
This can happen if you didn't whip your cream to stiff peaks, and folded the batter too roughly which caused the air in the cream to deflate. The air in the cream that creates stiff peaks makes this cheesecake stable.
Yes! No bake cheesecakes are creamy and velvety smooth and packed with delicious flavor. You can make it with a premade crust to make this recipe easier!
Storing
Store this dessert in the fridge (because it contains dairy) covered tightly with plastic wrap for up to 4 days.
Freezing
After preparing your cheesecake according to the recipe, allow it to set in the refrigerator for at least 4-6 hours or overnight.
Once it's fully set, wrap the entire cheesecake, still in its pan, tightly with plastic wrap, ensuring there are no air pockets. For added protection, you can wrap it again with aluminum foil.
Label the package with the date and contents, then place it in the freezer. This cheesecake can be frozen for up to 3 months without significant loss of quality.
When you're ready to enjoy it, simply transfer the cheesecake to the refrigerator and let it thaw overnight before serving.
Make it ahead of time
Make this in advance by making it according to the instructions. Let it chill in the fridge for 1-2 days.
Top the cheesecake with the topping of your choice and serve within 1-3 days.
Substitutions
Gluten-free - if you want to make this recipe gluten-free, simply replace the graham crackers with gluten-free graham crackers.
Store-bought graham cracker crust- to make this recipe easier, use store-bought graham cracker crust instead of making a homemade crust.
Variations
Toppings- this cheesecake can be topped with various types of toppings like, jam, fruit compote, strawberry topping, fresh fruit, etc.
Zest- I added lemon zest for these but you can swap it with orange zest as well!
Sweet sauces- top this cheesecake with hot fudge, caramel sauce, lemon curd, etc.
Whipped cream- top these with freshly made whipped cream! Or top these with chocolate whipped cream, or Oreo whipped cream.
Crust- you can make this crust into a chocolate crust by swapping the graham crackers with Oreo cookies. You can use the same recipe from my Baileys cheesecake recipe.
Equipment
- You will need a 9-inch springform pan for this cheesecake. I love this set from Amazon.
- You will also need a food processor to make the crust (if you do not want to use a plastic bag).
- I also recommend using an electric hand mixer to make sure your cheesecake mixture is smooth and perfect. You can also use a stand mixer for this.
- Offset spatula for smoothing out the cheesecake in the pan.
- Rubber spatula to fold the mixture and scrape down the sides of the bowl.
- Star piping tip
- Pastry piping bag
- Mixing bowl (set of 3)
More no-bake desserts
No bake chocolate pie- This no bake chocolate pie is made with an oreo cookie crust, topped with a rich chocolate filling that is made with both dark chocolate and cocoa powder, and topped with plenty of freshly made whipped cream.
No bake turtle pie- This no bake turtle pie is made with a rich chocolaty oreo crust, and a creamy no bake caramel cheesecake filling and topped with melted chocolate, caramel sauce, and chopped pecans.
Cheesecake balls- These cheesecake balls are the perfect bite sized dessert for cheesecake lovers! They are made with only 5 simple ingredients that you may find in your kitchen!
If you tried this recipe, don’t forget to leave a rating and a comment below. We love hearing from you.
If you liked this recipe
📖 Recipe
No Bake Cheesecake (Secret Ingredient)
Ingredients
Crust
- 2 cups Graham crackers crumbs
- 1 tablespoon Granulated sugar
- ½ cup Butter melted
Filling
- 1 ¼ cups Heavy cream cold
- 24 oz Cream cheese room temp
- 1 teaspoon Vanilla extract
- 1 cup Powder sugar
- 2 tablespoon Instant vanilla pudding
- 1 teaspoon Lemon zest
- 2 teaspoon Lemon juice
- ⅓ cup Sour cream
Instructions
- Pulse graham crackers or digestive biscuits in a food processor until fine crumbs form. If you don’t have a food processor on hand, place the crackers in a Ziplock bag and smash them with a cup until fine crumbs form.
- Into a small to medium mixing bowl, add the crumbs, sugar, and melted butter. Mix with a spoon until the crumbs are coated with butter.
- Transfer the crumbs into a prepared 9-inch cake pan, pressing evenly and firmly into the pan.
- Transfer the pan to the freezer and let the crust firm up while you make the filling.
- In a medium-sized mixing bowl, add the cold heavy whipping cream, and whip it with an electric hand mixer until stiff peaks form.
- In a separate big mixing bowl, add the room-temperature cream cheese and mix with an electric hand mixer for about 1-2 minutes or until it's smooth and creamy.
- Add the sour cream, vanilla extract, vanilla instant pudding, lemon juice, lemon zest, and powdered sugar, and mix until the mixture is creamy and smooth.
- Gradually transfer the whipped cream (⅕ at a time) to the cream cheese mixture and fold gently with a spatula until the mixture is well combined.
- Pour the cheesecake batter over the crust, and let it set in the fridge for at least 5 hours.
- Keep in the fridge for up to 4 days covered with plastic wrap or foil, and when ready to serve, top with fresh berries, or your favorite toppings, and serve!
Notes
- Make sure that you are using room-temperature cream cheese in this recipe, this step makes it easier to mix the cream cheese with no unnecessary lumps, we don’t want that.
- Use COLD heavy cream for this. Cold heavy cream whips faster and holds its shape beautifully. Room temperature cream will whip as well, but will take way longer!
- Use a nonstick springform pan. We use nonstick pans for all of our cheesecake recipes. This makes sure that your cheesecake will be easy to release from the pan.
- In order to speed up this process and make the cream whip quicker, place the bowl in the freezer for 10 minutes before whipping the mixture.
- Do not overmix the cream! If you overmix this cream, it will curdle and will ruin the creaminess of this cheesecake.
- Use high-fat cream cheese or the well-known Philadelphia cream cheese. Using full-fat cream cheese ensures that your cheesecake will be stable and set properly.
- Let your cheesecake set in the fridge for at least 5 hours. We know it’s very hard to resist eating this delicious cheesecake right away, but you have to let the cheesecake chill and set it in the pan. We like to let the cheesecake sit in the fridge overnight.
- Don’t overbeat the mixture! It’s really easy to overbeat the mixture, and that is one of the most common mistakes.
- Scrape down the sides of the bowl frequently to ensure that you have a homogeneous mixture that has no cream cheese lumps.
Francesca says
Hi, how much is 680 g Cream cheese is that more then 2 blocks?