
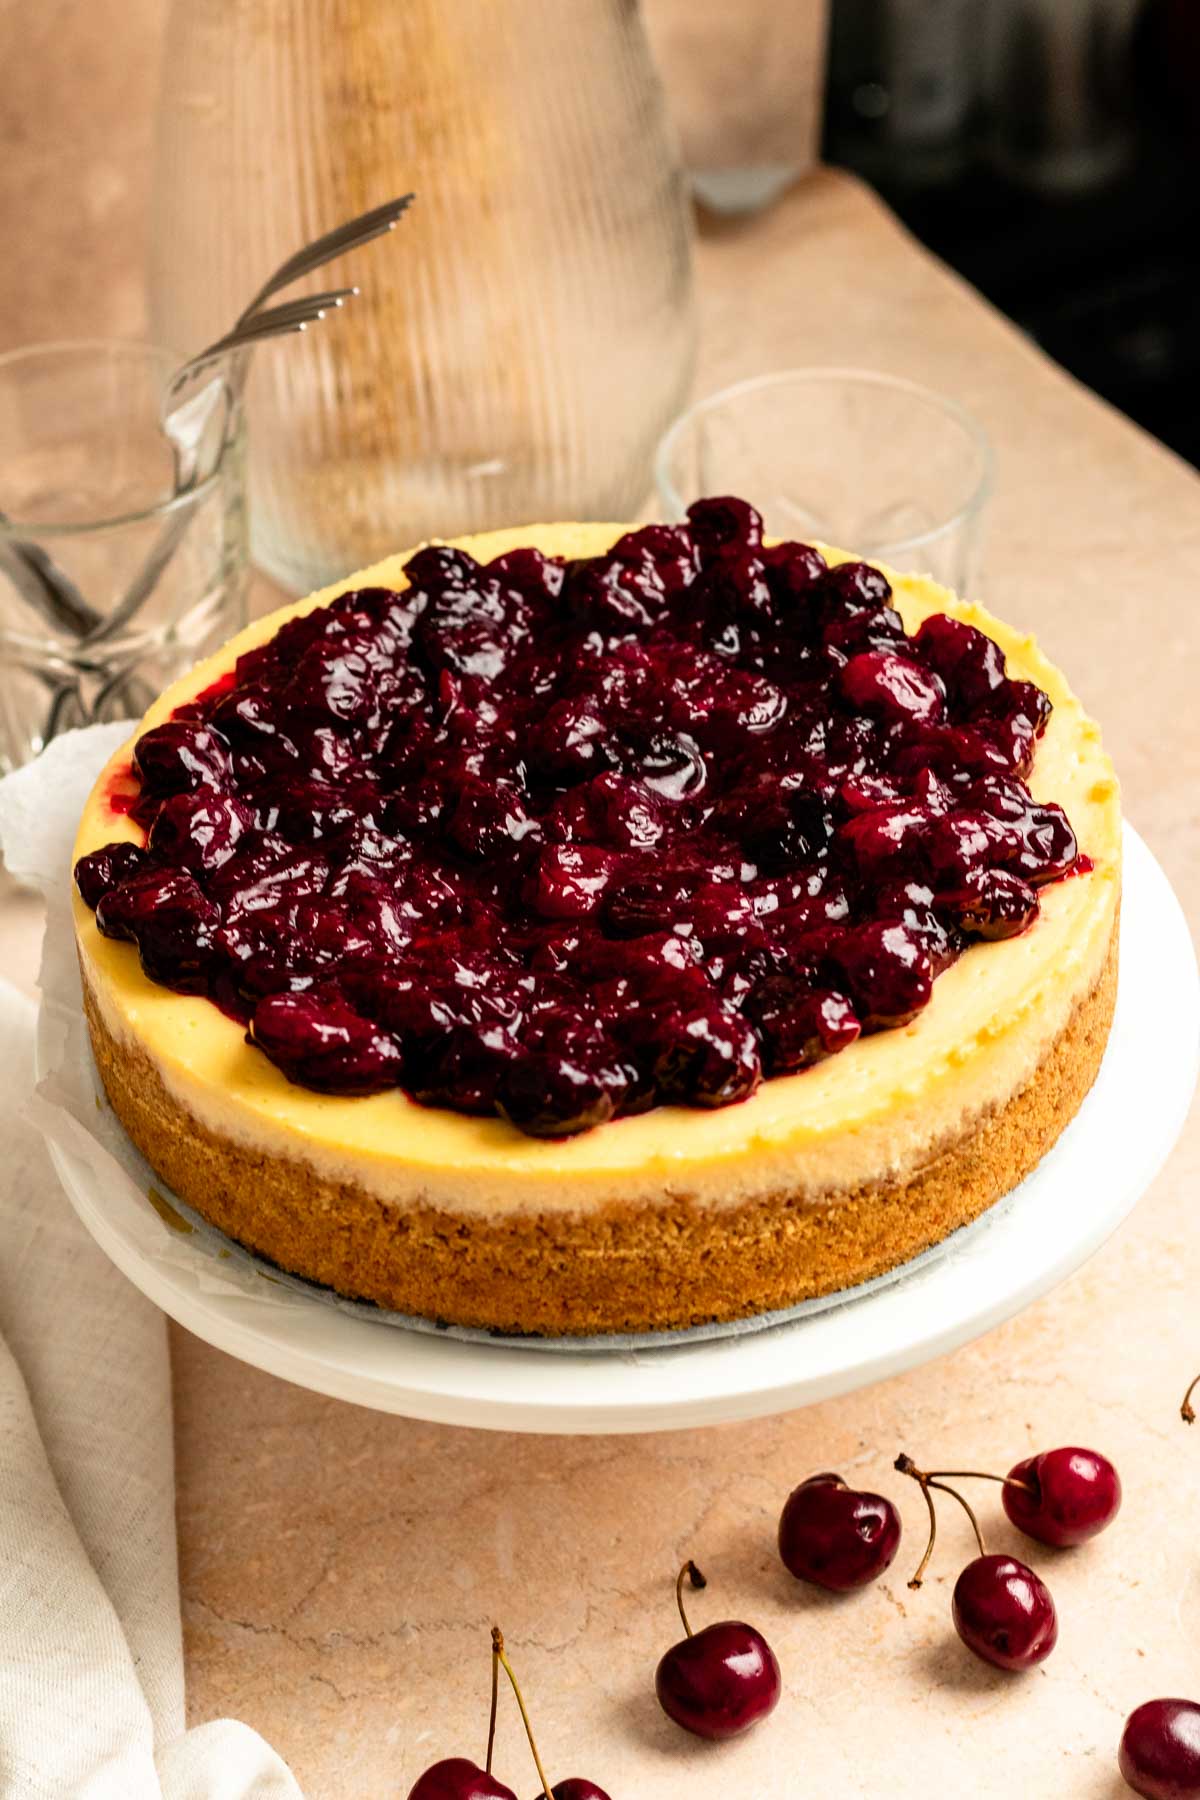
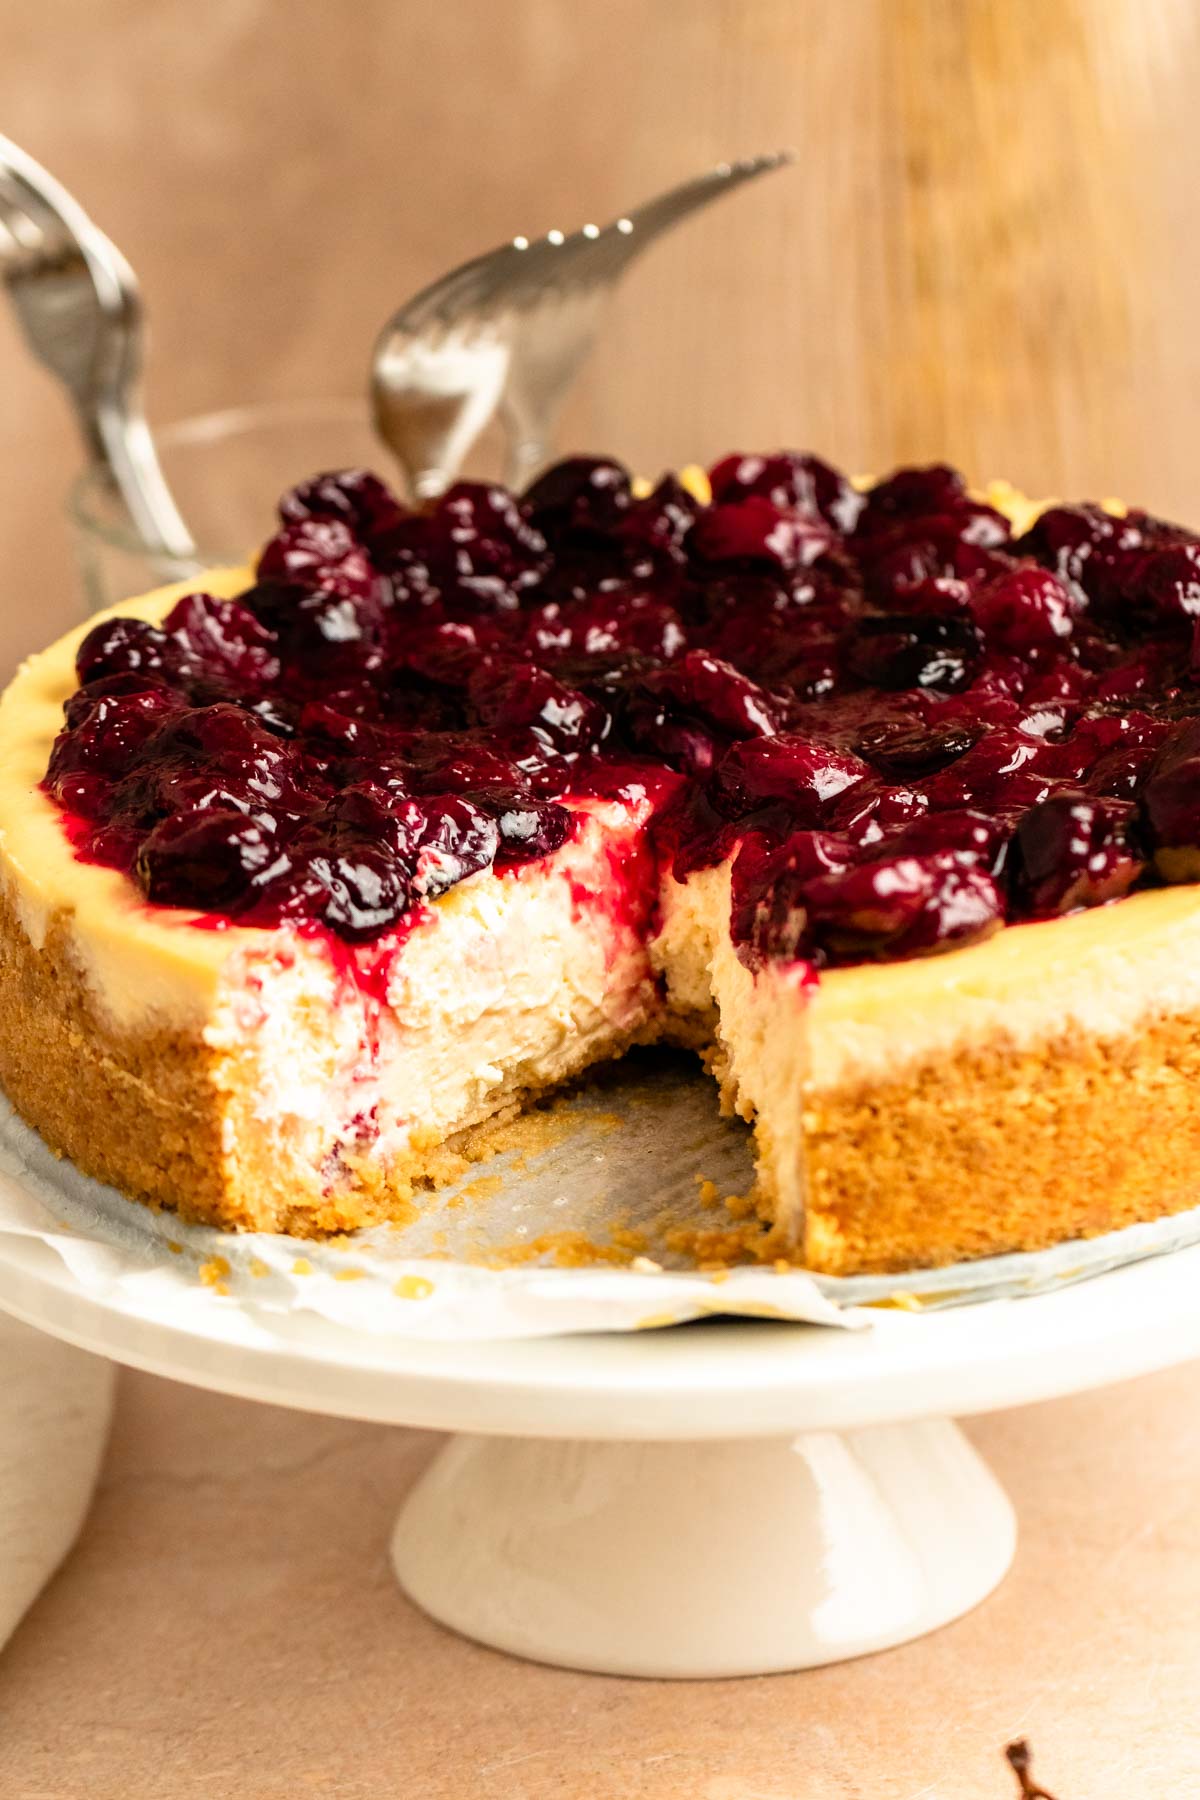
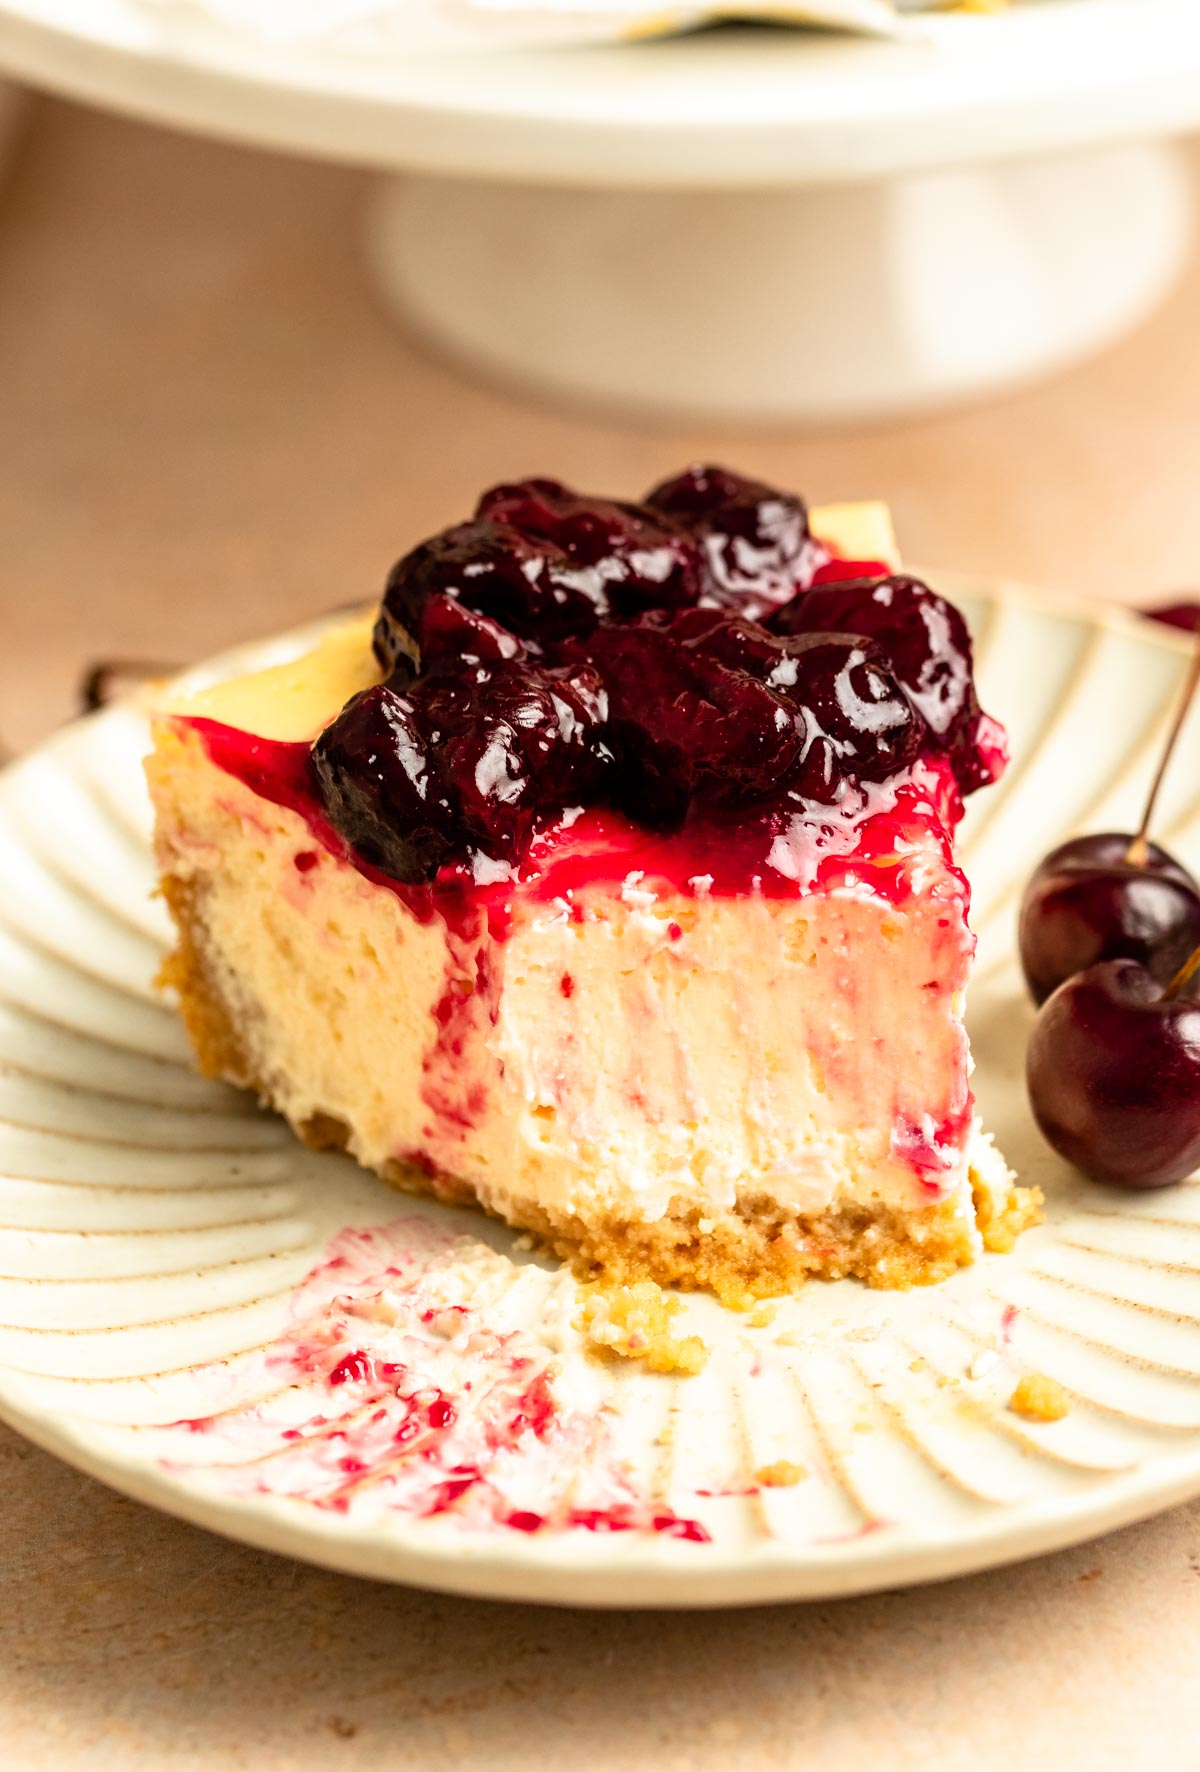
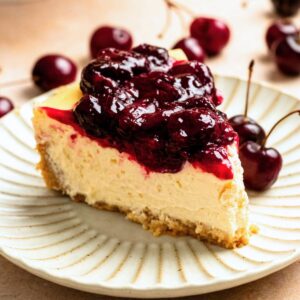
This cherry cheesecake is made with a creamy New York-style cheesecake base baked without a water bath and topped with cherry topping.
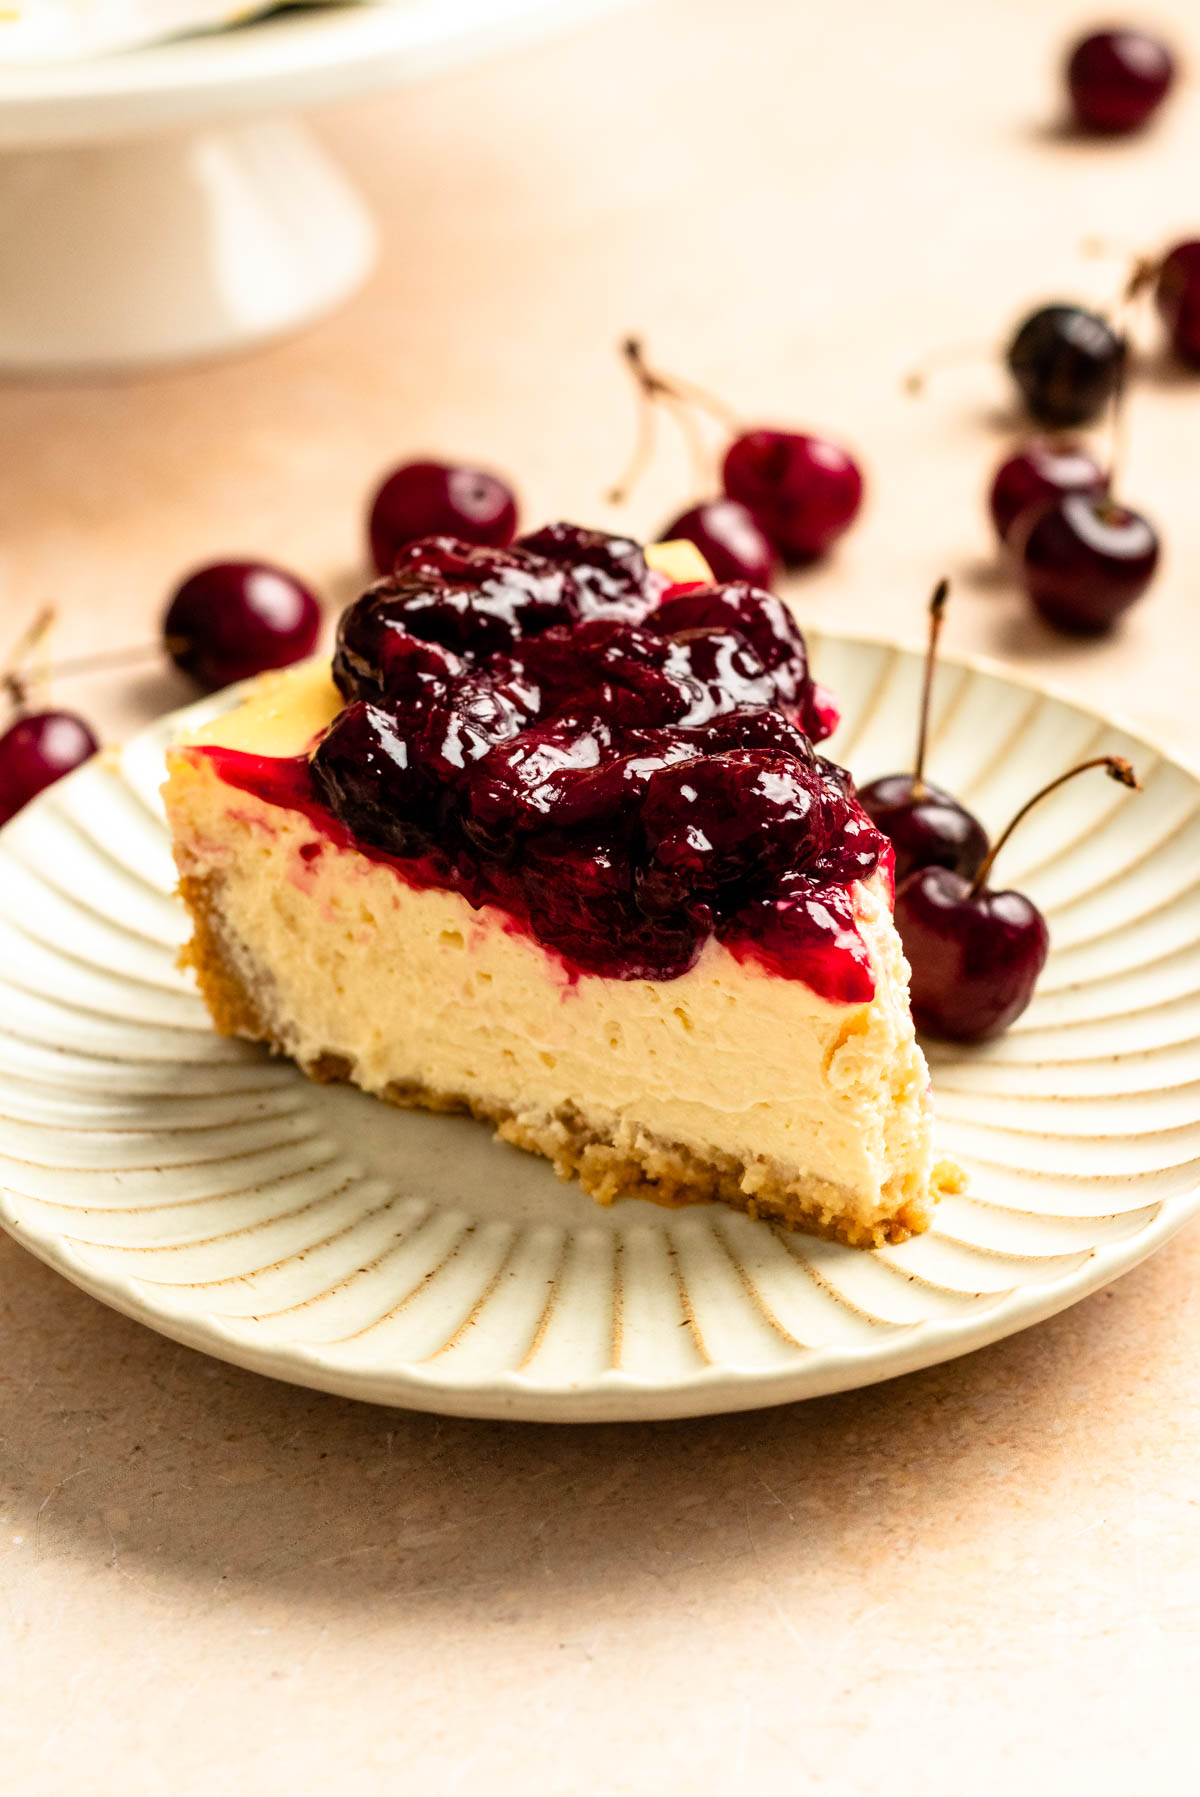
If you want the rich, velvety texture of a classic New York cheesecake without dealing with leaky water baths or boiling water, this recipe is for you.
I bake this cake at a lower temperature for a bit longer, which keeps the top flat and crack-free while delivering a dense, melt-in-your-mouth texture.
To balance out the heavy cream cheese, I add fresh lemon zest and juice right into the batter, then top it all off with a simple 4-ingredient sweet cherry topping.
You can use fresh sweet summer cherries or frozen ones, making this an amazing year-round cheesecake for holidays, birthdays, or weekend baking.
For more delicious cheesecake recipes, check out my baklava cheesecake, creamy vanilla cheesecake, pistachio cheesecake, cinnamon roll cheesecake.
Jump to:
Why this recipe works
- The Low-and-Slow Method: Baking at 140°C (280°F) and letting the cake cool slowly in the turned-off oven mimics a water bath perfectly. You get a flat, crack-free top without dealing with foil or boiling water.
- Fresh or Frozen Cherries: This 4-ingredient cherry topping works perfectly with fresh or frozen cherries. Keeping them whole after pitting gives the topping a gorgeous, plush look on top of the cake.
- Cream Cheese & Sour Cream Blend: Full-fat cream cheese provides the dense New York structure, while sour cream adds moisture and a subtle tang so the cake doesn't feel heavy.
- Built for Make-Ahead: Cheesecakes need time to set and develop flavor. This recipe is designed to be prepped days in advance or frozen for up to 3 months, making party day stress-free.
Ingredients
Before you start, measure out your ingredients so the baking process goes smoothly. You can find the exact measurements in the recipe card at the bottom of this post.
For the Crust
Graham Crackers: You can use classic graham crackers or digestive biscuits crushed into fine crumbs.
Melted Butter: Binds the crumbs together so your crust doesn't crumble apart when you slice the cake. Use unsalted butter.
For the Cheesecake Filling
Cream Cheese: Stick to full-fat bricks (like Philadelphia) and make sure they are completely at room temperature so your batter doesn't end up lumpy.
Granulated Sugar: 1 ¼ cups hits the sweet spot without overpowering the cheese's tanginess.
Eggs: You will need 3 large eggs plus 1 egg yolk. Bring them to room temperature so they blend smoothly into the mix.
Lemon Zest & Juice: Use fresh lemons here. The citrus cuts through the rich dairy and makes the whole flavor profile pop. I recommend zesting the lemons and then juicing them.
Cornstarch: Helps stabilize the filling so it sets beautifully. You can swap this for all-purpose flour if you're out.
Vanilla Extract: Adds a warm depth of flavor. If you want a stronger vanilla punch, use vanilla bean paste or a vanilla bean.
Sour Cream: Go for full-fat sour cream. It lightens up the batter. It can be swapped with Greek yogurt.
For the Cherry Topping
Cornstarch & Water: Whisked together into a slurry to thicken the cherry juices into a glossy, gorgeous sauce.
Cherries: Fresh sweet cherries are incredible when they're in season, but frozen cherries work just as well all year long, no need to thaw them first.
Granulated Sugar: Draws out the natural fruit juices and sweetens the compote.
Lemon Juice: Just a splash of fresh juice to balance out the sweetness.
Instructions
Prepare your pan by removing the edge of the springform pan. Place a sheet of parchment paper onto the bottom of the pan so that it hangs off the edge.
Then, attach the side of the springform pan back to the bottom, so the parchment paper is secure between the two pieces. Lightly spray the sides of the pan with baking spray.
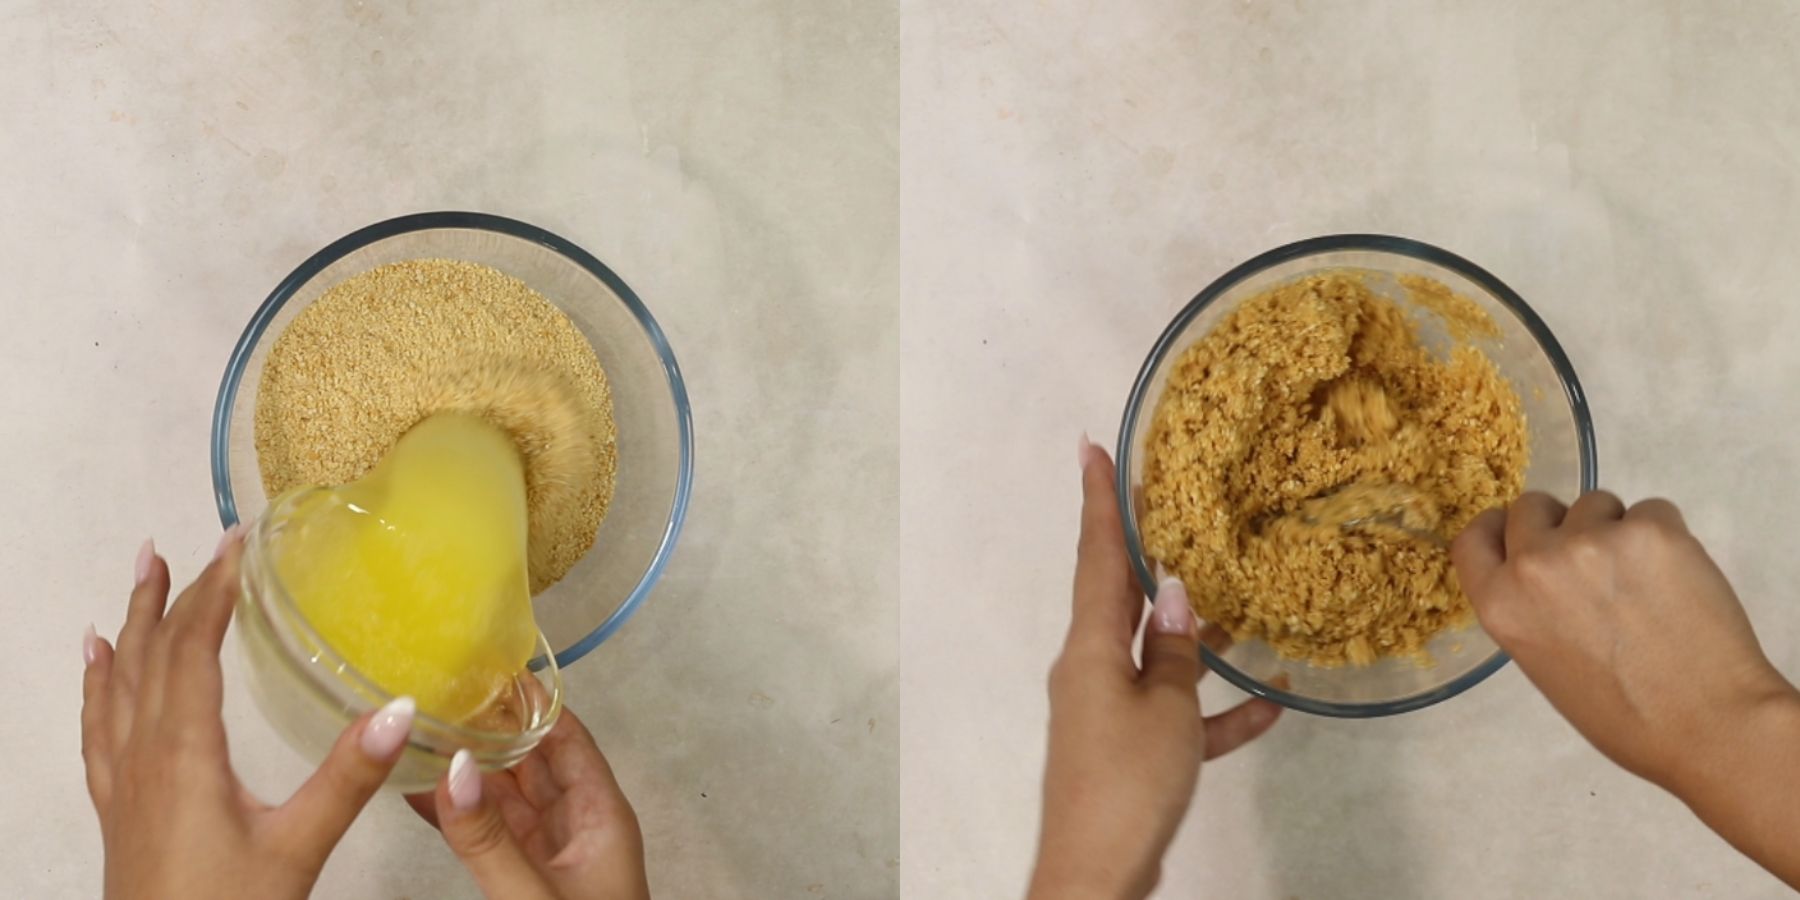
Make the crust by placing the graham crackers or digestive biscuits in a food processor and pulsing until you have fine crumbs. Add the melted butter and pulse until it’s evenly distributed.
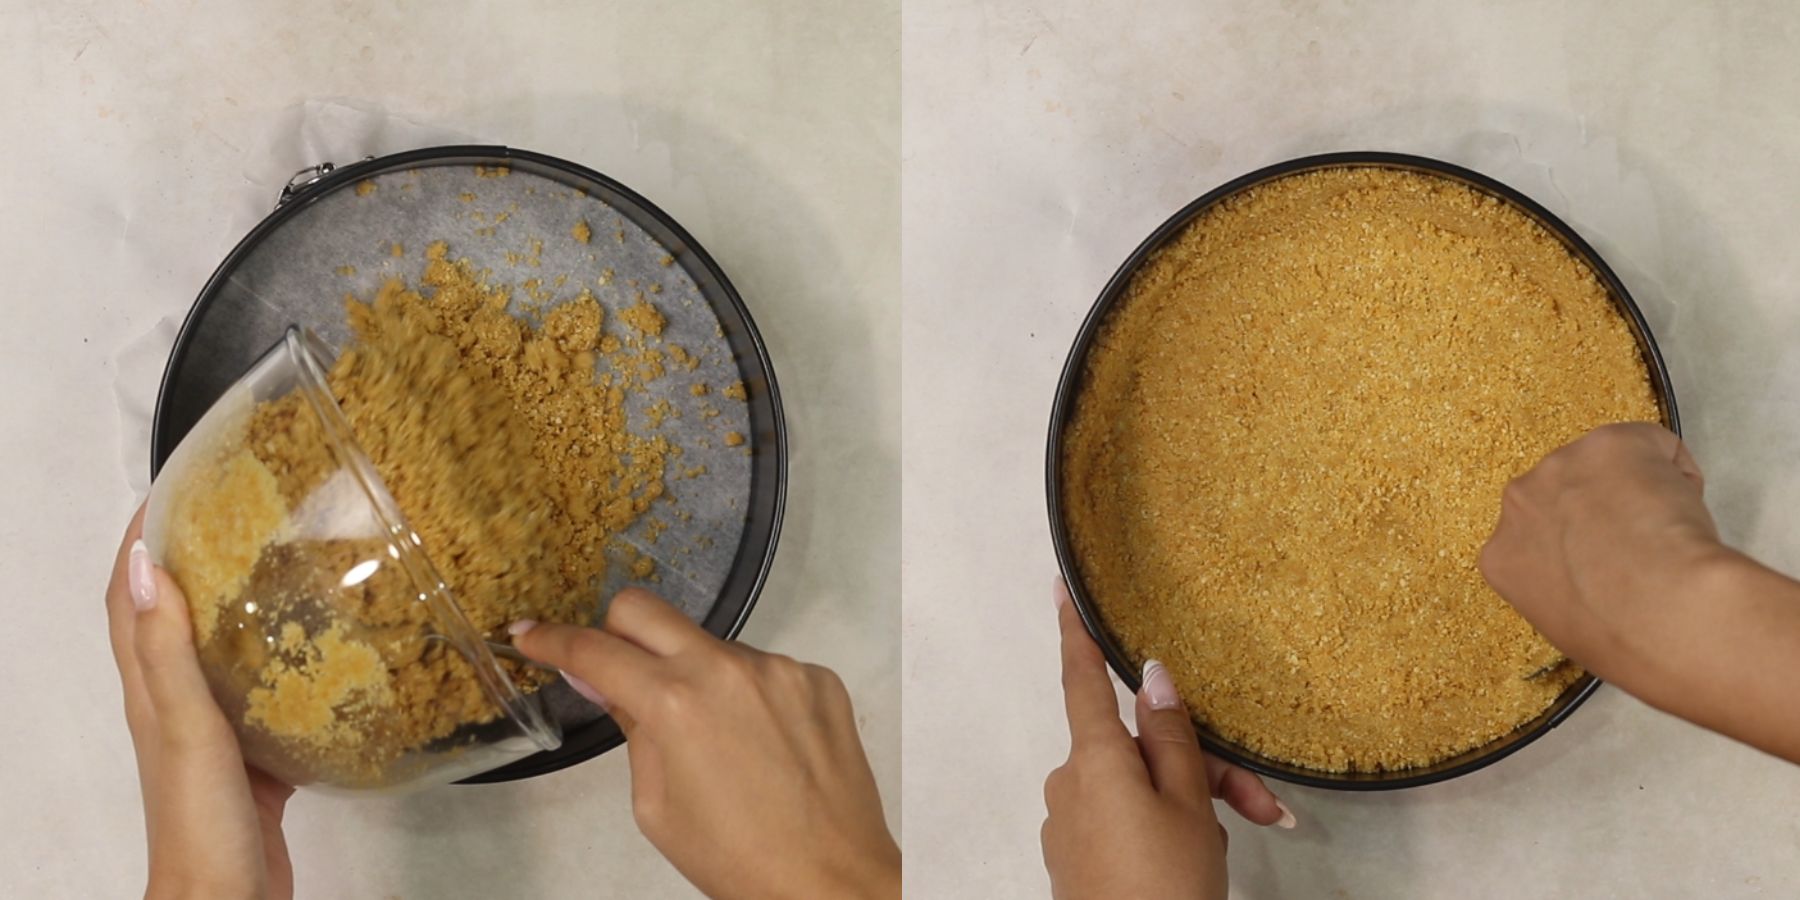
Spread the crust into the prepared pan, coming all the way up the sides. Use a ½ cup measuring cup to make the bottom smooth and the corners sharp.
Bake the crust in a 180°C (350°F) preheated oven for 8 minutes. Keep an eye on it so it doesn’t burn, then remove it and let it cool completely to room temperature while you make the filling.
Drop your oven temperature down to 140°C (280°F) before starting the batter. In a large mixing bowl, combine the room-temperature cream cheese, sugar, lemon zest, lemon juice, and vanilla extract.
Beat with an electric hand mixer on medium speed until completely smooth and creamy.
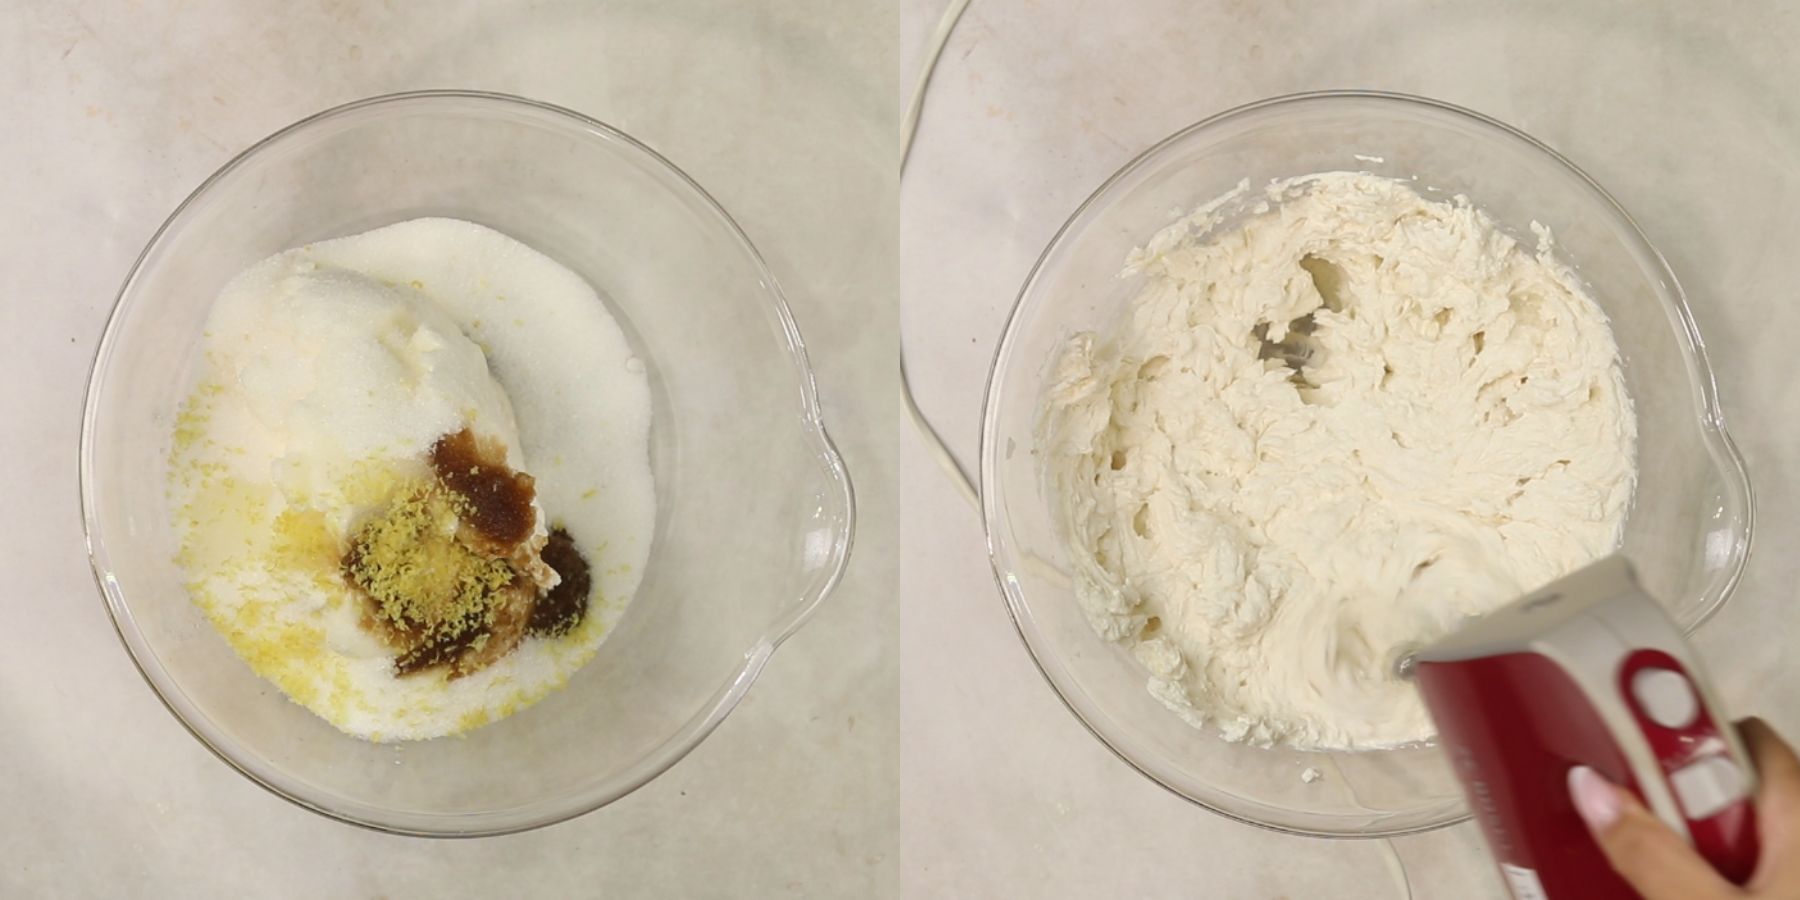
Add the sour cream to the bowl and beat until fully incorporated with no streaks left.

Lightly whisk your eggs in a separate small bowl. Turn your mixer down to low speed and add the eggs gradually, mixing just until they disappear into the batter. Do not overmix here.
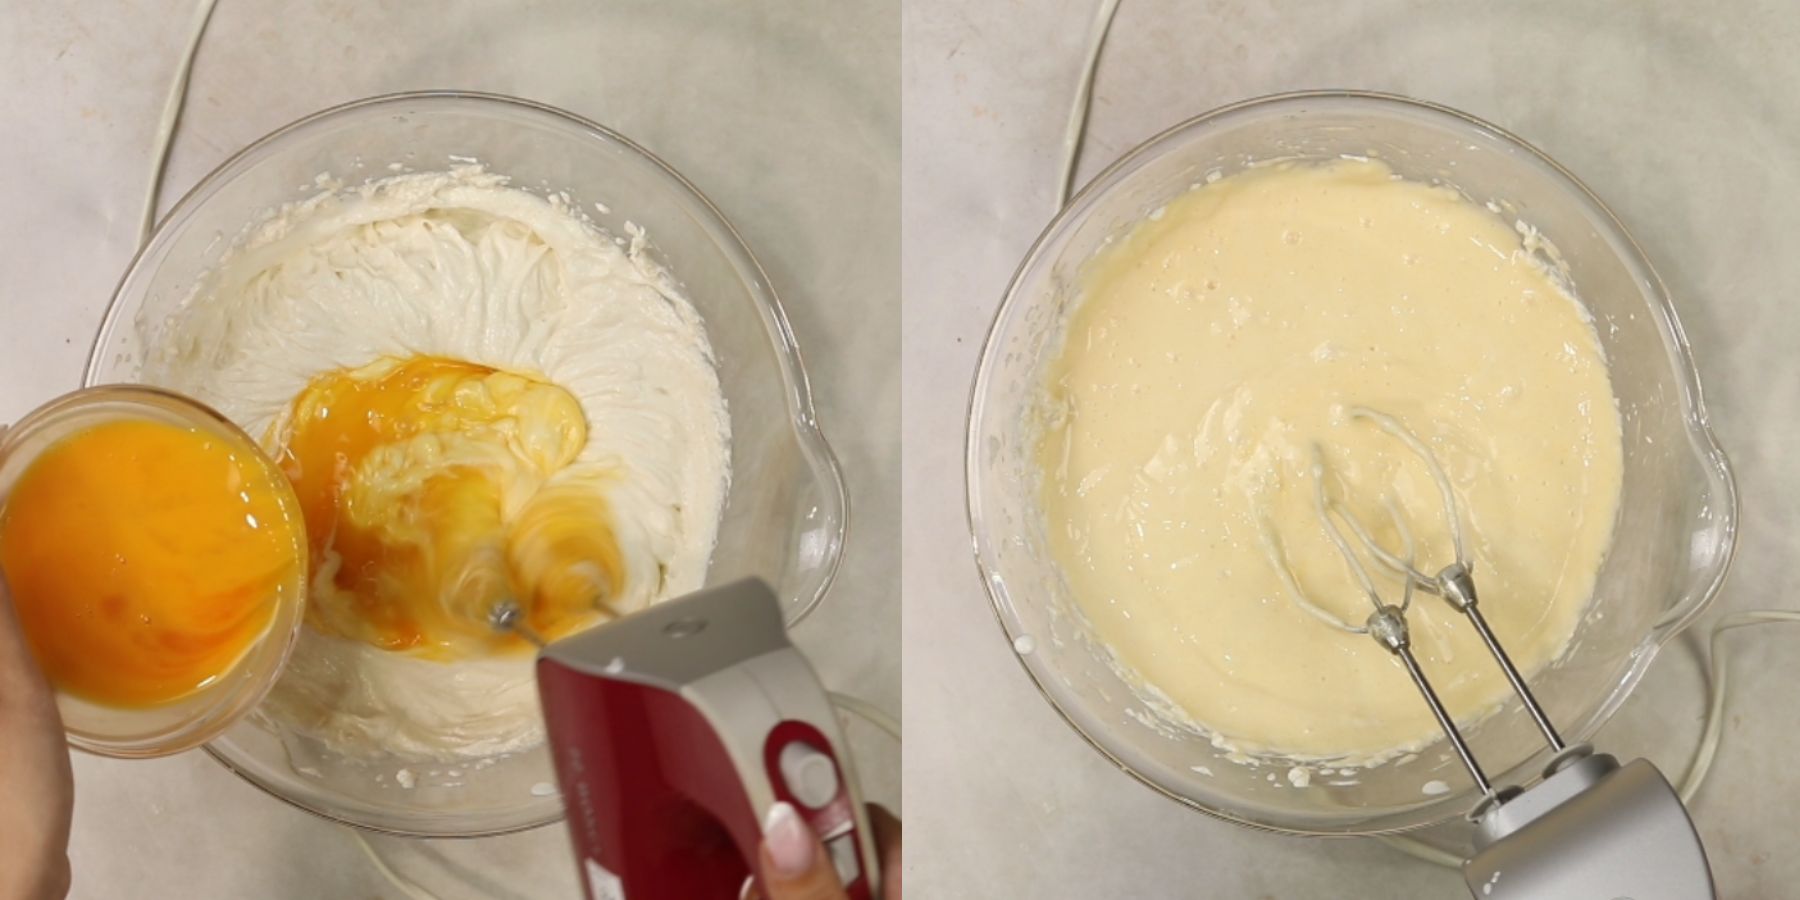
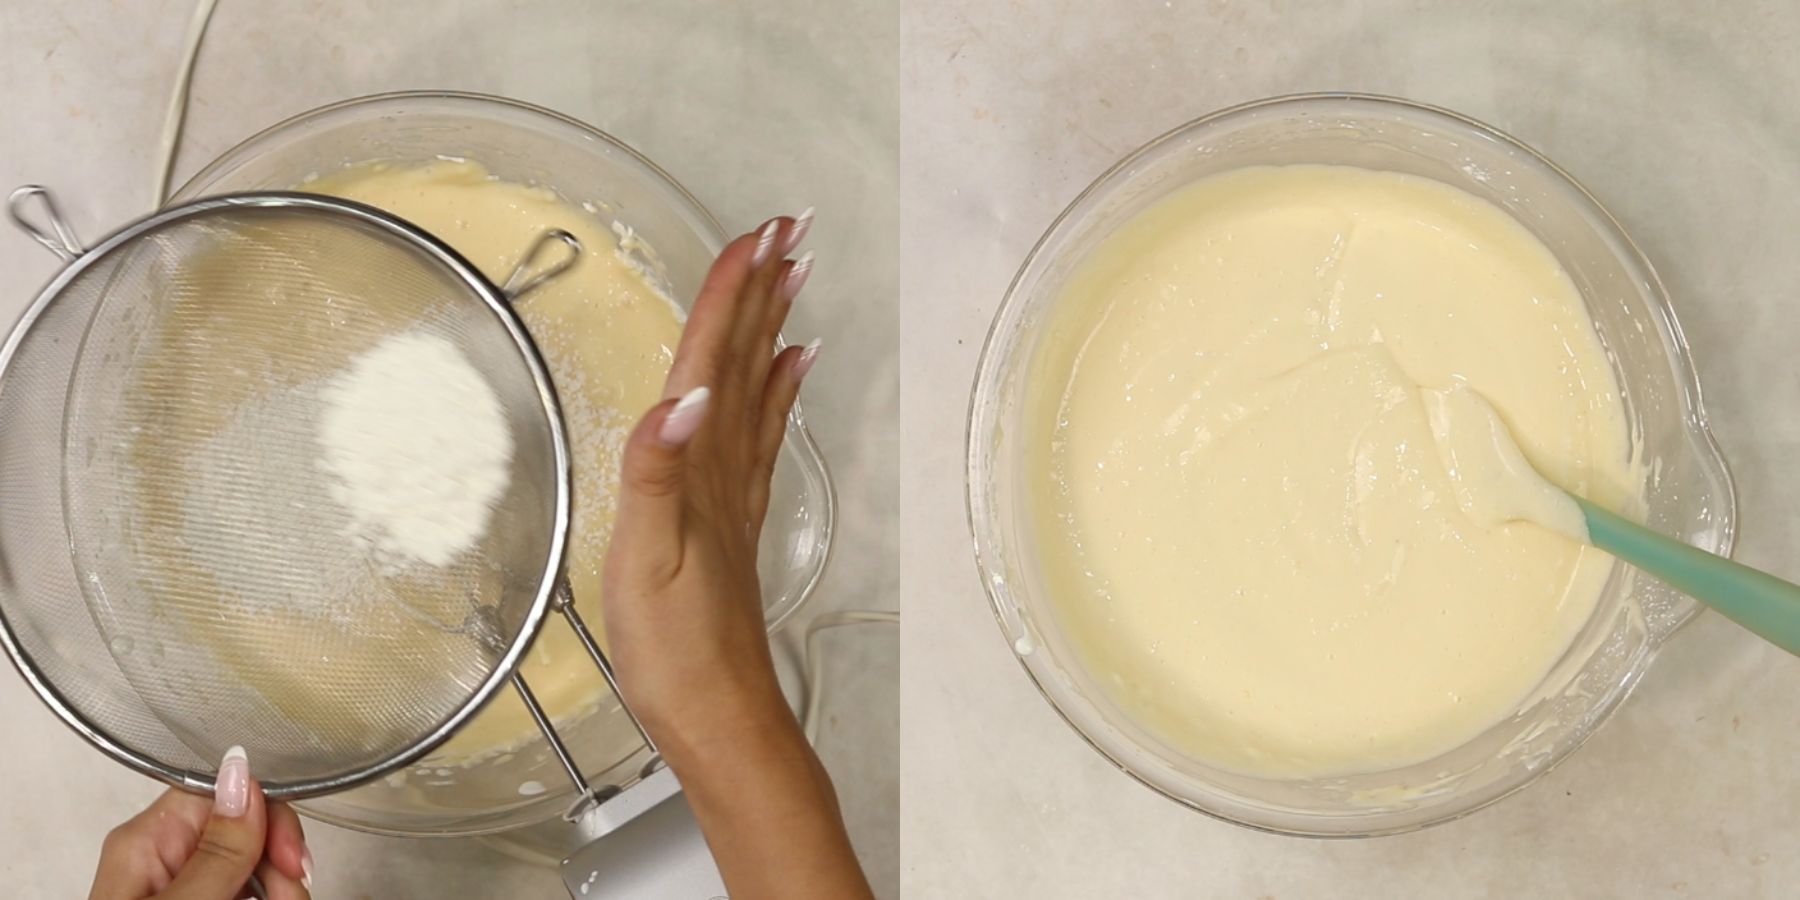
Sift the cornstarch straight into the mixture. Mix on low speed until combined and there are no white pockets showing.
Scrape down the sides and bottom of the bowl with a rubber spatula to catch any unmixed cream cheese.
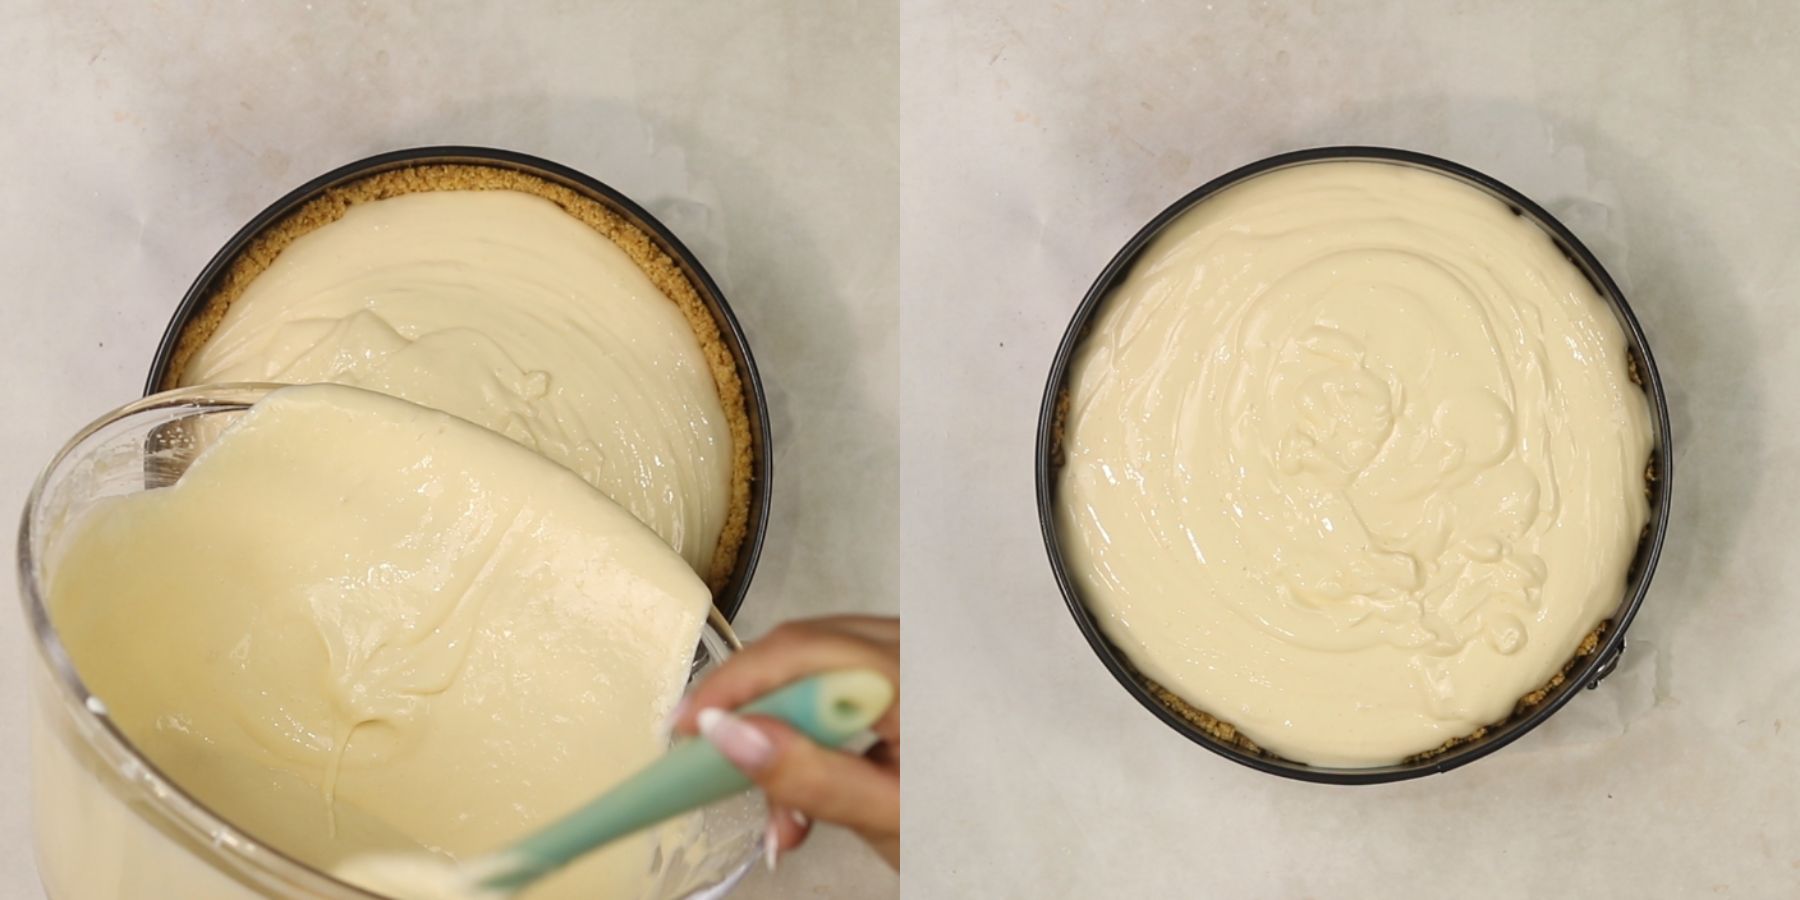
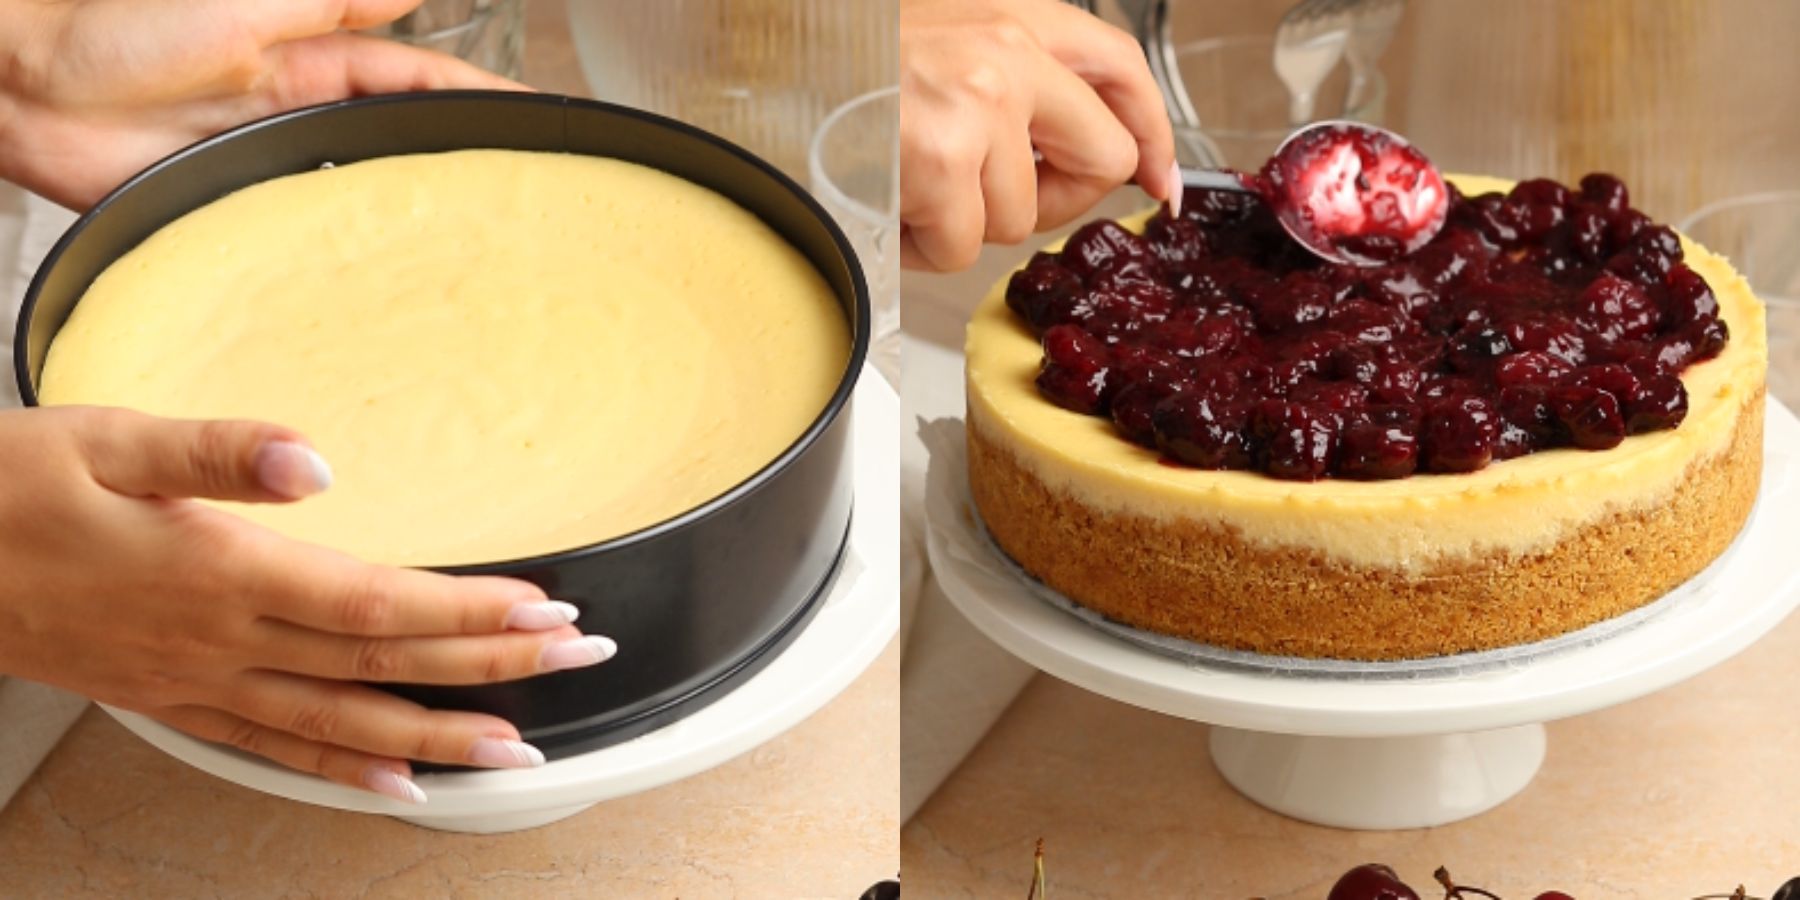
Pour the smooth cheesecake batter over your cooled crust. Gently tap the pan onto a flat counter surface a few times to release any trapped air bubbles.
Bake for about 60 minutes, or until the edges of the cheesecake look stable and set, but the center still has a slight Jell-O-like jiggle.
Turn the oven off and prop the door halfway open. Let the cheesecake cool inside the oven for 1 to 2 hours to prevent cracks.
Once it hits room temperature, wrap the pan tightly in plastic wrap and place it in the fridge to cool completely for at least 5 hours (ideally overnight).
Cook the Cherry Topping
Pit your cherries before starting. I prefer to keep them whole for a beautiful, full look on top of the cake, but you can easily chop them in half if you aren’t using a cherry pitter.
Add the cherries, sugar, and lemon juice to a saucepan over medium heat. Let them cook for roughly 5 minutes until the fruit starts to soften and release its juices.
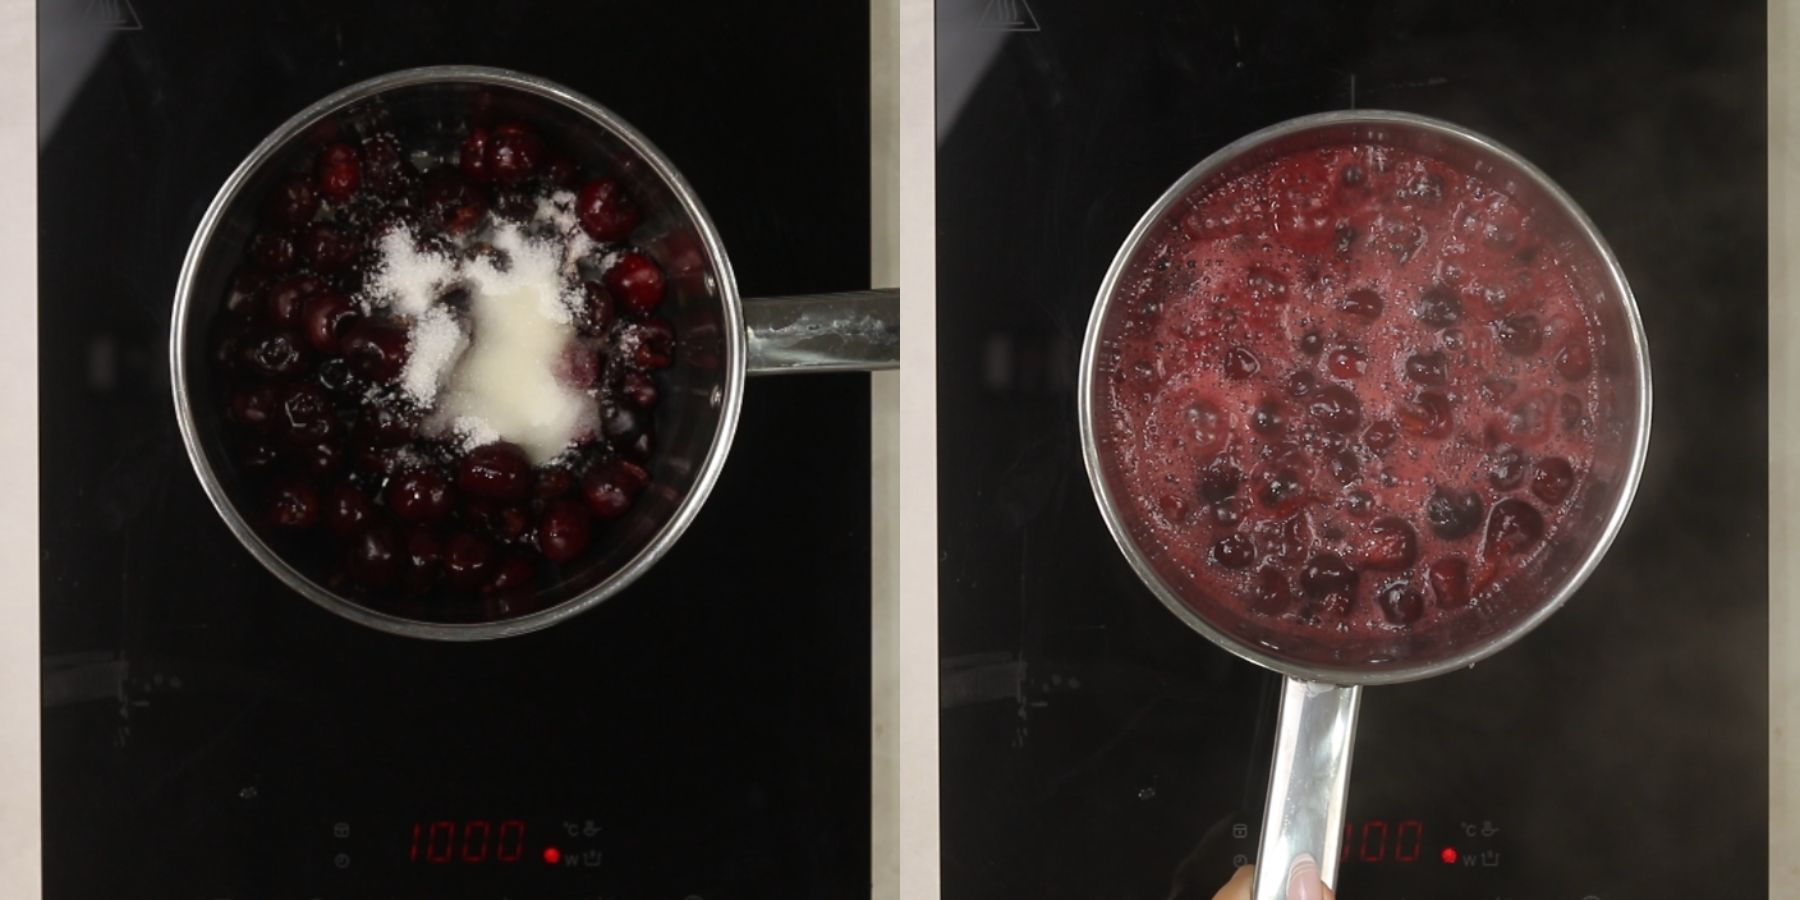
Whisk the cornstarch with a splash of water in a small bowl until smooth, then stir it directly into the bubbling cherries. Keep stirring constantly for another 2 minutes until the liquid turns into a thick, glossy sauce.

Remove from the heat and transfer the sauce to a bowl or jar to cool down completely. If you are prepping this in advance, you can pop it in the fridge once it reaches room temp.
Wait until both the cheesecake and the cherry compote are completely cold before spreading the topping over the cake. Slice and serve right away, or keep it chilled in the refrigerator until you're ready.
Expert Tips
- Bring All Dairy to Room Temperature: Cold cream cheese, sour cream, or eggs will create stubborn lumps in your batter. Pull them out of the fridge at least two hours before you start baking.
- Keep the Mixer on Low Speed: Once you add the eggs, drop your hand mixer to the lowest setting. Overbeating at this stage traps air in the batter, causing the cheesecake to puff up like a soufflé and crack as it cools.
- Don't Rush the Oven Cool-Down: Turning off the oven and leaving the door cracked for an hour is the secret to a flat top. The gradual drop in temperature prevents the sudden shock that causes splits.
- Pit Without a Pitter: If you don't have a cherry pitter, use the opening of an empty glass bottle and a sturdy straw or chopstick. Balance a cherry on top of the bottle neck and push the straw through the center to pop the pit right out.
- Get Clean Slices: To get perfect, bakery-style cuts, run a sharp chef's knife under hot water and wipe it completely dry before every single slice. Cleaning the blade between cuts prevents the filling from dragging.
Troubleshooting
Why did my cheesecake crack or sink in the middle?
Cracks usually come down to three things: mixing too much air into the batter, opening the oven door too early while it's baking, or cooling the cake down way too fast.
How do I actually know when it's done baking?
Use the jiggle test. The outer edges of the cake should look firm and stable, but a small circle right in the center should still wobble slightly when you gently shake the pan. That center will firm up perfectly as it chills.
Why is my cherry topping too runny?
It probably didn't simmer long enough after you added the cornstarch slurry. The starch needs heat to activate its thickening power, so give it a full 2 minutes on the heat and let it cool completely before judging the thickness.
FAQS
Never overbeat the batter after adding the eggs, don't open the oven door during the first 45 minutes of baking, and never skip the slow cooling process. Patience is everything here.
Before you unlock the springform collar, run a thin butter knife dipped in hot water all the way around the edge of the pan. This loosens any spots that stuck to the metal so the sides release perfectly.
To warm ingredients fast, slice the cream cheese into small cubes and let them sit on a plate for 20 minutes.
Meanwhile, place cold eggs in a bowl of warm tap water for 5 to 10 minutes, and measure the sour cream into a small bowl on the counter for 20 minutes to take the chill off.
Storing
Since this cake is packed with dairy, it needs to stay in the fridge. Keep it covered tightly with plastic wrap or under a cake dome for up to 4 days.
Freezing
Freezing a Whole Cake
Freeze the plain, fully chilled cheesecake without the topping. Wrap tightly in plastic wrap and aluminum foil, then freeze for up to 3 months. Thaw in the fridge overnight before topping.
Freezing Slices
Place slices (with or without topping) on a tray to freeze solid for 1 hour. Wrap tightly in plastic wrap and store in a freezer bag for up to 3 months. Thaw in the fridge for a few hours or on the counter for 30 minutes.
Make It Ahead Of Time
Bake the cheesecake base 1 to 2 days early, wrap the pan tightly, and keep it in the fridge.
The cherry topping can be cooked up to 3 days ahead of time and stored in a sealed jar in the refrigerator. When you are ready to serve, simply give the compote a quick stir and spread it over the chilled cake.
Substitutions
Gluten-Free: Use your favorite brand of gluten-free graham crackers or digestive biscuits for the crust.
Crust Alternatives: Swap the graham crackers for vanilla wafers, Biscoff cookies, or gingersnaps to change up the flavor profile.
Cornstarch: If you run out of cornstarch, you can swap it for an equal amount of all-purpose flour in the filling.
Variations
Cherry Swirl: Drop dollops of the cherry topping directly onto the raw cheesecake batter in the pan, then gently marble it with a butter knife before baking.
Chocolate Cherry: Fold one cup of mini semi-sweet chocolate chips straight into the cheesecake batter right before pouring it over the crust.
How to Scale This Recipe for Different Pans
Cheesecakes are all about height and volume. Because this recipe is calculated for a standard 9-inch springform pan, changing the pan size means you need to adjust the ingredient quantities and baking times so the cake doesn't overflow or turn out paper-thin.
The Quick Scaling Guide
To adjust your ingredients, multiply every single ingredient in the recipe by the percentage listed below for your chosen pan:
- 6-Inch Pan (For a mini, small-batch cheesecake): Cut the entire recipe exactly in half (50% of the recipe). For the eggs, use 1 whole egg plus 1 egg yolk.
- 10-Inch Pan (For a wider, slightly shorter cake): Keep the ingredients exactly the same (100% of the recipe). It will simply bake a bit faster.
- 8-Inch Pan (For an extra-tall, dramatic cake): Keep the ingredients exactly the same (100% of the recipe). The batter will sit higher in the pan, so it requires a longer bake time.
Equipment
- 9-inch springform pan
- Parchment paper
- Food processor (or a Ziploc bag and rolling pin)
- Large mixing bowl
- Electric hand mixer or stand mixer
- Rubber spatula
- Medium saucepan
More cherry desserts
Cherry Galette- A super easy, rustic free-form tart with a flaky crust and a juicy fresh cherry filling.
Cherry Pie- A classic double-crust pie loaded with an incredibly thick, perfectly sweet cherry filling.
Cherry Coffee Cake- A soft, moist cake packed with sweet cherries, lemon zest, and a thick brown sugar crumble topping.
Connect With Us
Review: Leave a rating and comment below if you enjoyed this recipe. Socials: Follow on Facebook, Instagram, and Pinterest. Save: Pin this recipe to Pinterest for later.
📖 Recipe
Perfect Cherry Cheesecake (No Water Bath!)
Ingredients
For the crust
- 2 cups Graham crackers crumbs
- ½ cup Butter
For the cheesecake filling
- 28.2 oz Cream cheese room temp
- 1 ¼ cups Granulated sugar
- 2 teaspoon Vanilla extract
- 1 tablespoon Lemon zest
- 2 teaspoon Lemon juice
- ⅔ cup Sour cream
- 3 Eggs
- 1 Egg yolk
- 2 ½ tablespoon Cornstarch
For the cherry topping
- 1 lbs Cherries pitted
- ¼ cup Granulated sugar
- 1 tablespoon Lemon juice
- 1 tablespoon Cornstarch mixed with ¼ cup of water
Instructions
Bake the Crust
- Prepare your pan by removing the edge of the springform pan. Place a sheet of parchment paper onto the bottom of the pan so that it hangs off the edge.
- Then, attach the side of the springform pan back to the bottom, so the parchment paper is secure between the two pieces. Lightly spray the sides of the pan with baking spray.
- Make the crust by placing the graham crackers or digestive biscuits in a food processor and pulsing until you have fine crumbs. Add the melted butter and pulse until it’s evenly distributed.
- Spread the crust into the prepared pan, coming all the way up the sides. Use a ½ cup measuring cup to make the bottom smooth and the corners sharp.
- Bake the crust in a 180°C (350°F) preheated oven for 8 minutes. Keep an eye on it so it doesn’t burn, then remove it and let it cool completely to room temperature while you make the filling.
Mix the Cheesecake Filling
- Drop your oven temperature down to 140°C (280°F) before starting the batter. In a large mixing bowl, combine the room-temperature cream cheese, sugar, lemon zest, lemon juice, and vanilla extract.
- Beat with an electric hand mixer on medium speed until completely smooth and creamy.
- Add the sour cream to the bowl and beat until fully incorporated with no streaks left.
- Lightly whisk your eggs in a separate small bowl. Turn your mixer down to low speed and add the eggs gradually, mixing just until they disappear into the batter. Do not overmix here.
- Sift the cornstarch straight into the mixture. Mix on low speed until combined and there are no white pockets showing.
- Scrape down the sides and bottom of the bowl with a rubber spatula to catch any unmixed cream cheese.
- Pour the smooth cheesecake batter over your cooled crust. Gently tap the pan onto a flat counter surface a few times to release any trapped air bubbles.
- Bake for about 60 minutes, or until the edges of the cheesecake look stable and set, but the center still has a slight Jell-O-like jiggle.
- Turn the oven off and prop the door halfway open. Let the cheesecake cool inside the oven for 1 to 2 hours to prevent cracks.
- Once it hits room temperature, wrap the pan tightly in plastic wrap and place it in the fridge to cool completely for at least 5 hours (ideally overnight).
Make the cherry cheesecake topping
- Pit your cherries before starting. I prefer to keep them whole for a beautiful, full look on top of the cake, but you can easily chop them in half if you aren’t using a cherry pitter.
- Add the cherries, sugar, and lemon juice to a saucepan over medium heat. Let them cook for roughly 5 minutes until the fruit starts to soften and release its juices.
- Whisk the cornstarch with a splash of water in a small bowl until smooth, then stir it directly into the bubbling cherries. Keep stirring constantly for another 2 minutes until the liquid turns into a thick, glossy sauce.
- Remove from the heat and transfer the sauce to a bowl or jar to cool down completely. If you are prepping this in advance, you can pop it in the fridge once it reaches room temp.
- Wait until both the cheesecake and the cherry compote are completely cold before spreading the topping over the cake. Slice and serve right away, or keep it chilled in the refrigerator until you're ready.
Notes
- Room Temperature Ingredients: This is the most critical step for a smooth batter. Cold cream cheese, sour cream, and eggs will not emulsify properly, leaving you with a lumpy texture that is impossible to beat out later. Pull them out of the fridge at least 2 hours before baking.
- The "Jiggle" Test: Do not wait for the entire cheesecake to look solid before turning off the oven. The outer 2 inches should look set and stable, but the center circle should still wobble like Jell-O when the pan is gently shaken. It will finish setting completely during the cooling and chilling process.
- Oven Thermometer: Because this recipe relies on a precise, low temperature 140c (280f) to mimic a water bath, an inaccurate oven can easily ruin the texture. If your oven runs hot, the cake will puff up and crack; if it runs cold, it will be underbaked. A cheap oven thermometer hanging on the middle rack is highly recommended.
- Measuring Fruit Topping Thickener: When making the cornstarch slurry for the cherries, ensure the water is cold or room temperature before mixing in the starch. Stirring cornstarch directly into hot liquid will cause it to clump instantly.
- Preventing Crust Leaks: Full-fat cheesecakes naturally release a small amount of butter from the crust while baking. Place a large baking sheet on the bottom oven rack underneath your springform pan to catch any stray drips and keep your oven clean.
Donna says
This cheesecake is so good!