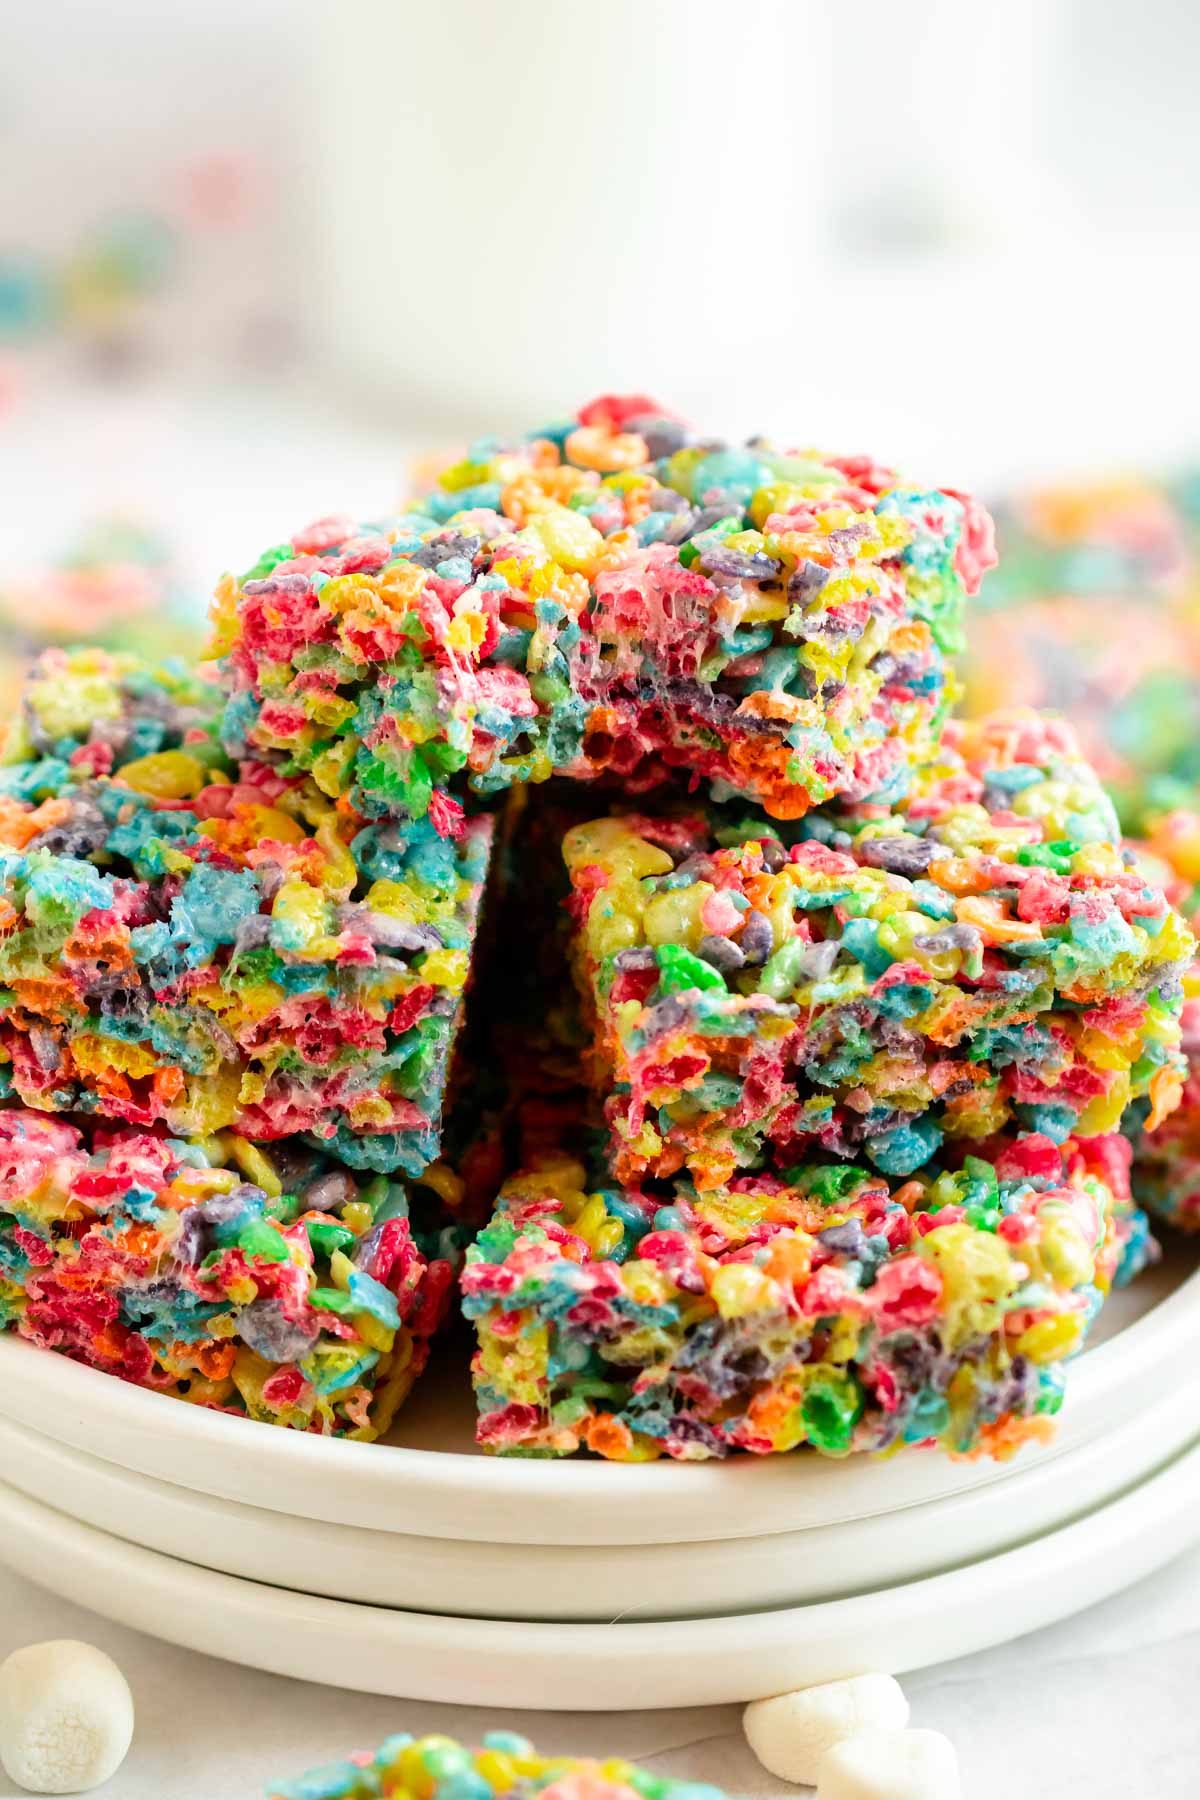
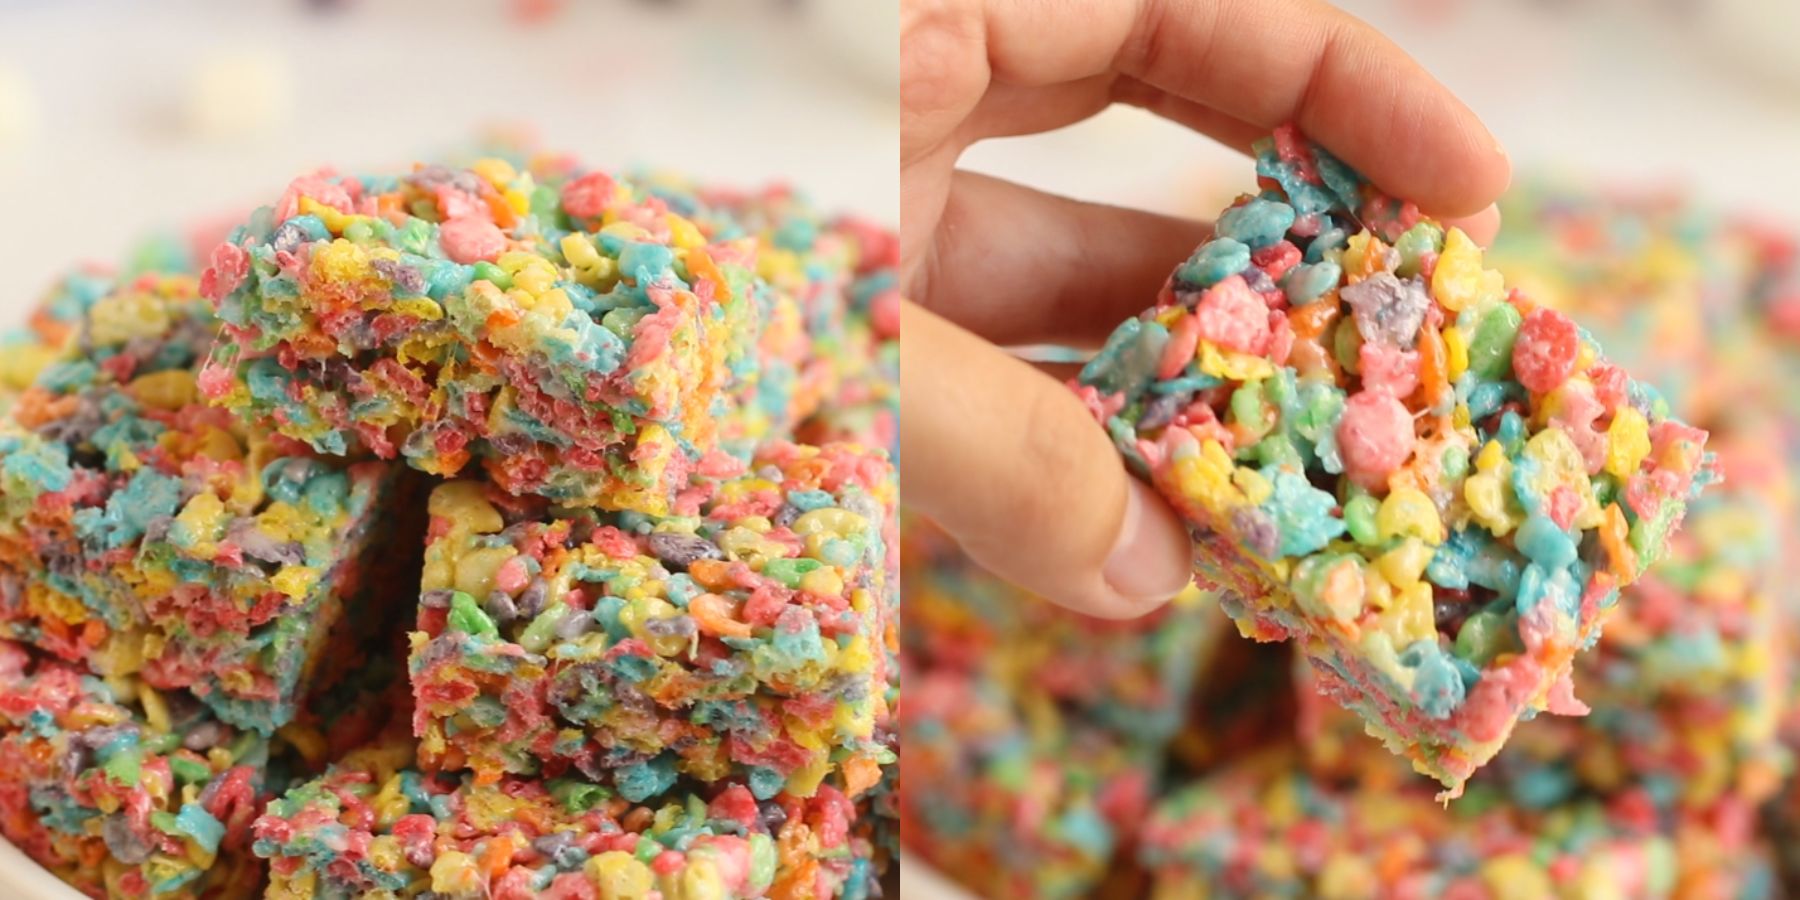
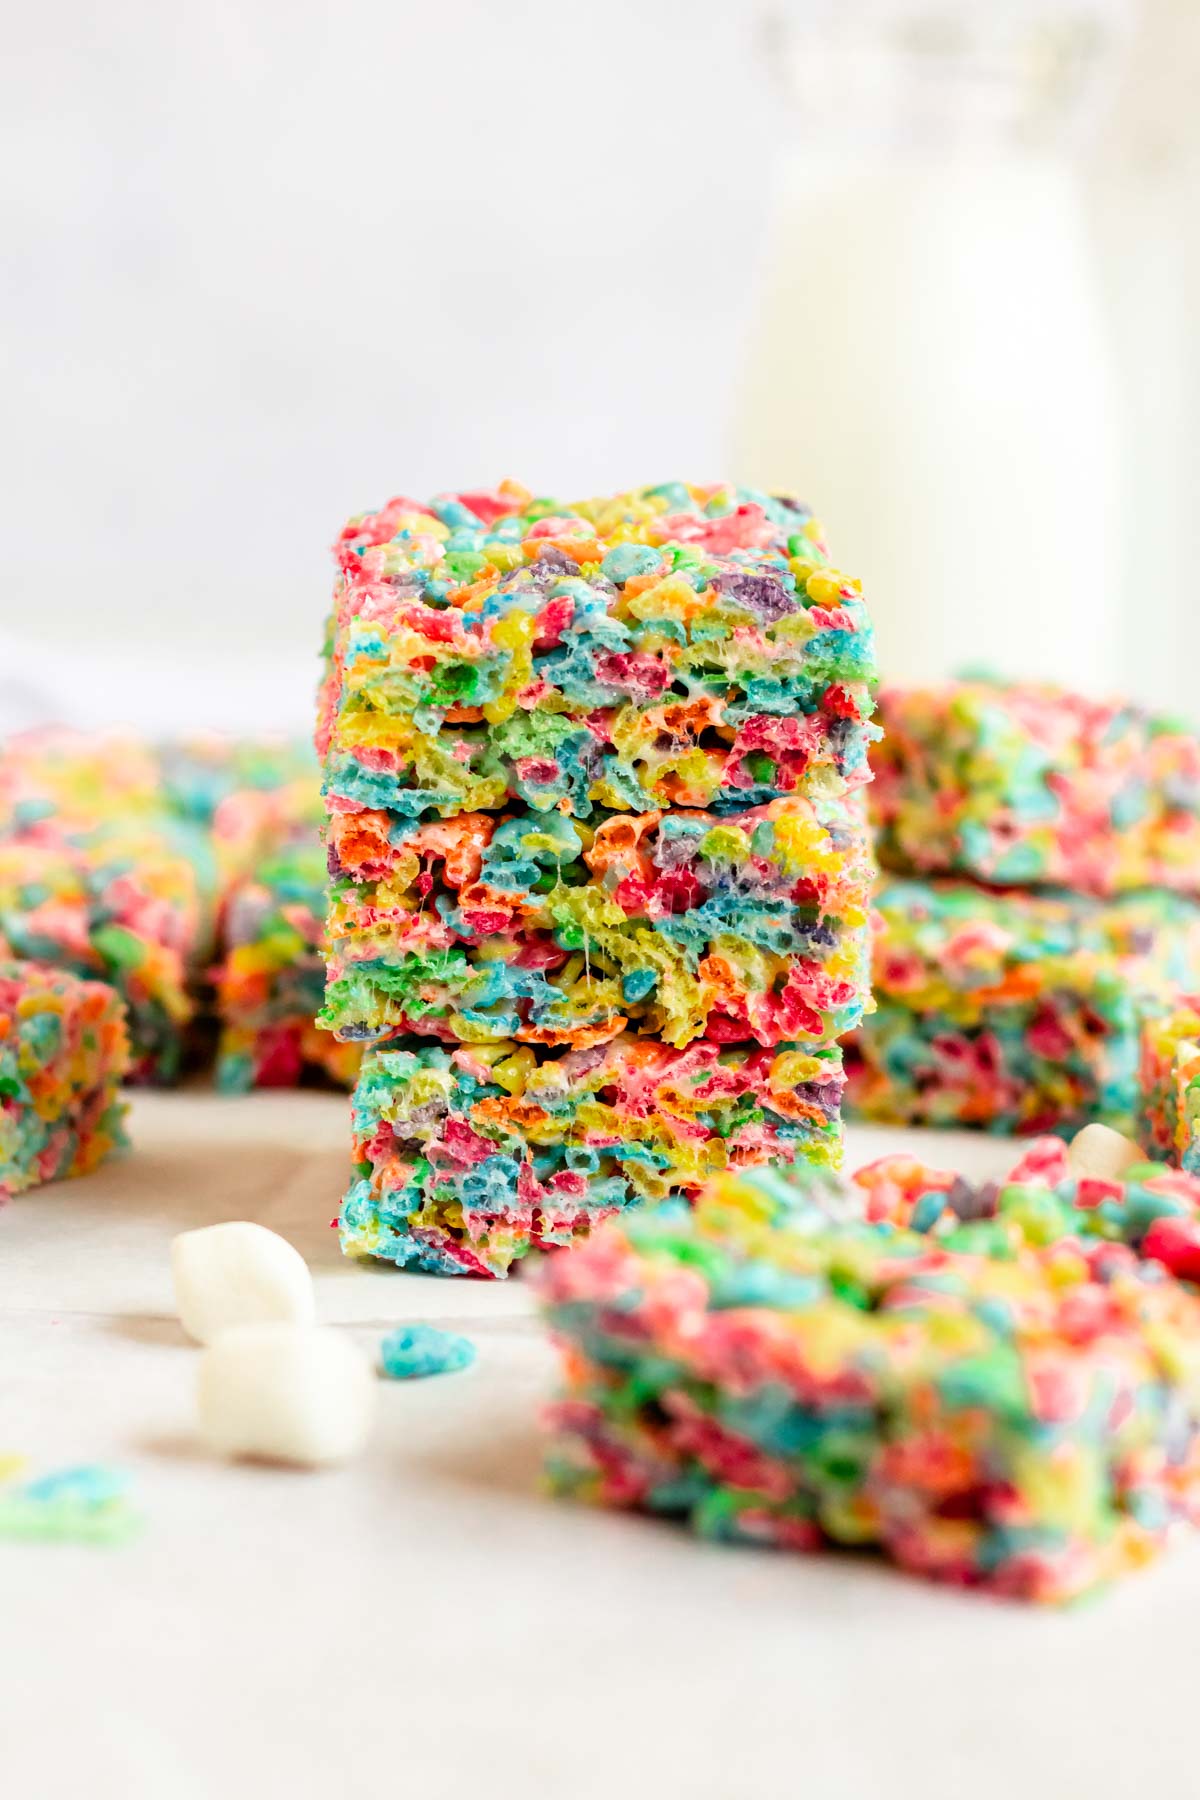
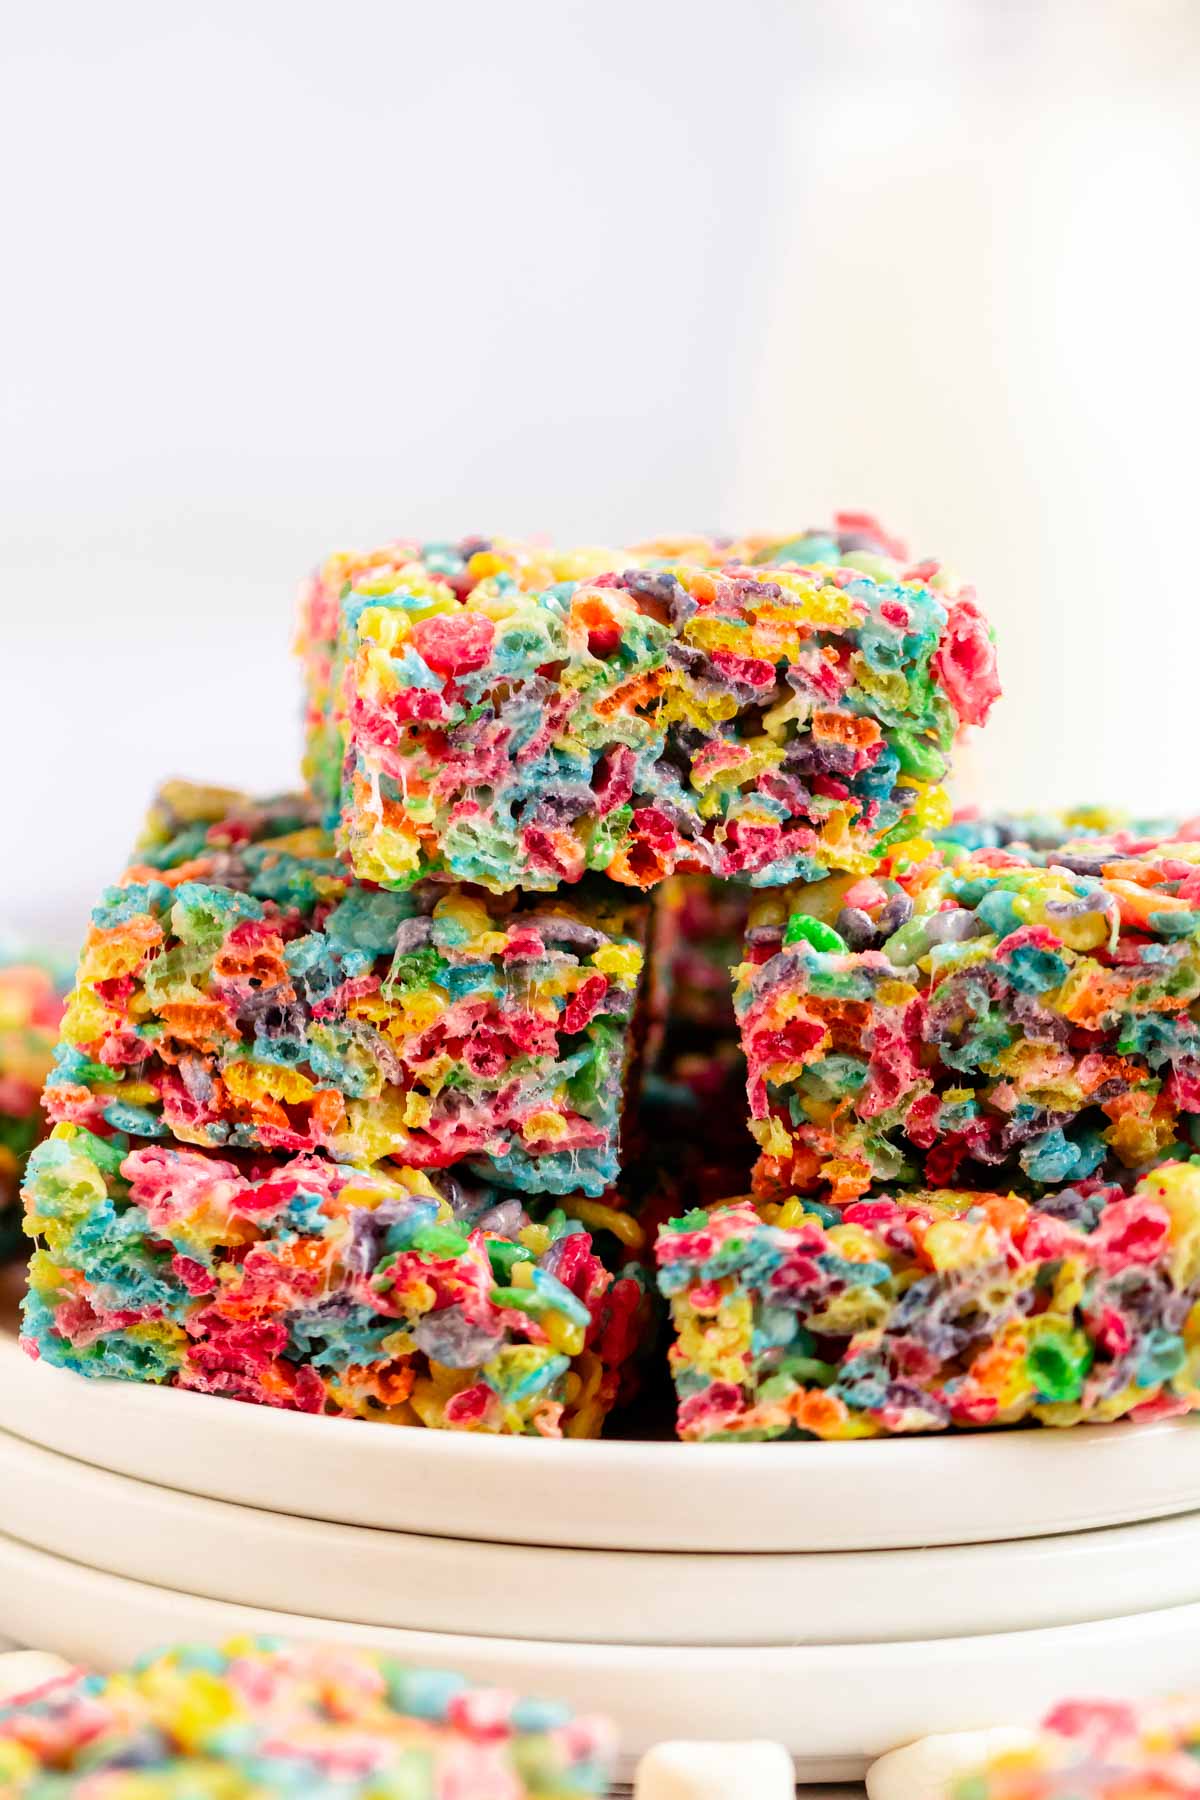
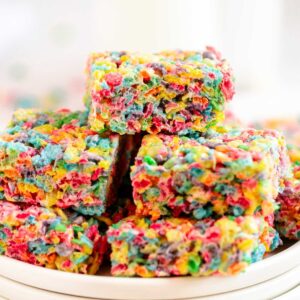
These fruity pebbles treats are made with only 4 ingredients, are a no-bake recipe, are made with melted marshmallows, and are perfect for fruity pebbles lovers!
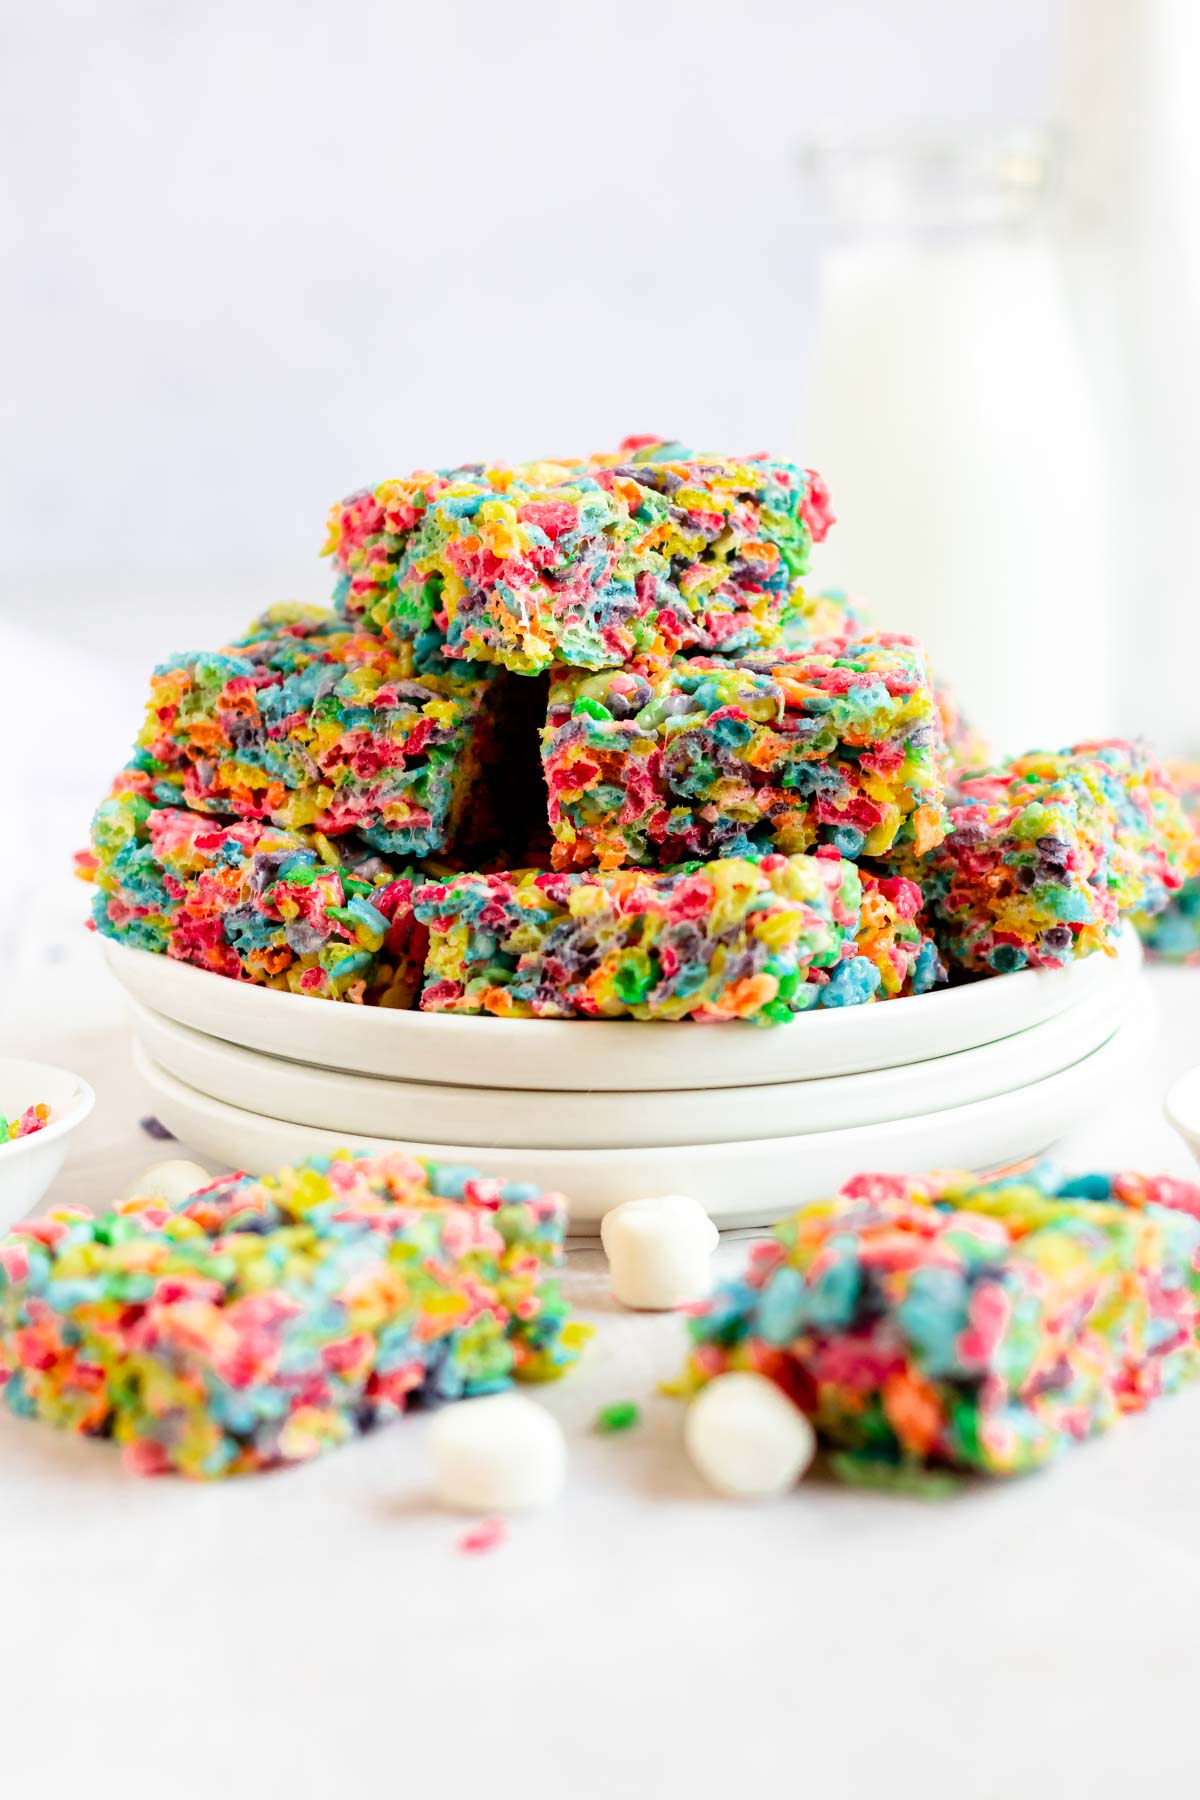
The combination of melted butter and melted marshmallows with cereal is a favorite. It's even more delicious with this cereal for those fruity pebbles lovers! These are a fruity twist on the classic Rice Krispies treats.
If you like making bars recipes, check out our chocolate rice krispie treats, lemon bars with graham cracker crust, chocolate chip blondies, oreo brownies, and our biscoff brownies!
Jump to:
Why this recipe works
- No bake- this fruit pebbles treats recipe is a no-bake recipe! So there is no need to turn on the oven for this one!
- Simple- this recipe is made with super simple ingredients that you can find in any grocery store.
- Time- this recipe takes 10 minutes to prep!
- Kid-friendly- this is a perfect dessert to make with your kids!
- Flavor- these fruity treats have a signature fruity flavor that everyone likes!
Ingredients
Before you start to make this fruity pebbles marshmallow treats recipe, measure and prepare your ingredients so the cooking process will go smoothly and easily.
Full measurements are in the recipe card below.
Butter- use unsalted butter for this recipe. Only butter will work for this recipe, no margarine, and no coconut oil. Margarine has a weird taste and can ruin the flavor of this delicious baked good.
Fruity pebbles cereal- make sure that you are using fresh cereal and not an expired one!
Vanilla extract– Vanilla extract Is an essential ingredient in baking and adds a delicious flavor to these bars.
Salt– We used kosher salt for this recipe. Salt doesn’t give them a salty taste, it helps to enhance the flavor.
Instructions
Prepare a parchment paper-lined 8 by 8-inch baking pan.
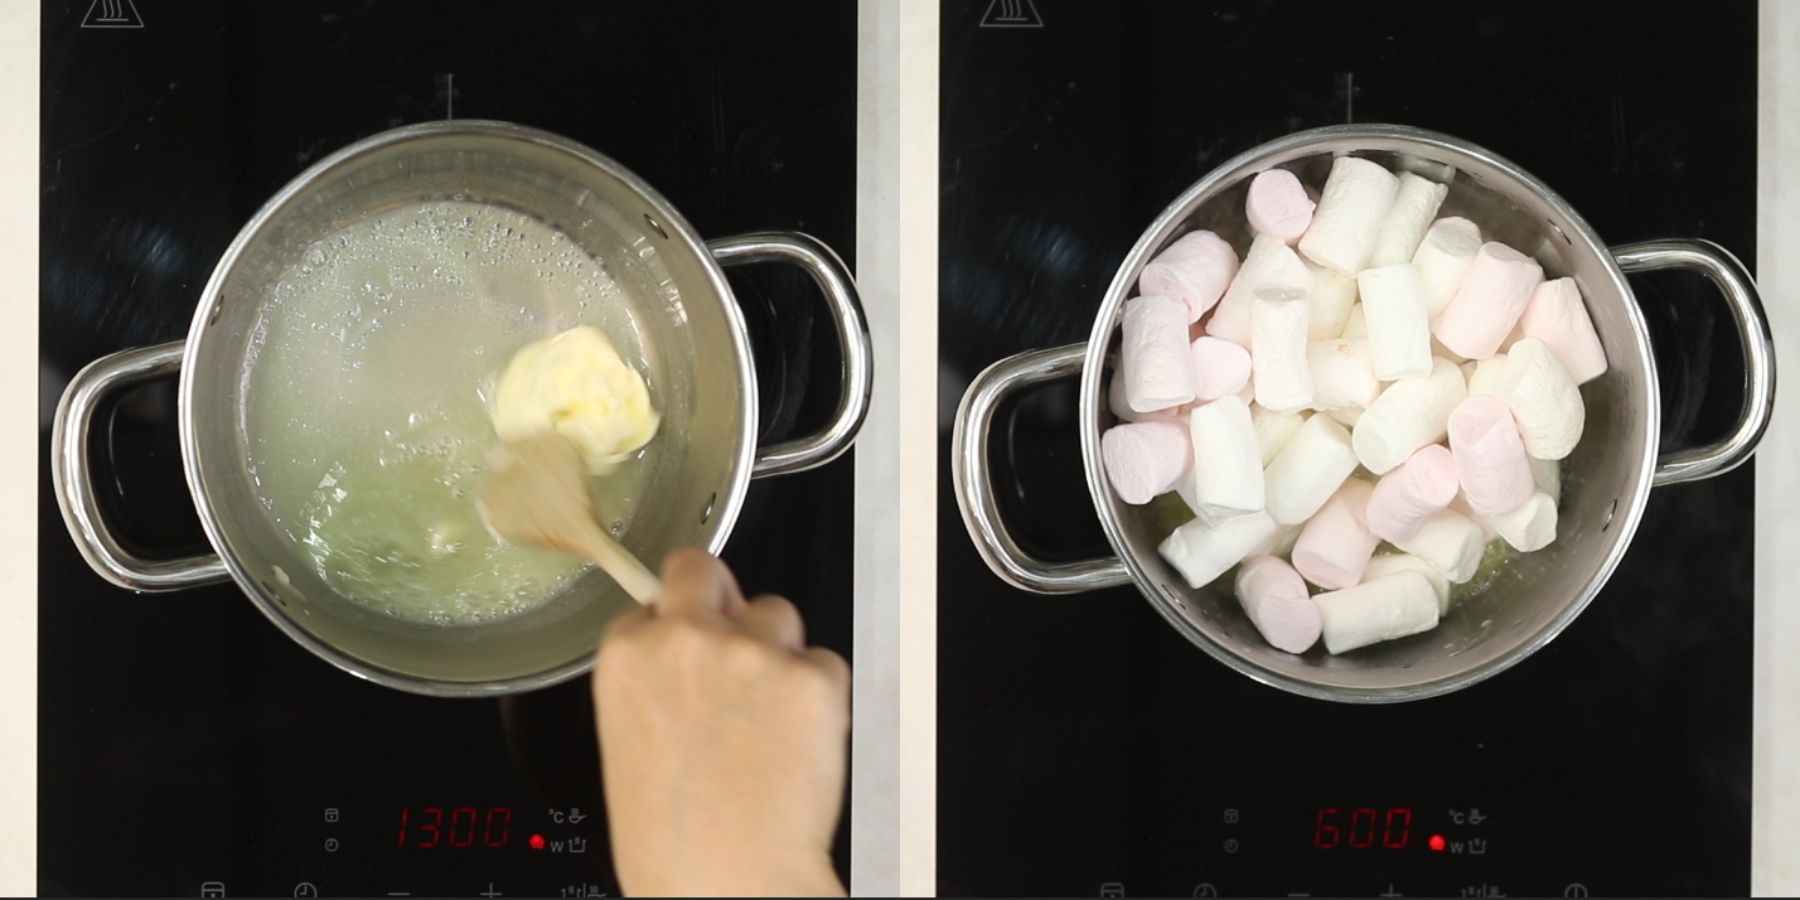
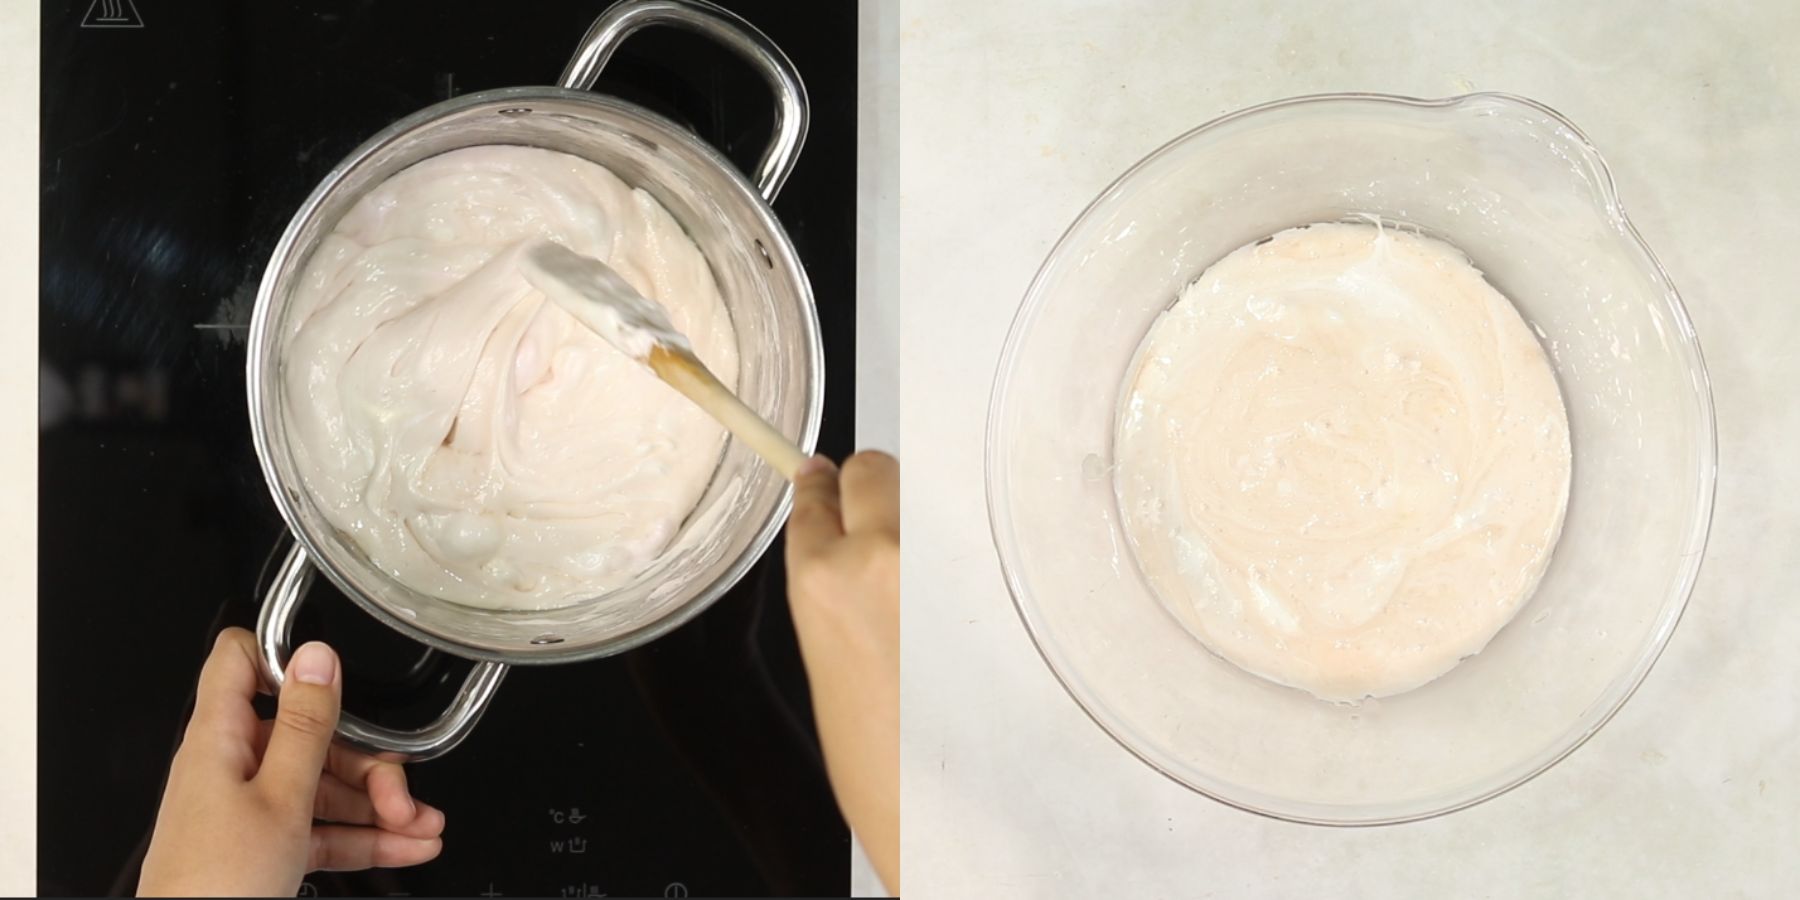
Into a saucepan, add the butter and melt it over medium-high heat. Then add the marshmallows, mixing constantly until the marshmallows melt.
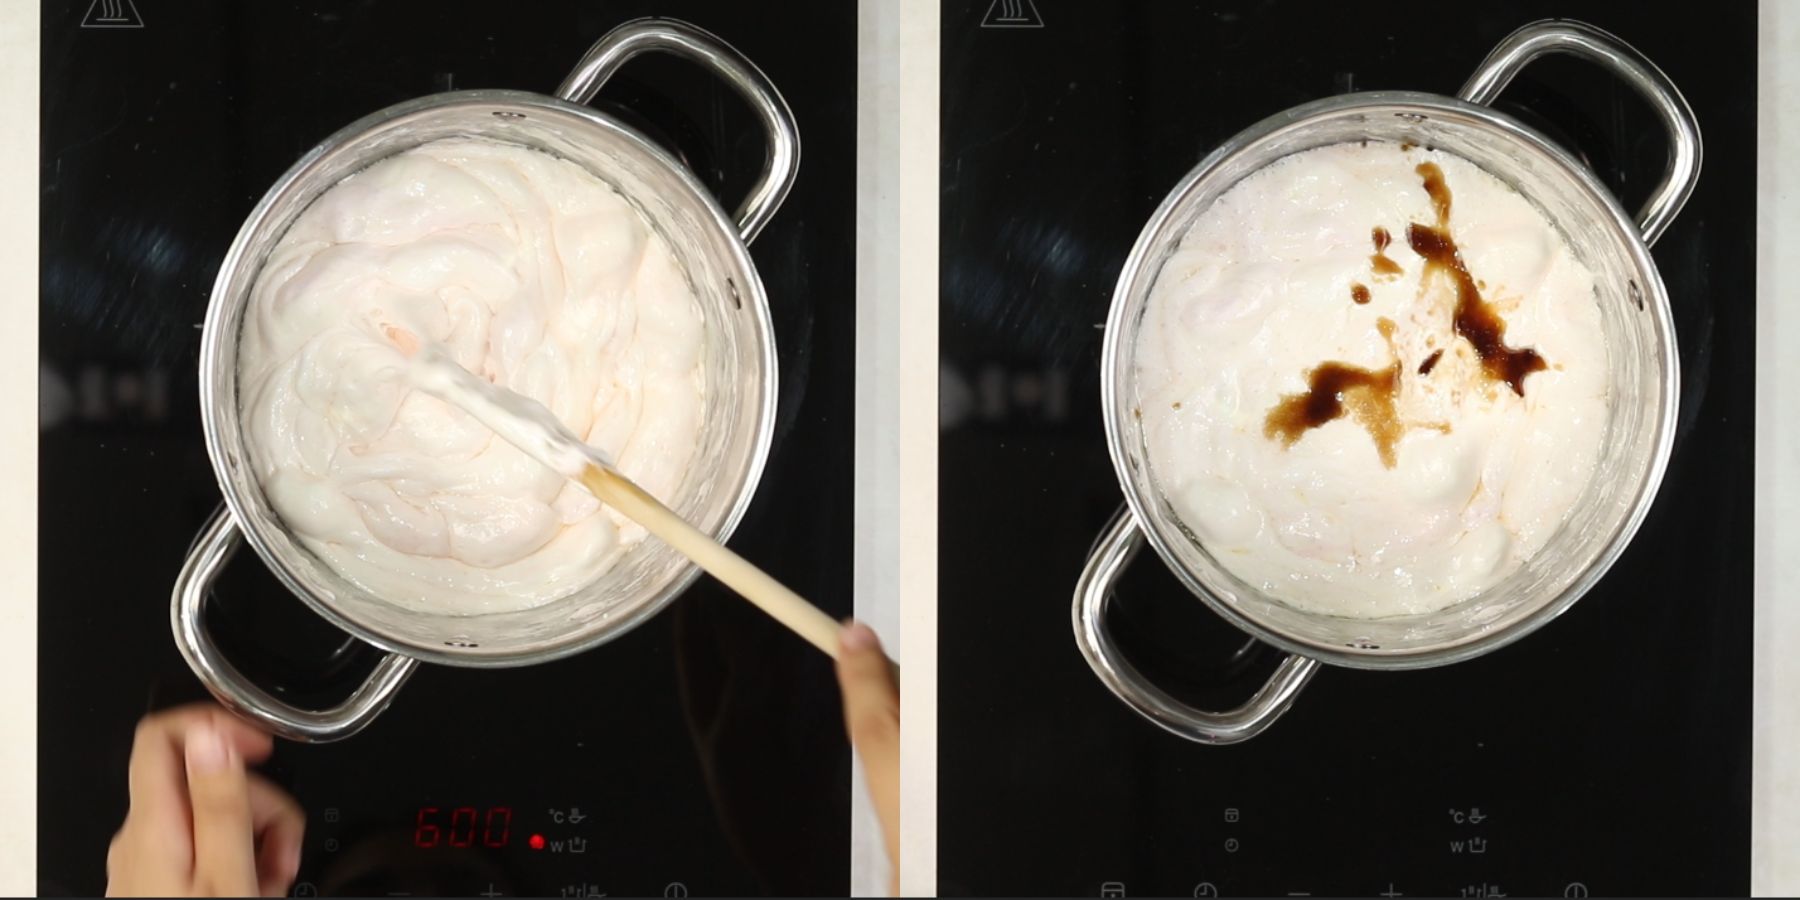
Add the kosher salt and vanilla extract and mix until combined.
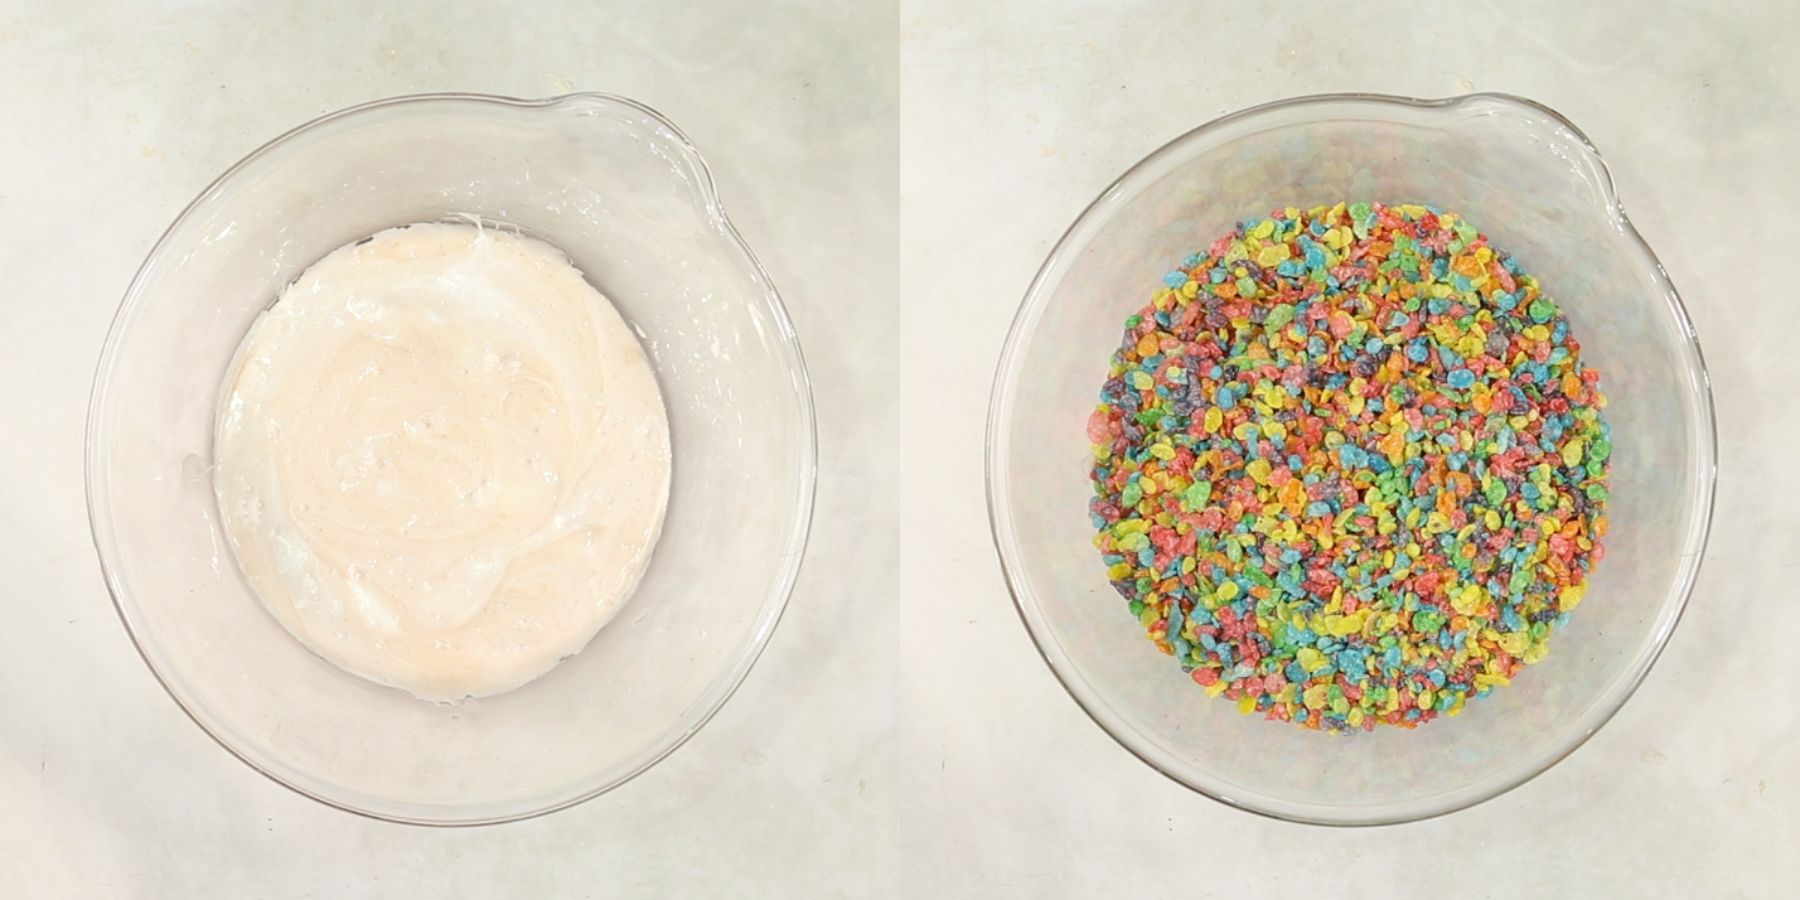
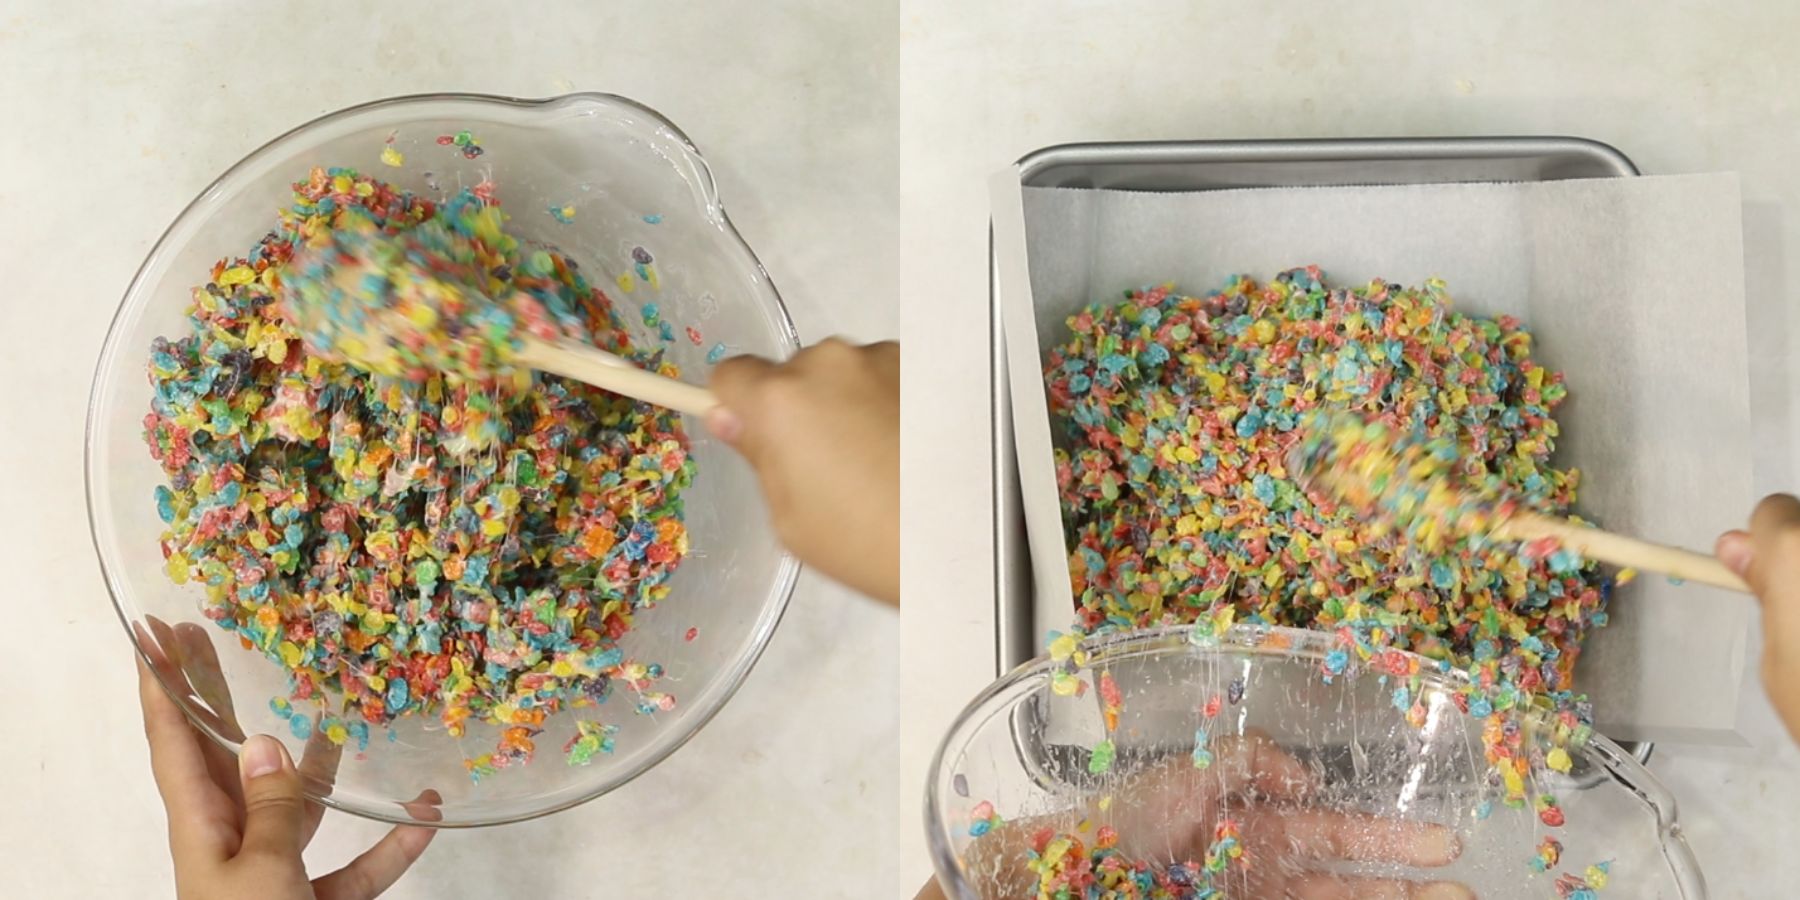
Transfer the mixture to a large mixing bowl, and add the fruity pebbles cereal. Mix with a wooden spoon until well combined and the cereal is evenly coated with the marshmallow mixture.
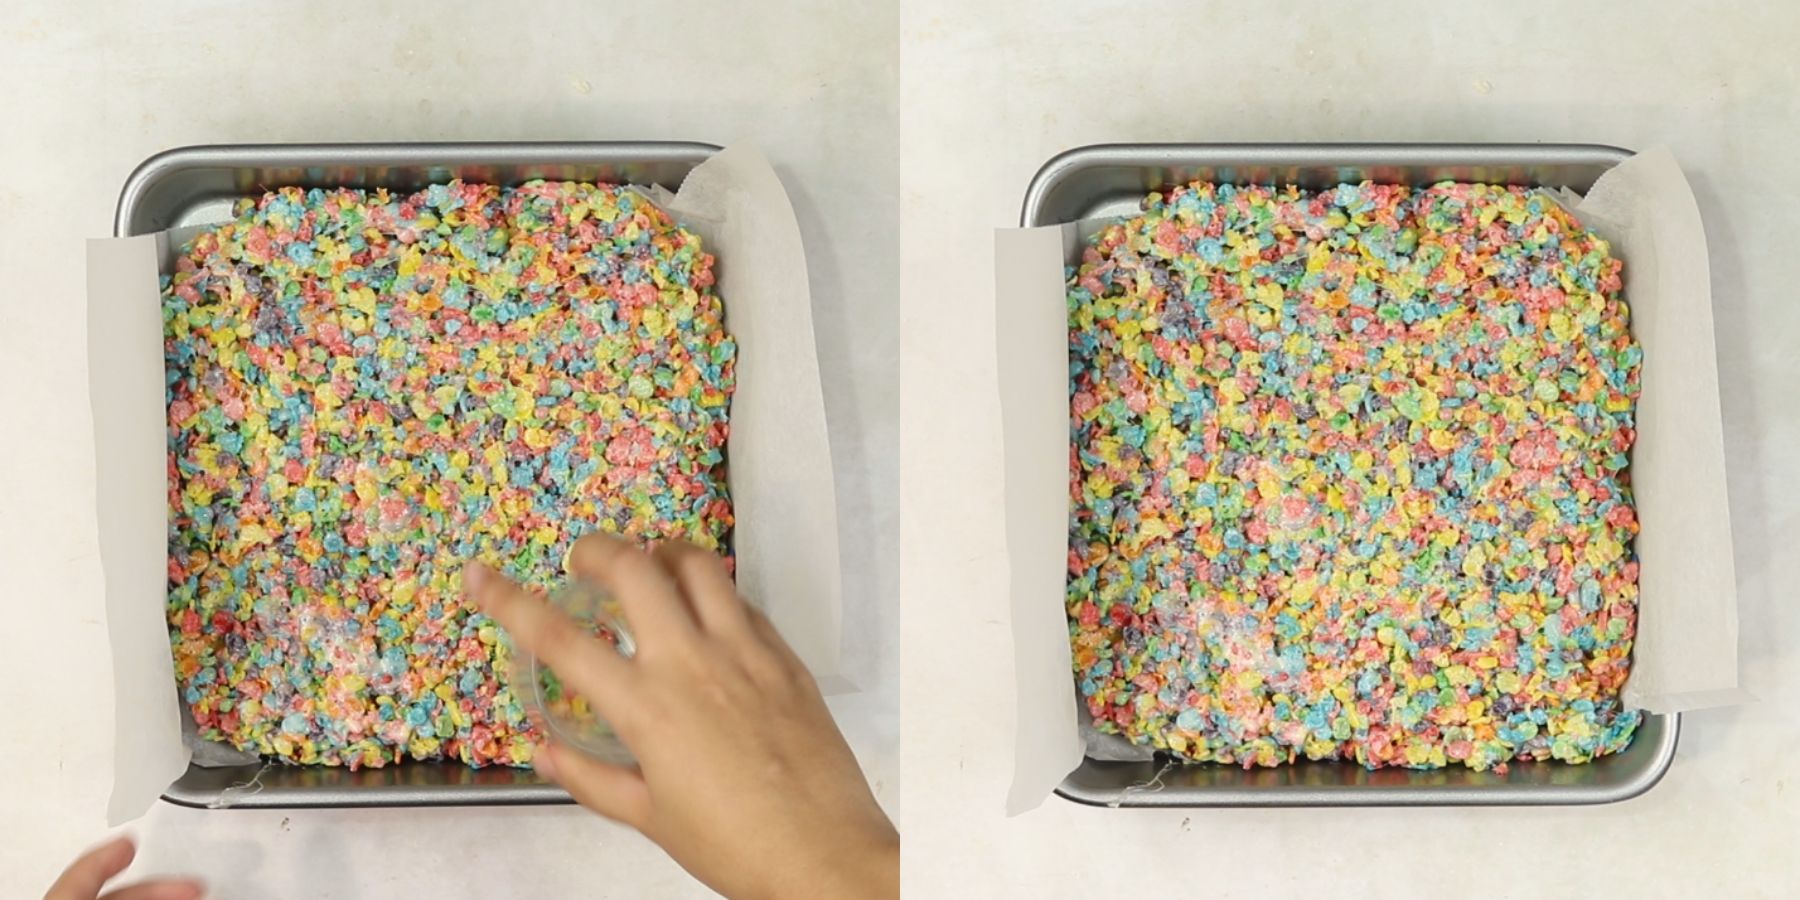
Transfer the mixture to a parchment paper-lined 8 by 8 baking pan and gently press it down using your damp hands or a spoon.
Let the mixture chill in the fridge for at least one hour. This step helps it set and makes it easy to cut into bars.
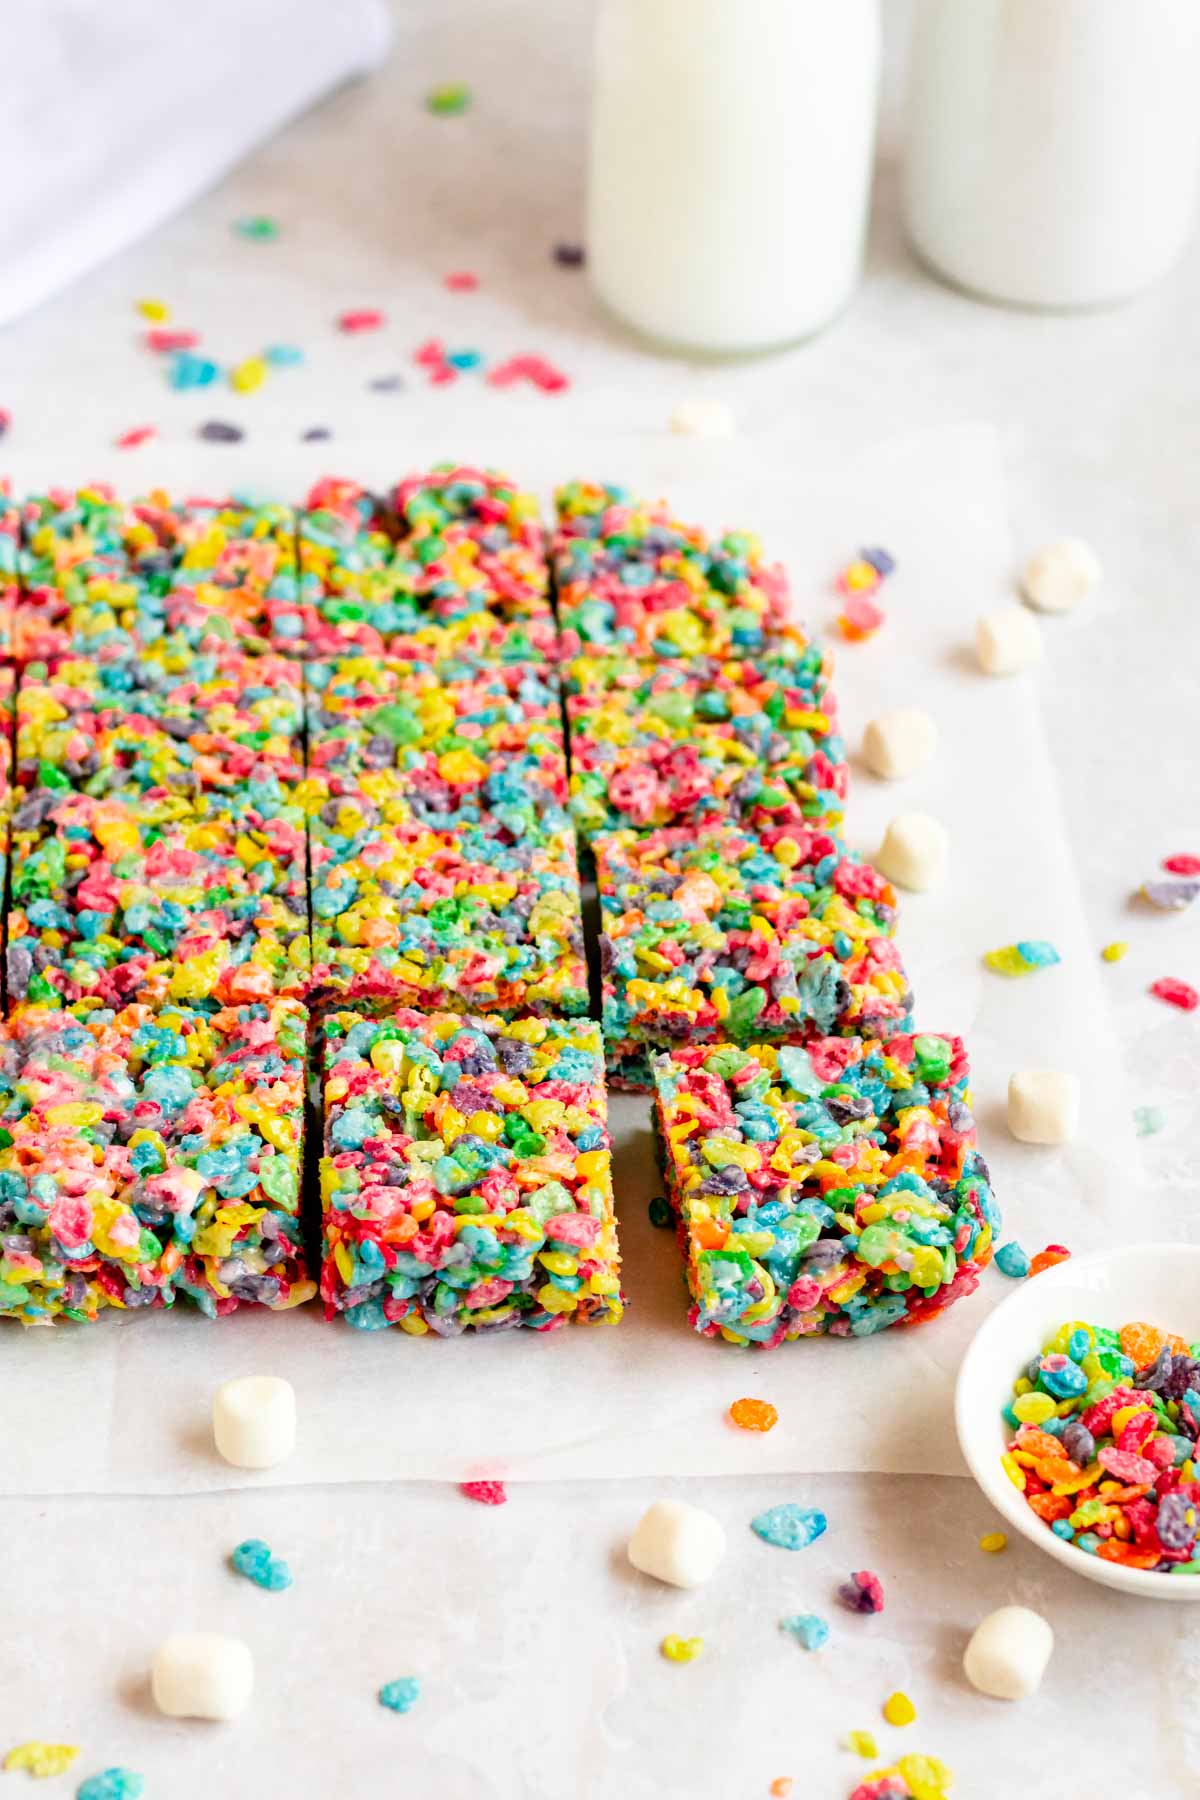
Remove the treats from the pan and cut with a sharp knife for as many bars as you'd like!
Expert Tips
- Avoid packing the mixture into the pan too tightly. We like an airy and crispy texture instead of a dense texture.
- Be patient and let the treats rest in the fridge and set so they will be easy to cut. If you will try to slice them when they are warm, they will fall apart and leave you with a sticky mess.
- Line your pan with parchment paper so it will be easier to release the bars from the pan! This step is crucial and will prevent a mess.
- Dampen your fingers before you start to press the mixture into the pan. Also, make sure that you clean your hands thoroughly, to make this process smooth and easy!
- Melt the marshmallow mixture until it's just melted and immediately remove it from the heat. This will prevent your treats from getting hard.
Faq's
Yes! Simply skip the added salt! If you are using unsalted butter, we like adding a pinch or so of salt to balance the flavors.
Our favorite way to cut these bars and cakes is by dipping a long knife into hot water, once the knife warms up, wipe off the excess water, and slice the bars. Dip and wipe the knife between every slice.
These treats will last for up to 4 days stored in an airtight container in the fridge or for up to 3 days stored at room temperature.
Storing
It’s okay to store these bars at room temperature. Cover them with plastic wrap or foil to prevent them from drying out.
Freezing
To freeze bars, you will need to wrap the bars in plastic wrap or foil and seal them in an airtight container or in an airtight resealable bag. You can freeze them for up to 2 months.
Substitutions
Marshmallows- we used large marshmallows for this recipe, but you can use mini marshmallows as well.
Variations
Cereal- you can make this recipe with your favorite cereal or cereal mix! You can add rice Krispies or any of your favorite cereals to this mixture!
Add-ins- we love adding fresh mini marshmallows to the mixture for an extra chewy texture!
Brown butter- make this recipe with brown butter instead or melt the butter with the marshmallows. This will add a deliciously rich and nutty flavor that compliments any flavor.
More bars recipes
Chocolate chip blondies- These easy chocolate chip blondies are chewy, gooey in the middle, made with a few simple ingredients, and filled with plenty of chocolate chips!
Lemon bars with graham cracker crust- They are made with a zesty and creamy lemon filling and are topped with plenty of powder sugar.
Sprinkle brownies- These sprinkle brownies are made with a fudgy brownie base, topped with silky smooth chocolate ganache, and topped with rainbow sprinkles!
If you tried this how to make fruity pebble treats recipe, don’t forget to leave a rating and a comment below. We love hearing from you.
If you liked this recipe
- Follow us on Facebook, Instagram, and Pinterest.
- Share/pin this recipe to Pinterest.
- Leave a comment down below!
📖 Recipe
Fruity Pebbles Treats
Ingredients
- 70 g Butter
- 230 g Marshmallows
- 5 cups Fruity pebbles
- 1 teaspoon Vanilla extract
- ¼ teaspoon Kosher salt optional
Instructions
- Prepare a parchment paper-lined 8 by 8-inch baking pan.
- Into a saucepan, add the butter and melt it over medium-high heat. Then add the marshmallows, mixing constantly until the marshmallows melt.
- Add the kosher salt and vanilla extract and mix until combined.
- Transfer the mixture to a large mixing bowl, and add the fruity pebbles cereal. Mix with a wooden spoon until well combined and the cereal is evenly coated with the marshmallow mixture.
- Transfer the mixture to a parchment paper-lined 8 by 8 baking pan and gently press it down using your damp hands or a spoon.
- Let the mixture chill in the fridge for at least one hour. This step helps it set and makes it easy to cut into bars.
- Remove the treats from the pan and cut with a sharp knife for as many bars as you'd like!
Notes
- Avoid packing the mixture into the pan too tightly. We like an airy and crispy texture instead of a dense texture.
- Be patient and let the treats rest in the fridge and set so they will be easy to cut. If you will try to slice them when they are warm, they will fall apart and leave you with a sticky mess.
- Line your pan with parchment paper so it will be easier to release the bars from the pan! This step is crucial and will prevent a mess.
- Dampen your fingers before you start to press the mixture into the pan. Also, make sure that you clean your hands thoroughly, to make this process smooth and easy!
- Melt the marshmallow mixture until it's just melted and immediately remove it from the heat. This will prevent your treats from getting hard.


Comments
No Comments