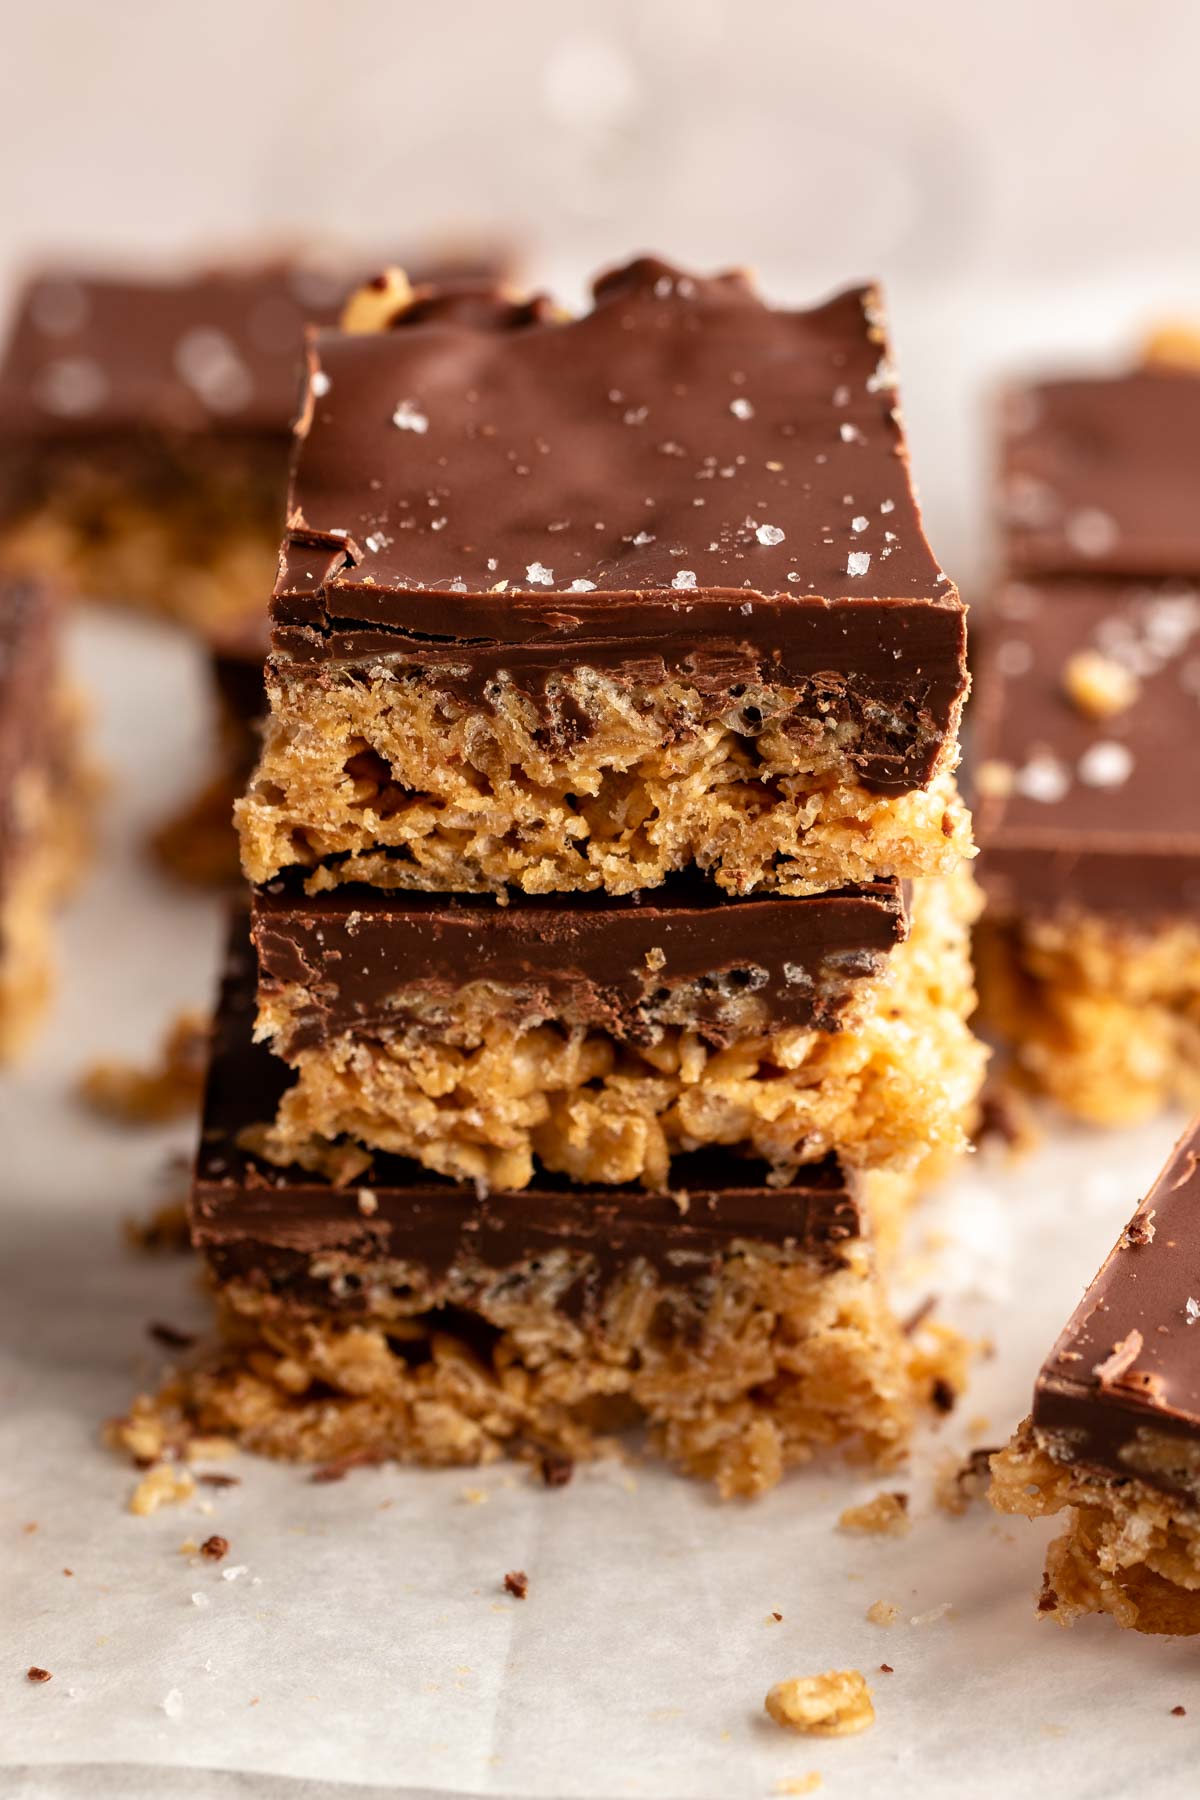
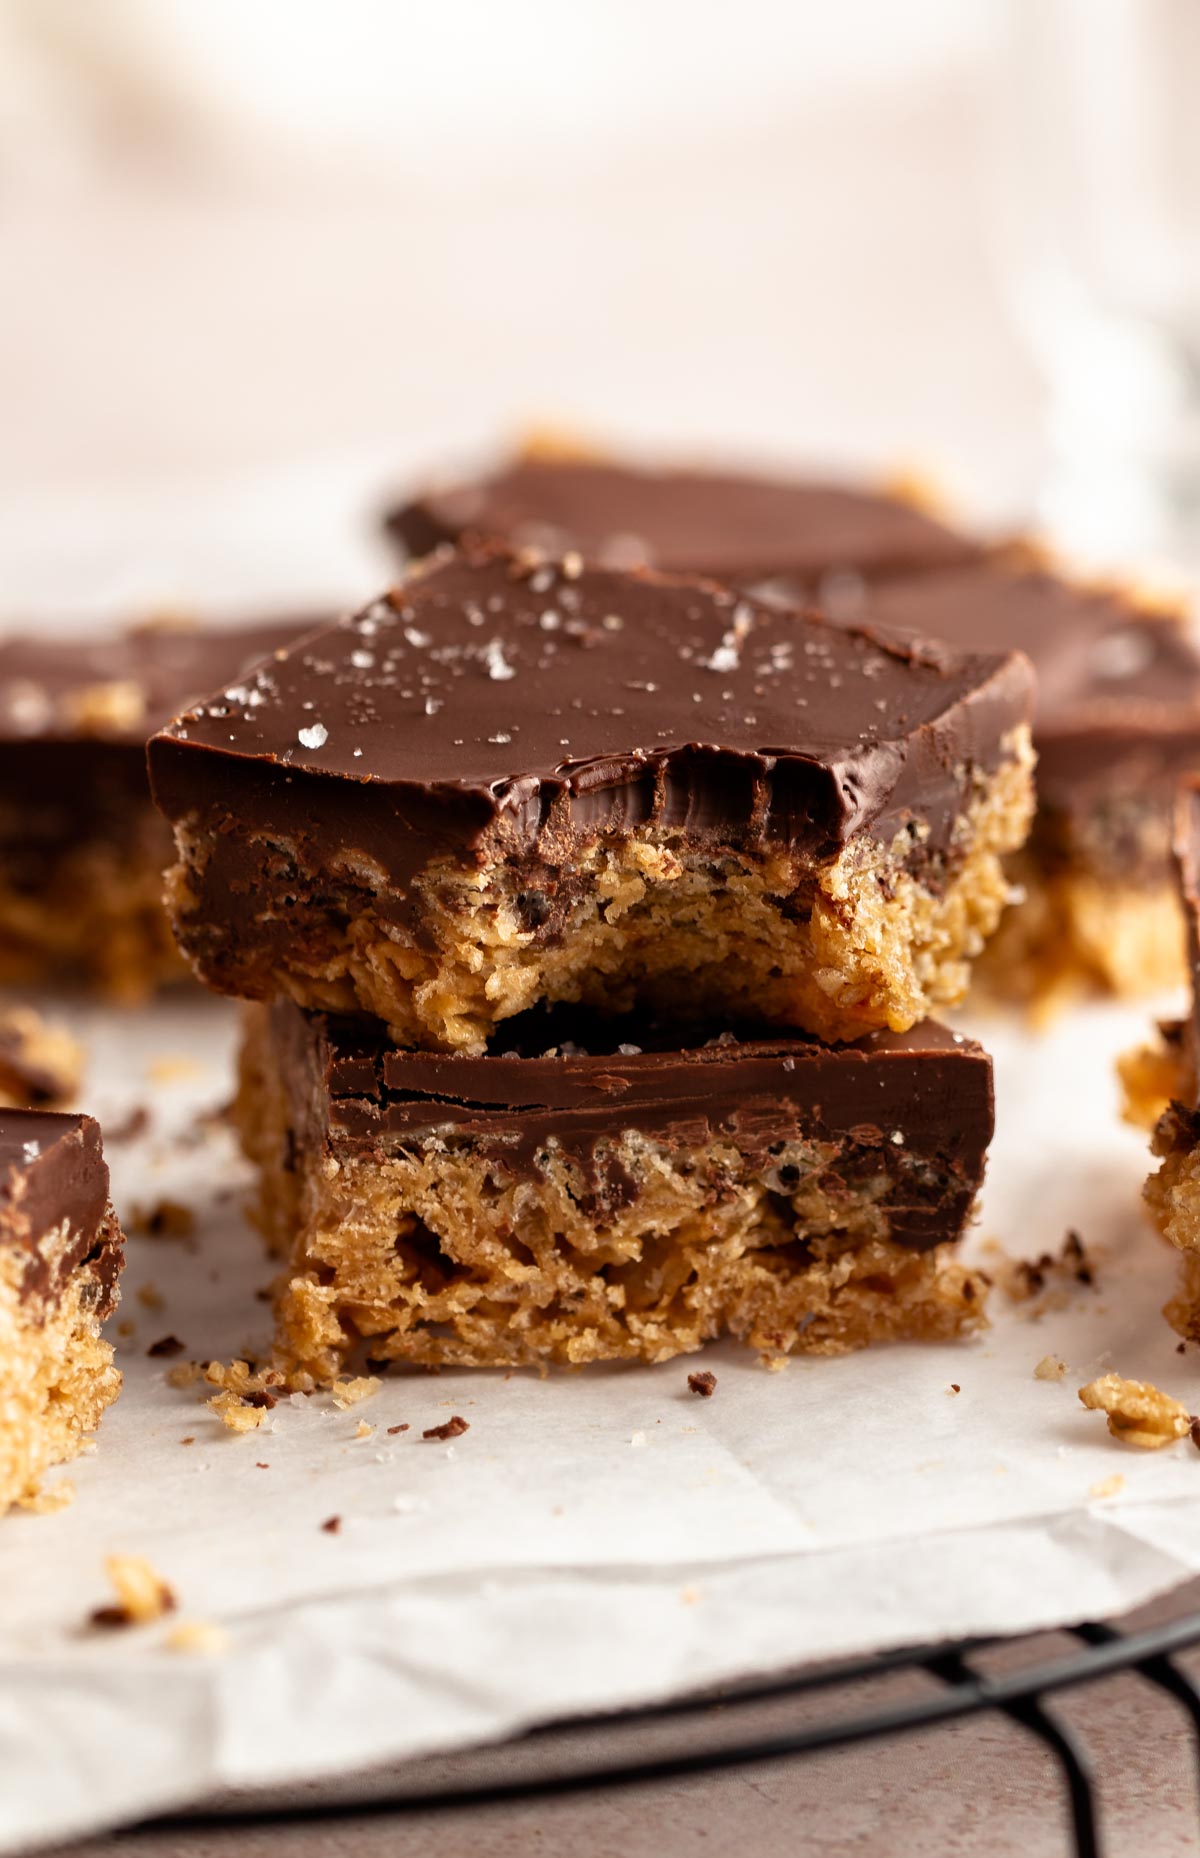
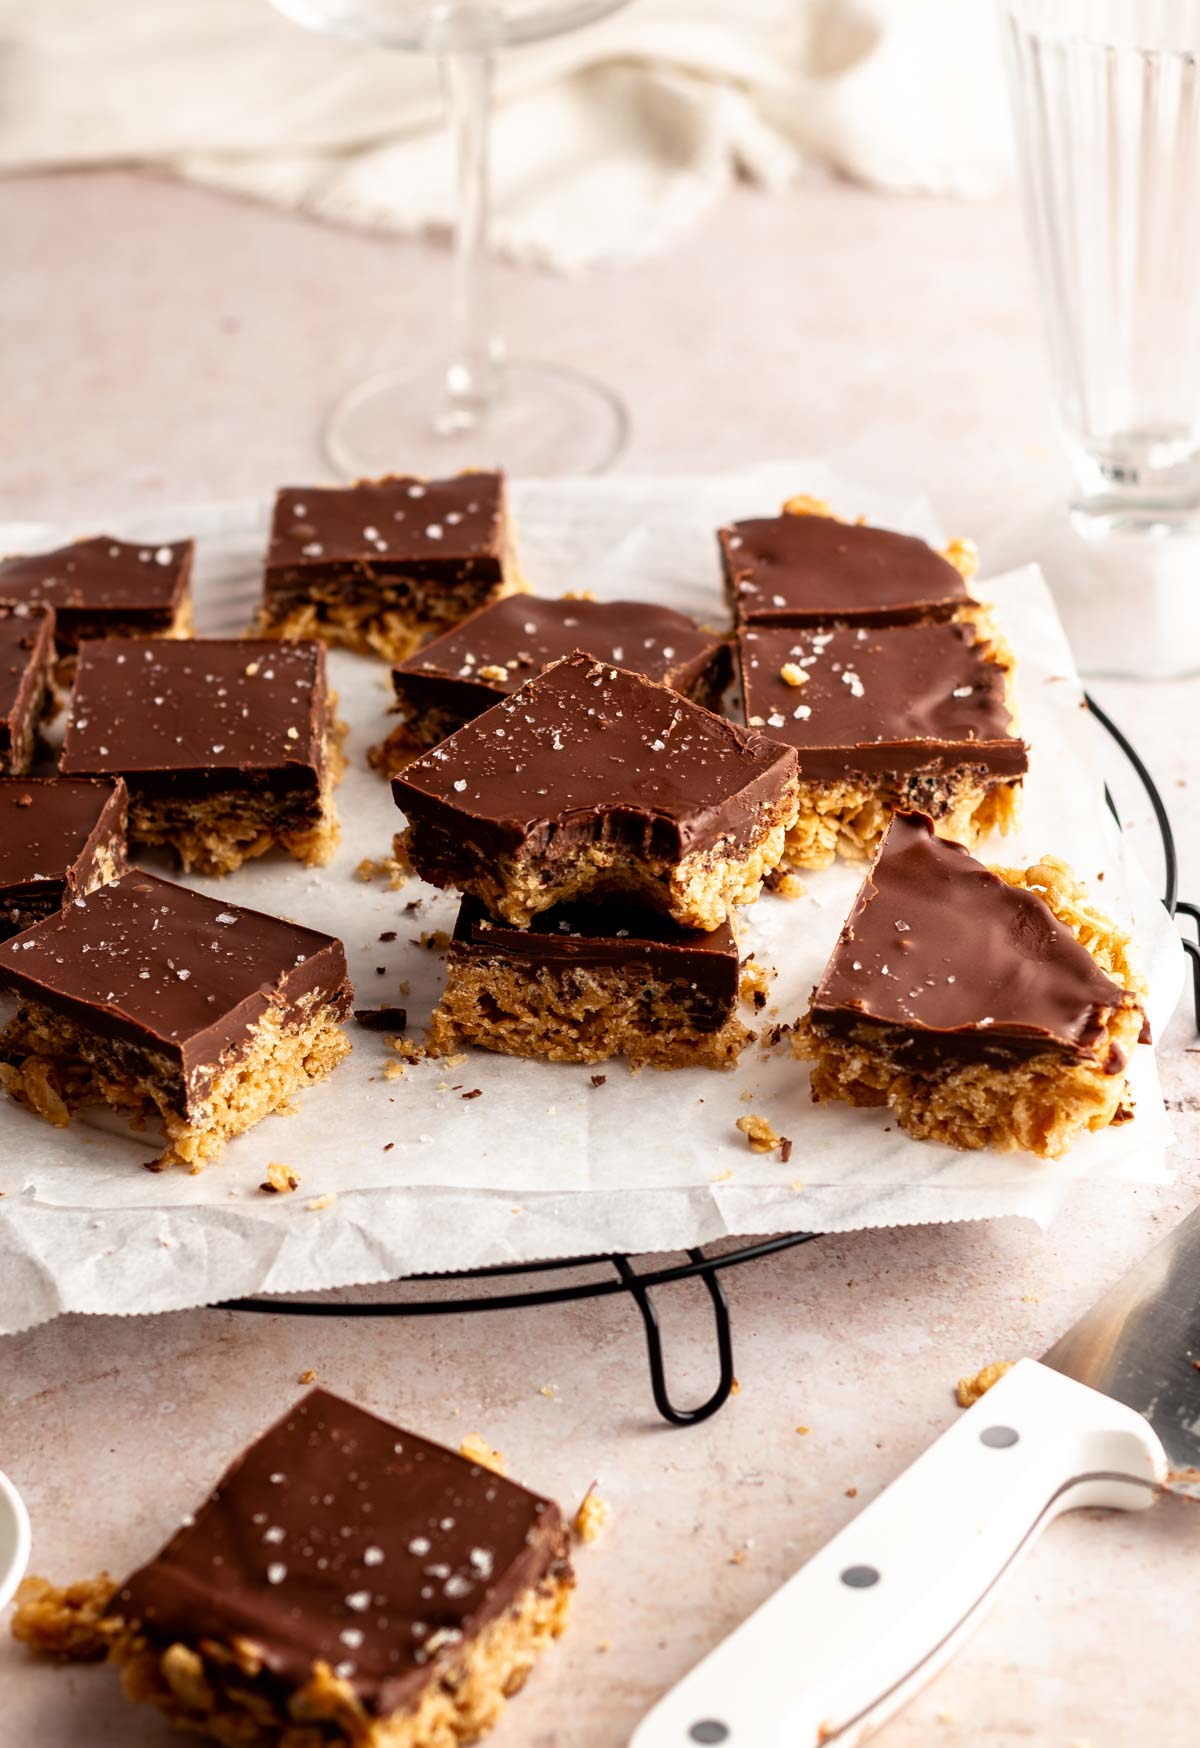
These easy scotcharoos are no bake bars made with rice Krispies cereal, and peanut butter mixture, and topped with melted chocolate and butterscotch chips.
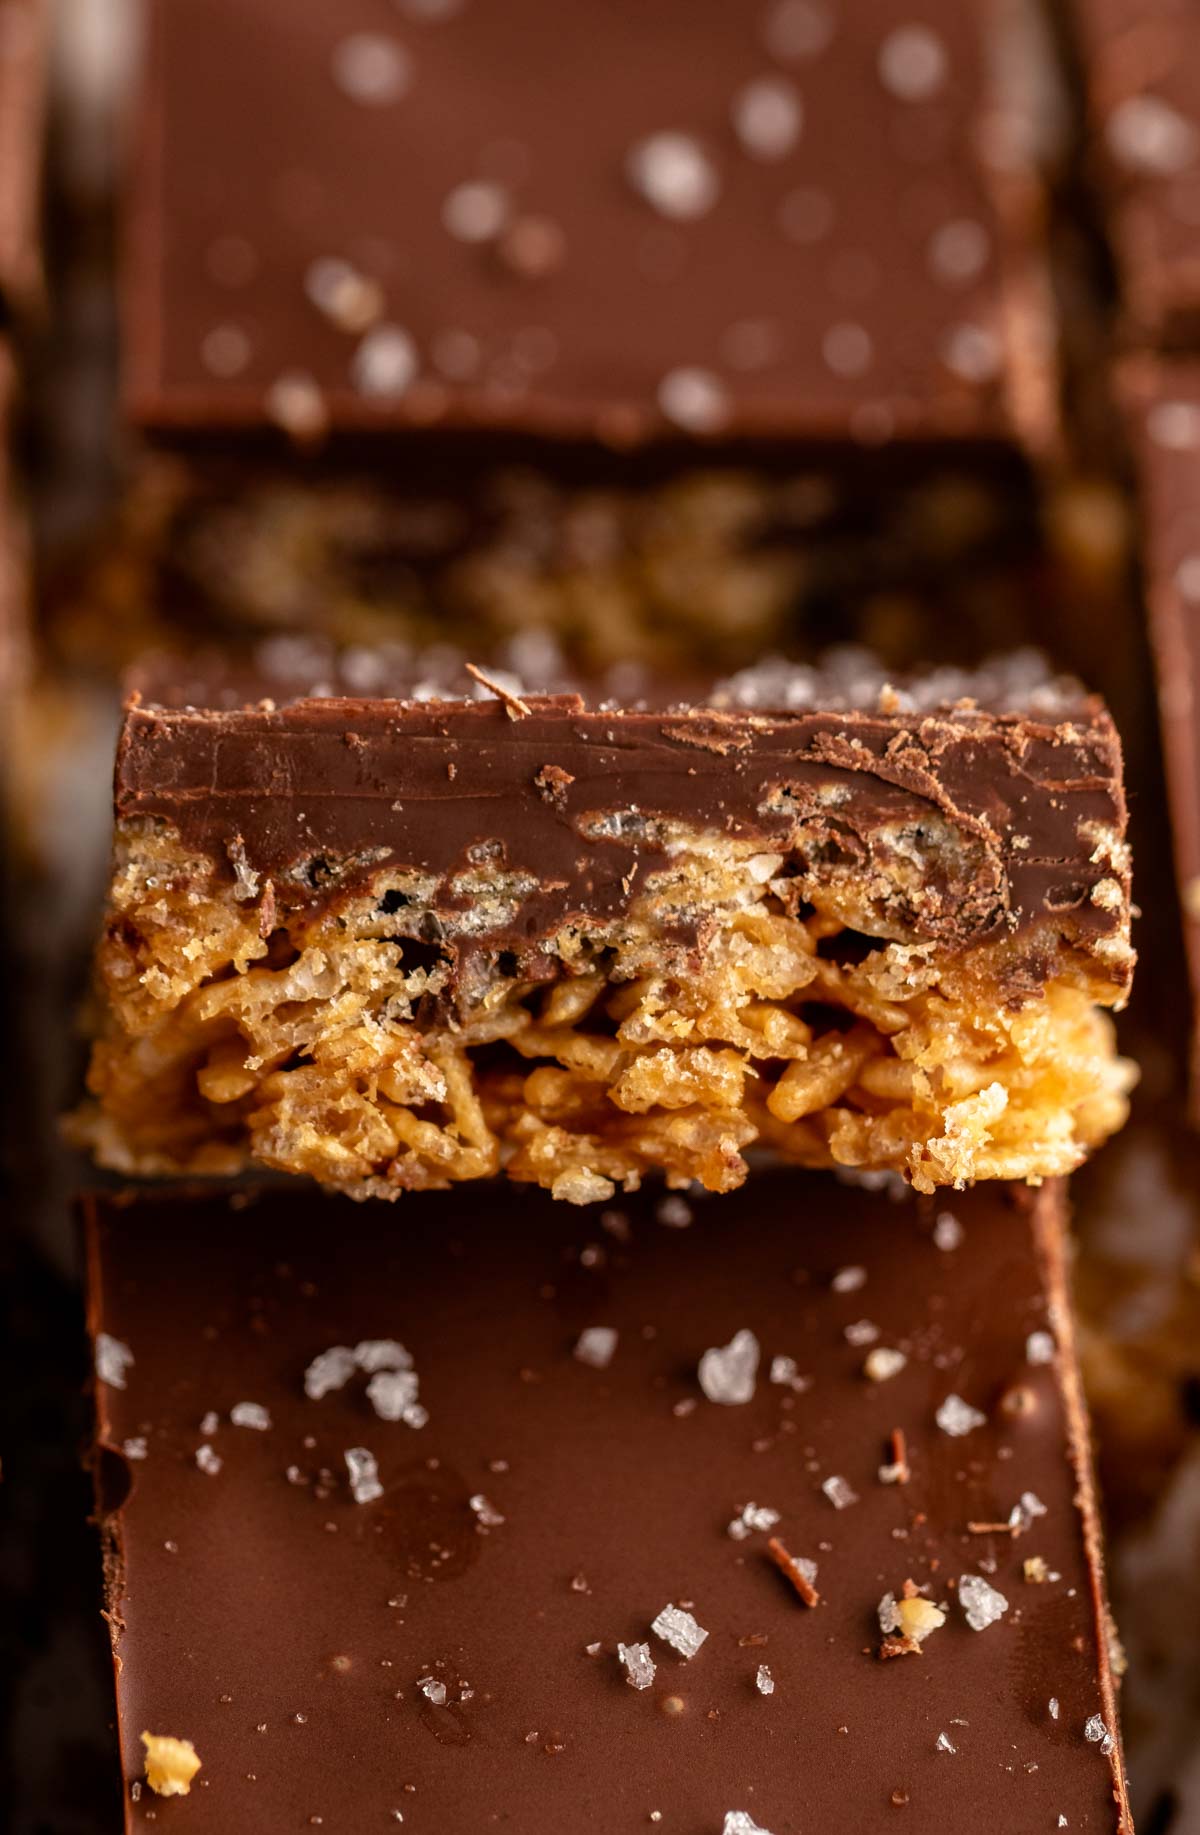
These take only 15 minutes to whip up together and are the most addictive gooey and chewy bars! They always disappear fast, especially during the holiday season!
If you like making bars recipes, check out our lemon bars with graham cracker crust, chocolate chip blondies, oreo brownies, and our biscoff brownies!
Also, check out my roundup for rice krispie treats variations!
Jump to:
Why this recipe works
- No bake- this is a no-bake recipe! So there is no need to turn on the oven!
- Flavor and texture- these are chewy and delicious peanut butter and chocolate-flavored bars that will make you not stop at one.
- Simple- this recipe is made with a few simple ingredients you may have in your kitchen right now!
- Time- this whole recipe takes 15 minutes to prep from start to finish!
- Kid-friendly- this is a perfect dessert to make with your kids! We all love some family bonding time.
What are scotcharoos?
Scotcharoos are no bake bars made with rice Krispies, peanut butter, corn syrup, sugar, and salt! They are topped with a mix of butterscotch chips and semisweet chocolate chips.
They are super easy to make and have a delicious flavor and a chewy texture.
Ingredients
Before you start to make this scotcharoo recipe, measure and prepare your ingredients so the cooking process will go smoothly and easily.
Full measurements are in the recipe card below.
Vanilla extract– Vanilla extract Is an essential ingredient in baking and adds a delicious flavor to these bars.
Salt– We used kosher salt for this recipe. Salt doesn’t give them a salty taste, it helps to enhance the flavor.
Rice Krispie cereal- you will need puffed rice cereal for the filling of these bars. You can use both regular rice Krispie cereal and puffed brown rice cereal.
Peanut butter- I always prefer creamy peanut butter for recipes like this. You can use either natural or processed peanut butter (like Skippy or Jif brands). I used natural peanut butter for this for a healthier but delicious approach.
Honey- we used honey as an extra sweetener for this instead of corn syrup. You can substitute the honey with maple syrup!
Granulated sugar– we like to use granulated sugar, also the most common sugar used in baking. Caster sugar will work great as well.
Milk chocolate- you can use either milk chocolate bars or milk chocolate chips of this!
Butterscotch chips- the butterscotch chips are the 'scotch' part of the scotcharoos! You will need to melt them together with the milk chocolate.
Instructions
Prepare a parchment paper-lined 8 by 8-inch baking pan and set it aside.
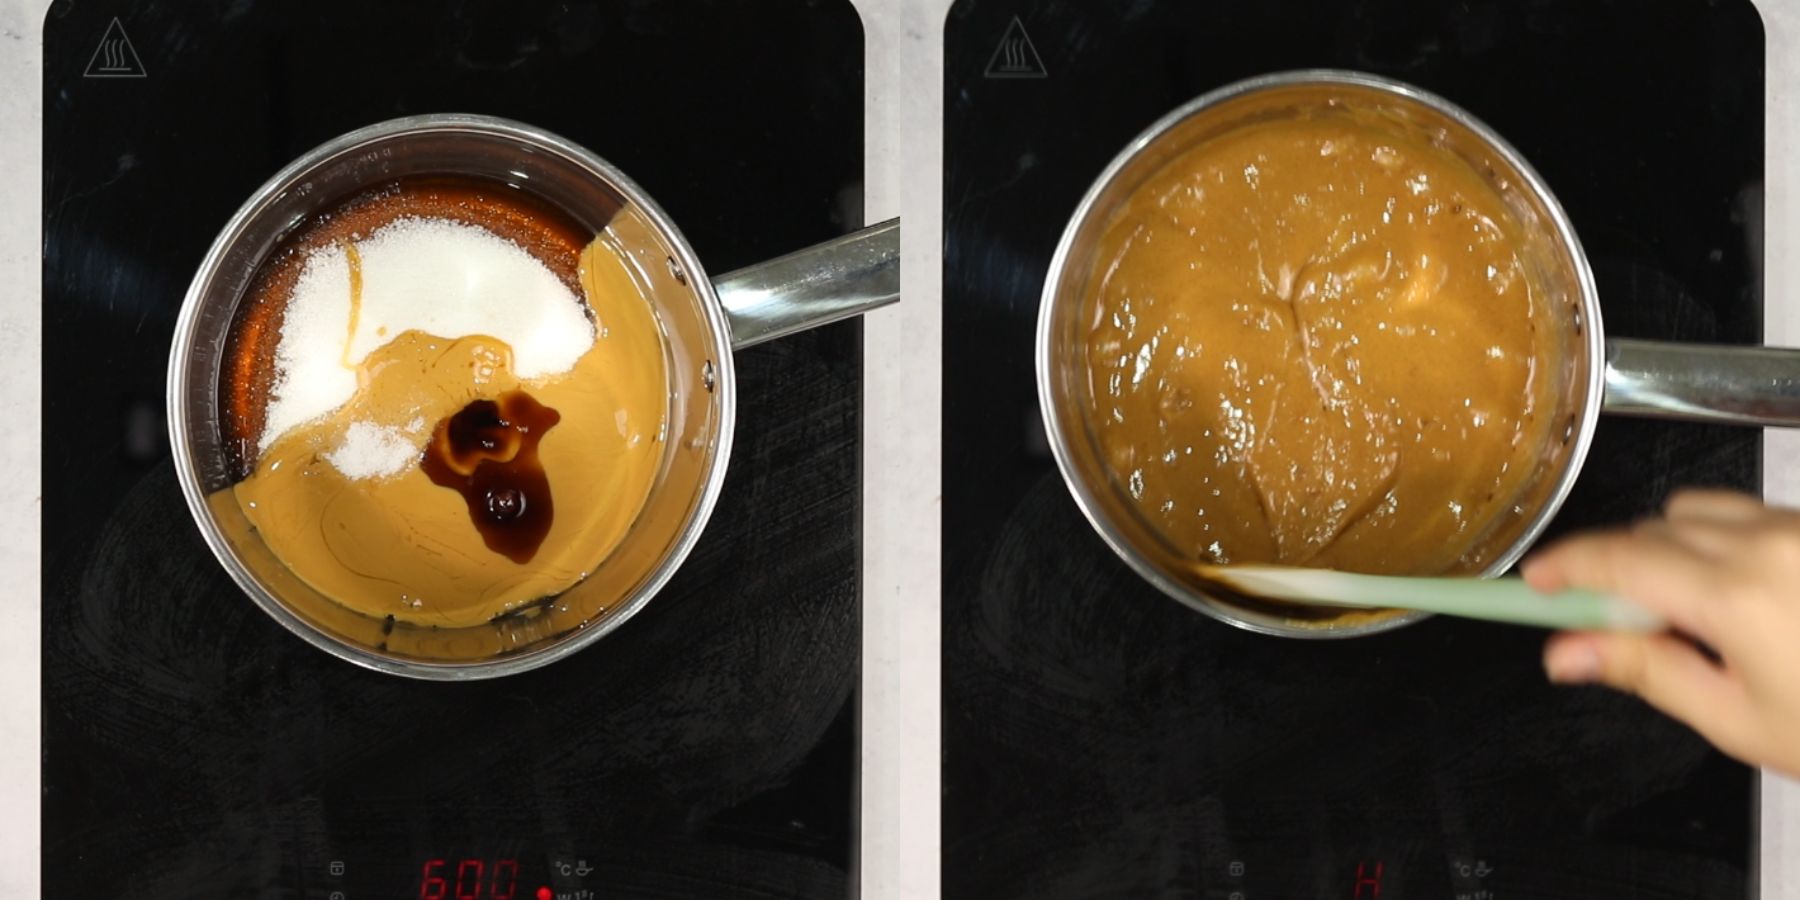
Over medium-low heat, cook the peanut butter, honey, granulated sugar, kosher salt, and vanilla extract, until the sugar is mostly dissolved, for about 3 minutes mixing constantly.
Don't get the mixture to a boil. This prevents the scotcharoos from turning hard.
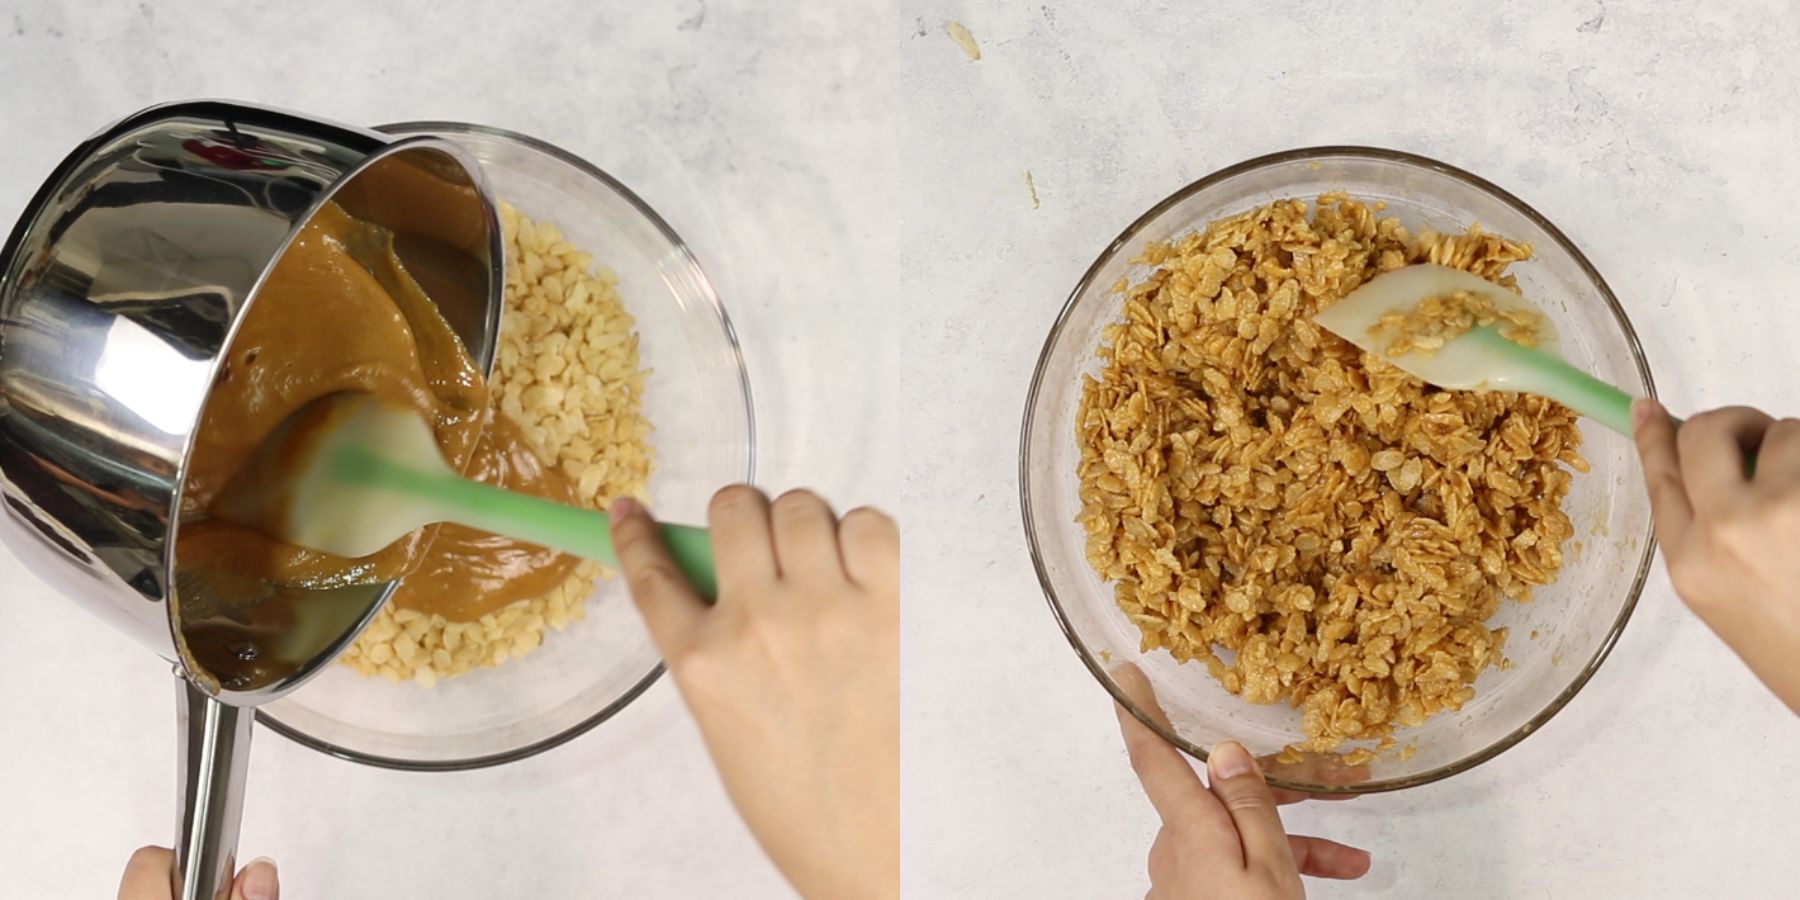
Immediately remove from the heat and pour the mixture onto the rice cereal Krispie which is in a large mixing bowl. Use a spatula to mix well until the Rice Krispies are completely coated in the peanut butter mixture.
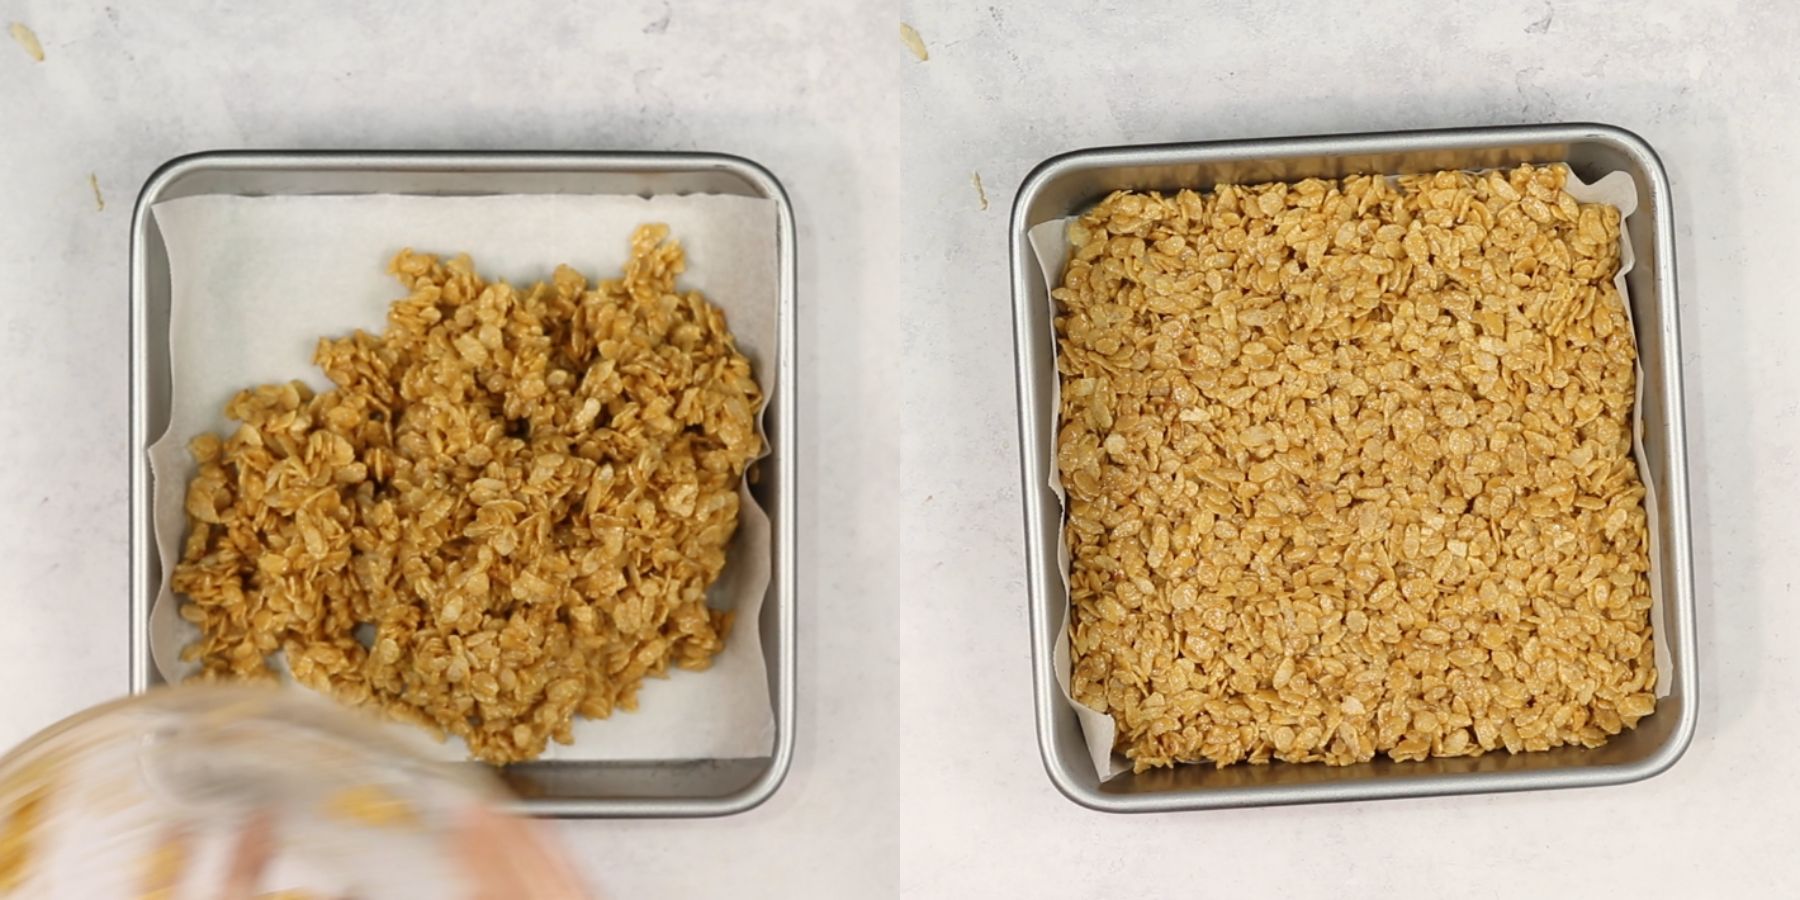
Transfer the mixture to a parchment paper-lined 8 by 8 baking pan and gently press it down using your damp hands or a spoon.
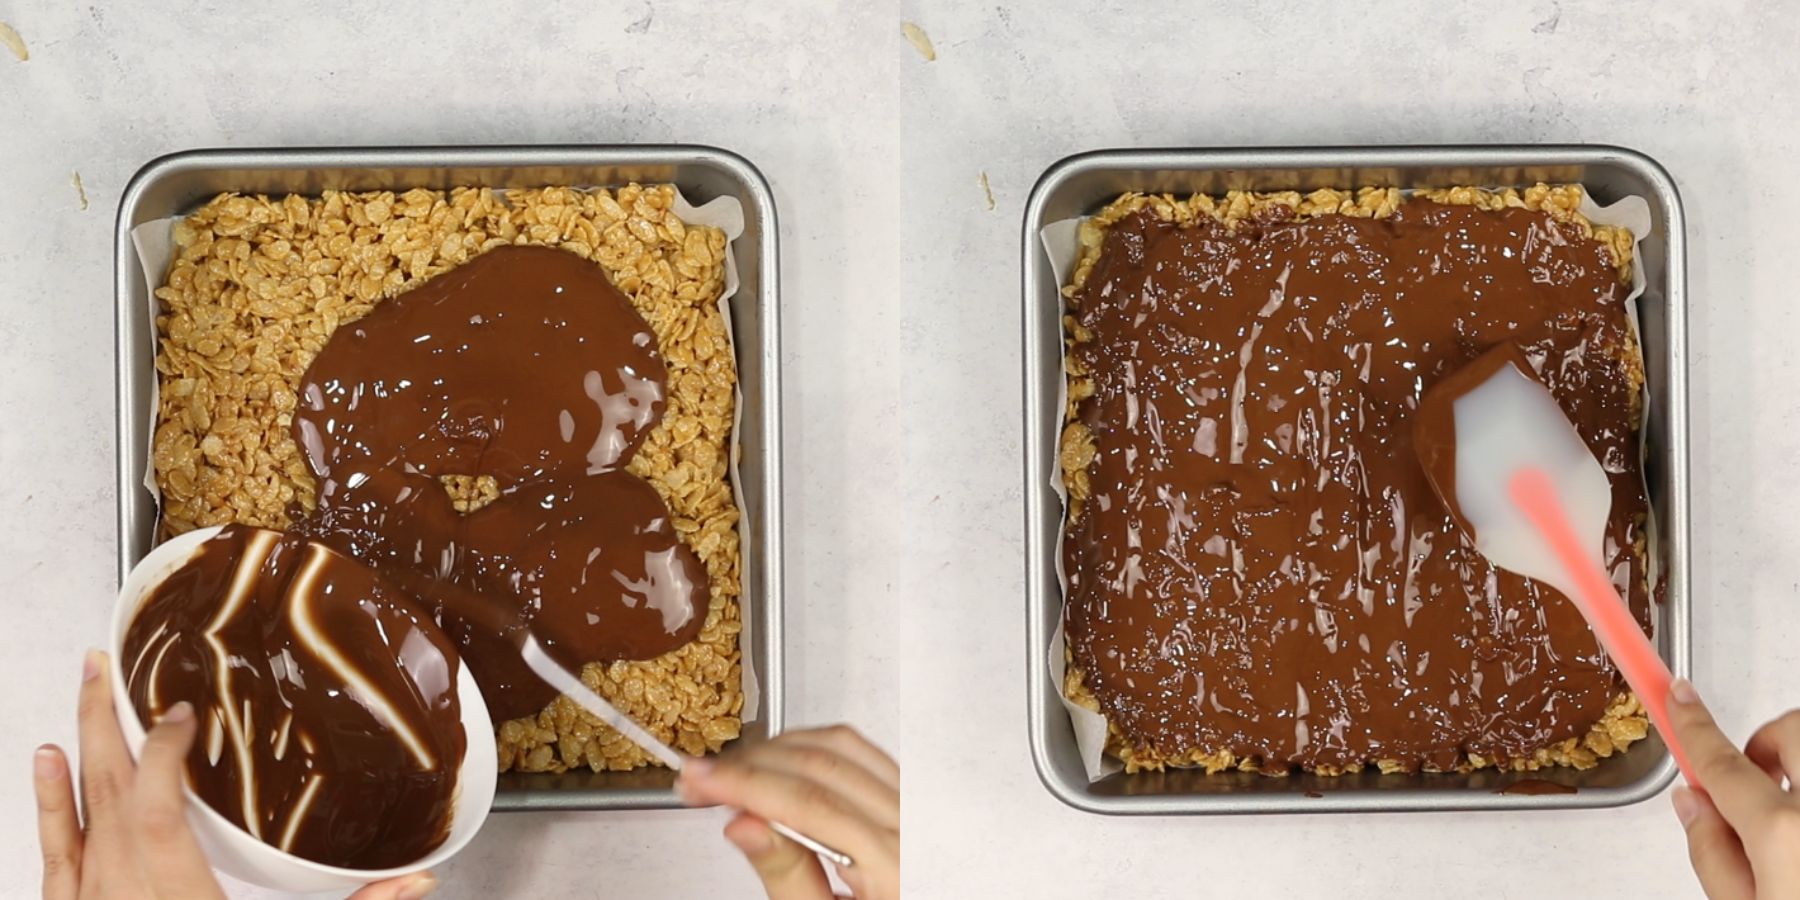
Melt the butterscotch chips and milk chocolate and top the bars with the chocolate mixture. Smooth it out with a spatula.
Let the mixture chill in the fridge for at least one hour. This step helps it set and makes it easy to cut into bars.
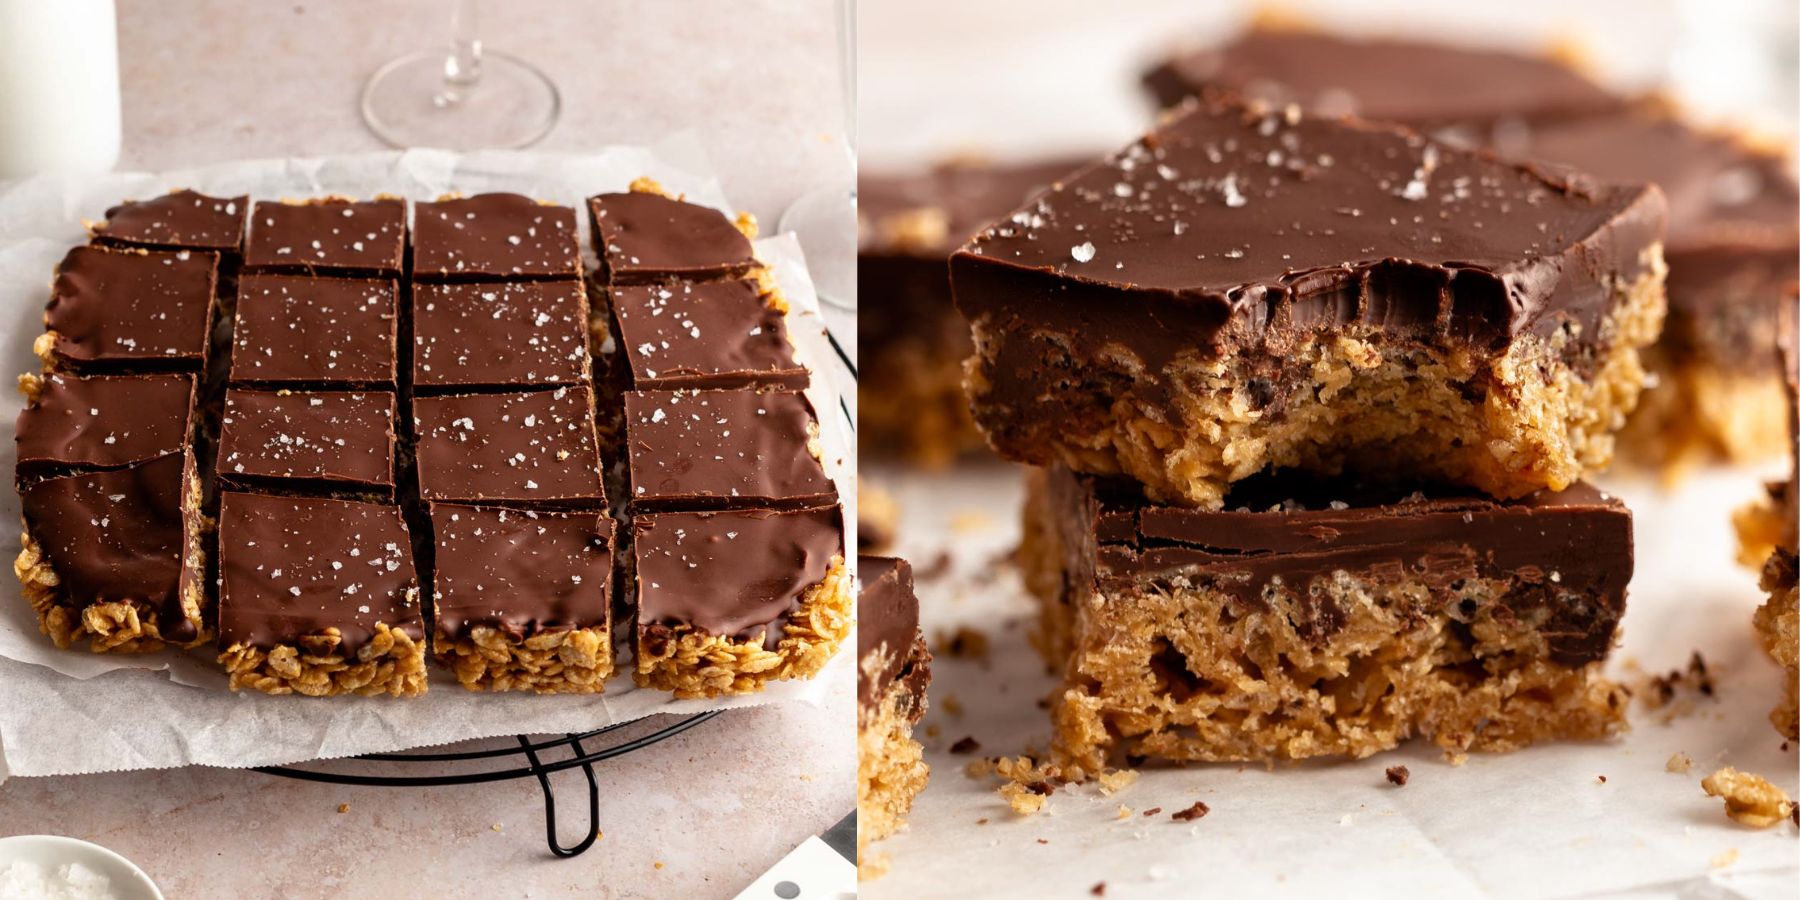
Remove the treats from the pan and cut with a sharp knife for as many bars as you'd like! I like sprinkling them with flakey salt for extra contrast of flavor but it's optional!
Expert Tips
- Avoid packing the mixture into the pan too tightly. We like an airy and crispy texture instead of a dense texture.
- To prevent the bars from being stiff, make sure that you don't get the peanut butter mixture to a boil. Mix it over low heat until most of the sugar melts.
- To get the chocolate topping sleek and shiny, I like adding 1 teaspoon of coconut oil or your favorite oil to the melted chocolate mixture.
- Be patient and let the treats rest in the fridge and set so they will be easy to cut. If you will try to slice them when they are warm, they will fall apart and leave you with a sticky mess.
- Line your pan with parchment paper so it will be easier to release the bars from the pan! This step is crucial and will prevent a mess.
- Dampen your fingers before you start to press the mixture into the pan. Also, make sure that you clean your hands thoroughly, to make this process smooth and easy!
- Melt the mixture until it's just melted and immediately remove it from the heat. This will prevent your treats from getting hard.
Faq's
Our favorite way to cut these bars and cakes is by dipping a long knife into hot water, once the knife warms up, wipe off the excess water, and slice the bars. Dip and wipe the knife between every slice.
These treats will last for up to 1 week stored in an airtight container in the fridge or for up to 3 days stored at room temperature.
Yes! Simply skip the added salt! If you are using unsalted butter, we like adding a pinch or so of salt to balance the flavors.
Yes! This recipe is made in an 8 by 8-inch pan, but you can double this recipe and make it in a 9 by 13-inch pan!
Storing
It’s okay to store these bars at room temperature. Cover them with plastic wrap or foil to prevent them from drying out.
Freezing
To freeze bars, you will need to wrap the bars in plastic wrap or foil and seal them in an airtight container or in an airtight resealable bag. You can freeze them for up to 2 months.
Substitutions
Gluten-free- this recipe is naturally gluten-free, but I like to ensure that the package of the rice cereal says "gluten-free" just in case it's mixed with gluten products.
Dairy-free- you can make this dairy-free by swapping the milk chocolate with semisweet chocolate. Also, swap the butterscotch chips with dairy-free chips, or swap the butterscotch chips with more semisweet chocolate.
Variations
Add-ins- we love adding fresh mini marshmallows to the mixture for an extra chewy texture!
Chocolate- you can top the bars with dark chocolate for a healthier option which is also great for dark chocolate lovers.
More no bake desserts
Fruity pebbles treats- These fruity pebbles treats are made with only 4 ingredients, are a no-bake recipe, are made with melted marshmallows, and are perfect for fruity pebbles lovers!
No bake turtle pie- This no bake turtle pie is made with a rich chocolaty oreo crust, and a creamy no bake caramel cheesecake filling and topped with melted chocolate, caramel sauce, and chopped pecans.
No bake mini cheesecakes- These no bake mini cheesecakes are creamy, easy to make, and perfect with berries on top. These are made with simple ingredients and take minutes to prep!
If you tried this recipe, don’t forget to leave a rating and a comment below. We love hearing from you.
If you liked this recipe
- Follow us on Facebook, Instagram, and Pinterest.
- Share/pin this recipe to Pinterest.
- Leave a comment down below!
📖 Recipe
Easy Scotcharoos (Soft And Chewy)
Ingredients
- ½ cup Peanut butter natural or creamy like Jif or Skippy brand
- ⅓ cup Granulated sugar
- ½ cup Honey
- 1 teaspoon Vanilla extract
- ½ teaspoon Kosher salt
- 3 ½ cups Rice cereal
Topping
- ½ cup Butterscotch chips
- ½ cup Milk chocolate chips
Instructions
- Prepare a parchment paper-lined 8 by 8-inch baking pan and set it aside.
- Over medium-low heat, cook the peanut butter, honey, granulated sugar, kosher salt, and vanilla extract, until the sugar is mostly dissolved, for about 3 minutes mixing constantly.
- Don't get the mixture to a boil. This prevents the scotcharoos from turning hard.
- Immediately remove from the heat and pour the mixture onto the rice cereal Krispie which is in a large mixing bowl. Use a spatula to mix well until the rice Krispies are completely coated in the peanut butter mixture.
- Transfer the mixture to a parchment paper-lined 8 by 8 baking pan and gently press it down using your damp hands or a spoon.
- Melt the butterscotch chips and milk chocolate and top the bars with the chocolate mixture. Smooth it out with a spatula.
- Let the mixture chill in the fridge for at least one hour. This step helps it set and makes it easy to cut into bars.
- Remove the treats from the pan and cut with a sharp knife for as many bars as you'd like! I like sprinkling them with flakey salt for extra contrast of flavor but it's optional!
Notes
- Avoid packing the mixture into the pan too tightly. We like an airy and crispy texture instead of a dense texture.
- To prevent the bars from being stiff, make sure that you don't get the peanut butter mixture to a boil. Mix it over low heat until most of the sugar melts.
- To get the chocolate topping sleek and shiny, I like adding 1 teaspoon of coconut oil or your favorite oil to the melted chocolate mixture.
- Be patient and let the treats rest in the fridge and set so they will be easy to cut. If you will try to slice them when they are warm, they will fall apart and leave you with a sticky mess.
- Line your pan with parchment paper so it will be easier to release the bars from the pan! This step is crucial and will prevent a mess.
- Dampen your fingers before you start to press the mixture into the pan. Also, make sure that you clean your hands thoroughly, to make this process smooth and easy!
- Melt the mixture until it's just melted and immediately remove it from the heat. This will prevent your treats from getting hard.


Comments
No Comments