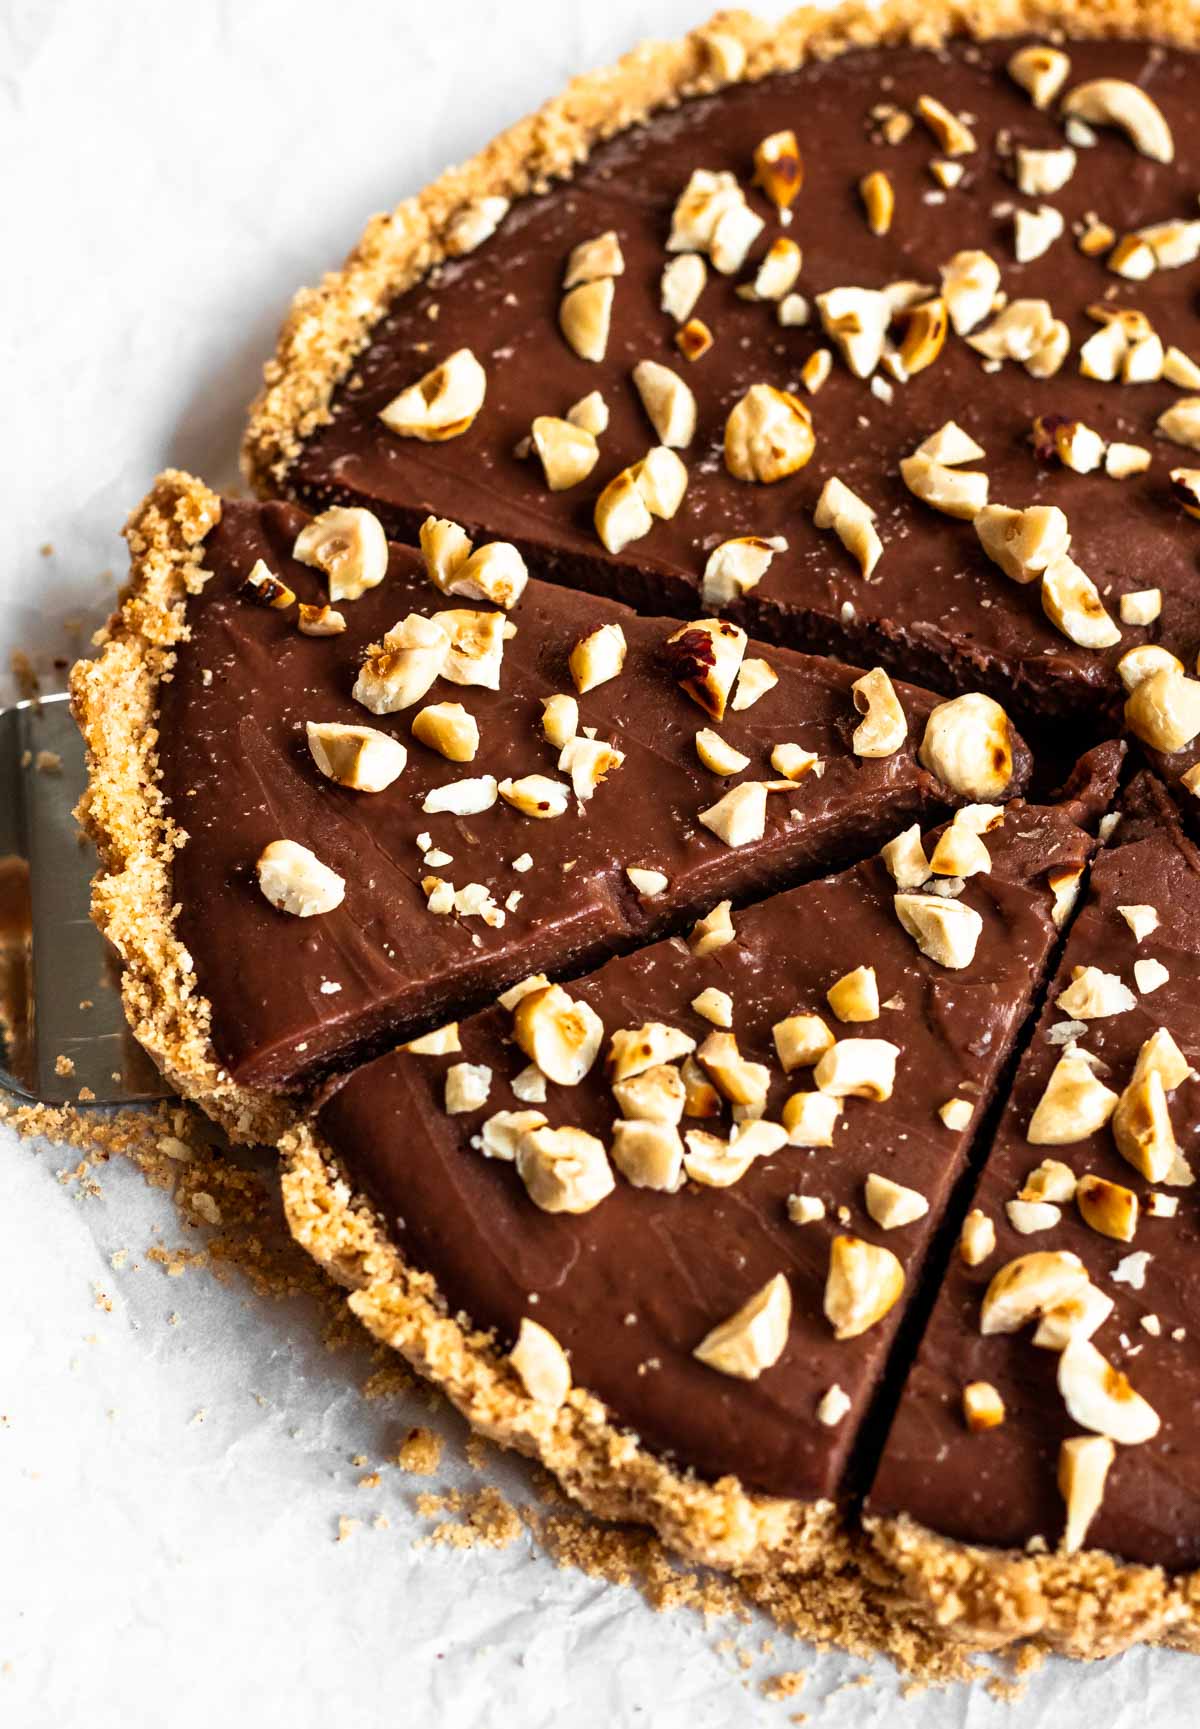
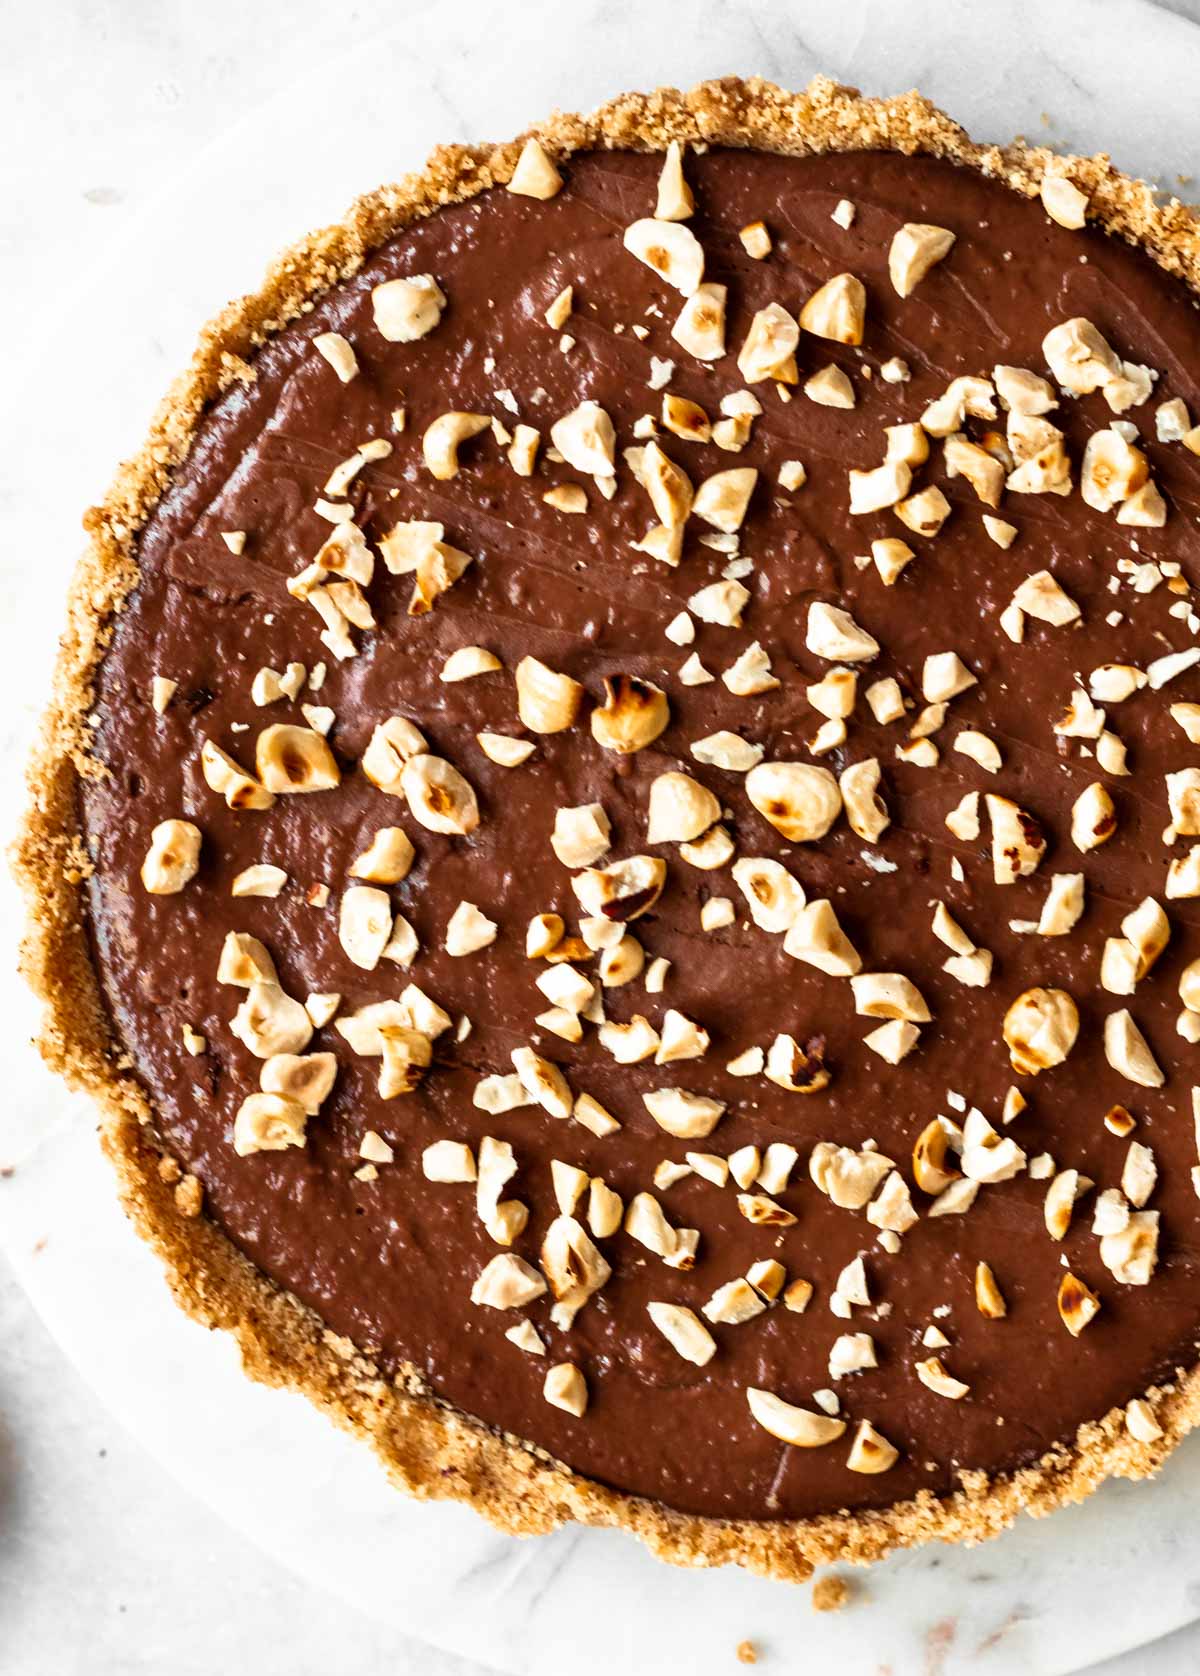
This Nutella tart is made with an easy hazelnut tart crust, filled with a decadent and creamy Nutella filling, and topped with chopped toasted hazelnuts.
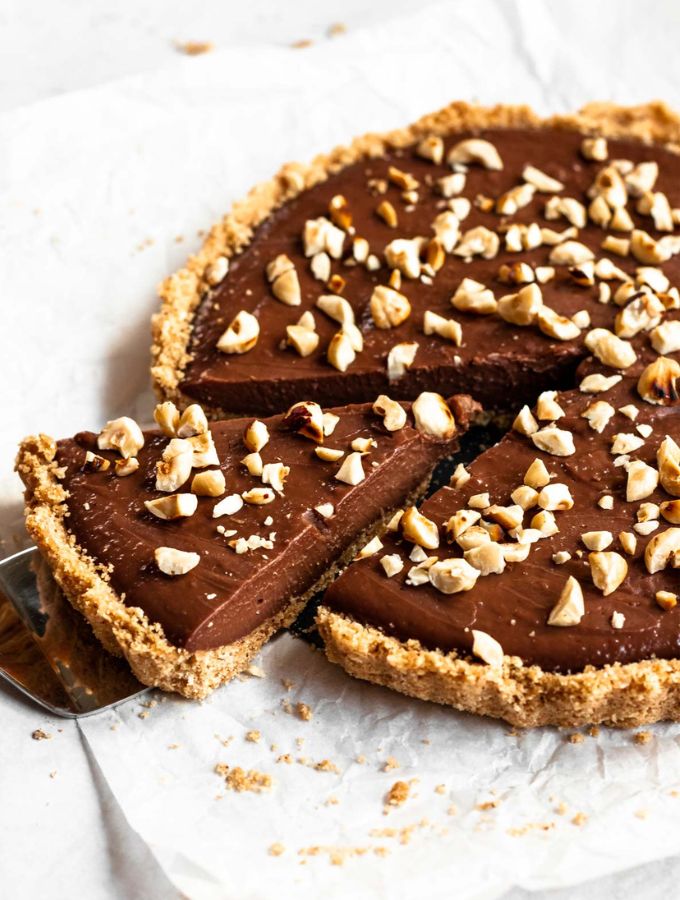
This dessert is impressive, incredibly easy to make, and tastes amazing.
This recipe comes together in half an hour, made with super simple ingredients, perfect for hazelnut and Nutella lovers, and made with an incredibly creamy filling, which is topped with chopped hazelnuts that complete this recipe into the perfect tart.
If you like Nutella, and baking with Nutella, you should try out our favorite Nutella recipes like our No-bake Nutella cheesecake-, 3 Ingredient Nutella brownies, Nutella mug cake, and our Nutella cake.
Jump to:
Why this recipe works
- Extremely easy to make.
- Incredibly creamy and melt in your mouth delicious.
- Made with simple ingredients.
- Perfect to make when you need a dessert to impress.
- Perfect for Nutella and hazelnut lovers.
- The perfect dessert for any occasion.
- There is no baking involved.
- Comes together in under 30 minutes.
Ingredients
Before you start to make this recipe, measure and prepare your ingredients so the cooking process will go smoothly and easily.
Nutella- you will need 1 ½ cups of Nutella for this recipe. We like using Nutella for this recipe, but if you don’t like Nutella or are allergic to one of the ingredients, you can use any kind of chocolate hazelnut spread.
Hazelnuts- we use hazelnuts for both the crust and the toppings. We highly recommend toasting the hazelnuts before using them. Toasting the hazelnuts releases the amazing flavors they naturally have.
Heavy whipping cream- you will need two cups of heavy cream for the filling.
Graham crackers- you will need about 1 ½ cup of graham crackers. If you don’t have graham crackers, you can use tea biscuits, vanilla wafers, and digestive biscuits.
Granulated sugar– we like to use granulated sugar, also the most common sugar used in baking. Caster sugar will work great as well.
Melted butter– melt the butter in the microwave for 30 seconds pulses, to make sure that the butter doesn’t boil up and explode in the microwave (been there done that), or melt it on the stovetop.
Vanilla extract– Vanilla extract Is an essential ingredient for baking, it adds extra flavor.
Salt– We used kosher salt for this recipe. Salt doesn’t give the filling a salty taste, it helps to enhance the chocolate flavor.
Cornstarch- you will need 2 tablespoon of cornstarch for the filling. The cornstarch thickens the filling.
Instructions
Hazelnut tart crust
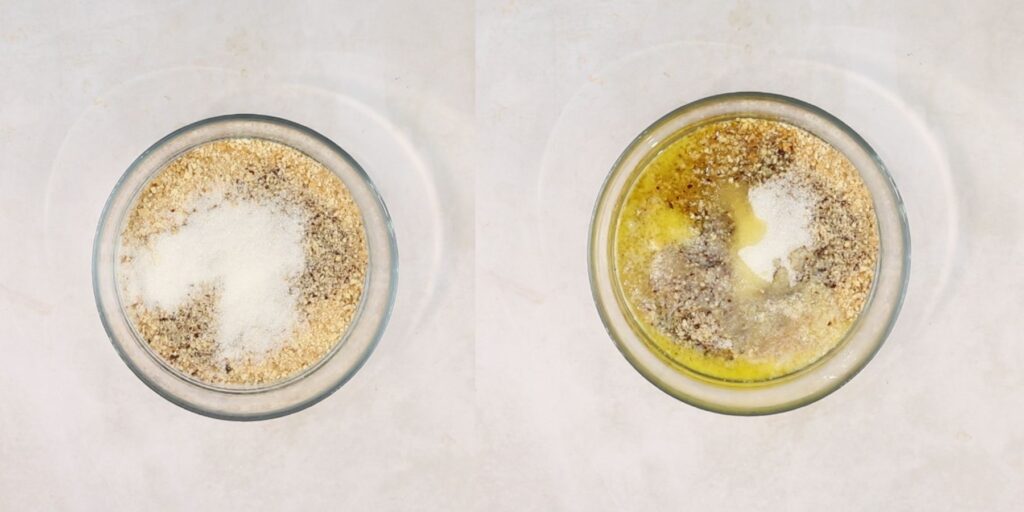
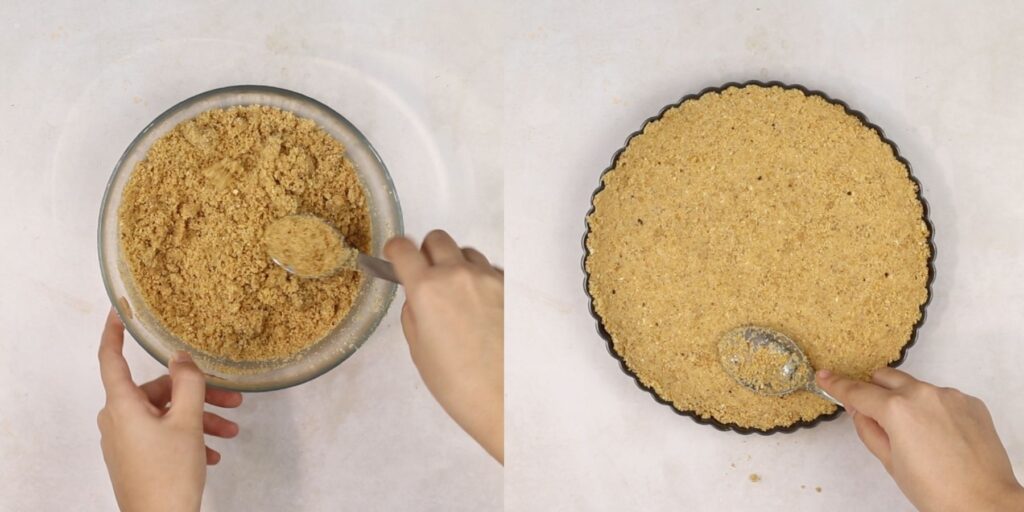
Start by making the hazelnut tart crust. In a big mixing bowl, add the graham cracker crumbs, hazelnut crumbs, granulated sugar, and melted butter. Mix with a spoon until the mixture is well combined.
Transfer the crust mixture to a tart pan, and press it into the pan until a nice even layer of crust forms. You will need a 9-inch tart pan, we highly recommend this tart pan, it's a high-quality pan that is also affordable!
Carefully place the crust into the freezer to firm up for about 20 minutes.
Filling
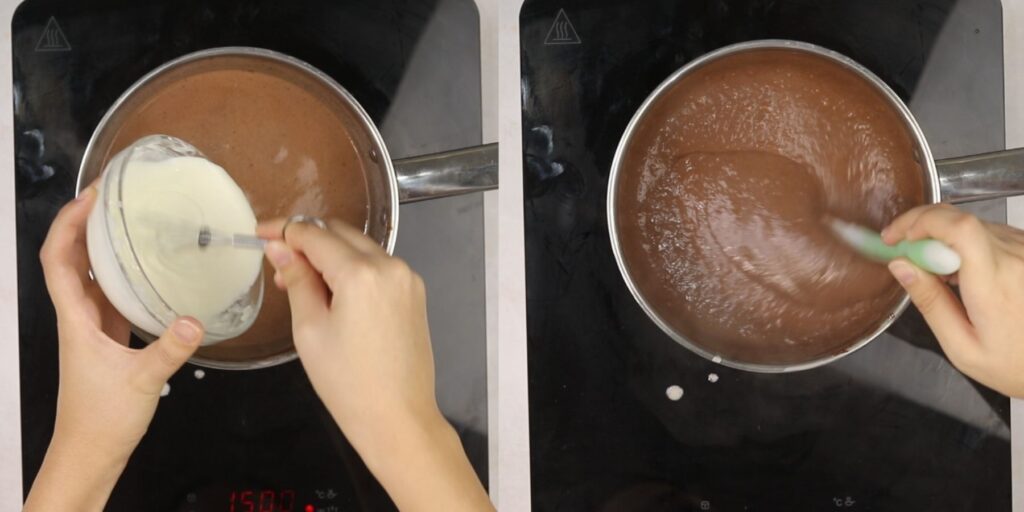
To make the filling, start by whisking the cornstarch and ½ cup of heavy cream in a small bowl. This step helps to avoid lumps in the filling.
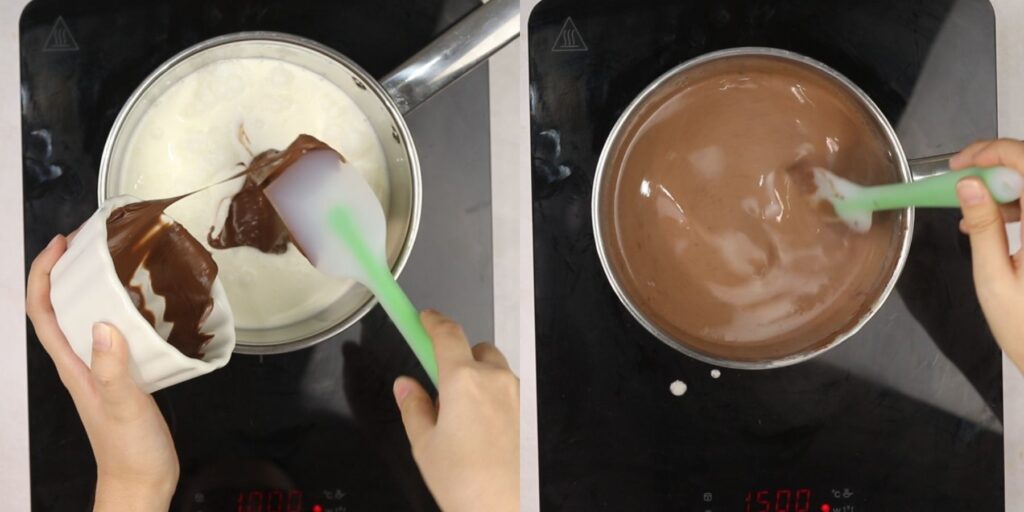
Into a medium saucepan, add the heavy cream, vanilla extract, Nutella, and kosher salt. Cook over medium heat, whisking constantly until the mixture is well combined.
Add the cornstarch and cream mixture, mixing constantly, to avoid lumps in the filling. Let the mixture thicken up for 2-3 minutes. Remove from heat and keep stirring for 2 more minutes.
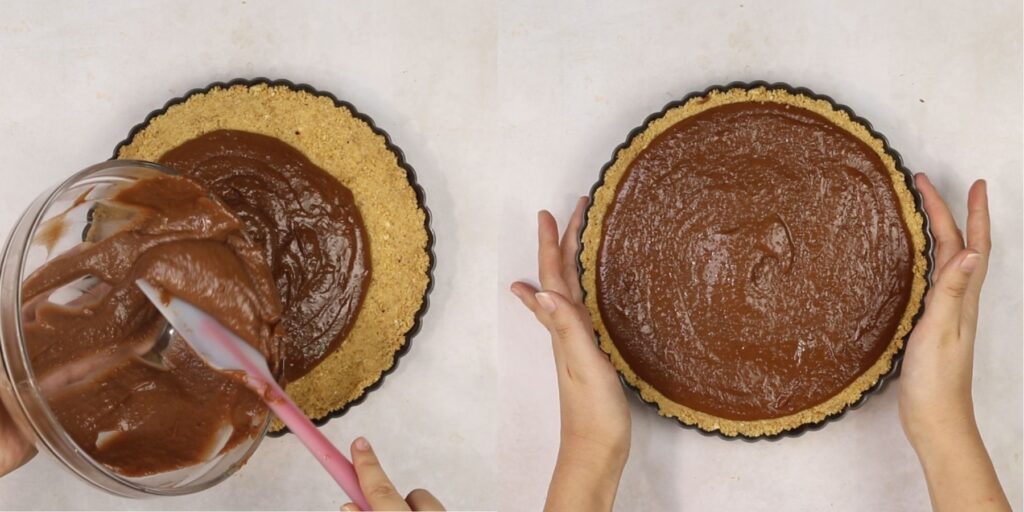
Remove the crust from the freezer and pour the filling into the crust. Smooth it out with a spatula until you are satisfied with the look of the tart. Chill the tart in the fridge for at least 3 hours to let it firm nicely.
Remove the tart from the fridge and carefully remove it from the tart pan.
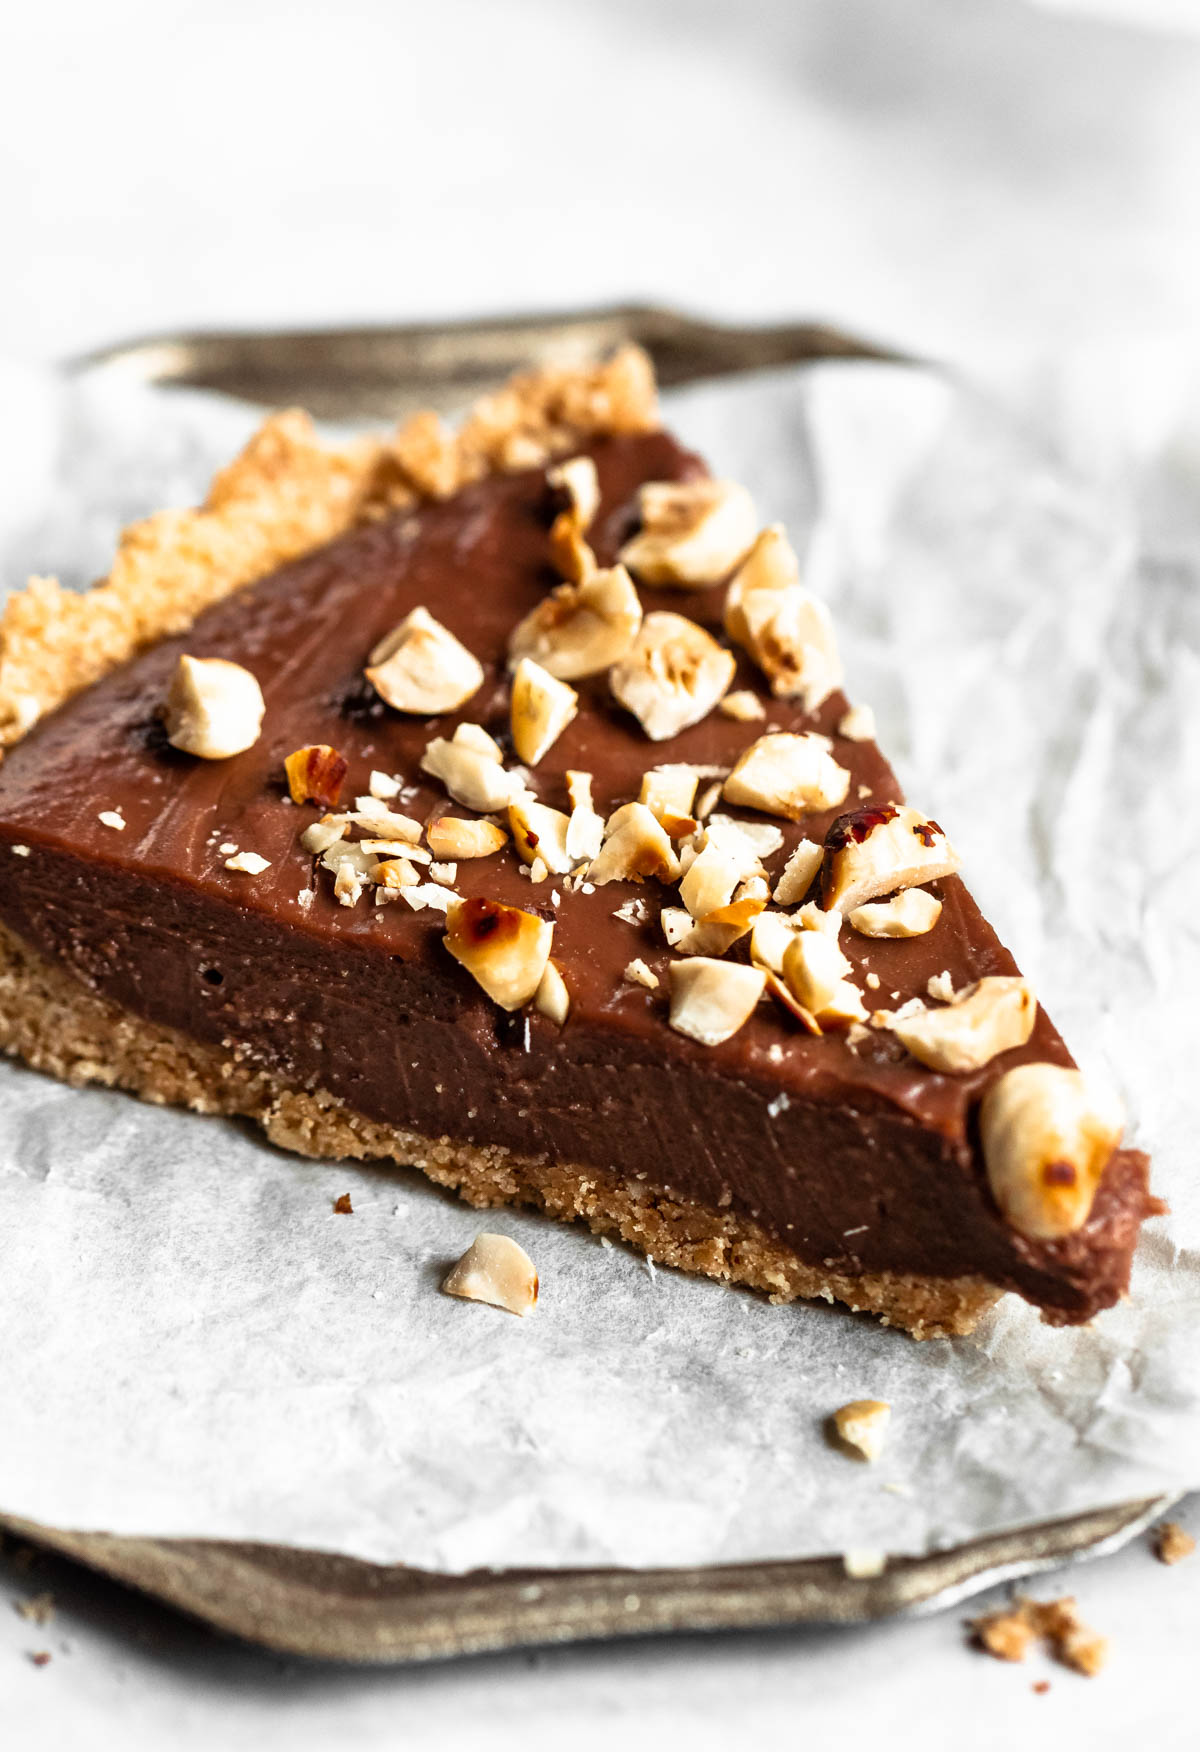
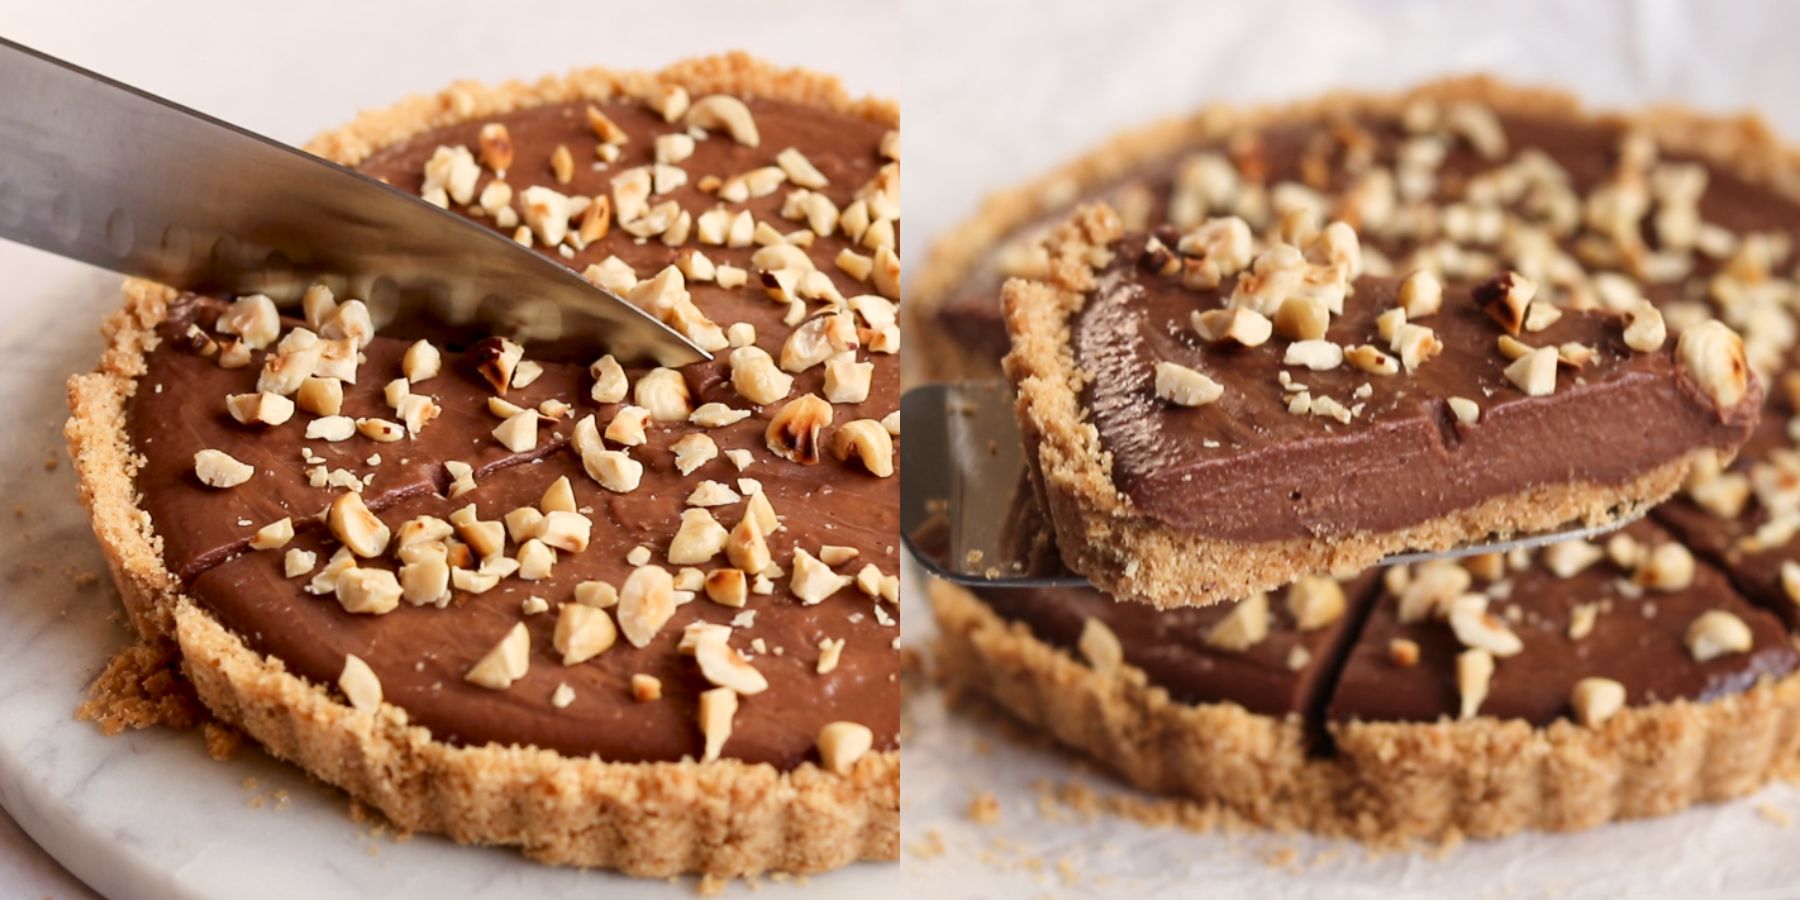
For decoration, we like to top the tart with chopped toasted hazelnuts. This step also gives the tart a beautiful look, and it gives it an extra crunch that everyone enjoys. Slice and enjoy!
Expert Tips
- Use an easy-release tart pan. We use an easy-release tart pan for all of our tart recipes. This makes sure that your tart will be easy to release from the pan.
- To get even and clean tart slices, make sure that you are using a serrated knife. Our favorite way to cut tarts and cakes is by dipping a long knife into hot water, once the knife warms up, wipe off the excess water, and slice the tart. Dip and wipe the knife between every slice.
- Let your tart set in the fridge for at least 4 hours. We know it’s very hard to resist eating this delicious tart right away, but you have to let the filling stabilize in the pan.
- We highly recommend toasting the hazelnuts before using them in this tart. Toasting the hazelnuts releases the amazing flavors they naturally have.
- We like using classic Nutella spread for this tart recipe, but if you don’t have Nutella spread in your area, or are allergic to one of the ingredients, you can use any kind of chocolate hazelnut spread except for a natural one. Natural chocolate hazelnut spread can be loose and won't hold the shape of the tart.
Faq's
Cutting tart, the right way is very important. To get even and clean tart slices, make sure that you are using a serrated knife.
Our favorite way to cut tarts and cakes is by dipping a long knife into hot water, once the knife warms up, wipe off the excess water, and slice the tart. Dip and wipe the knife between every slice.
This tart will last for up to 4 days stored in the fridge in an airtight container, or in the freezer for up to a month stored in an airtight freezer-friendly container.
Serve this tart by itself! As a dessert on a hot summer day, this tart is for Nutella and hazelnut lovers!
Freezing
To freeze this tart, make it according to the instructions, then chill it according to the instructions in the fridge.
When the tart is completely set, you can freeze it covered in a few layers of plastic wrap or foil. This tart will freeze for up to 2 months. To thaw, place the tart in the fridge overnight.
Substitutions
Gluten-free - if you want to make this recipe gluten-free, simply replace the graham crackers with gluten-free graham crackers.
Dairy-free- you can make this tart dairy-free by replacing the heavy cream with coconut milk or vegan heavy cream, the Nutella with vegan hazelnut spread, and the butter with vegan butter.
Hazelnut spread- We like using classic Nutella spread for this tart recipe, but if you don’t have Nutella spread in your area, or are allergic to one of the ingredients, you can use any kind of chocolate hazelnut spread.
Variations
You can make this tart your own by adding different flavors to it.
Chocolate- If you like a rich chocolate flavor in your tart, add 50 grams of melted dark chocolate into the tart batter and follow the rest of the instructions.
Add-ins- you can add your favorite add-ins to the tart filling like m&m's, caramel bits, white chocolate chips, pretzels, chopped nuts, etc.
Decoration tips
I like to decorate this tart by toasting and chopping hazelnuts and topping the tart with a nice amount on top. This step also gives the tart a beautiful look, and it gives it an extra crunch that everyone enjoys.
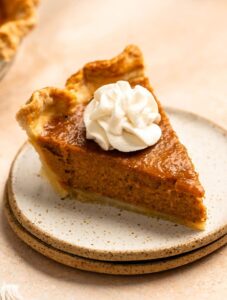
If you don't have extra hazelnuts for the top, you can also decorate this tart by piping dollops of whipped cream around the edges of the tart and top each whipped cream dollop with Nutella drizzle.
Make it ahead
This tart is no-bake and needs to be stored in the fridge, so it's perfect when you want an easy recipe that can sit in the fridge for a few days, and serve when needed!
One of our favorite things about this recipe is that you don't need an oven to make it, so if you're making it in the holiday season and need to use the oven, this dessert frees your oven for other cooking or baking recipes!
More Nutella recipes
No-bake Nutella cheesecake- This no-bake Nutella cheesecake is rich in Nutella flavor, creamy silky smooth with a texture that is melt in your mouth delicious.
Nutella mug cake- This Nutella mug cake is gooey, rich, chocolaty, soft, tender, and dreamy. When you’re in the mood for a decadent dessert, this easy Nutella mug cake comes in handy.
Nutella cake- This incredible Nutella cake is made by making three chocolate Nutella cake layers, and Nutella buttercream, and topped with chocolate ganache.
If you tried this recipe, don’t forget to leave a rating and a comment below. We love hearing from you.
If you liked this recipe
📖 Recipe
Best Nutella Tart
Equipment
- Non-stick tart pan
- Pyrex Glass Mixing Bowl Set
- Whisk Set (pack of 3)
Ingredients
Hazelnut crust:
- 150 g Graham crackers or tea biscuits
- 80 g Butter
- ¼ cup Hazelnuts crumbs
- 2 tablespoon Sugar
Nutella filling:
- 2 cups Heavy cream
- 2 tablespoon Cornstarch
- 1 teaspoon Vanilla extract
- ¾ cup Nutella
- ¼ teaspoon Salt
Instructions
Hazelnut tart crust:
- Start by making the hazelnut tart crust. In a big mixing bowl, add the graham cracker crumbs, hazelnut crumbs, granulated sugar, and melted butter. Mix with a spoon until the mixture is well combined.
- Transfer the crust mixture to a tart pan, and press it into the pan until a nice even layer of crust forms.
- Carefully place the crust into the freezer to firm up for about 20 minutes.
Nutella tart filling:
- To make the filling, start by whisking the cornstarch and ½ cup of heavy cream in a small bowl. This step helps to avoid lumps in the filling.
- Into a medium saucepan, add the heavy cream, vanilla extract, Nutella, and kosher salt. Cook over medium heat, whisking constantly until the mixture is well combined.
- Add the cornstarch and cream mixture, MIXING CONSTANTLY, to avoid lumps in the filling. Let the mixture thicken up for 2-3 minutes.
- Remove from heat and keep stirring for 2 more minutes.
- Remove the crust from the freezer and pour the filling into the crust. Smooth it out with a spatula until you are satisfied with the look of the tart.
- Chill the tart in the fridge for at least 3 hours to let it firm nicely.
- Remove the tart from the fridge and carefully remove it from the tart pan.
- For decoration, we like to top the tart with chopped toasted hazelnuts. This step also gives the tart a beautiful look, and it gives it an extra crunch that everyone enjoys.

Comments
No Comments